|
Posted: 12/9/2008 7:27:59 PM EDT
[Last Edit: CmdrTaco]
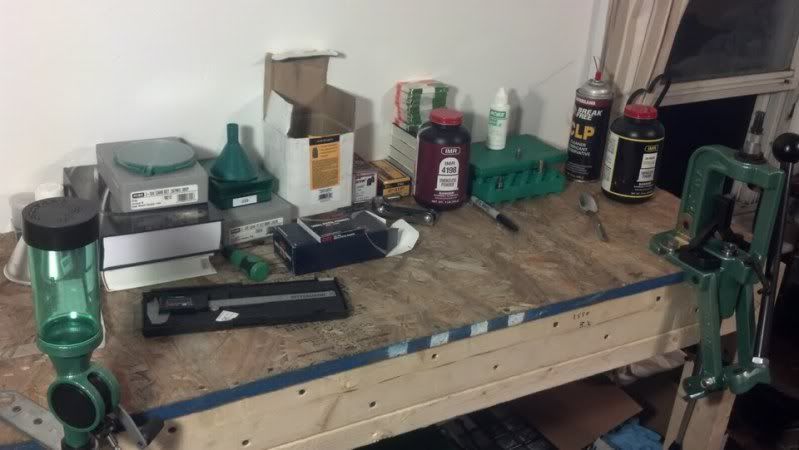
I've seen pics of peoples benches scattered throughout the reloading forum, but I thought it would be nice to have a single thread where you could post pics of your little patch of reloading heaven.
ETA: My camera isn't working at the moment, but here's some pics I found online: 
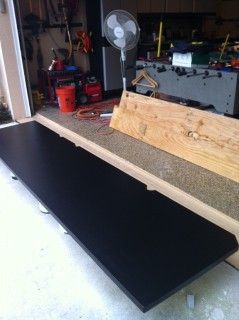
Here's a simple one you can make yourself: Click here for plans for the bench below 
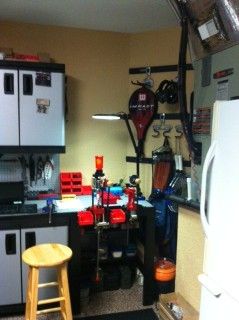
Click here for a PDF with several different free plans Here's another clean/simple layout: 
|
|
|
|
|
[#1]
very nice ,love the gatorrrrrrrrrrrrrrrrrrrrr
|
|
|
|
|
[#2]

|
|
|
|
WI, USA
|
[#3]
Now that I'm settled in my new house (2.5 years later), I'm going to take a good look through all of these and get ideas of what I want for my new bench. Keep the pics coming! :-)
|
|
|
|
[Last Edit: John87]
[#4]
Originally Posted By John87:
 i added a bit, still going to add more 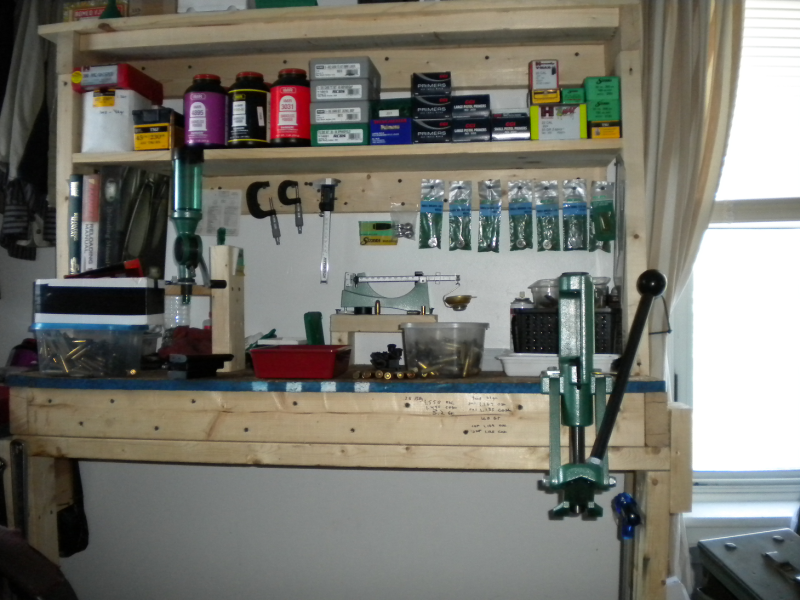


|
|
|
|
|
[#5]
Originally Posted By CmdrTaco: Now that I'm settled in my new house (2.5 years later), I'm going to take a good look through all of these and get ideas of what I want for my new bench. Keep the pics coming! :-) Welcome back to the epic thread you started. |
|
|
|
|
[#6]
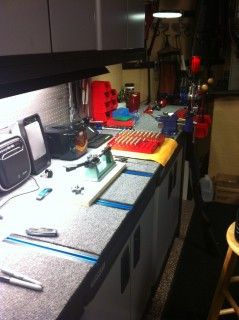
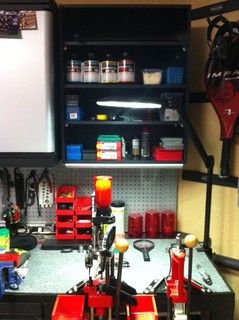
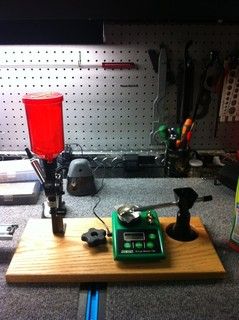
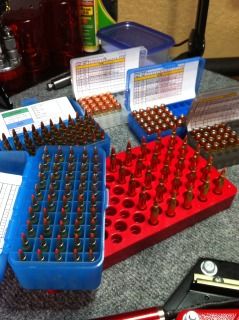
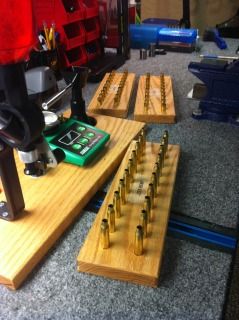
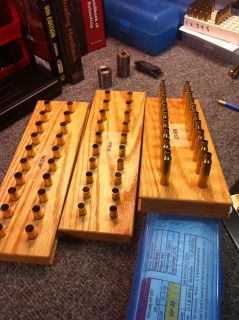
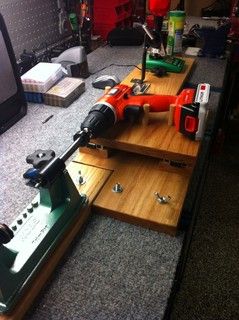
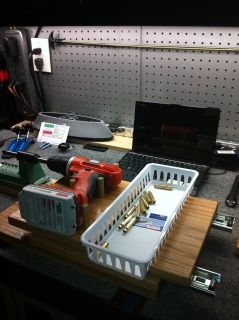
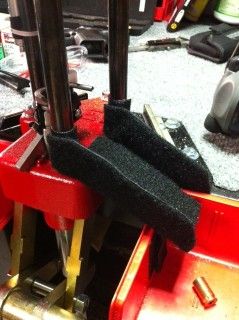
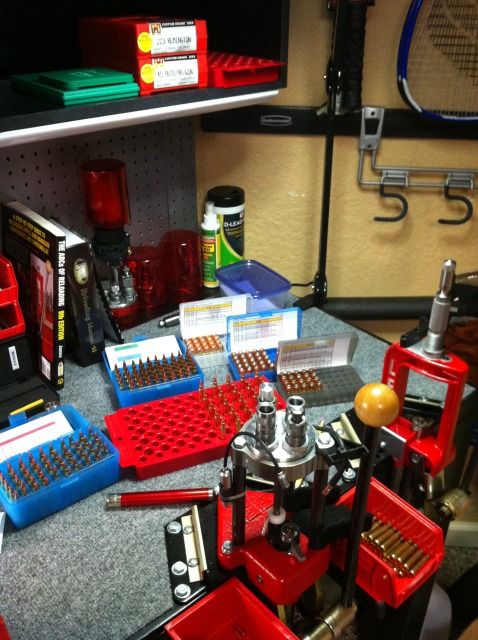
I posted some of these in a recent thread, but figured this is the appropriate place. Here is my area. Air conditioned garage, insulated door. I started by adding about 3 feet on to the end of my existing bench for presses. This required a whole new top of layered 1/2 plywood. It is bolted to the wall with 2/3 sitting on cabinets and the new end is support by a 2 x 4 base. I built an open face cupboard for above to store stuff. Added "t" rails to the bench top for portable tools. Then I borrowed some ideas from here and there to make some projects: a floating drill stand to power the trimmer (works great), a case ejector for the turret along with a ramp to catch the cartridges, a weigh station and some loading blocks.
|
|
|
|
|
[#7]
Nice to see some poly on your loading blocks and other wood pieces.
Makes plain old pine nice looking.
|
|
|
|
|
[#8]
Close. Red oak and Tung oil. I find it easier to rapidly apply to wood. I apply it with a rag and rub it in. It's not as finicky about drips or gathering dust when drying.
|
|
|
|
|
[#9]
Originally Posted By RLR350: Close. Red oak and Tung oil. I find it easier to rapidly apply to wood. I apply it with a rag and rub it in. It's not as finicky about drips or gathering dust when drying. Looked again, sorry Red Oak. |
|
|
|
|
[#10]
My humble addition


|
|
|
|
IL, USA
|
[Last Edit: JSzabo]
[#11]
Heres mine. I'm just starting out.

Have to clean up the extra plastic bullet holders.
|
|
|
IL, USA
|
[Last Edit: FiReBReTHa]
[#12]
My ugly Bench to start with.

1/2" MDF :( was horrible, but I was biding my time till I could get a better bench. Finally, a friend of mine (Eric) helped me put this one together 

A thousand praises go to him because I am loving my new bench!! I moved the custom LED lights I made for it to the shelf rather than its original placement. |
|
|
SC, USA
|
[#13]
The ultimate "poor man's reload setup": Lee Reloader mounted on a piece of 2" cypress:

Rear mounting hole is countersunk on the bottom. All bolts are held in place with wing nuts for easy removal as the spent primers are ejected into the hollow body of the press. I only reload 9mm right now so I just use Lee's standard recipe for a 115gr FMJ: one level scoop of Alliant Bullseye using the dipper that comes with the die set. Easy as that. |
|
|
|
[#14]
just got this going the other day so it's a mess right now and i just got a 1050 off of ebay. once that gets here i'll have all of this set up the way i like it.
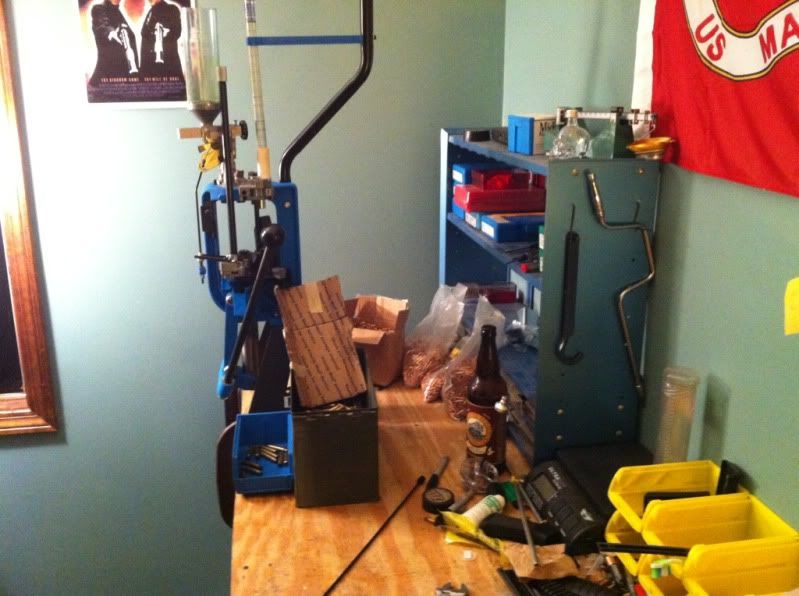
ok so it's really a mess right now. 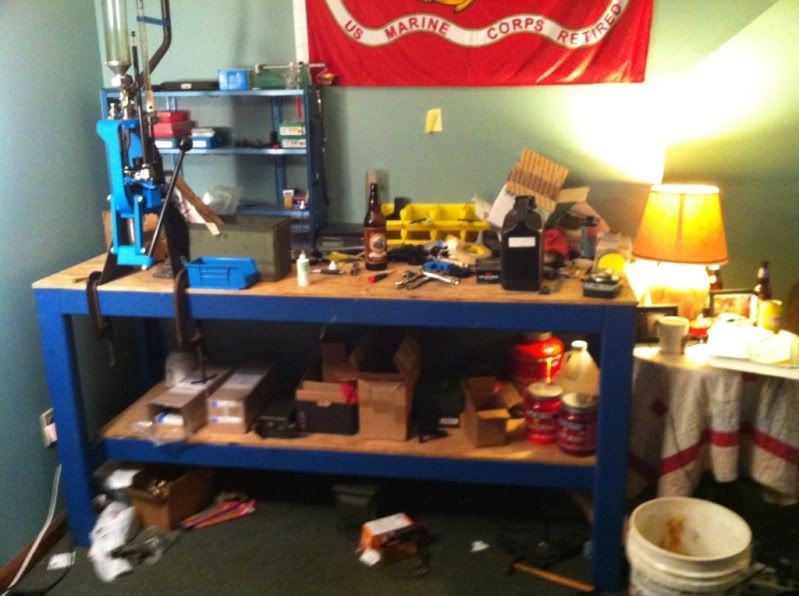
|
|
|
|
FL, USA
|
[Last Edit: dryflash3]
[#15]
<removed> OP was having problems posting pics, some clean up editing was done. dryflash3
|
|
|
FL, USA
|
[Last Edit: dryflash3]
[#16]
<removed> dryflash3
|
|
|
FL, USA
|
[Last Edit: dryflash3]
[#17]
<removed> dryflash3
|
|
|
FL, USA
|
[Last Edit: dryflash3]
[#18]
<removed> dryflash3
|
|
|
|
[#19]
Originally Posted By patrad:.
pics arent working |
|
|
|
FL, USA
|
[Last Edit: dryflash3]
[#20]
<removed> dryflash3
IM sent to patrad. |
|
|
|
[#21]
Originally Posted By patrad:
Not sure why - I see 'em in the post(s).?? did you upload them to an image hosting website like photobucket.com? |
|
|
|
USA
|
[Last Edit: dryflash3]
[#22]
<removed> dryflash3
|
|
|
|
[#23]
I don't see them on my iPhone,laptop or desktop..
|
|
|
|
USA
|
[Last Edit: dryflash3]
[#24]
<removed> dryflash3
|
|
|
USA
|
[Last Edit: dryflash3]
[#25]
<removed> dryflash3
|
|
|
|
[Last Edit: BIGGDAWG]
[#26]
removed by biggdawg
|
|
|
|
USA
|
[Last Edit: dryflash3]
[#27]
<removed> dryflash3
|
|
|
|
[Last Edit: BIGGDAWG]
[#28]
deleted by biggdawg
|
|
|
|
USA
|
[Last Edit: patrad]
[#29]
Like this? Followed BIGGDAWG's info above. BTW, the end result is the same as using the BB code to start with.??
|
|
|
|
[#30]
nope
|
|
|
|
|
[#31]
just upload them to photobucket.com
then hover your mouse over the picture you want to post, and click on the bottom link of the 4.(it will copy automatically) then come here, post reply, and paste the link, post, and allow us to enjoy your workbench! |
|
|
|
|
[Last Edit: BIGGDAWG]
[#32]
deleted
|
|
|
|
|
[#33]
This IS NOT the test forum. dryflash3
|
|
|
|
USA
|
[Last Edit: patrad]
[#34]
Not trying to test, bro. Following what I thought were the right guidelines, and then what BIGGDAWG showed. Nothing seems to have worked. 'Scuse me. You can delete my pic posts if ya want, sorry to have irritated you. Wasn't intentional. Have a grudge against photobucket for a past wrong, and was trying to keep from using them again. Guess I'll look into it, since this has been so much of a problem. Sorry dryflash. Still my favorite site, and folk
Many thanks to all who tried to assist me, 'specially BIGGDAWG. |
|
|
USA
|
[Last Edit: patrad]
[#35]
deleted
|
|
|
USA
|
[Last Edit: patrad]
[#36]
deleted
|
|
|
USA
|
[Last Edit: patrad]
[#37]
deleted
|
|
|
USA
|
[Last Edit: patrad]
[#38]
deleted
|
|
|
IL, USA
|
[#39]
Added shelving to the back of my bench!

now I have bins for.... stuff..... dunno what stuff, but the options there! |
|
|
WV, USA
|
[Last Edit: Motor1]
[#40]

My first "photobucket" photo. And first phpto posted on AR 15.com My bench. The photo is a little dated but not much. Of course what you see is only part of the "mess" Oh just noticed. No Charge Master 1500. Got it that year for Christmas. |
|
|
|
[#41]
Check it out, my reloading house.

Powder in kitchen cabinets. 
|
|
|
|
IL, USA
|
[#42]
Just finally got everything completed. I am a very happy reloader!

|
|
|
|
[#43]
Nice bench and cabinets!
|
|
|
|
IL, USA
|
[#44]
Thanks! The cabinets couldn't be stripped and stained to match eveything else because of the veneer but they did come from our local military base so they are definitely milspec! lol
|
|
|
AZ, USA
|
[#45]
this shows the stages of building my bench
|
|
|
MI, USA
|
[#46]
Here is mine. First is reloading bench second is gunsmithing bench.


|
|
|
|
[#47]
Originally Posted By Rogue35:
Just finally got everything completed. I am a very happy reloader! http://i75.photobucket.com/albums/i298/Rogue3376/photobucket-41016-1346771255510.jpg?t=1346771256 Your reloading room is the same color as my new reloading room!!!! My phone pic makes it look a little different 
Uploaded with ImageShack.us, |
|
|
|
IL, USA
|
[#48]
That's a nice set up you have there! My wife has some say in the color of the room as she uses another portion of it. I wanted the color darker than what was picked out. I do like it though.
|
|
|
KY, USA
|
[Last Edit: bluegrass_uk]
[#49]
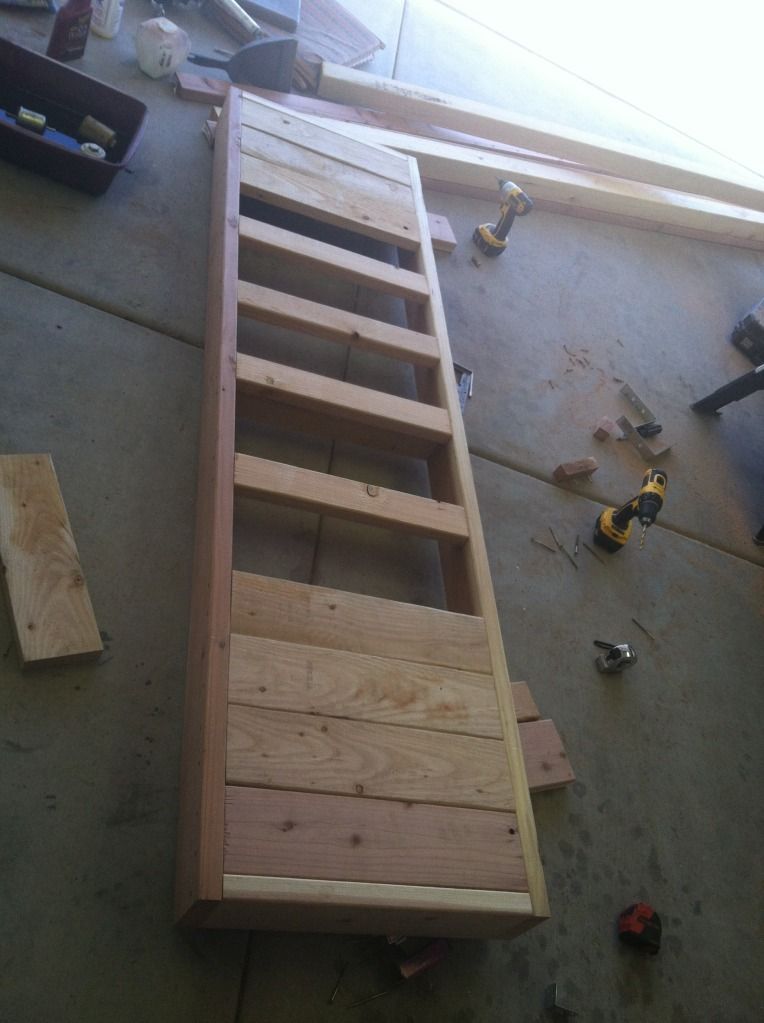
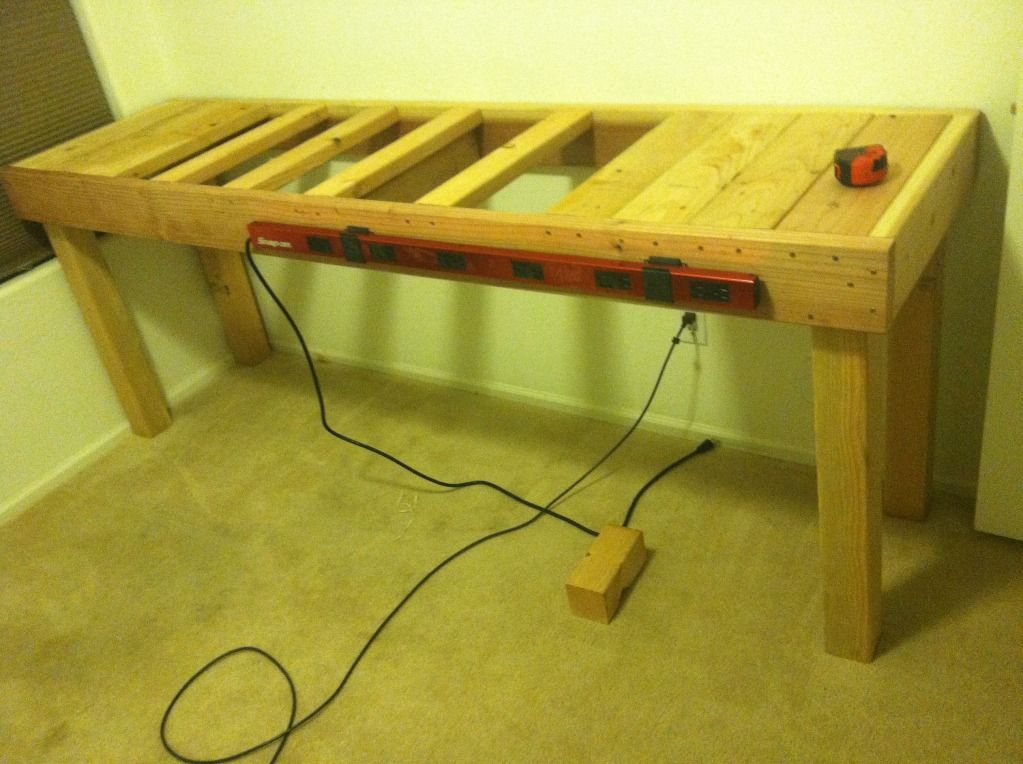
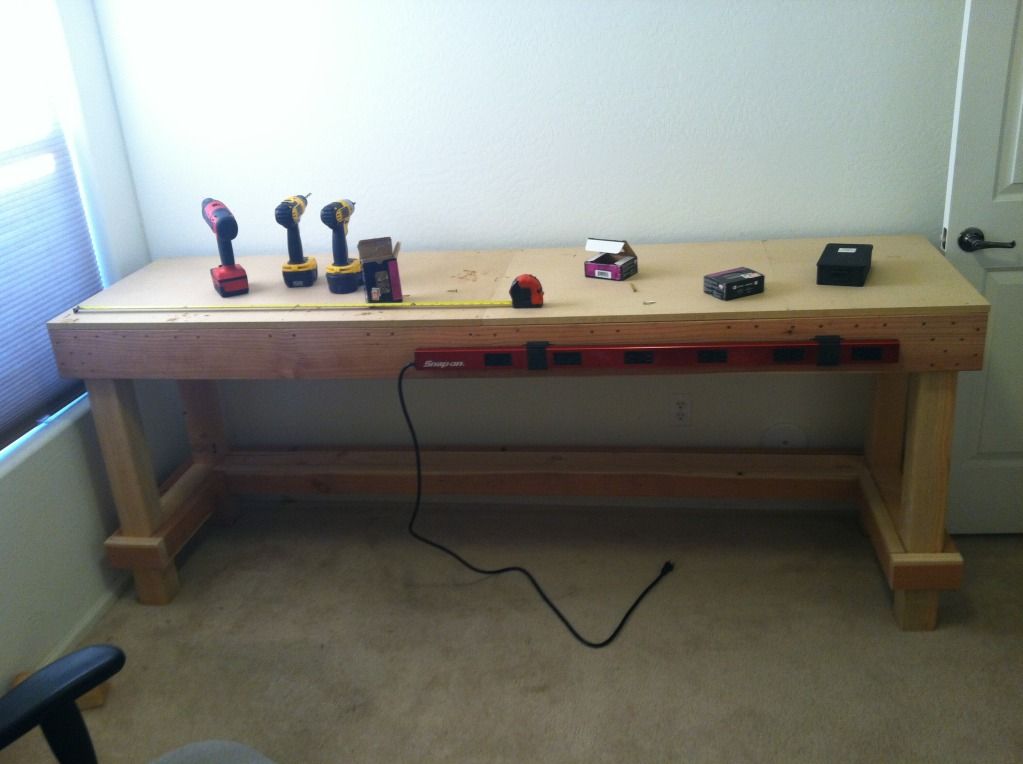
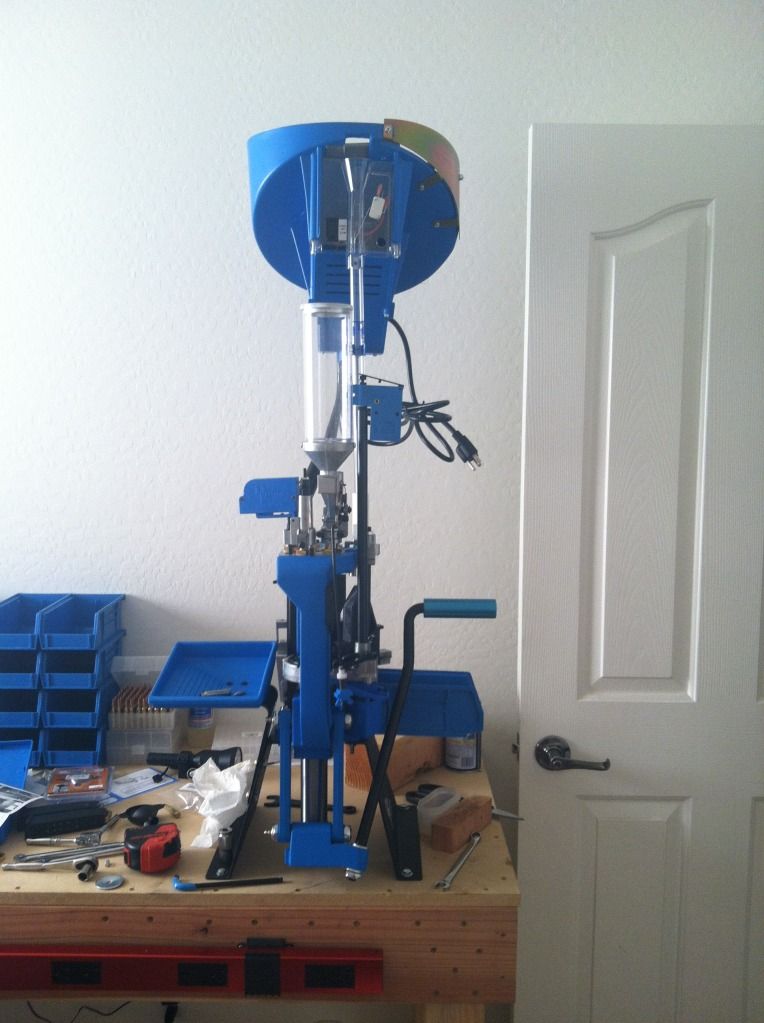
Okay, here is my take on the reloading "bench". I prefer to keep my bench clear for multiple projects and have a removable, clampable, single stage setup. When I got the LNL AP I wanted a standalone mount that was completely solid. Got some heavy duty shelving brackets and tapcons and set this up in the garage:
The idea is that it can be removed for a while if needed. There are some large wing nuts that secure the press bolts. https://lh5.googleusercontent.com/-JOGrY7Cex8w/UEq0q8WPe2I/AAAAAAAAAFE/v_u-G6tZrgQ/s800/DSC_3342.JPG https://lh5.googleusercontent.com/-wRHyJdZ7c6Q/UEq0nP12OtI/AAAAAAAAAE0/VRRiAhldDAc/s800/DSC_3343.JPG https://lh4.googleusercontent.com/-Ul2FlAE2suI/UEq0x7FiP-I/AAAAAAAAAFM/-Gahc8Nynxk/s800/DSC_3352.JPG Also, the bench is a great general purpose/reloading bench and a lot of fun to make if you have some basic tools. Here is the link to the instructions and you can find instructional videos on Season 2 of Getting Started in Wordworking. Wordworking Bench Plan Link |
|
|
|
[#50]
Originally Posted By bluegrass_uk: Okay, here is my take on the reloading "bench". I prefer to keep my bench clear for multiple projects and have a removable, clampable, single stage setup. When I got the LNL AP I wanted a standalone mount that was completely solid. Got some heavy duty shelving brackets and tapcons and set this up in the garage: The idea is that it can be removed for a while if needed. There are some large wing nuts that secure the press bolts. https://lh5.googleusercontent.com/-JOGrY7Cex8w/UEq0q8WPe2I/AAAAAAAAAFE/v_u-G6tZrgQ/s800/DSC_3342.JPG https://lh5.googleusercontent.com/-wRHyJdZ7c6Q/UEq0nP12OtI/AAAAAAAAAE0/VRRiAhldDAc/s800/DSC_3343.JPG https://lh4.googleusercontent.com/-Ul2FlAE2suI/UEq0x7FiP-I/AAAAAAAAAFM/-Gahc8Nynxk/s800/DSC_3352.JPG Also, the bench is a great general purpose/reloading bench and a lot of fun to make if you have some basic tools. Here is the link to the instructions and you can find instructional videos on Season 2 of Getting Started in Wordworking. Wordworking Bench Plan Link Now that is different, press mounted to the wall. I was thinking you were a fellow woodworker when I saw the nice looking bench and the vice on the far end of your bench. I love this thread.
|
|
|
|
 Win a FREE Membership!
Sign up for the ARFCOM weekly newsletter and be entered to win a free ARFCOM membership. One new winner* is announced every week!
You will receive an email every Friday morning featuring the latest chatter from the hottest topics, breaking news surrounding legislation, as well as exclusive deals only available to ARFCOM email subscribers.

AR15.COM is the world's largest firearm community and is a gathering place for firearm enthusiasts of all types.
From hunters and military members, to competition shooters and general firearm enthusiasts, we welcome anyone who values and respects the way of the firearm.

Subscribe to our monthly Newsletter to receive firearm news, product discounts from your favorite Industry Partners, and more.
Copyright © 1996-2024 AR15.COM LLC. All Rights Reserved.
Any use of this content without express written consent is prohibited.
AR15.Com reserves the right to overwrite or replace any affiliate, commercial, or monetizable links, posted by users, with our own.


