|
Posted: 12/9/2016 1:34:42 AM EDT
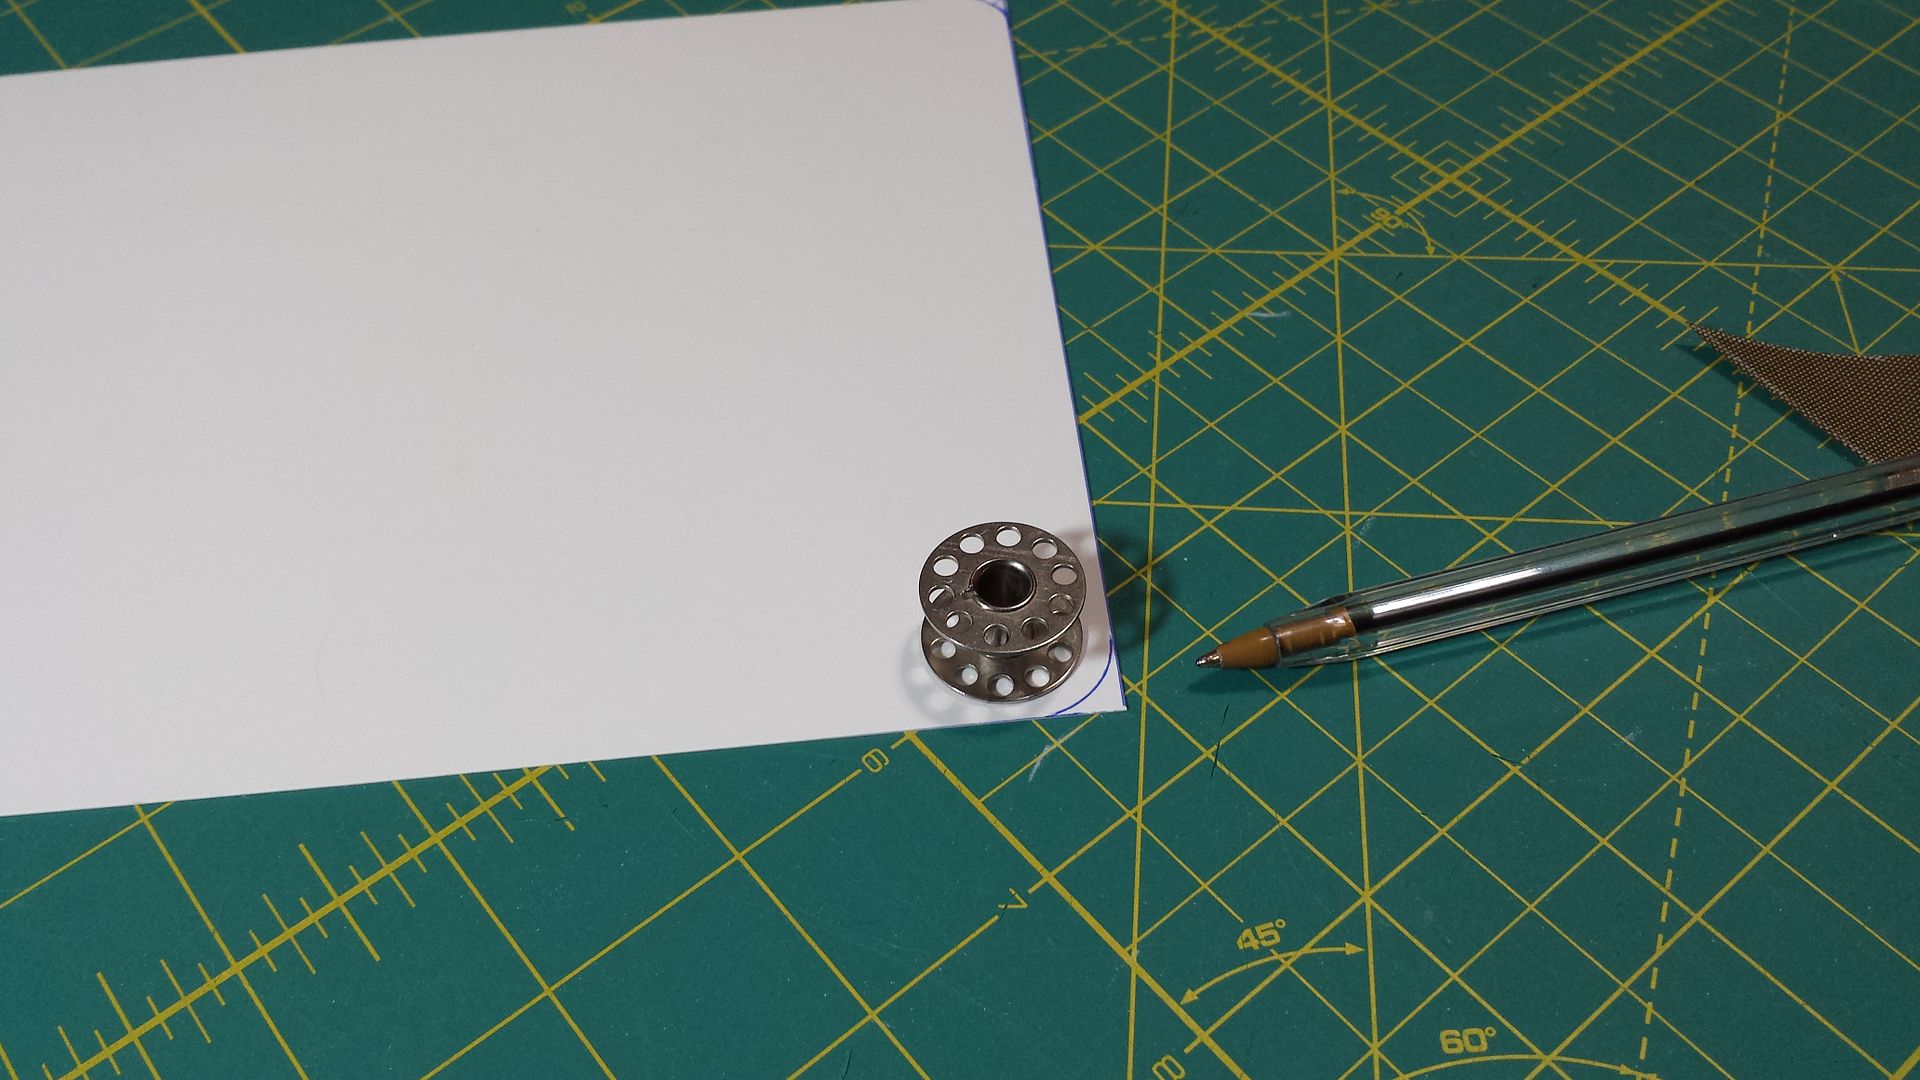
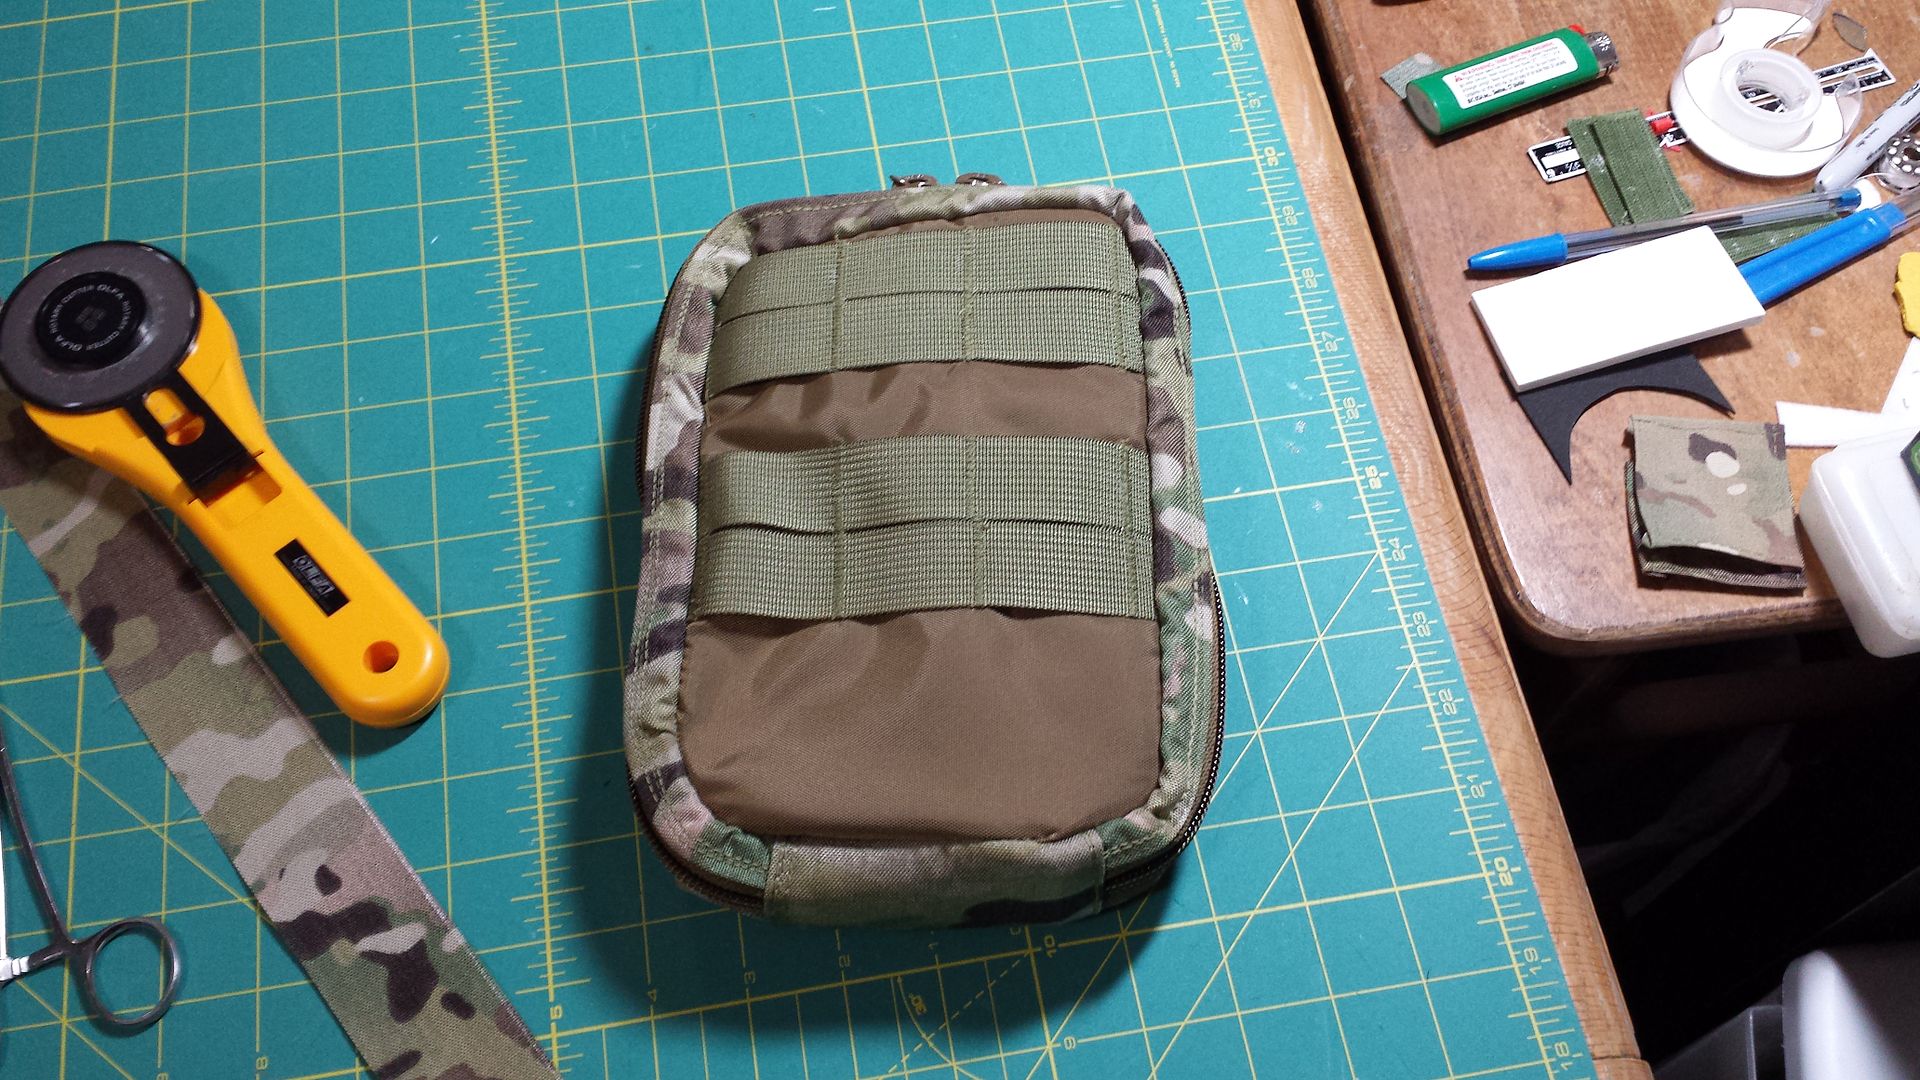
Just finished these up. There are a lot of the flatwork steps skipped, but should be easy enough to figure out.
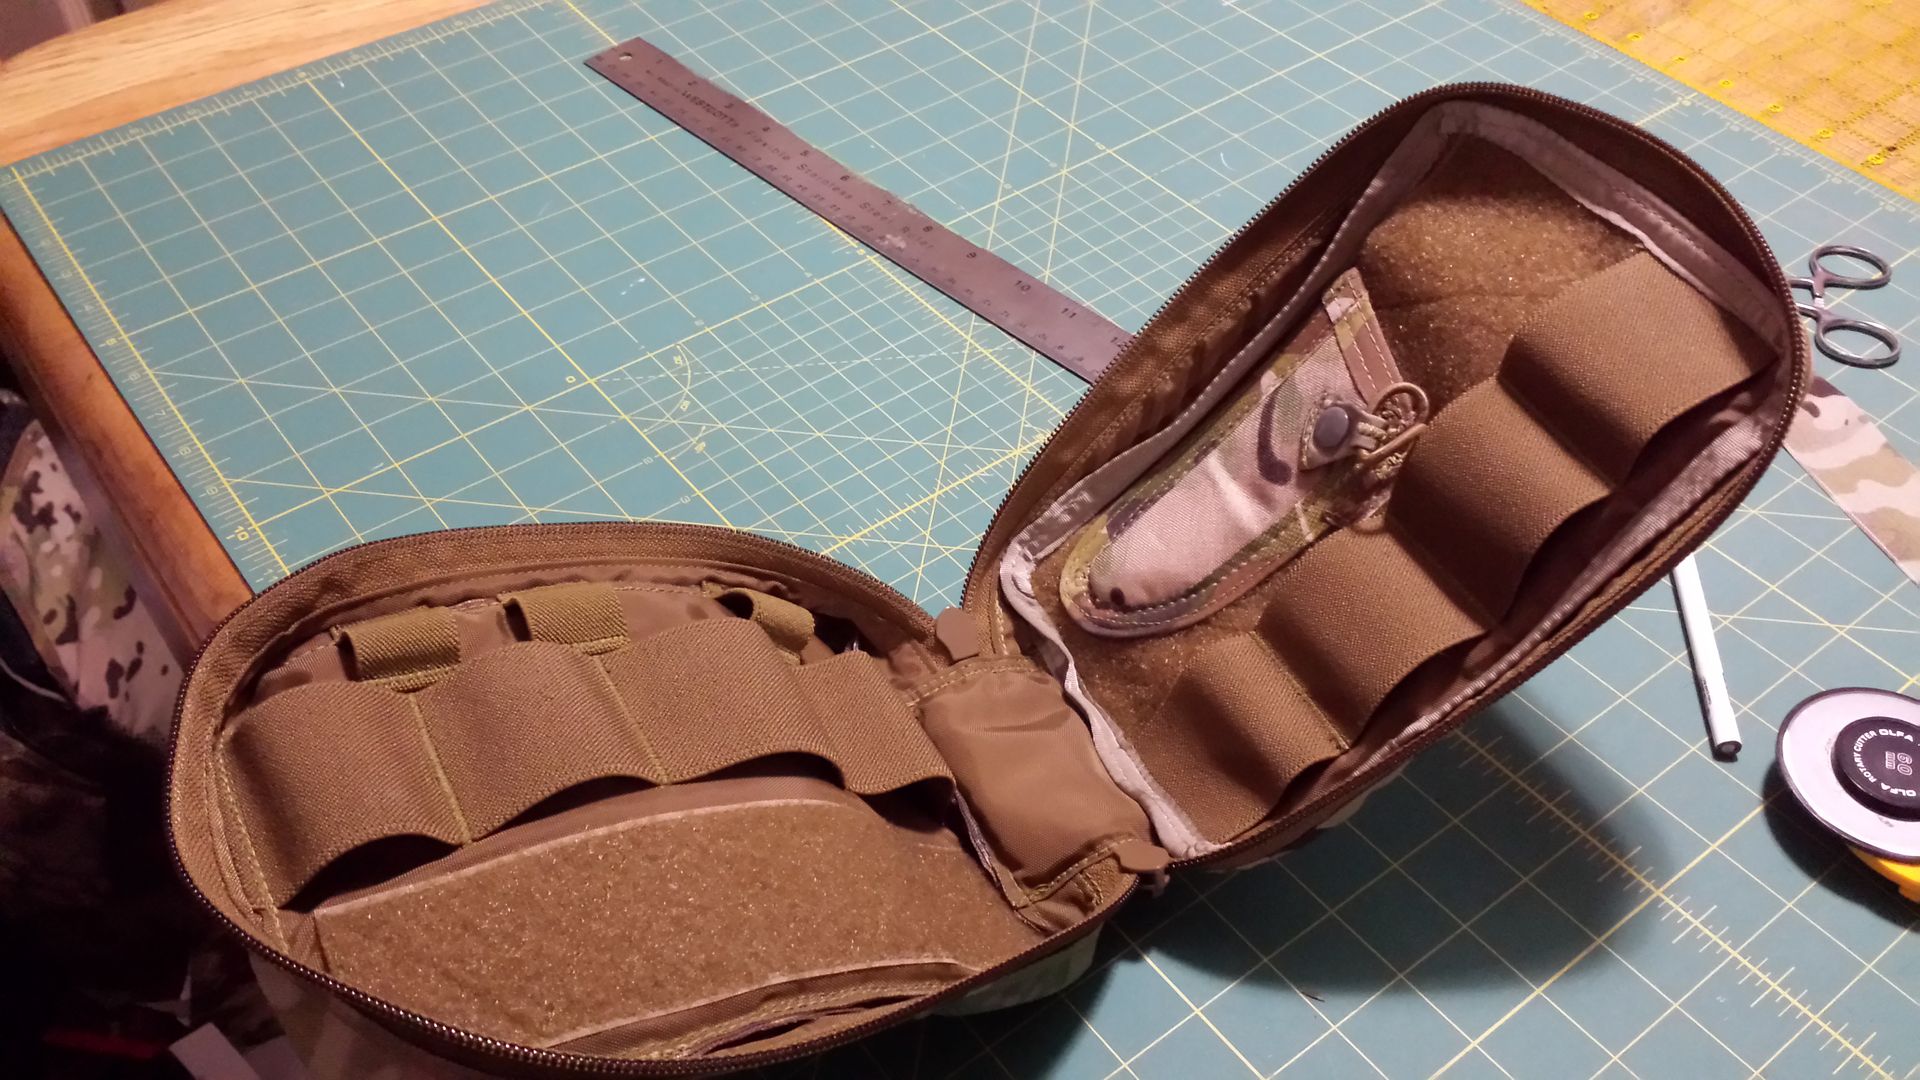
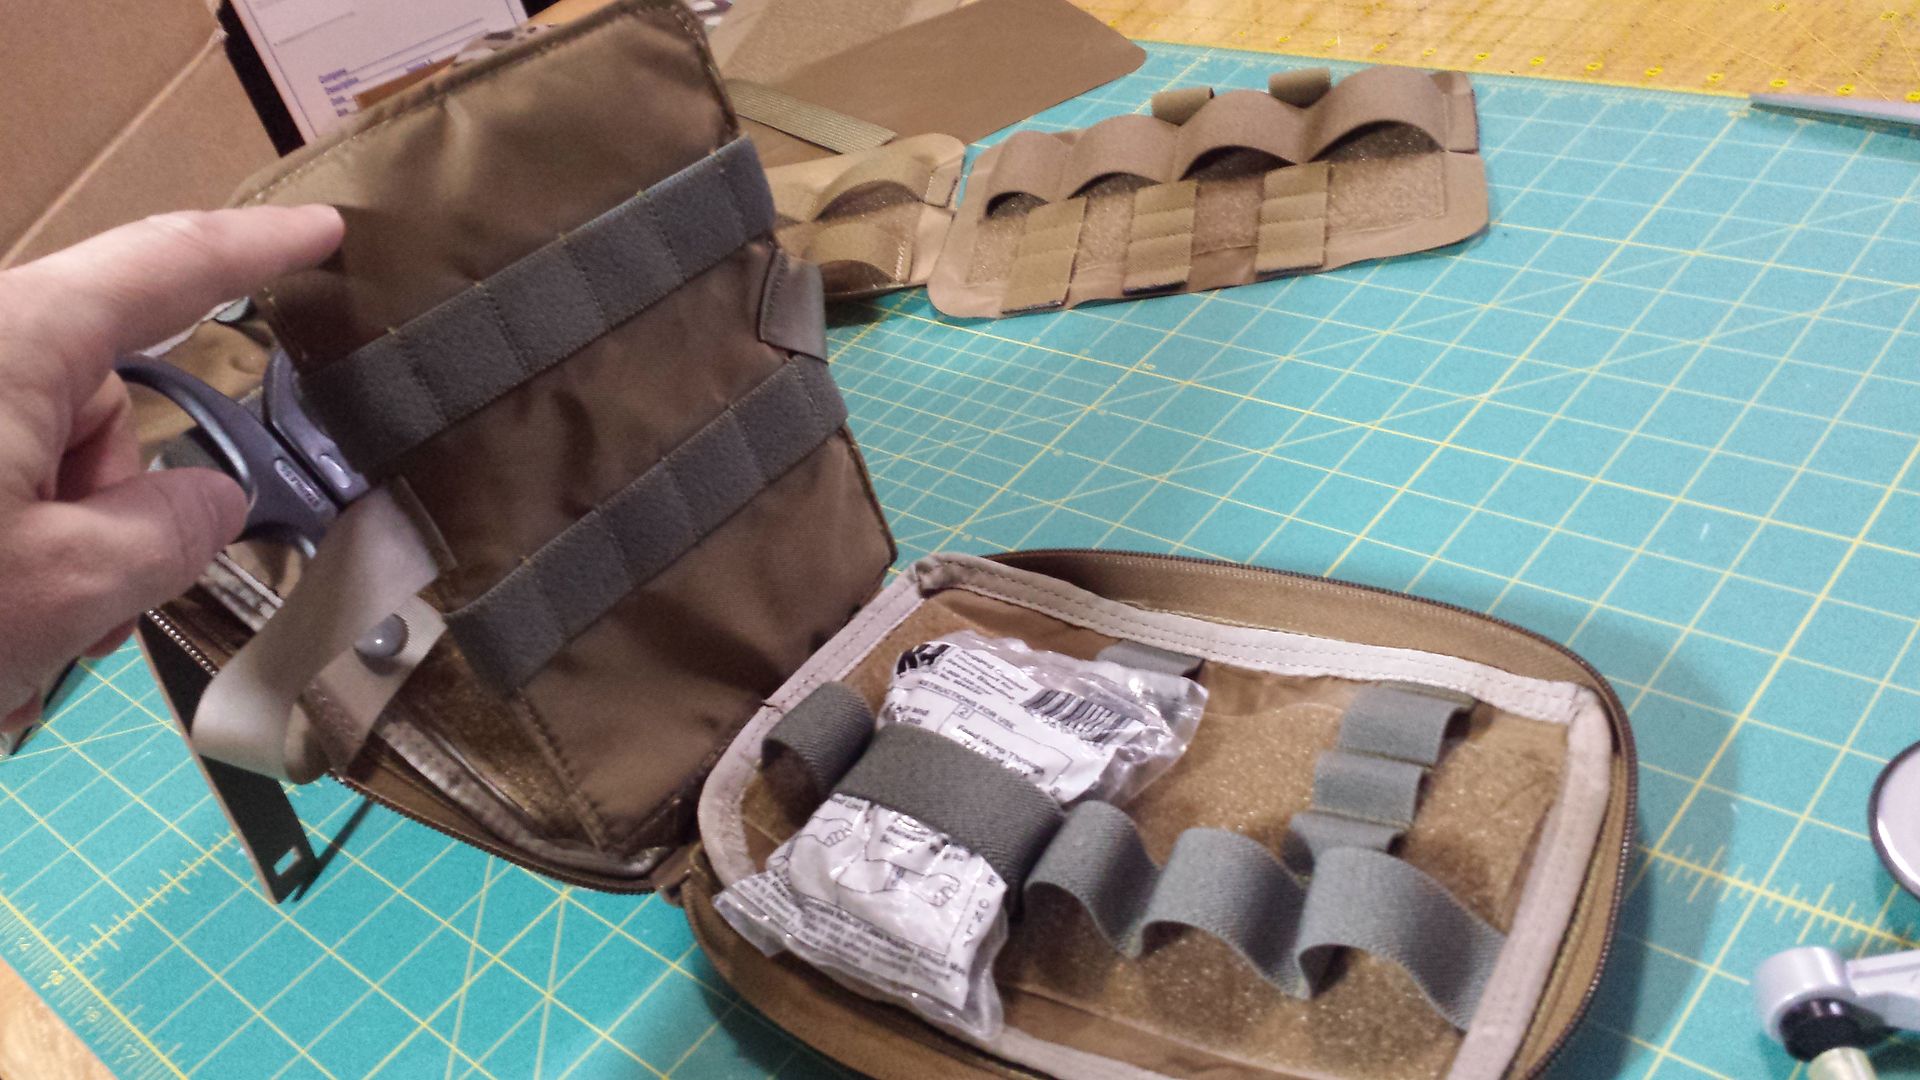
Notice there are 3 layers, so you have Cordura on the outside, padding, then pack cloth inner layer that all the elastic and internal stowage is sewn to. It's basically a mini blow-out pouch for immediate bleeders and perforating injuries. 


|
|
|
|
|
[#1]
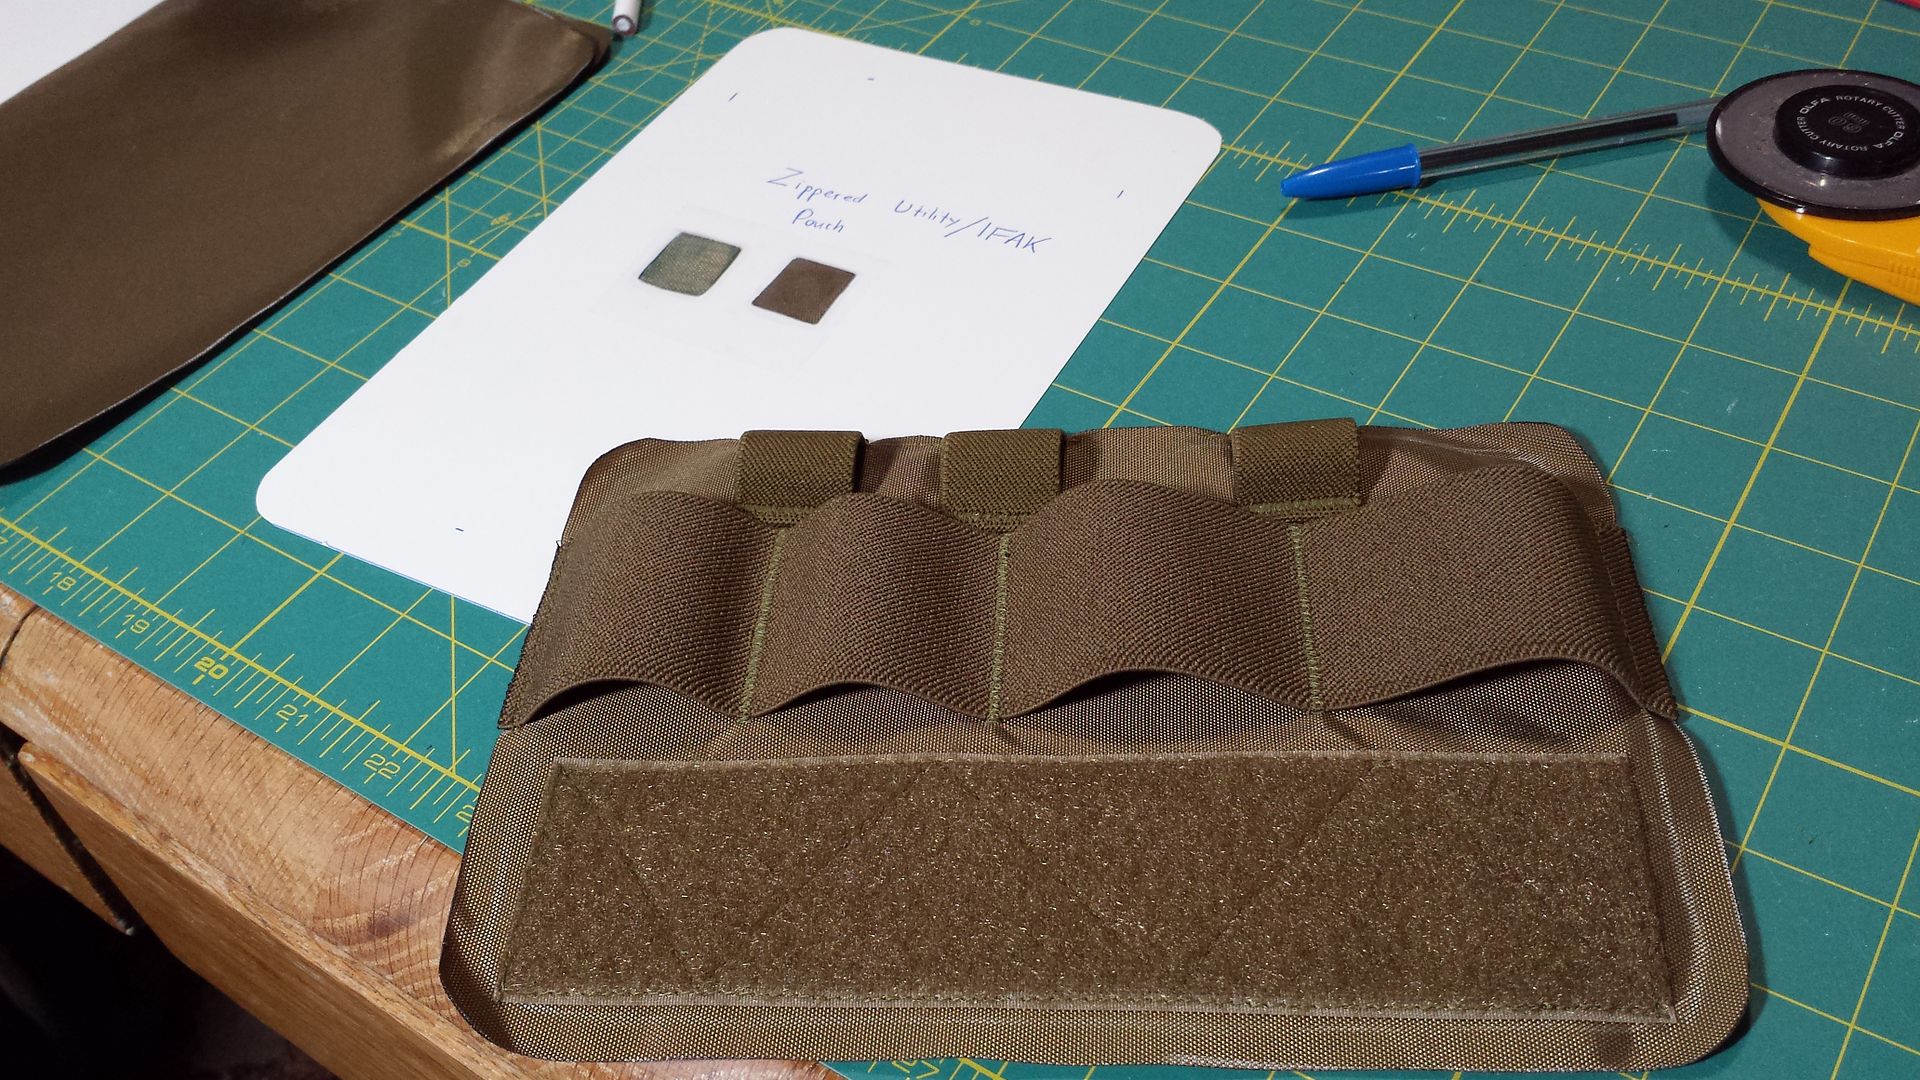
Here's another one. If anyone with TCCC, SOCM/SFMS, or Combat Medic backgrounds has input, I would like to hear it.
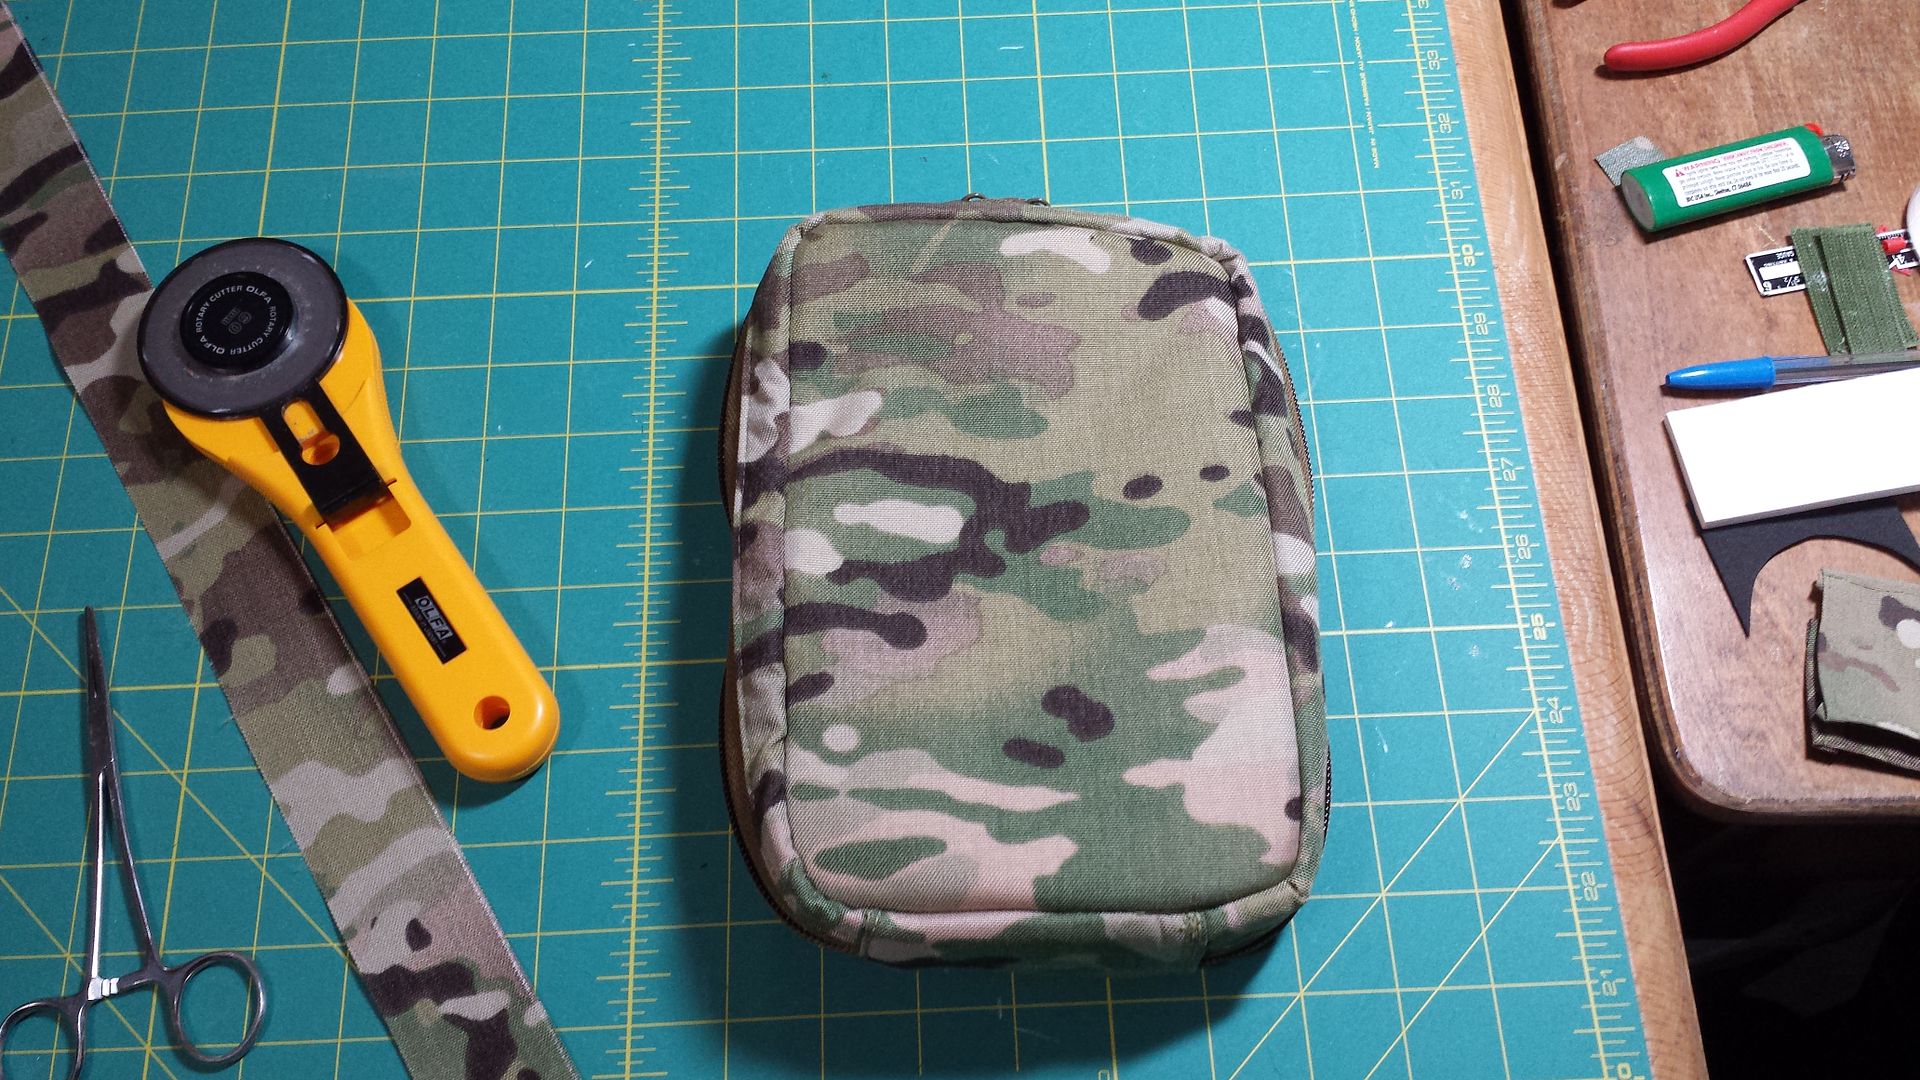
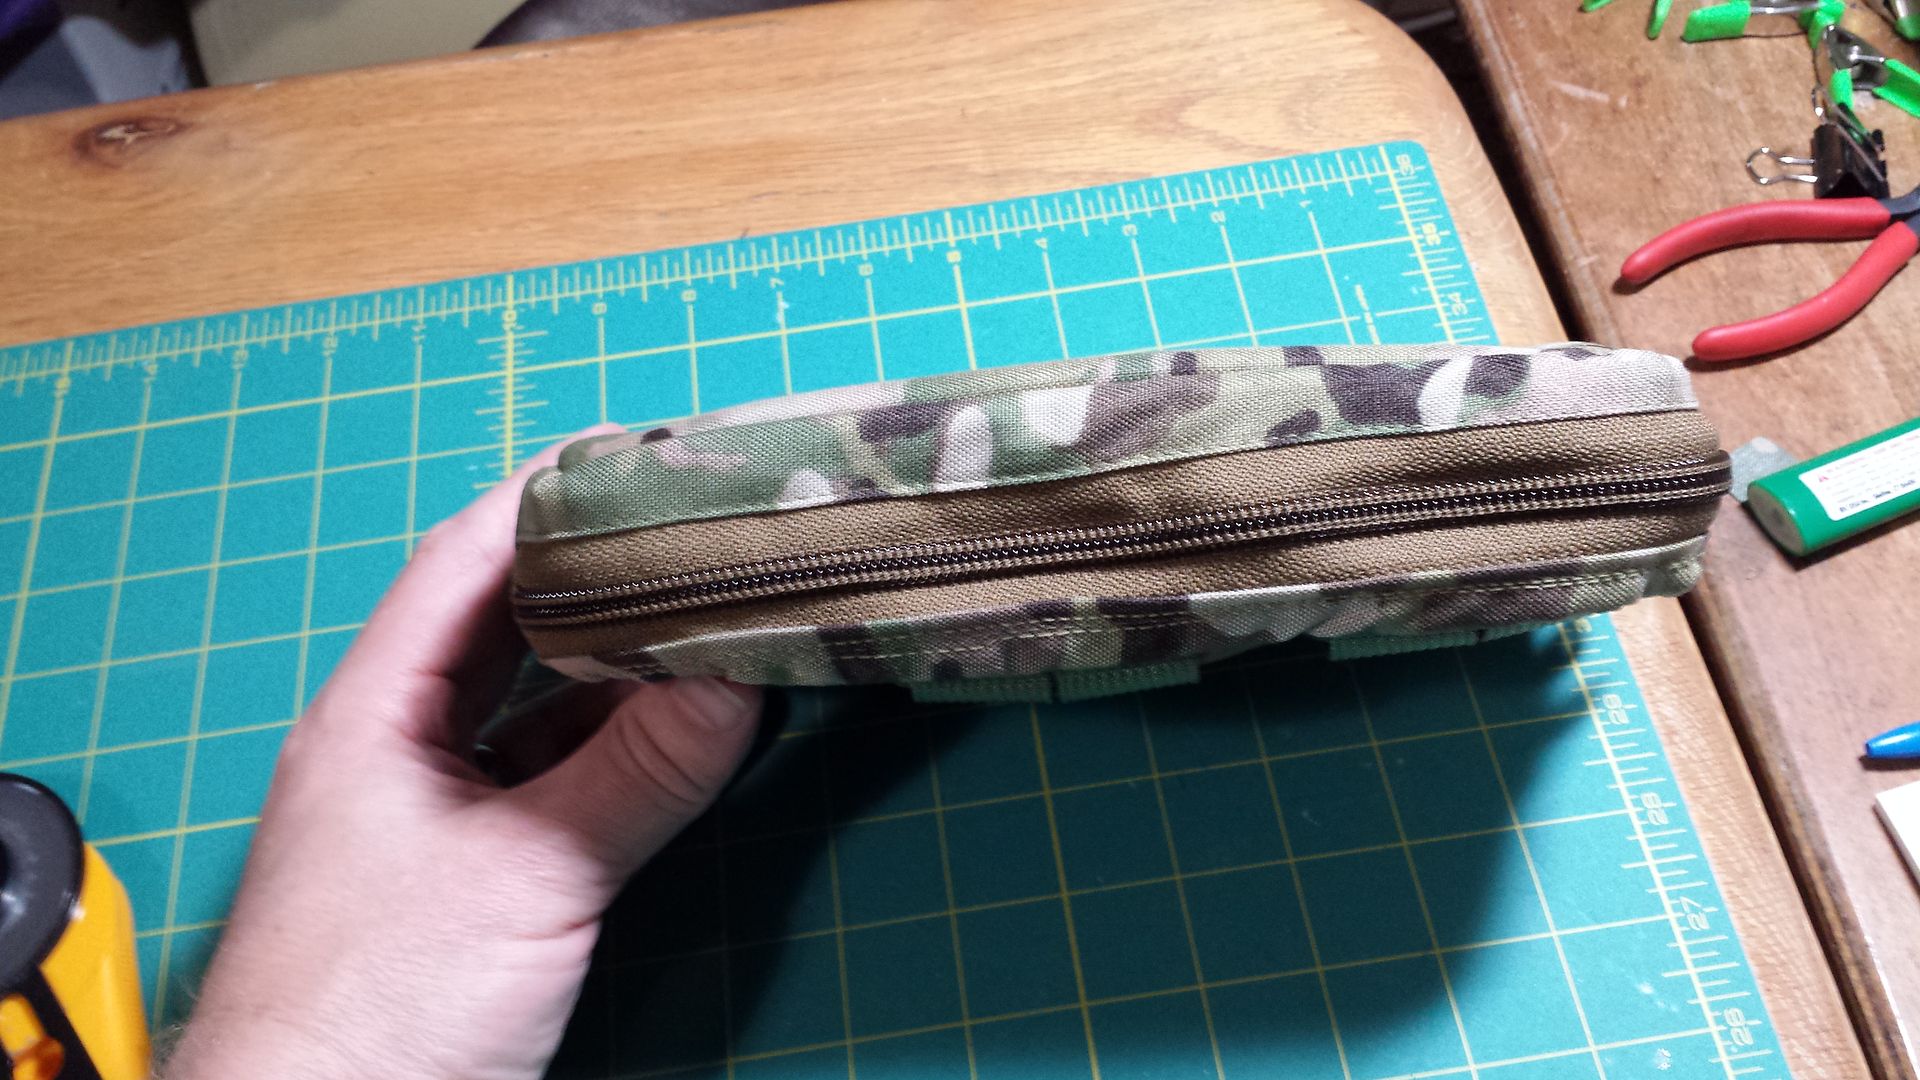
I've looked at some of the IFAKs on the market, and wanted something that would accommodate chest seals, lots of Ace wraps and gauze, plus IV starters and some instruments for a good bleeder kit. There's a lot of room in this to pack most of what you could think of needing for a comprehensive bleeder kit, but it still packs tight and close to your kit without protruding from your side. The flats are padded, with pack cloth liner and 500D Cordura on the outside, very lightweight still, but stiffer and more substantial than your common 1000D pouches even, with definite shape. 236 grams empty 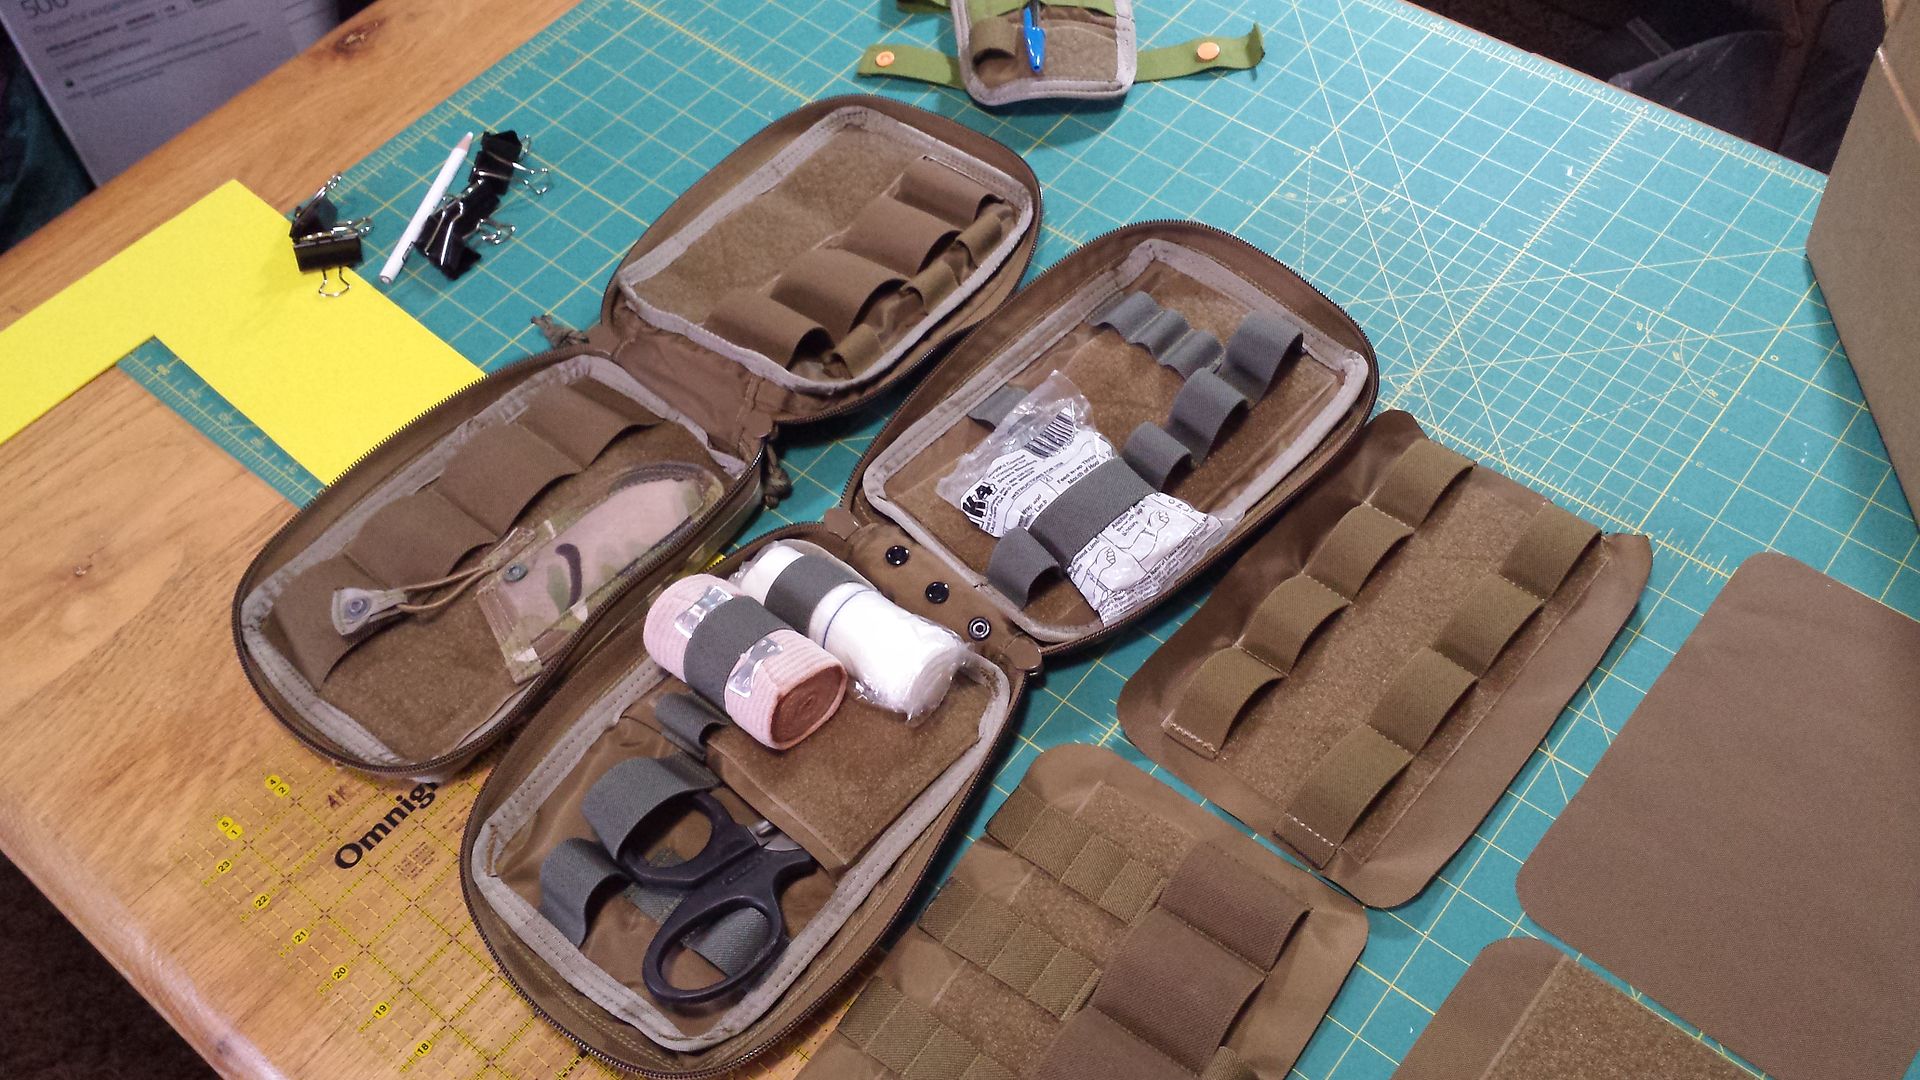
|
|
|
|
|
[#2]
Skilz, you has them.
|
|
|
|
|
[#3]
Originally Posted By KILLERB6:
Skilz, you has them. This. What kind of a sewing machine do you have? Do you market those or is it just a hobby? How about a step-by-step tutorial with shopping list and patterns? |
|
|
|
|
[#4]
I'm using 2 different machines on this.
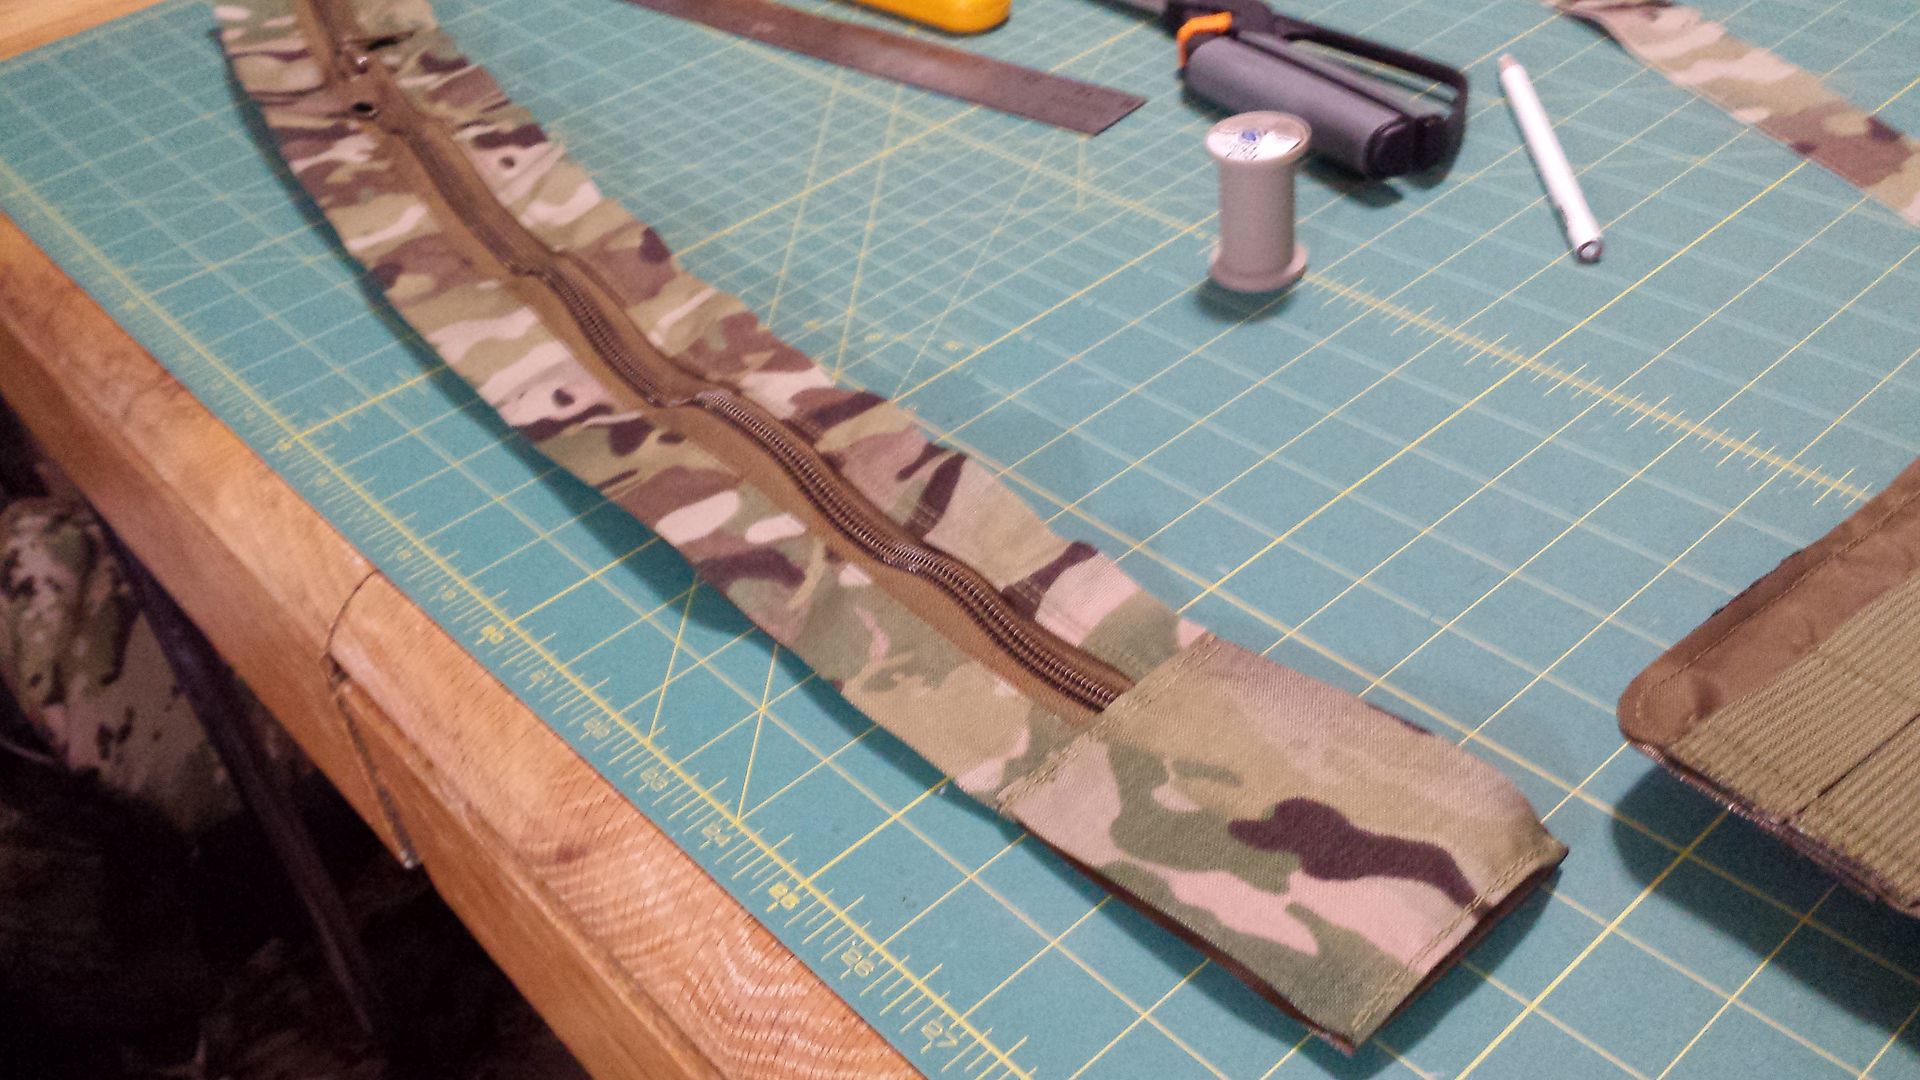
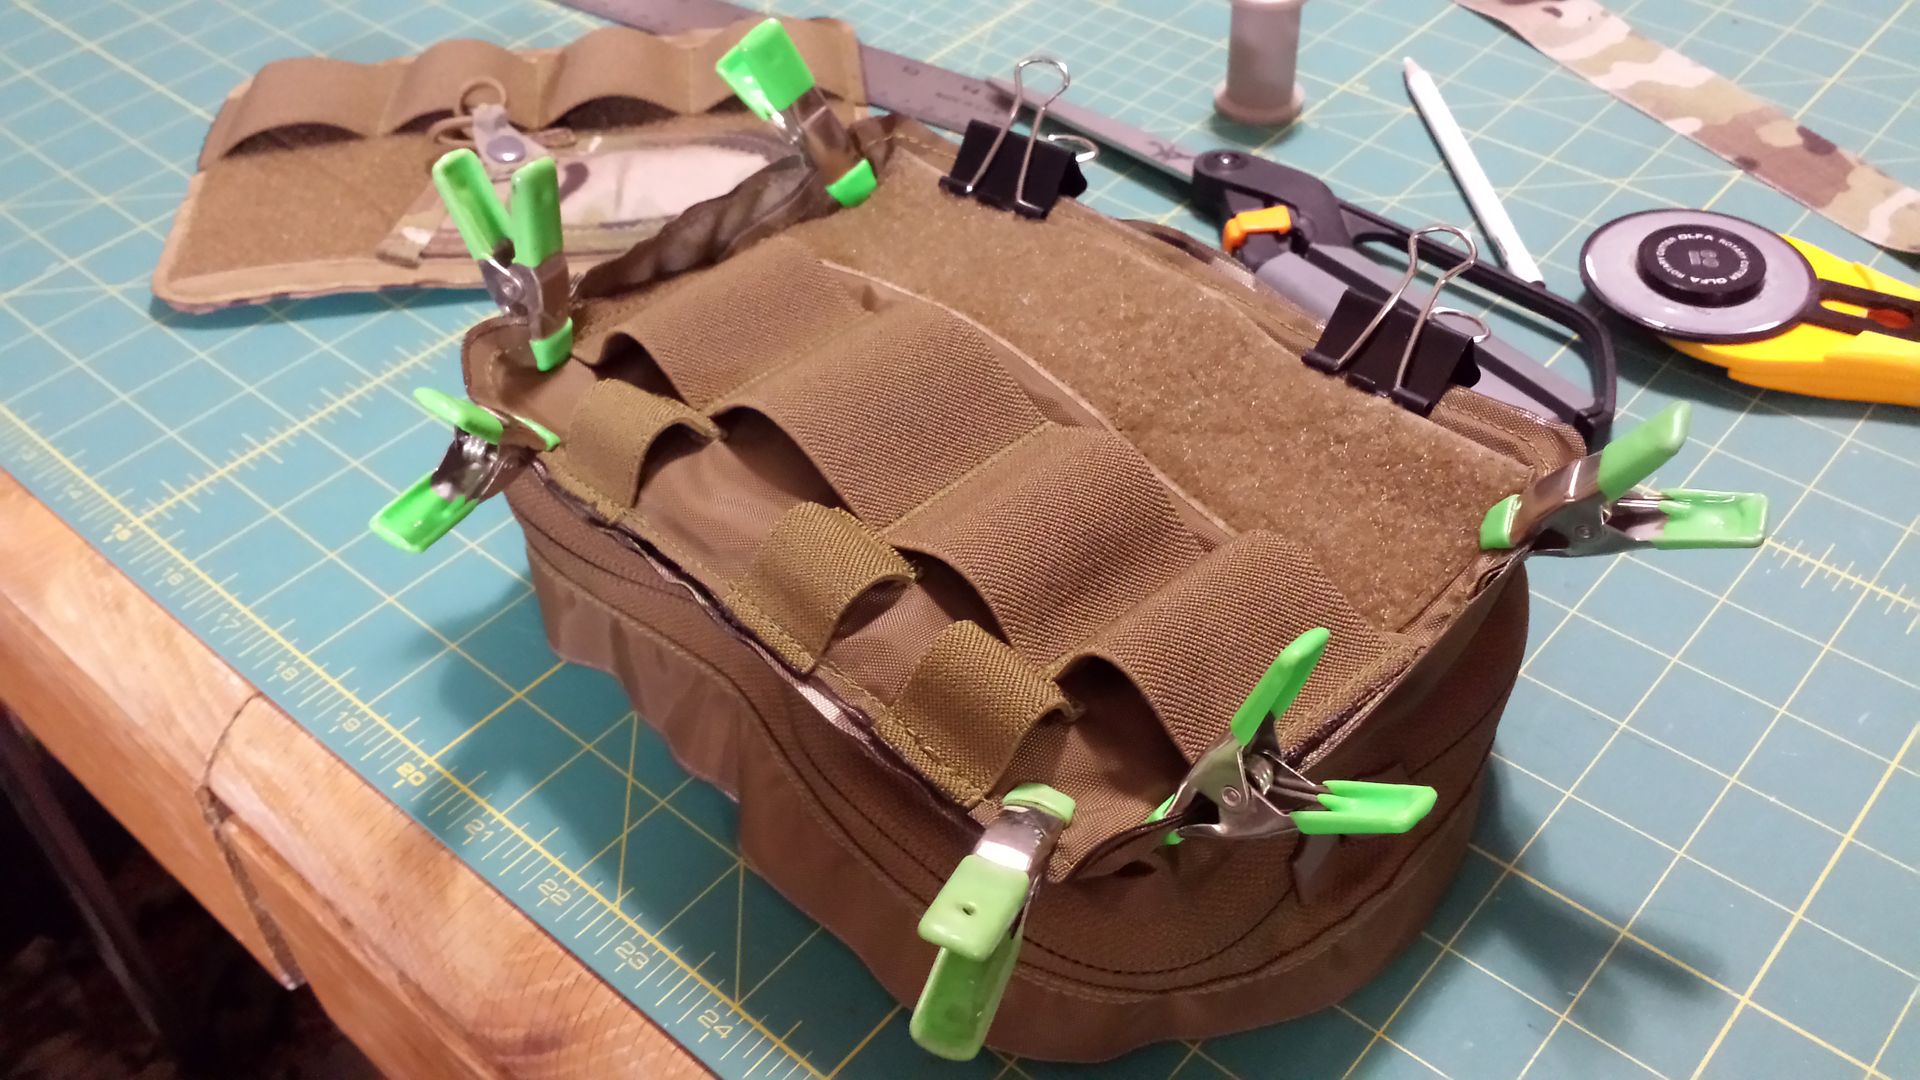
One is an all metal Kenmore for a lot of the flatwork and smaller operations like pile tape, bar-tacking the elastic, doing the zippers, and attaching the flats to each other. The other is my heavy duty Juki 1541S, which is used for the MOLLE webbing and binding tape. Flatwork: Trace patterns on materials Cut materials Sew pile tape for chit marker on outer Cordura panel, in this case, Multicam Sew pile tape on inner panels and pocket Sew elastic on inner panels, including the pocket If using the snap method with internal divider like on the 2nd pouch, install female snaps on inside of the chest seal/flat gauze pocket Sew MOLLE webbing to close-side outer layer taking seam allowance into consideration and final assembly stitch clearance for the top of the pouch Zipper work: Cut coil zipper by the yard with hot knife With wire cutters, snip pulls off and replace with 550 cord pulls or other quiet pull options Sew inner pack cloth layer strips on inside of zippers, then top stitch Sew outer Cordura layers strips on outside of zippers, then top stitch Attach center panels, inner and outer to zipper, insert padding between Assembly: Hot glue, fabric glue, or double-sided tape foam panels to inside of 2 of the flats Sew close-side MOLLE panel outer to inner panel with chest seal pocket, with foam in between Sew outer Cordura panel to outer inside panel with foam in between If doing the inner divider pouch, sew the divider 3 sides inside-out, then pull right-side out, insert foam, and top-stitch with final edge folded in and seal Rivet in the snaps in the center panel of the zipper for the center divider (removable) Sew binding tape, 550 cord, or shock cord tabs to the sides of the center divider as hangar control Rivet snaps or use attachment method of choice for the hangar lines (this one uses plastic snaps, with the females already attached back in the flat work to the chest seal pocket) Mock-up the finished panels and zipper panel with clamps, inside-out, centering on the zipper at the bottom Stitch the outside together Run binding tape over it You're done They are actually kinda fun to make, right up until the binding, unless you have a right angle tape binder. I'm looking at getting one of those set up. |
|
|
|
|
[#5]
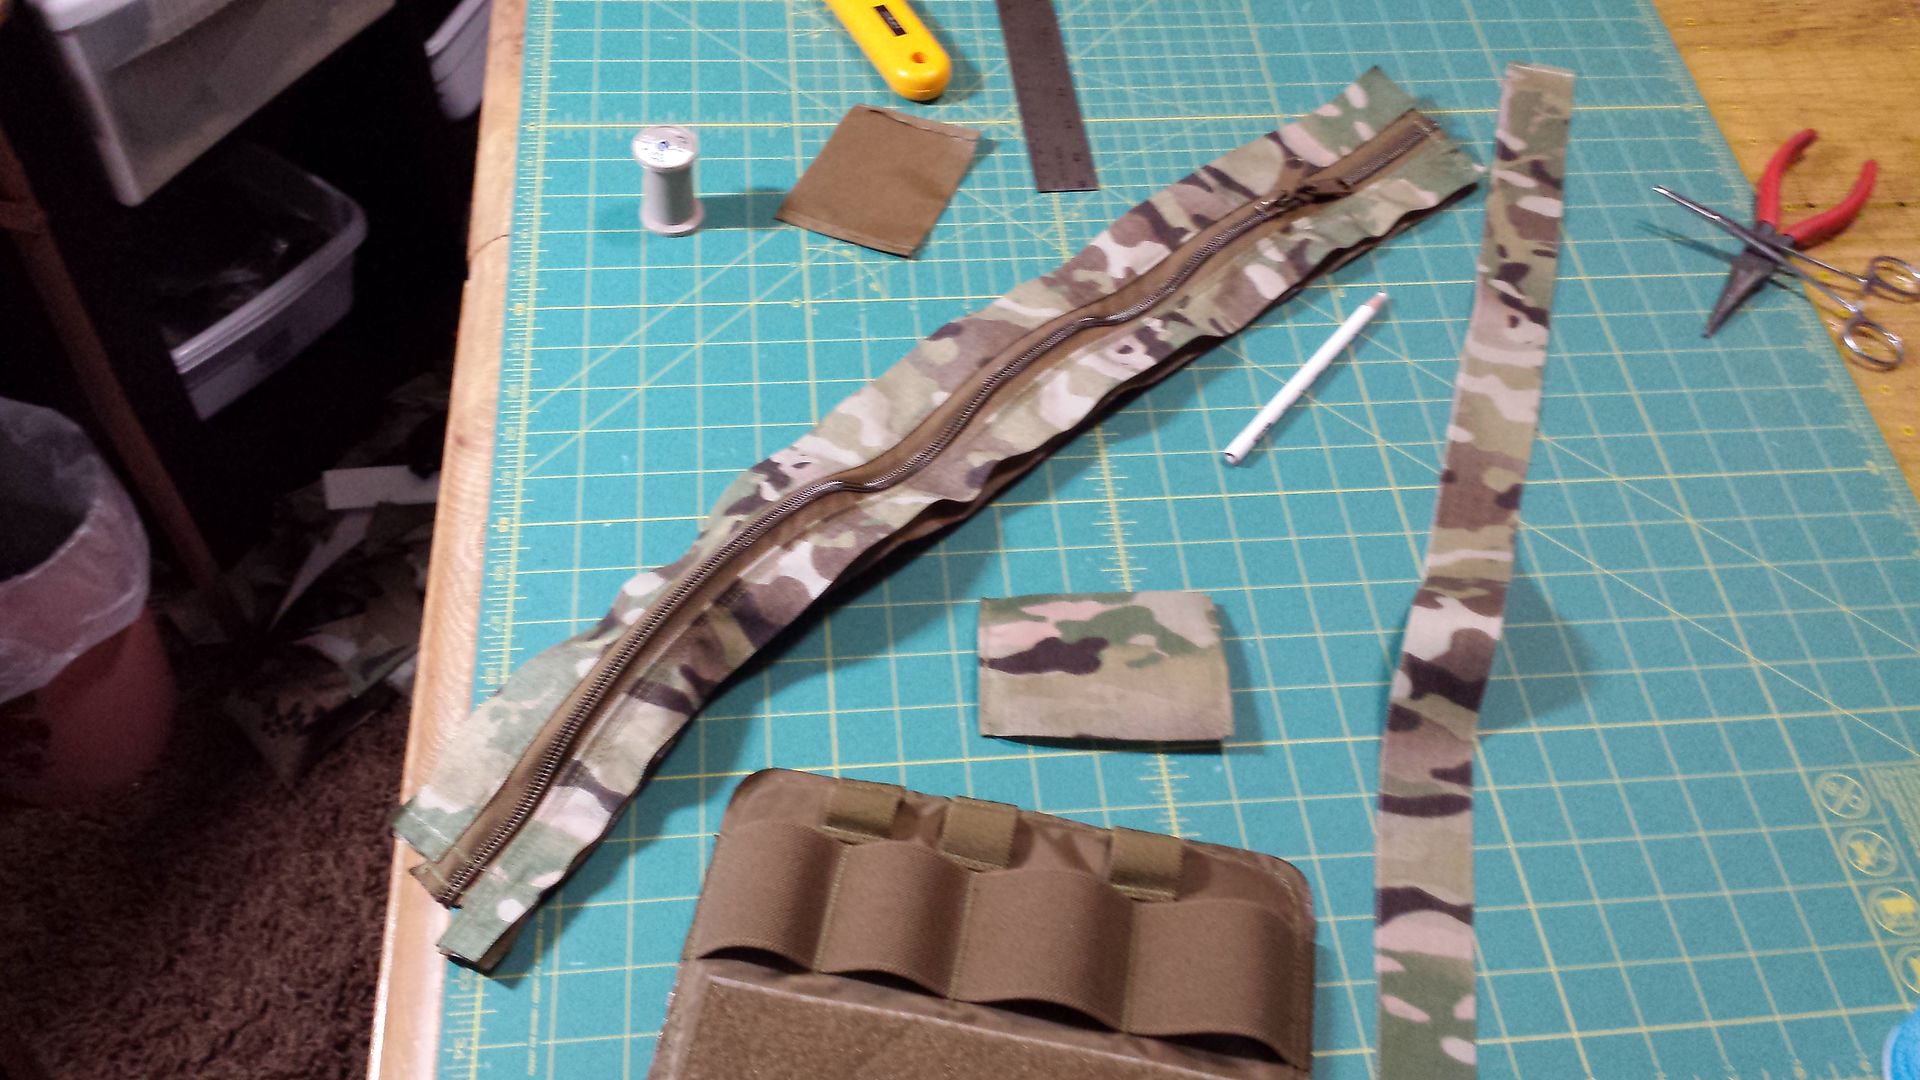
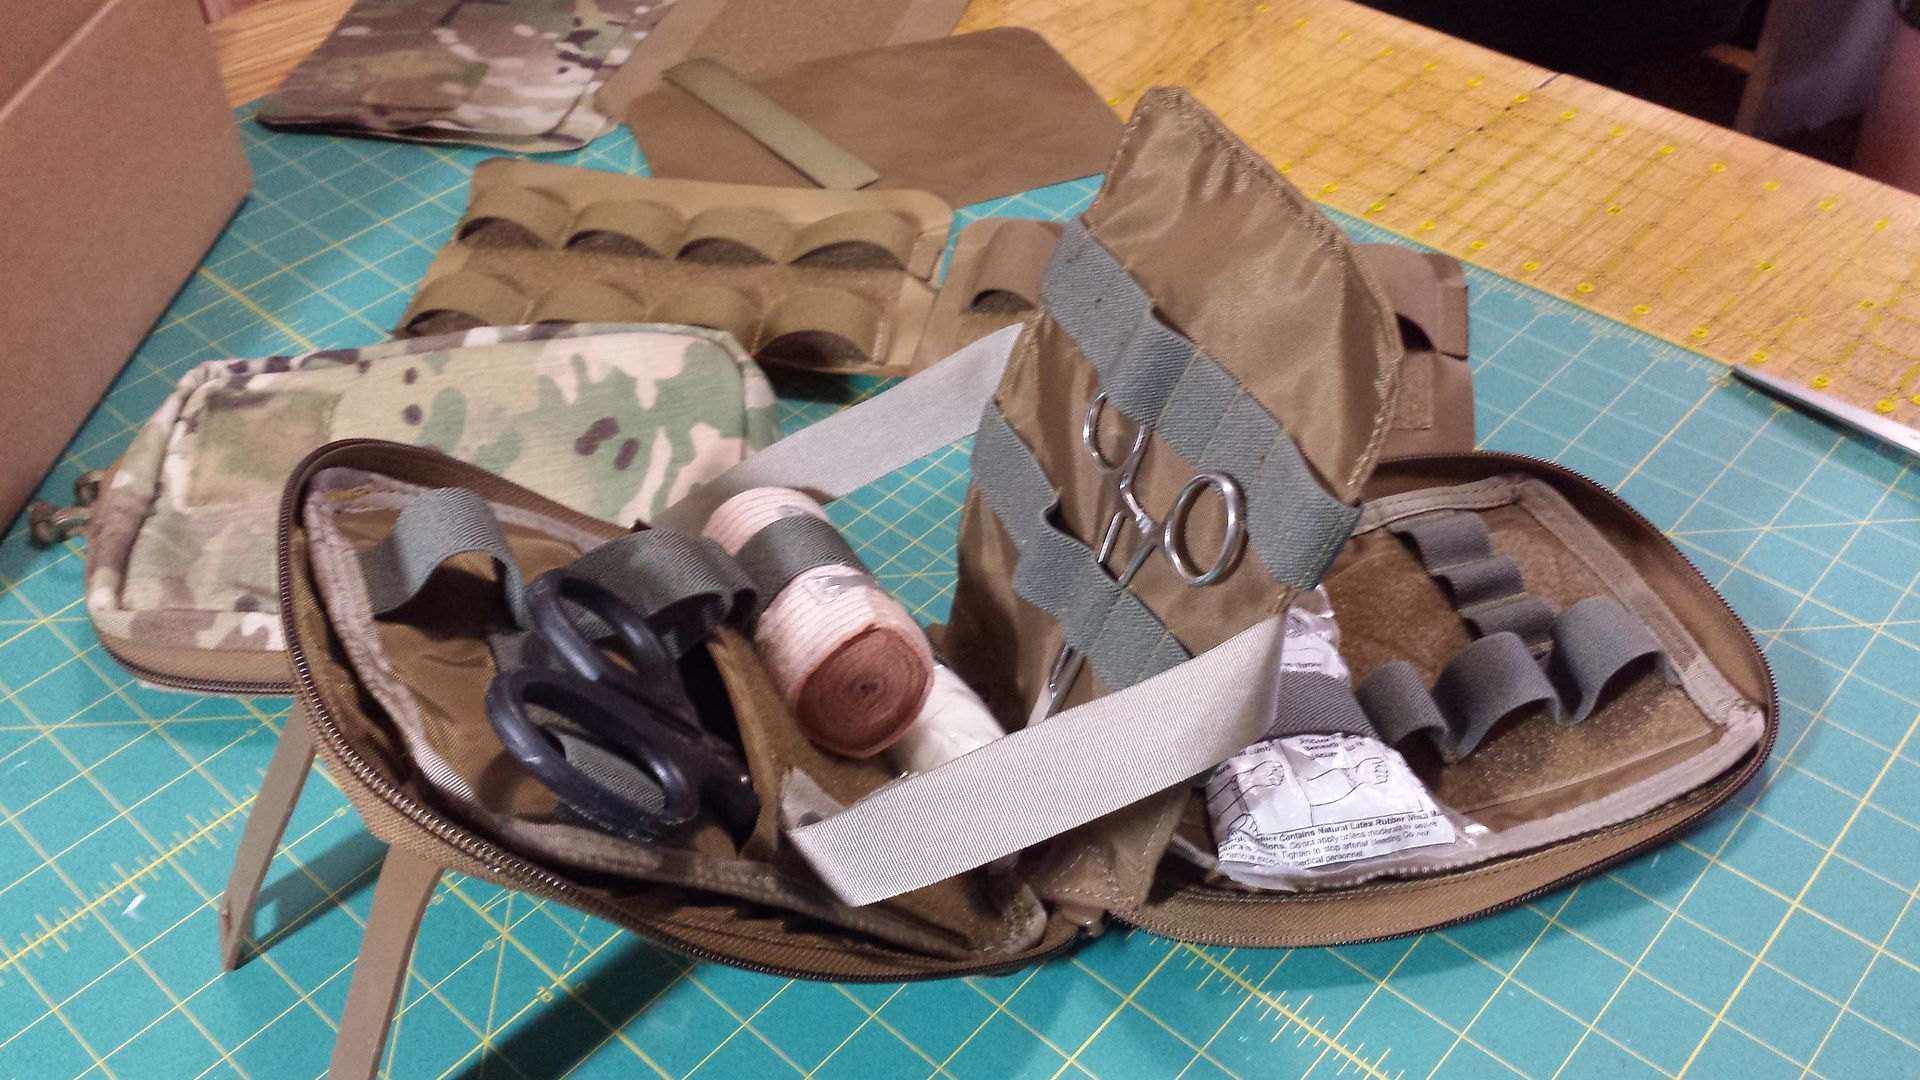
I didn't like how fat the 1" tape was for the hangars, so I folded it over and zig-zagged it.
I would use 550, thinner tape, or something else that is slimmer in the future. I've seen some pouches that use shock cord and barrelocks, but I don't want that many loose ends flapping around inside. I just want to be able to unzip, reach in, and grab what I need. 
|
|
|
|
|
[#6]
That's awesome. I doubt my Viking machine could handle that.
So, when will you start offering classes for us locals? |
|
|
|
|
[#7]
Originally Posted By medicmandan:
That's awesome. I doubt my Viking machine could handle that. So, when will you start offering classes for us locals? We should organize something locally for medical training some time. I need a TCCC refresher bigtime. It's one of the most neglected and overlooked skill sets, and could be an excellent opportunity to introduce the younger generations to independent thinking, self-reliance, and then pull them over to the dark side of the force. |
|
|
|
|
[#8]
Originally Posted By LRRPF52:
We should organize something locally for medical training some time. I need a TCCC refresher bigtime. It's one of the most neglected and overlooked skill sets, and could be an excellent opportunity to introduce the younger generations to independent thinking, self-reliance, and then pull them over to the dark side of the force. I teach PHTLS and PHTLS for First Responders but not TCCC. My mom raised us to be pretty independent so I can do the basics on a sewing machine but would love to learn to do things like this. |
|
|
|
|
[#9]
Looks good. Step by step would be nice but I can only imagine how much of a headache that would be to document. How long does it take you to make a pouch like these?
Originally Posted By LRRPF52:
We should organize something locally for medical training some time. I need a TCCC refresher bigtime. It's one of the most neglected and overlooked skill sets, and could be an excellent opportunity to introduce the younger generations to independent thinking, self-reliance, and then pull them over to the dark side of the force. In. |
|
|
|
|
[#10]
It takes maybe a day if you only did one.
There is a bit of cutting. Flat work starts with MOLLE on the back panel, elastic on the internals. Then place the padding on the insides, sew the outsides to the insides. Do the zipper flats, which involve 2 inner strips of pack cloth, 2 outer strips (Cordura camo pattern of choice to match the outer panel), then the zipper center pieces for the bottom, which also has padding in it. Mock up the assembled zipper to one of the panels inside-out, using clips. Sew those together. Then do the final panel to the other side of the zipper, inside-out. Then run those seams through the binder. Sew the center panel in and attach the 550 hangar. That's a simplistic overview of course. I use double-sided tape to hold flatwork in place on these. Some use hot glue guns. Others use fabric glue. There is prep work for the zippers, removing the metal pulls, tying in the 550 pulls, setting up the slides onto the coil, melting the coil ends with your hot knife, etc. Some companies like to use a size larger pull and put them on with the coils on the inside of the pouch, so you get a smoother fit and finish, with more water repellant properties. |
|
|
|
 Win a FREE Membership!
Sign up for the ARFCOM weekly newsletter and be entered to win a free ARFCOM membership. One new winner* is announced every week!
You will receive an email every Friday morning featuring the latest chatter from the hottest topics, breaking news surrounding legislation, as well as exclusive deals only available to ARFCOM email subscribers.

AR15.COM is the world's largest firearm community and is a gathering place for firearm enthusiasts of all types.
From hunters and military members, to competition shooters and general firearm enthusiasts, we welcome anyone who values and respects the way of the firearm.

Subscribe to our monthly Newsletter to receive firearm news, product discounts from your favorite Industry Partners, and more.
Copyright © 1996-2024 AR15.COM LLC. All Rights Reserved.
Any use of this content without express written consent is prohibited.
AR15.Com reserves the right to overwrite or replace any affiliate, commercial, or monetizable links, posted by users, with our own.


