Somnio.
Dimensions:
Width 24 inches , 25”(including clamp bar), 27” (with extensions attached to the clamp bar).
Depth 22 inches but 23” with clamp bar
Height 32.75 inches (floor to top including locking castor’s)
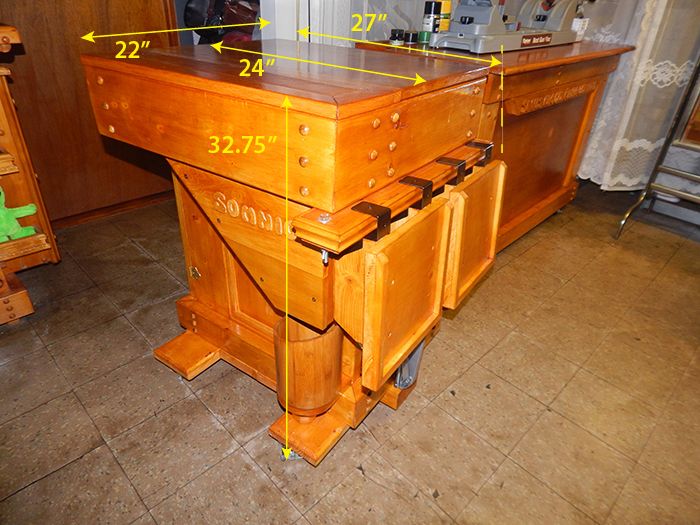
Materials used: Some 2X4’s, 2X6’s, scrap, junk, screws, a can of shellac, some cheap chip brushes and bargain bin buys. I also got a deal on some 12” X 24” scraps at Home depot for $2.00 a piece that I cut down (using a circular saw and a straight edge) for all the shelves, doors and whatnots.
I started this project during the winter months but I had to side track it for a while as things arise in your (my) personal lives. I did post in the reloading bench thread about a super mini (pg 59 I think) and as I have a penchant to name my projects in Grecian generalities, I opted, instead, for a more defined name. Welcome to Somnio. There are two meanings to its name. One is “to dream foolishly”, the secondary is “to imagine”. Accept the latter, as the only restrictions placed on what “can be” are by yourself.
She is just a prototype meaning that once something is built, I think I can always do better, as most do. No, I do not have any plans. I did take some images on its construction but having others (kids) on this system and some how, they magically disappeared, as do most of my things around here. I just go with an idea and add to it. To put it simply, it’s how I roll.
What I was going to build was a simple, hand-carry, table top for de-priming, maybe charging, bullet seating and so on as I had an old “C” style press just kicking about. It was going to be a somewhat pyramidal shape and zero in the bells and whistles department. Just a double shelf platform. What changed it all was once again reading the multiple threads on “how to store primers”, “I live in an apartment”, “moneys a bit tight” and so on. I tend to focus on the new and/or small time reloaders as shown in theses threads (also my intros that state my poor writing abilities):
http://www.ar15.com/forums/t_6_42/408347_A_second_run_at_my_style__this_time_bottle_necks__written_mainly_for_newer_reloaders_.html
One more thing before continuing. As this is going to have a number of images, I may run out of bandwidth. Every time this thread is opened, it reduces my band width (usage allowance). If the images stop showing, you’ll need to wait until it cycles again at the beginning of the month. I had a thread locked because of it and some of the comments applied.
My intent instead changed to build an all inclusive bench, small but fully functional, for the needs of firearm care and reloading, including the storage necessary. A somewhat ambitious endeavor to say the least. I also wanted to use parts and pieces found around the house and in my scrape wood pile from previous projects. I set a limit of $150.00 (the wooden stool was $5.00 at a thrift store so make that $145.00) beyond what I could scrounge or dumpster dive for and to use only the very simplest of tools of which many people own or can at least borrow. Things like a hand miter box, saber saw, circular saw, a drill with a screw driver attachment but none of the heavier machines like a table saw, compound miter saw or band saw (I will admit to sneaking in my router as a short cut for a couple channel cuts simply to save some time as opposed to building up). I went ahead and built some features and will display them but really, the additions and accessories to it are boundless (hence, Somnio). I did incorporate many features from my cleaning bench and reloading bench, just on smaller a scale.
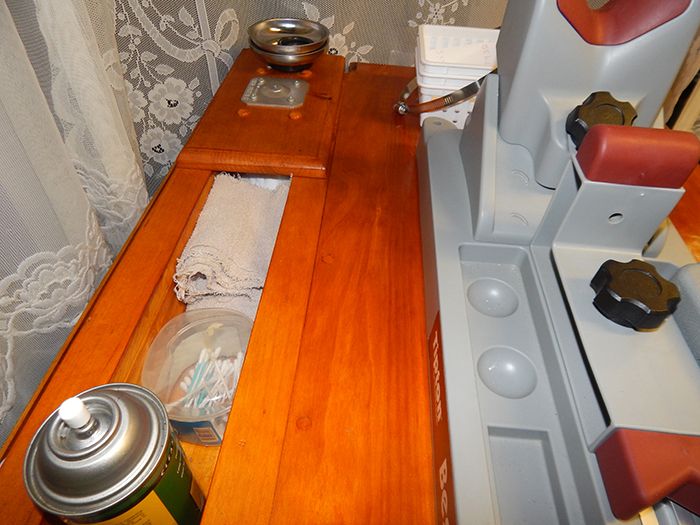
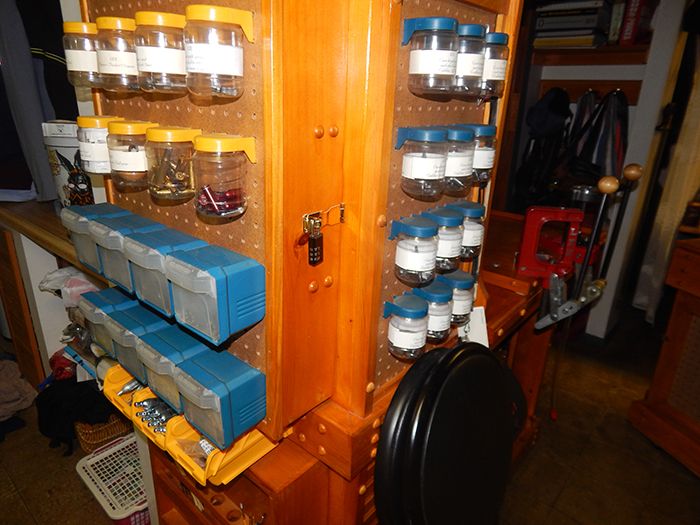
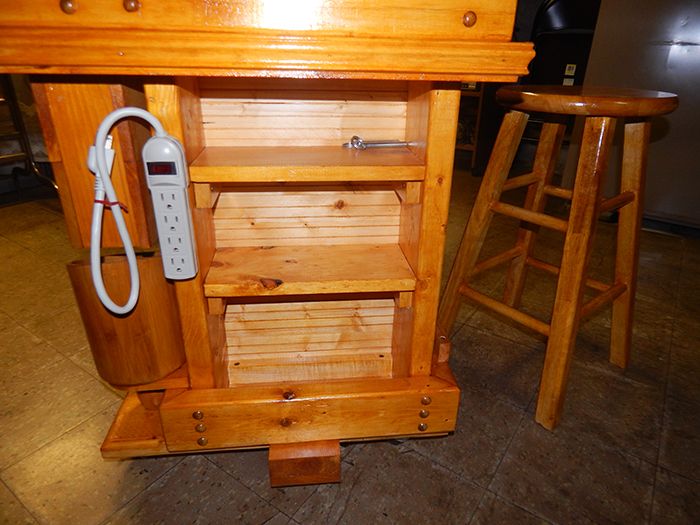
Some common but needed features. Storage. I opted for one locked side and one open. You can do as you wish. The closed side can contain more delicate things or for safety issues like powder, loaded ammunition or sensitive equipment like a digital and/or beam scale, micrometer, etc. The door has a peg board front so you can attach shelves, jars, what have you, as in my above bench.
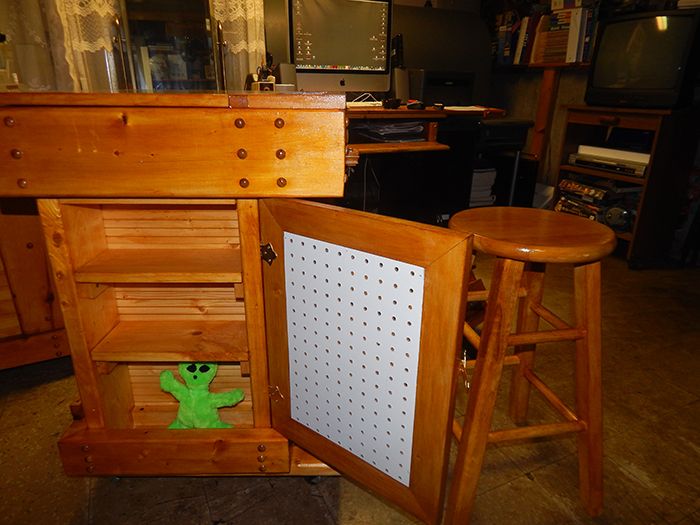
The open side would be for more readily available items like dies( in my case the press), cleaners, small tools and so on. The right side ledge is there to use as something to clamp to say a desktop light, magnifier or any other clamp based system you have. It also serves as the extension joint (more on that later).
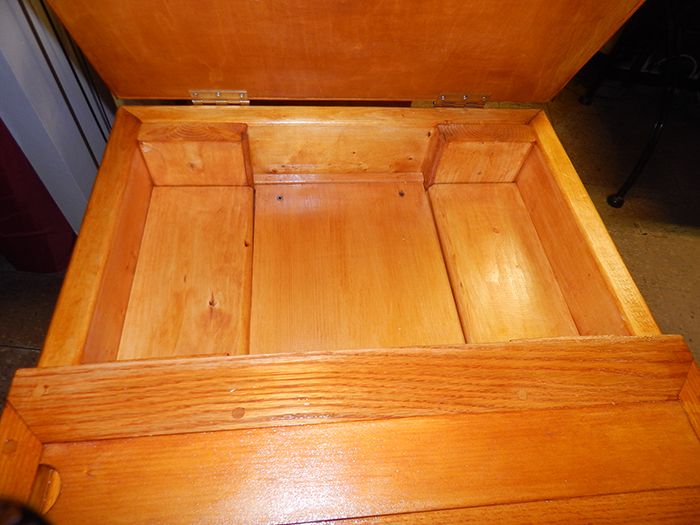
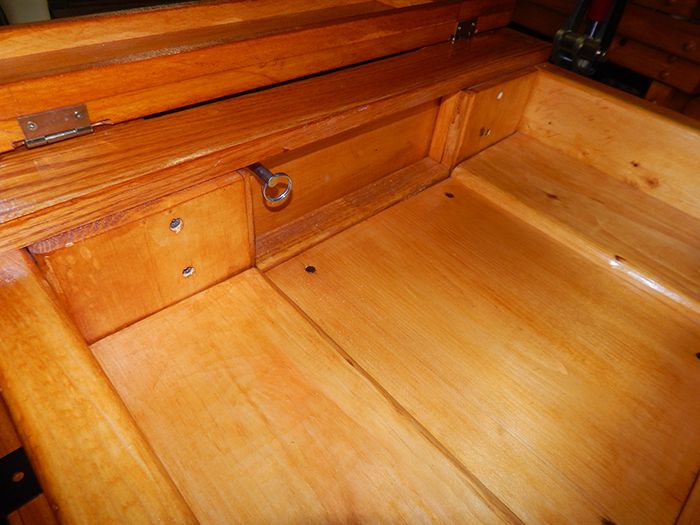
The top opens for more storage (I angeled the base slightly towards the back in case something drops and rolls). It has two sub storage areas for primers. Depending on packaging, the amounts that they can hold will vary. I placed 900 CCI large rifle primers in one side with room to spare.
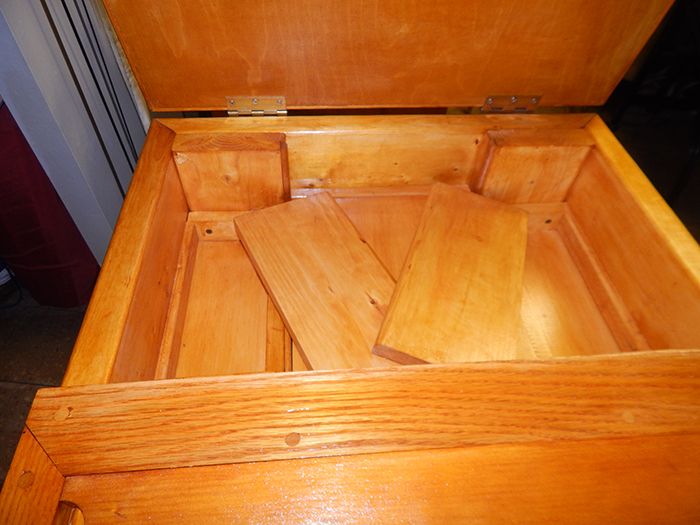
The quickest change out is for firearm cleaning/repair. Simply remove the cover plate to reveal the trough. The trough holds some of your cleaning gear or parts. I also reduced as much as I could of any exposed metal hardware as to prevent any damage from a simple bump or rub. If I wanted or need more width, I could always add drop leafs left and right. Dream away.
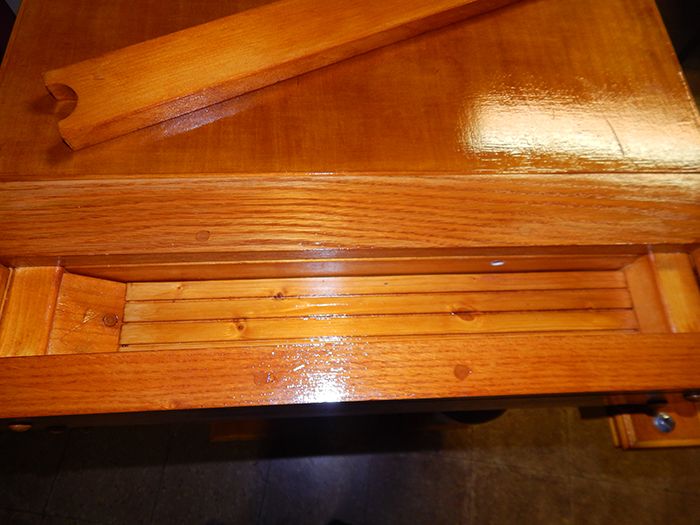
As my knife sharpening station which is how I will keep it. Its just a Lansky mount and a catch all/placement area.
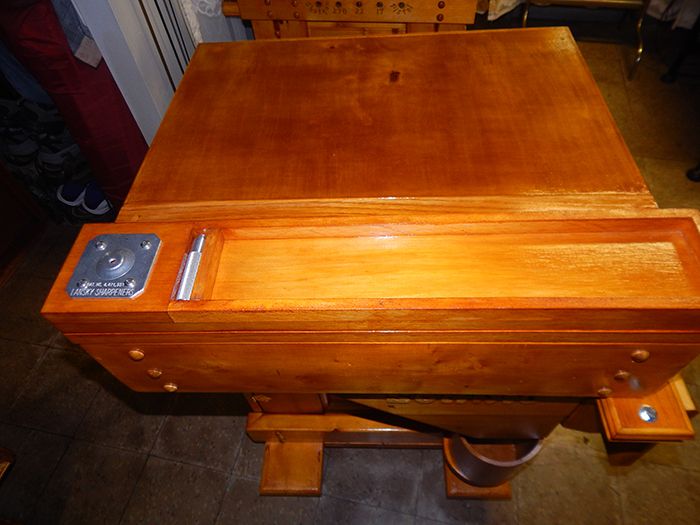
A bit on the trough. Its a main feature as it locks items in place. As you can see from the inserts on the bottom of the sharping shelf, any built item can lock itself in place with a footer attached. More later.
It also doubles as a backstop for the run-out channel (or built in separator, primer drop, etc) when you want to use it as a tumbling station. As for the internal hollow. It is meant as a tumbler storage spot along with some media. I set the space width and height to hold a Nano tumbler and some media.
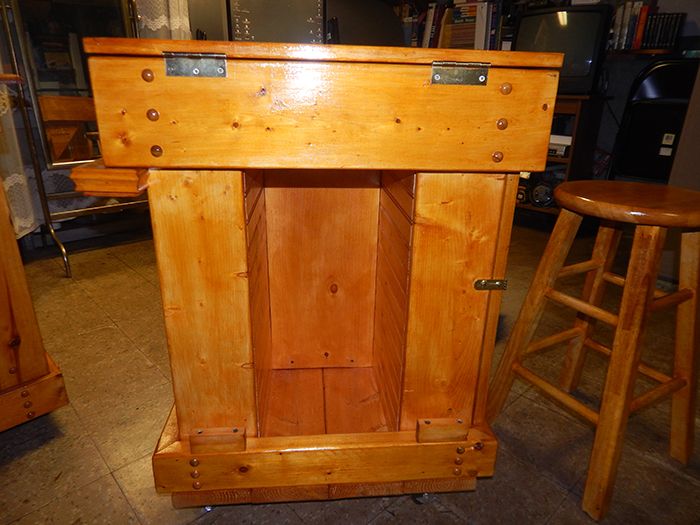
The run-out channel is a slew that empties out into a container (an old utensil container the kids dropped and split, since repaired). You remove the bottom of the trough to revel the brass catchers.
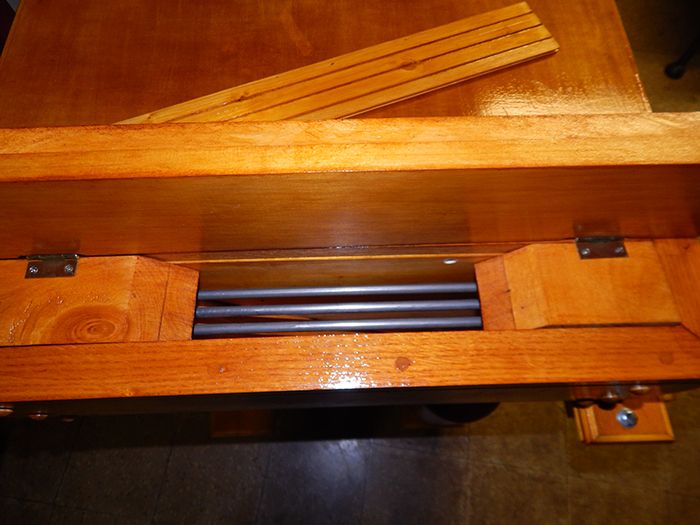
More junk from around the house, Leggos. There are 2 brass catchers. The upper one will stop 9mm X whatever (smallest I reload for) and up. The lower will stop .22’s as a just in case. I can always make a 22 for the top if desired. They both just slip into place. One from above, the other from below.
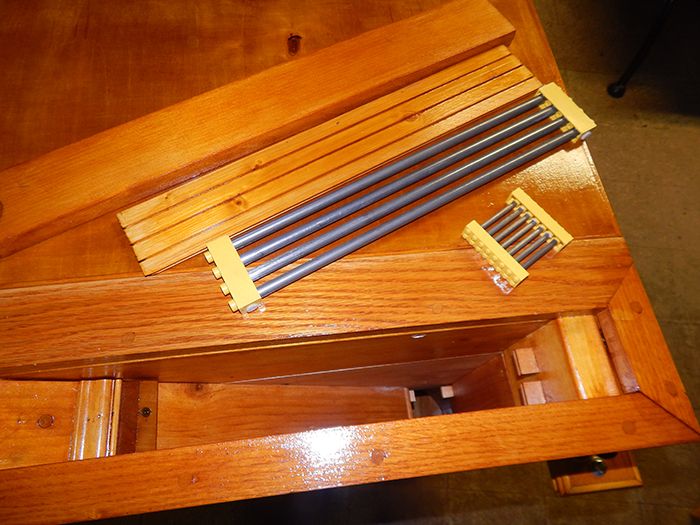
The extension. One of the nicest features of my main bench is that I can add extensions to it quickly for more space. I thought it would be something that would also benefit this reduced version. Simple pop it off the back, screw it the leg, add the bolt, done. One hole holds it at a 90, the other lets you swivel it to any angle including allowing it to be flush against the front as an added shelf.
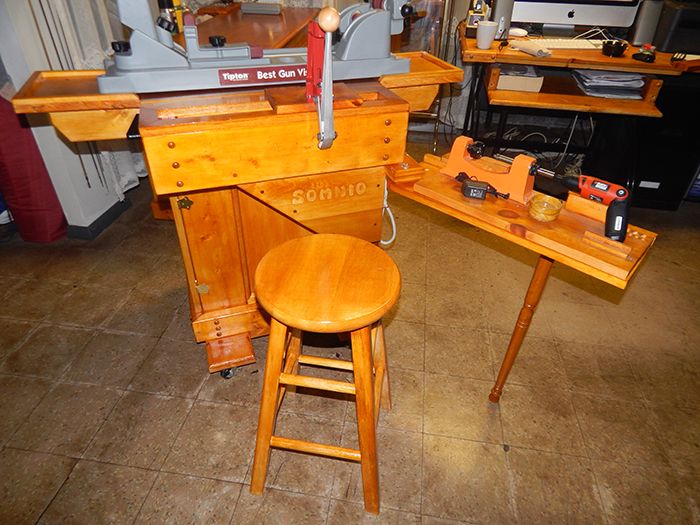
The trough. As stated, is also used to lock things in. The tighter the fit of your insert, the more stable. On the press I did add a pull pin through the back. Simply drill a proper size hole through the back wall, or a series of them, and then through and into the base. Anytime you need or desire a secondary support, just position your new base in front of an existing hole, insert the bit and drill into it, slip in the pin.
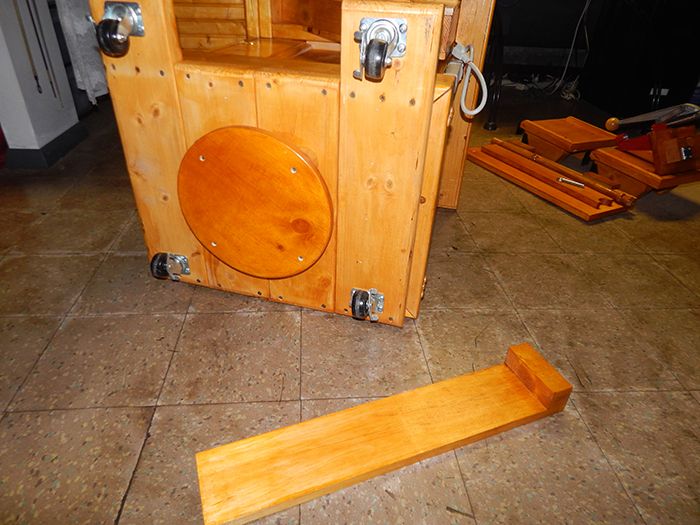
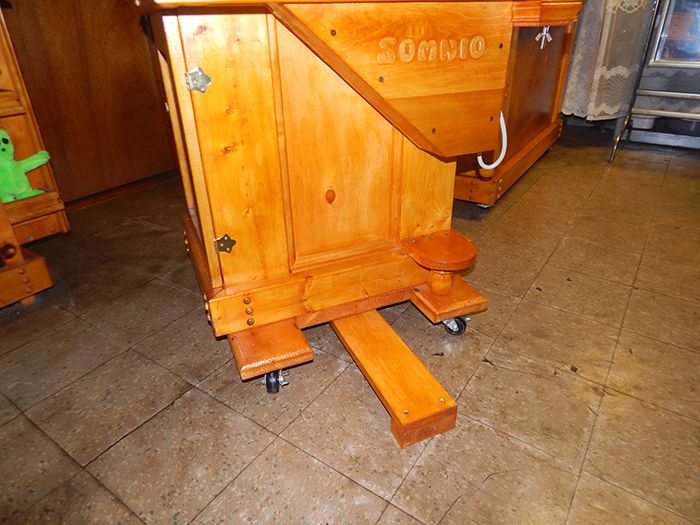
The last part is also a what if item. Sometimes you need to add extreme lifting or downward pressures say as with a stuck shell (well, not if you lube properly, see other threads). As the bench is small though heavy, it may not be as stable as you’d desire. In those odd cases, it does have an outrigger. You just simple slide it out, flip it over and insert it in any side where added support is needed.
I hope this answers some of the many questions about limited areas, storage and resources. The idea is here and how it is executed does not matter if you go with framing materials and scrapes as I did or old wooden pallets. The tools needed are very basic. Oh, by the way. Some 30-30s from scratch to finish. Hey, I had to prove it works:
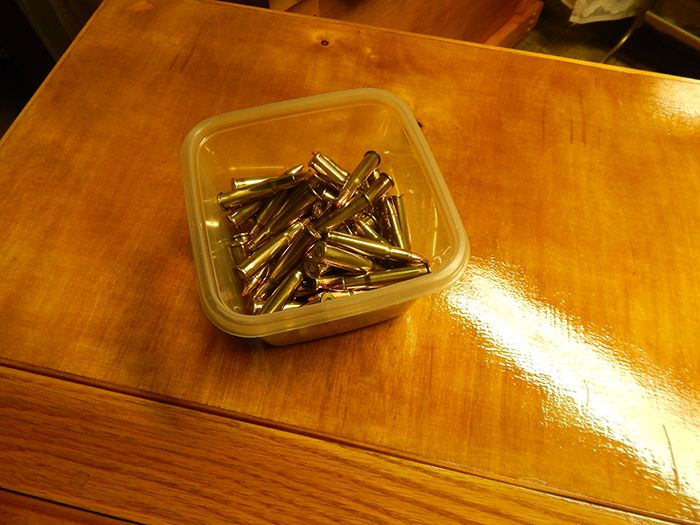
(Yes, I know, the recipe)
Winchester once fired brass, sized and internally reamed.
OAL: 2.535 (uses cannalur)
CCI large rifle primers.
35.5 grains of Leverlution powder.
160 grain, Hornaday 30 cal FTX bullets.
 Win a FREE Membership!