|
[#1]
Originally Posted By DoctorLove:
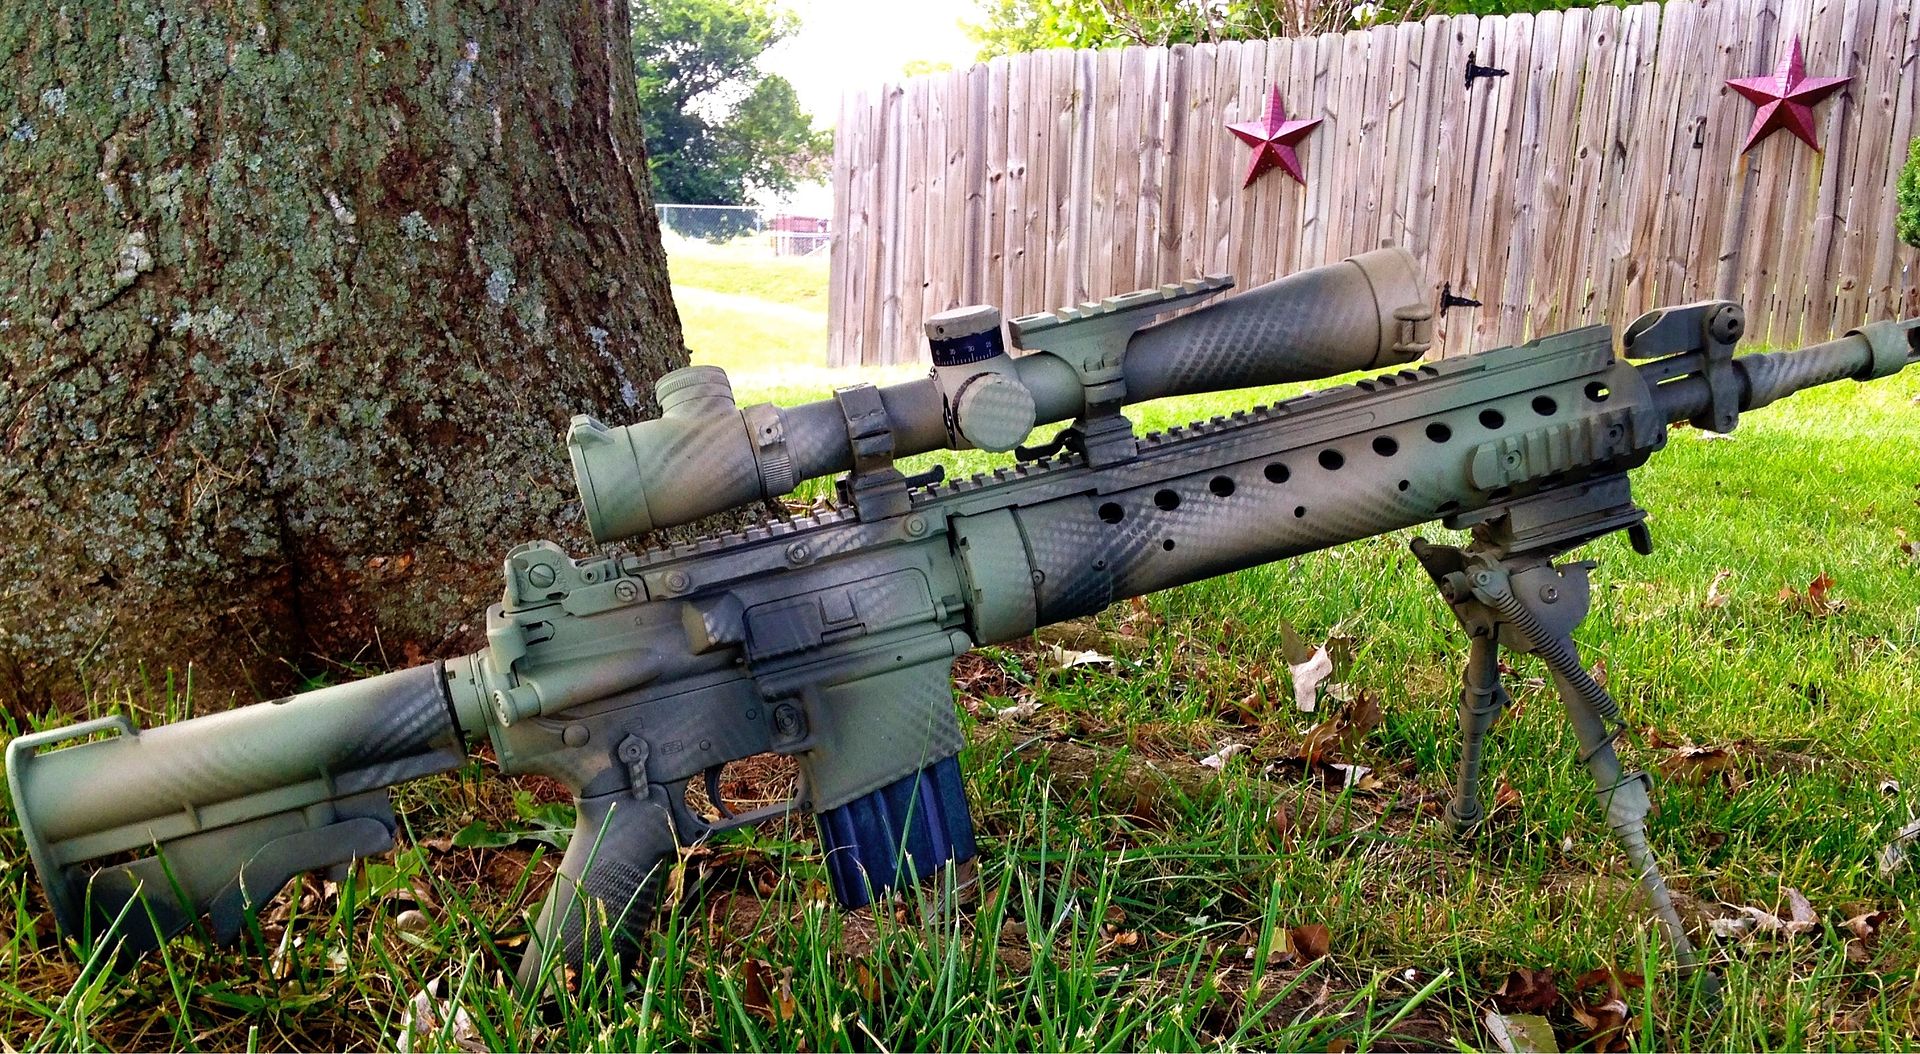
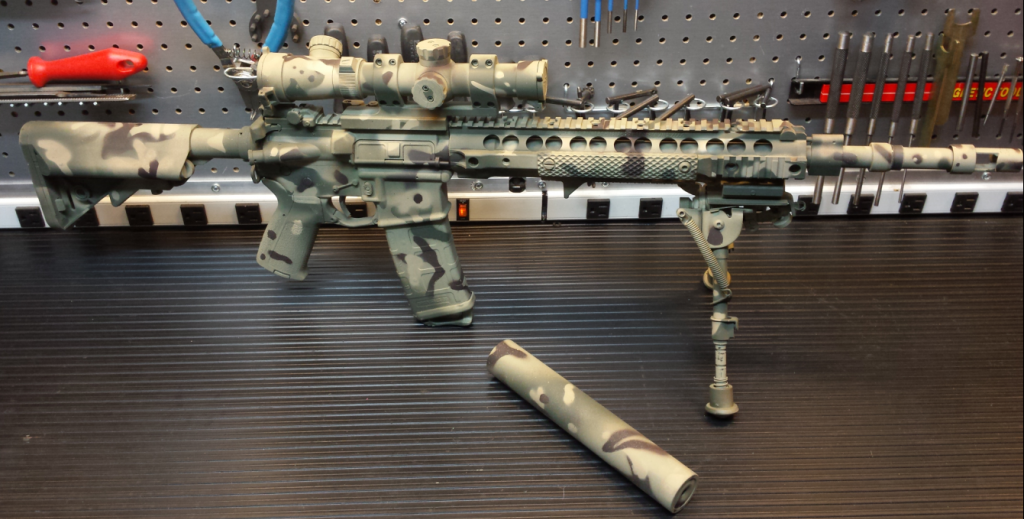
Zero fucks given http://i821.photobucket.com/albums/zz135/556man1/1214142102a_zpsd393fb05.jpg I think Minnie Mouse would agree, that's a good looking rifle |
|
|
|
FL, USA
|
[#2]
Originally Posted By Legman688:
I was actually talking about the CCA saddle itself. I'd never seen one before! That was enough info for me to use my google and figure it out - thanks! Originally Posted By Legman688:
Originally Posted By mre1974:
Originally Posted By Legman688:
Originally Posted By mre1974:
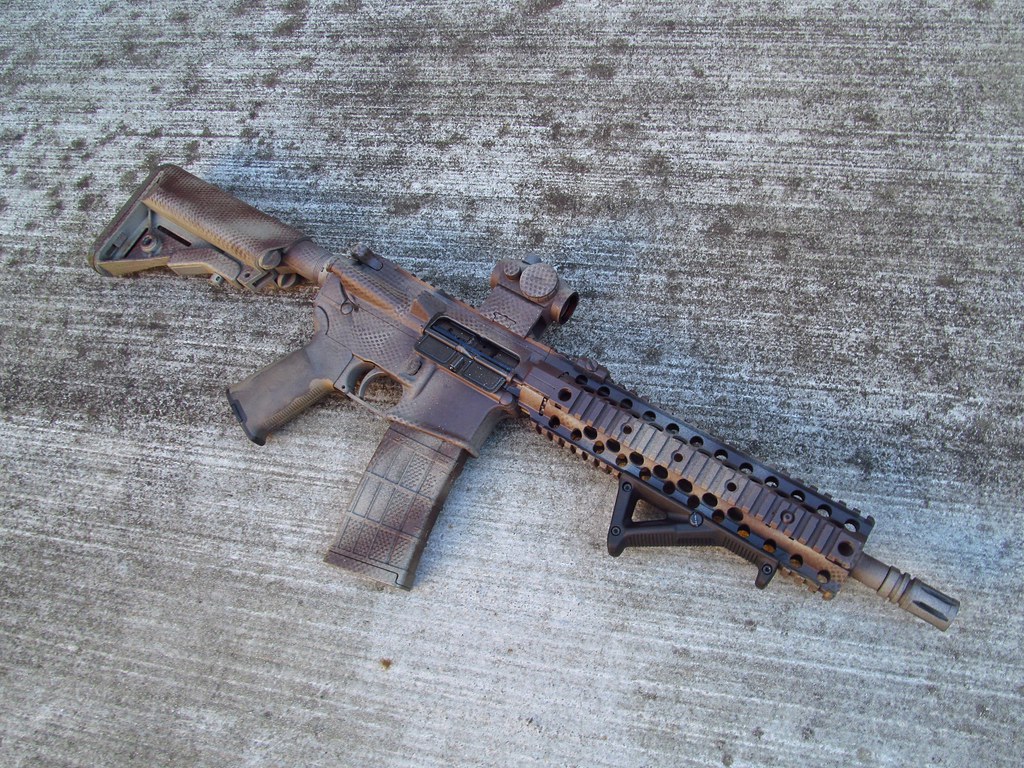
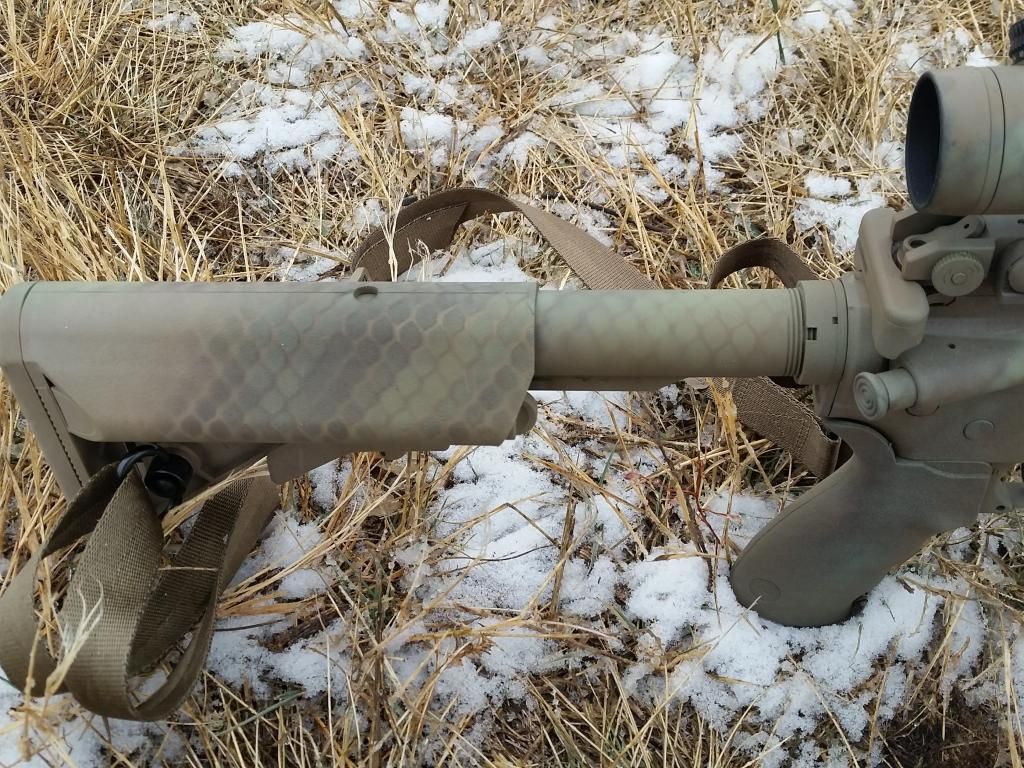
First attempt at a rattle can kryptek style camo paint job on my AR pistol/PDW. http://<a href=http://i593.photobucket.com/albums/tt14/BIGe74_stuff/DSCN1560_zps9be256a5.jpg</a>" /> http://<a href=http://i593.photobucket.com/albums/tt14/BIGe74_stuff/DSCN1561_zps5e724fb6.jpg</a>" /> I think it turned out pretty decent for a first attempt. Heya, what's the doodad on your buffer tube, and is it pistol-legal under BATFEIEIO rules? Are you asking about at the rear of the buffer tube? That's the bottom "spacer" that comes standard with the CCA saddle. The buffer tube is a Phase 5 Tactical "standard" buffer tube and overall length of the rig is 23.5". Hope that answers your questions. I was actually talking about the CCA saddle itself. I'd never seen one before! That was enough info for me to use my google and figure it out - thanks! Roger. Glad to help. |
|
|
|
[#3]
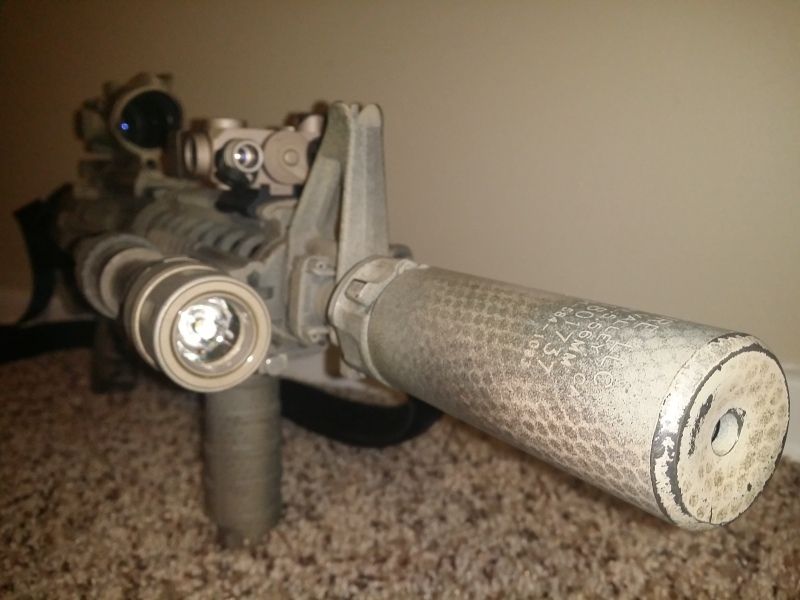
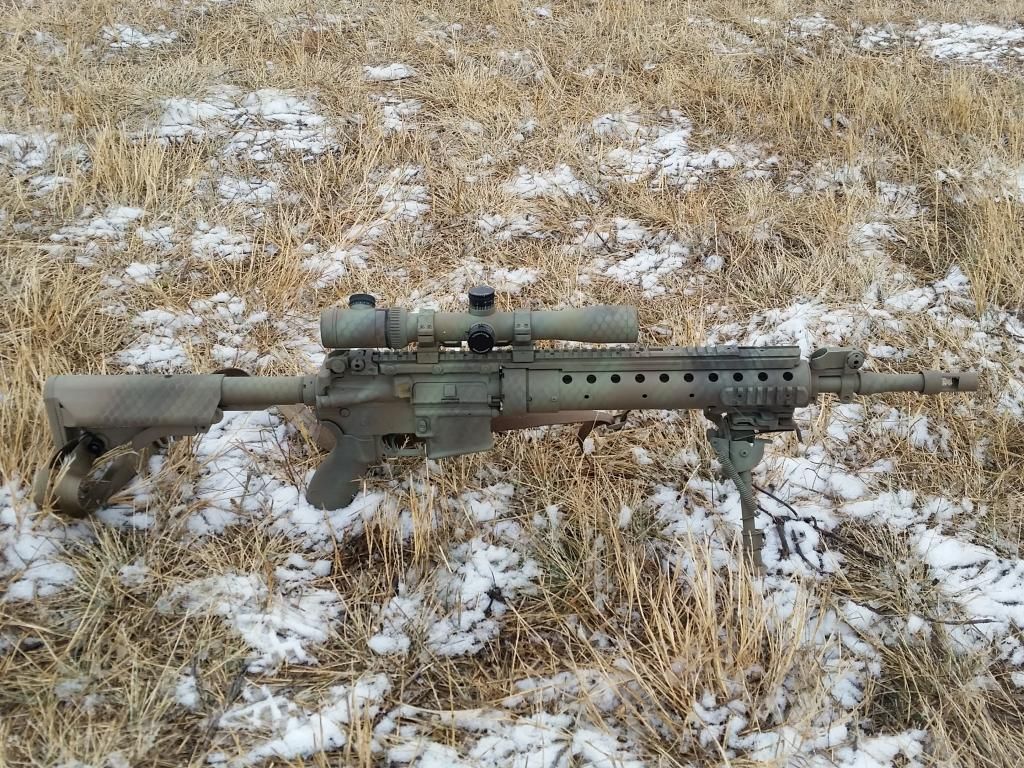
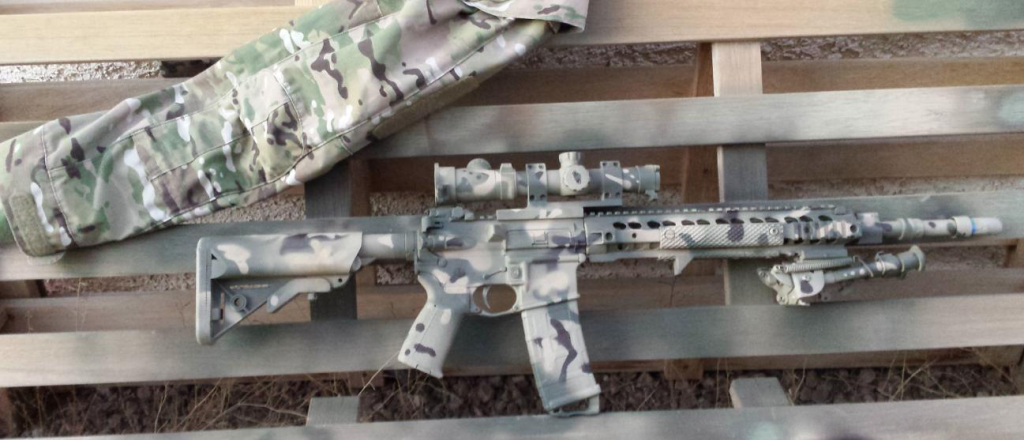
I was gonna redo this rifle after applying an FDE basecoat that turned out too light for my liking, but then I said to hell with it and went ahead with the rest of the camo job. First attempt at such a thing. Pretty happy with how she turned out.

|
|
|
|
|
[Last Edit: HermanSnerd]
[#4]
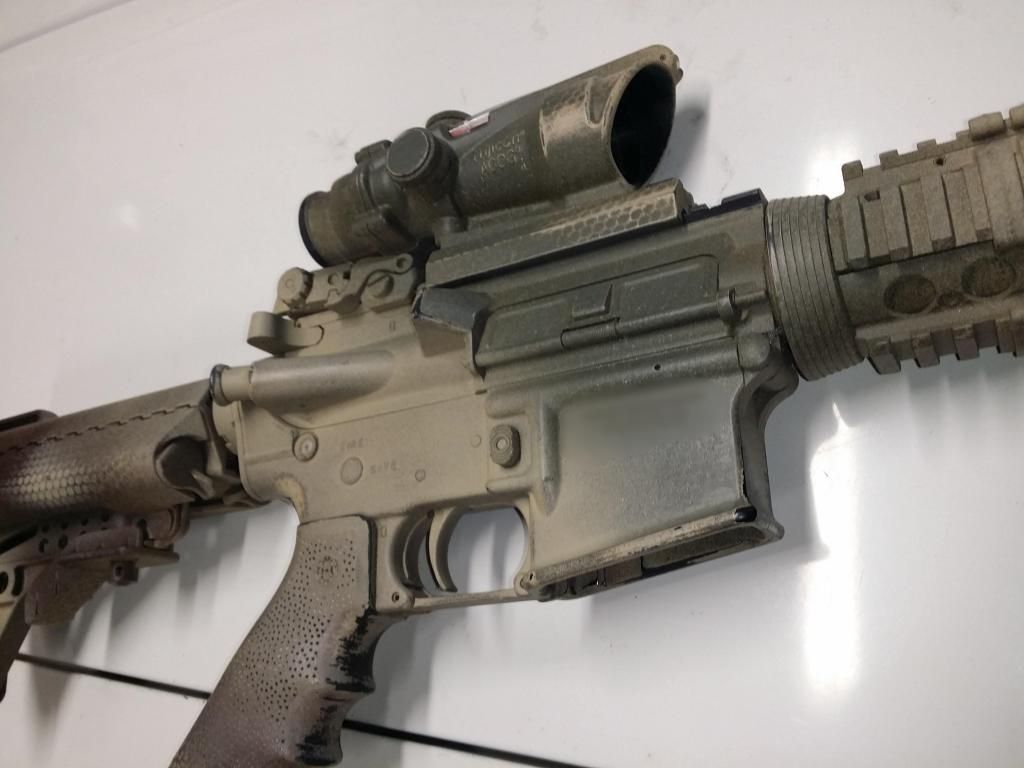
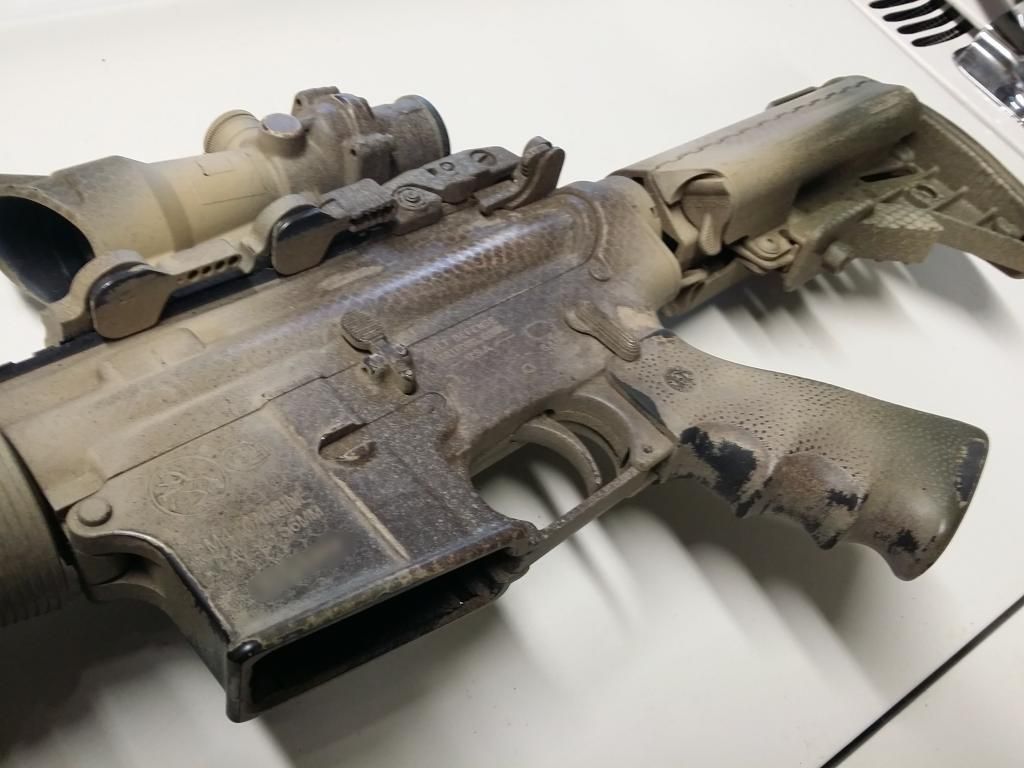
This is my first attempt at painting anything firearm related, but I think it turned out great.
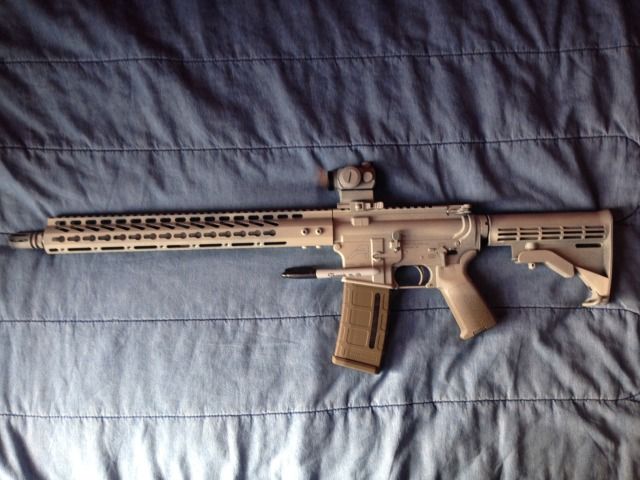
My 27 year old son has no idea he is getting this for Christmas. PSA lower PSA 16" Premium 1/7 M4 upper Magpul FDE furniture 7" drop in rail Primay Arms red dot sight Aero Precision mount Painted with 3 coats of Rustoleum Satin Dark Taupe 
As others have noted many times before, the Dark Taupe paint is lighter than the Magpul FDE furniture, but it still looks good. I can't wait to see the look on his face! 
|
|
|
|
|
[#5]
    |
|
|
|
TN, USA
|
[#6]
|
|
|
|
[#7]
Originally Posted By Zakk101abn: Nice Mod 0! Ours could be related... http://i36.photobucket.com/albums/e21/zakk101abn/Mobile%20Uploads/image_zpsda9ce8c2.jpg Haha! Nice.
|
|
|
|
|
[#8]
|
|
|
|
|
[#9]
I think I posted this rifle a while ago but it has changed a little bit. It has a few coats of paint on it as I kept trying to "fix" it, so here is how it ended up


|
|
|
|
|
[#10]
|
|
|
|
|
[Last Edit: jukeboxx13]
[#11]
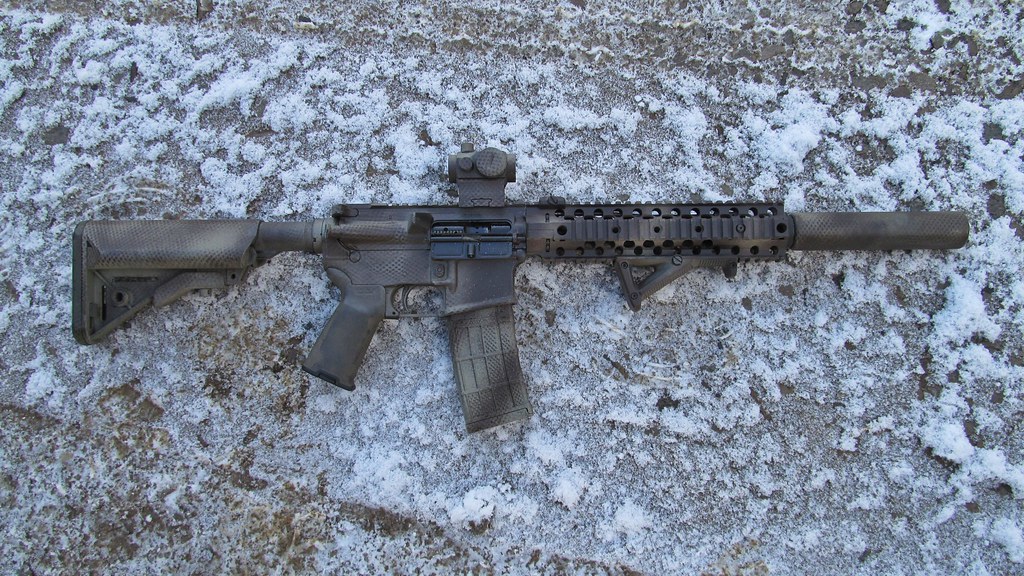
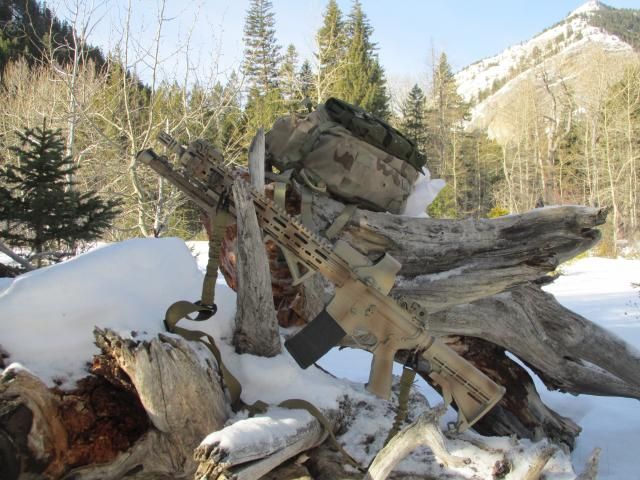
I love how my camo job changes with the light during different times of the day.
Cloudy days it looks really grey.  Bright sunny days make it more FDE.  |
|
|
|
|
[#12]
Originally Posted By jukeboxx13: I love how my camo job changes with the light during different times of the day. Cloudy days it looks really grey. Bright sunny days make it more FDE. This is how a paint job should look, not perfect and unmolested.
|
|
|
|
|
[#13]
|
|
|
|
|
[#14]
Originally Posted By blackfly53:
I think I posted this rifle a while ago but it has changed a little bit. It has a few coats of paint on it as I kept trying to "fix" it, so here is how it ended up <a href="http://s231.photobucket.com/user/blackfly53/media/DSC01750_zps24fa9cce.jpg.html" target="_blank">http://i231.photobucket.com/albums/ee110/blackfly53/DSC01750_zps24fa9cce.jpg</a> <a href="http://s231.photobucket.com/user/blackfly53/media/DSC01742_zps5c99af12.jpg.html" target="_blank">http://i231.photobucket.com/albums/ee110/blackfly53/DSC01742_zps5c99af12.jpg</a> <a href="http://s231.photobucket.com/user/blackfly53/media/DSC01737_zps8d08a516.jpg.html" target="_blank">http://i231.photobucket.com/albums/ee110/blackfly53/DSC01737_zps8d08a516.jpg</a> <a href="http://s231.photobucket.com/user/blackfly53/media/DSC01754_zps3ec0b34f.jpg.html" target="_blank">http://i231.photobucket.com/albums/ee110/blackfly53/DSC01754_zps3ec0b34f.jpg</a> I dig that. It will look great once it starts to wear. |
|
|
|
|
[#15]
|
|
|
|
|
[#16]
Originally Posted By CtSmshr:
I dig that. It will look great once it starts to wear. Originally Posted By CtSmshr:
Originally Posted By blackfly53:
I think I posted this rifle a while ago but it has changed a little bit. It has a few coats of paint on it as I kept trying to "fix" it, so here is how it ended up <a href="http://s231.photobucket.com/user/blackfly53/media/DSC01750_zps24fa9cce.jpg.html" target="_blank">http://i231.photobucket.com/albums/ee110/blackfly53/DSC01750_zps24fa9cce.jpg</a> <a href="http://s231.photobucket.com/user/blackfly53/media/DSC01742_zps5c99af12.jpg.html" target="_blank">http://i231.photobucket.com/albums/ee110/blackfly53/DSC01742_zps5c99af12.jpg</a> <a href="http://s231.photobucket.com/user/blackfly53/media/DSC01737_zps8d08a516.jpg.html" target="_blank">http://i231.photobucket.com/albums/ee110/blackfly53/DSC01737_zps8d08a516.jpg</a> <a href="http://s231.photobucket.com/user/blackfly53/media/DSC01754_zps3ec0b34f.jpg.html" target="_blank">http://i231.photobucket.com/albums/ee110/blackfly53/DSC01754_zps3ec0b34f.jpg</a> I dig that. It will look great once it starts to wear. Thanks. It has a little bit on it now but not enough. Finding time to get it worn out is the problem lol. |
|
|
|
|
[#17]
Originally Posted By RTUtah: Cloudy days it looks really grey. Originally Posted By RTUtah: Originally Posted By jukeboxx13: I love how my camo job changes with the light during different times of the day. Cloudy days it looks really grey. Bright sunny days make it more FDE. This is how a paint job should look, not perfect and unmolested. Im trying Utah! Progress! Hahah  |
|
|
|
|
[Last Edit: JohnStoner]
[#18]
|
|
|
|
|
[#19]
I like it, Looks good multicam.
|
|
|
|
|
[#20]
That looks really good. What did you use to create the pattern? |
|
|
|
|
[#21]
Yeah that's one of the better MultiCam jobs I've seen.
|
|
|
|
|
[#22]
Originally Posted By hawkeye180:
That looks really good. What did you use to create the pattern? Originally Posted By hawkeye180:
That looks really good. What did you use to create the pattern? Yellow file folders for stock and a razor to cut/shape. Propper multicam atac shirt for study. Spent about an hour comparing and mimicking shapes. Studied the shirt for overlay of colors, base colors and order of application. For paint I used all rustoleum camouflage. Started with khaki for the base, then deep forest green, dark earth brown and sand. Some switch up of layers. I think forest green would have matched better to multicam but for my locale deep forest was a better fit. Creosote. This was my first try at painting a rifle, I'm happy it's well received. |
|
|
|
MT, USA
|
[#23]


|
|
|
|
[Last Edit: CtSmshr]
[#24]
Originally Posted By JohnStoner:
Yellow file folders for stock and a razor to cut/shape. Propper multicam atac shirt for study. Spent about an hour comparing and mimicking shapes. Studied the shirt for overlay of colors, base colors and order of application. For paint I used all rustoleum camouflage. Started with khaki for the base, then deep forest green, dark earth brown and sand. Some switch up of layers. I think forest green would have matched better to multicam but for my locale deep forest was a better fit. Creosote. This was my first try at painting a rifle, I'm happy it's well received. Originally Posted By JohnStoner:
Originally Posted By hawkeye180:
That looks really good. What did you use to create the pattern? Yellow file folders for stock and a razor to cut/shape. Propper multicam atac shirt for study. Spent about an hour comparing and mimicking shapes. Studied the shirt for overlay of colors, base colors and order of application. For paint I used all rustoleum camouflage. Started with khaki for the base, then deep forest green, dark earth brown and sand. Some switch up of layers. I think forest green would have matched better to multicam but for my locale deep forest was a better fit. Creosote. This was my first try at painting a rifle, I'm happy it's well received. Very similar technique to how I did mine all the way down to the paint. Very well done. It turned out great! ETA 
|
|
|
|
|
[#25]
Originally Posted By CtSmshr: Very similar technique to how I did mine all the way down to the paint. Very well done. It turned out great! ETA http://i1285.photobucket.com/albums/a584/GudOlBoy1/20141221_191033_zps4bcf2734.jpg Originally Posted By CtSmshr: Originally Posted By JohnStoner: Originally Posted By hawkeye180: That looks really good. What did you use to create the pattern? Yellow file folders for stock and a razor to cut/shape. Propper multicam atac shirt for study. Spent about an hour comparing and mimicking shapes. Studied the shirt for overlay of colors, base colors and order of application. For paint I used all rustoleum camouflage. Started with khaki for the base, then deep forest green, dark earth brown and sand. Some switch up of layers. I think forest green would have matched better to multicam but for my locale deep forest was a better fit. Creosote. This was my first try at painting a rifle, I'm happy it's well received. Very similar technique to how I did mine all the way down to the paint. Very well done. It turned out great! ETA http://i1285.photobucket.com/albums/a584/GudOlBoy1/20141221_191033_zps4bcf2734.jpg |
|
|
|
|
[#26]
Originally Posted By CtSmshr:
Very similar technique to how I did mine all the way down to the paint. Very well done. It turned out great! ETA http://i1285.photobucket.com/albums/a584/GudOlBoy1/20141221_191033_zps4bcf2734.jpg I had the paint for over a year and couldn't bring myself to start spraying. I was having a difficult time deciding on pine straw, sponge, mesh, or a combination of techniques. I saw your pictures on Google images and they were part of the inspiration to get going and try out multicam. Now I know whose gear inspired me. Yours looks GREAT! |
|
|
|
|
[Last Edit: CtSmshr]
[#27]
Originally Posted By JohnStoner:
I had the paint for over a year and couldn't bring myself to start spraying. I was having a difficult time deciding on pine straw, sponge, mesh, or a combination of techniques. I saw your pictures on Google images and they were part of the inspiration to get going and try out multicam. Now I know whose gear inspired me. Yours looks GREAT! Originally Posted By JohnStoner:
Originally Posted By CtSmshr:
Very similar technique to how I did mine all the way down to the paint. Very well done. It turned out great! ETA http://i1285.photobucket.com/albums/a584/GudOlBoy1/20141221_191033_zps4bcf2734.jpg I had the paint for over a year and couldn't bring myself to start spraying. I was having a difficult time deciding on pine straw, sponge, mesh, or a combination of techniques. I saw your pictures on Google images and they were part of the inspiration to get going and try out multicam. Now I know whose gear inspired me. Yours looks GREAT! ETA I did a 4 color base blending and fading the colors as gradual as I could from one to the other. You can see it really well on the stock picture. But overall the same basic technique you used on yours. 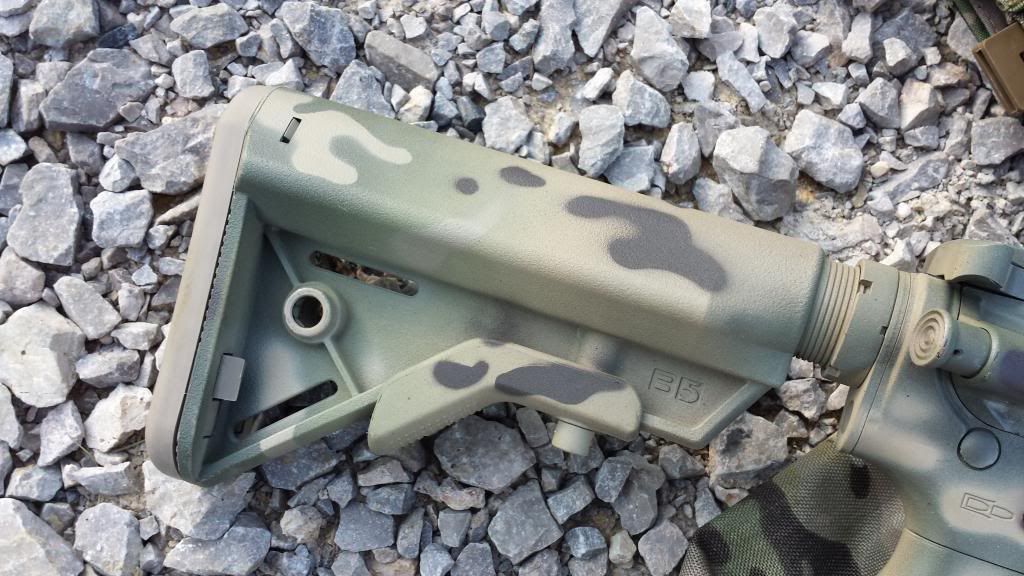

|
|
|
|
|
[#28]
Originally Posted By CtSmshr: ETA I did a 4 color base blending and fading the colors as gradual as I could from one to the other. You can see it really well on the stock picture. But overall the same basic technique you used on yours. http://i1285.photobucket.com/albums/a584/GudOlBoy1/20140519_185738_zps7a7056e5.jpg http://i1285.photobucket.com/albums/a584/GudOlBoy1/20140519_192437_zpsb15d252d.jpg Originally Posted By CtSmshr: Originally Posted By JohnStoner: Originally Posted By CtSmshr: Very similar technique to how I did mine all the way down to the paint. Very well done. It turned out great! ETA http://i1285.photobucket.com/albums/a584/GudOlBoy1/20141221_191033_zps4bcf2734.jpg I had the paint for over a year and couldn't bring myself to start spraying. I was having a difficult time deciding on pine straw, sponge, mesh, or a combination of techniques. I saw your pictures on Google images and they were part of the inspiration to get going and try out multicam. Now I know whose gear inspired me. Yours looks GREAT! ETA I did a 4 color base blending and fading the colors as gradual as I could from one to the other. You can see it really well on the stock picture. But overall the same basic technique you used on yours. http://i1285.photobucket.com/albums/a584/GudOlBoy1/20140519_185738_zps7a7056e5.jpg http://i1285.photobucket.com/albums/a584/GudOlBoy1/20140519_192437_zpsb15d252d.jpg |
|
|
|
|
[#29]
Originally Posted By hawkeye180:
Can you please explain the four color base please? In the spring when things warm up I want to change my paint job over to multicam. Originally Posted By hawkeye180:
Originally Posted By CtSmshr:
Originally Posted By JohnStoner:
Originally Posted By CtSmshr:
Very similar technique to how I did mine all the way down to the paint. Very well done. It turned out great! ETA http://i1285.photobucket.com/albums/a584/GudOlBoy1/20141221_191033_zps4bcf2734.jpg I had the paint for over a year and couldn't bring myself to start spraying. I was having a difficult time deciding on pine straw, sponge, mesh, or a combination of techniques. I saw your pictures on Google images and they were part of the inspiration to get going and try out multicam. Now I know whose gear inspired me. Yours looks GREAT! ETA I did a 4 color base blending and fading the colors as gradual as I could from one to the other. You can see it really well on the stock picture. But overall the same basic technique you used on yours. http://i1285.photobucket.com/albums/a584/GudOlBoy1/20140519_185738_zps7a7056e5.jpg http://i1285.photobucket.com/albums/a584/GudOlBoy1/20140519_192437_zpsb15d252d.jpg Instead of me trying to do a complete how to in here go to this thread about half way down the page I posted a little how to. It's pretty detailed if you have any questions feel free to IM me or email I don't mind answering any questions. LINK |
|
|
|
|
[#30]
Originally Posted By CtSmshr: Instead of me trying to do a complete how to in here go to this thread about half way down the page I posted a little how to. It's pretty detailed if you have any questions feel free to IM me or email I don't mind answering any questions. LINK Originally Posted By CtSmshr: Originally Posted By hawkeye180: Originally Posted By CtSmshr: Originally Posted By JohnStoner: Originally Posted By CtSmshr: Very similar technique to how I did mine all the way down to the paint. Very well done. It turned out great! ETA http://i1285.photobucket.com/albums/a584/GudOlBoy1/20141221_191033_zps4bcf2734.jpg I had the paint for over a year and couldn't bring myself to start spraying. I was having a difficult time deciding on pine straw, sponge, mesh, or a combination of techniques. I saw your pictures on Google images and they were part of the inspiration to get going and try out multicam. Now I know whose gear inspired me. Yours looks GREAT! ETA I did a 4 color base blending and fading the colors as gradual as I could from one to the other. You can see it really well on the stock picture. But overall the same basic technique you used on yours. http://i1285.photobucket.com/albums/a584/GudOlBoy1/20140519_185738_zps7a7056e5.jpg http://i1285.photobucket.com/albums/a584/GudOlBoy1/20140519_192437_zpsb15d252d.jpg Instead of me trying to do a complete how to in here go to this thread about half way down the page I posted a little how to. It's pretty detailed if you have any questions feel free to IM me or email I don't mind answering any questions. LINK |
|
|
|
CT, USA
|
[#31]
Great write up! Thank you.
|
|
|
|
[#32]
Just finished with mine a few minutes ago - it's hanging up drying.
Not sure if I totally like it, but it does look like I went rolling around a mudhole with it, so I guess there's that. First time with a rattlecan, on a rifle or anything, so it's been a learning experience. Will post pictures in a bit when the sun's up and you can really see it well. |
|
|
|
NC, USA
|
[#33]
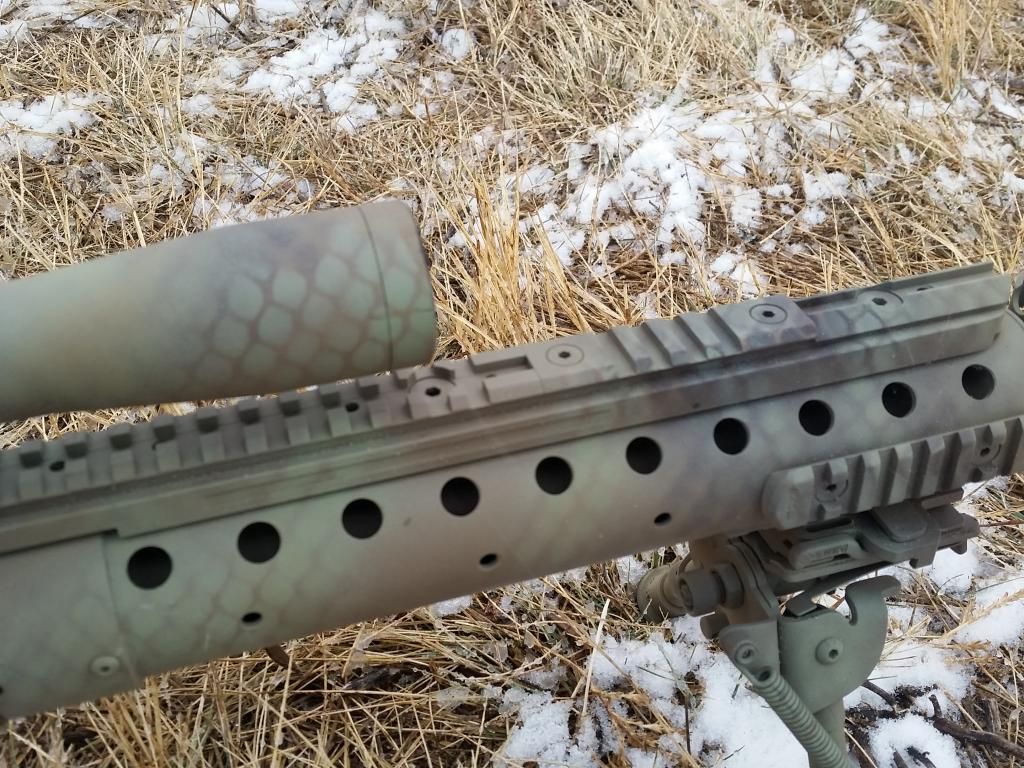
So far on the new SL hand guards.

|
|
|
|
[#34]


Yeah I did that. |
|
|
|
|
[Last Edit: TimeIsMoney]
[#35]
|
|
|
|
|
[#36]
Originally Posted By ECPrevatte:
Yeah I did that. Sweet! ~Augee |
|
|
|
|
[#37]
My coyote gun done in Rustoleum's camo line. Technique shamelessly stolen and adapted from eastky454's copperhead pattern "How to" thread. I think it turned out nicely.


And here's a detail shot of the receiver. 
Still need to do the Streamlight |
|
|
|
|
[#38]
|
|
|
|
|
[#39]
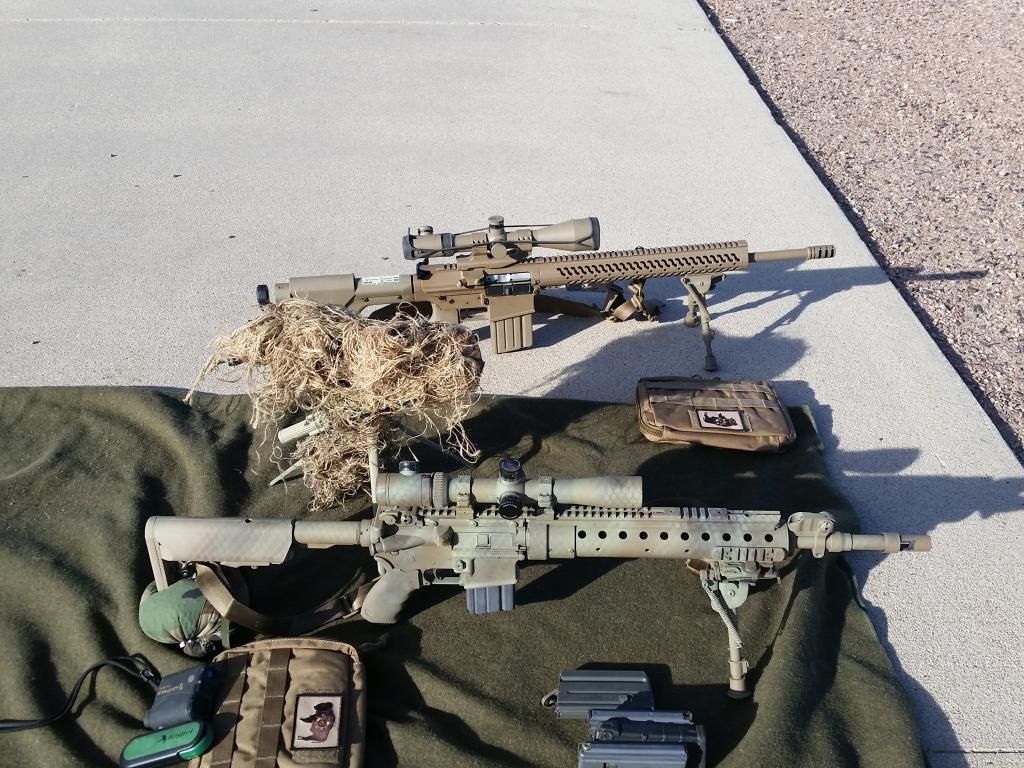
KAC 11.5" on a Noveske Gen 2 FFL

|
|
|
|
OH, USA
|
[Last Edit: davkenrem]
[#40]
S&W M&P10
Upper and lower painted with Aervoe Coyote. Tried to match the Magpul Furniture and the Troy rail. Painted 4 or 5 light coats. I heated it first in a toaster oven. Watched the temp with a laser thermometer. Never let it get it above 150 degrees. Baked after each coat and then final coat for about 2 hours. 
|
|
|
|
[#41]
|
|
|
|
IN, USA
|
[#42]
Those of you that have painted your suppressors...any issues with the paint burning off? I guess it wouldn't be much different than a barrel in that respect.
Pic thread: 
|
|
|
|
[#43]
Originally Posted By jblomenberg16:
Those of you that have painted your suppressors...any issues with the paint burning off? I guess it wouldn't be much different than a barrel in that respect. Pic thread: <a href="http://s221.photobucket.com/user/jblomenberg16/media/20150124_141418_zpse7bz4yn1.jpg.html" target="_blank">http://i221.photobucket.com/albums/dd136/jblomenberg16/20150124_141418_zpse7bz4yn1.jpg</a> nope, just darkens up. paint is cheap should it need a touch up |
|
|
|
|
[#44]
I think bown goes pink.
When my can comes back from repairs its getting painted that day. I will letcha know what happens. Im hoping it gets knarly :D |
|
|
|
|
[#45]

|
|
|
|
|
[#46]
Originally Posted By blackfly53: I think I posted this rifle a while ago but it has changed a little bit. It has a few coats of paint on it as I kept trying to "fix" it, so here is how it ended up http://i231.photobucket.com/albums/ee110/blackfly53/DSC01750_zps24fa9cce.jpg http://i231.photobucket.com/albums/ee110/blackfly53/DSC01742_zps5c99af12.jpg http://i231.photobucket.com/albums/ee110/blackfly53/DSC01737_zps8d08a516.jpg http://i231.photobucket.com/albums/ee110/blackfly53/DSC01754_zps3ec0b34f.jpg |
|
|
|
|
[#47]
Originally Posted By davkenrem: S&W M&P10 Upper and lower painted with Aervoe Coyote. Tried to match the Magpul Furniture and the Troy rail. Painted 4 or 5 light coats. I heated it first in a toaster oven. Watched the temp with a laser thermometer. Never let it get it above 150 degrees. Baked after each coat and then final coat for about 2 hours. http://i668.photobucket.com/albums/vv44/ahwwwjeah/SW%20MP10/DSCF5013_zpsacf29c79.jpg http://i668.photobucket.com/albums/vv44/ahwwwjeah/SW%20MP10/DSCF5010_zpsf7d39ea8.jpg http://i668.photobucket.com/albums/vv44/ahwwwjeah/SW%20MP10/DSCF5006_zps3d32126e.jpg http://i668.photobucket.com/albums/vv44/ahwwwjeah/SW%20MP10/DSCF4105_zps8e7d4831.jpg |
|
|
|
|
[#48]
Originally Posted By uvausmc:
http://i253.photobucket.com/albums/hh41/uvausmc/ARs/IMG_1492_zpsrnwhikou-1.jpg Love me some Kryptek! Great job man. |
|
|
|
|
[#49]
Originally Posted By jclaypool:
Love me some Kryptek! Great job man. Originally Posted By jclaypool:
Originally Posted By uvausmc:
http://i253.photobucket.com/albums/hh41/uvausmc/ARs/IMG_1492_zpsrnwhikou-1.jpg Love me some Kryptek! Great job man. Thanks. This was my first go at it. The green color I had available isn't quite the shade I wanted but I still like how it turned out. Got the stencils from Ahab Tactical and don't have any complaints. |
|
|
|
|
[#50]
|
|
|
|
 Win a FREE Membership!
Sign up for the ARFCOM weekly newsletter and be entered to win a free ARFCOM membership. One new winner* is announced every week!
You will receive an email every Friday morning featuring the latest chatter from the hottest topics, breaking news surrounding legislation, as well as exclusive deals only available to ARFCOM email subscribers.

AR15.COM is the world's largest firearm community and is a gathering place for firearm enthusiasts of all types.
From hunters and military members, to competition shooters and general firearm enthusiasts, we welcome anyone who values and respects the way of the firearm.

Subscribe to our monthly Newsletter to receive firearm news, product discounts from your favorite Industry Partners, and more.
Copyright © 1996-2024 AR15.COM LLC. All Rights Reserved.
Any use of this content without express written consent is prohibited.
AR15.Com reserves the right to overwrite or replace any affiliate, commercial, or monetizable links, posted by users, with our own.