|
[#6]
Awesome, good for you. I am jealous. We need to make that move as well. Good luck with the chickens.
|
|
|
|
[#7]
I love threads like this.
Fantastic job OP! |
|
|
|
[#8]
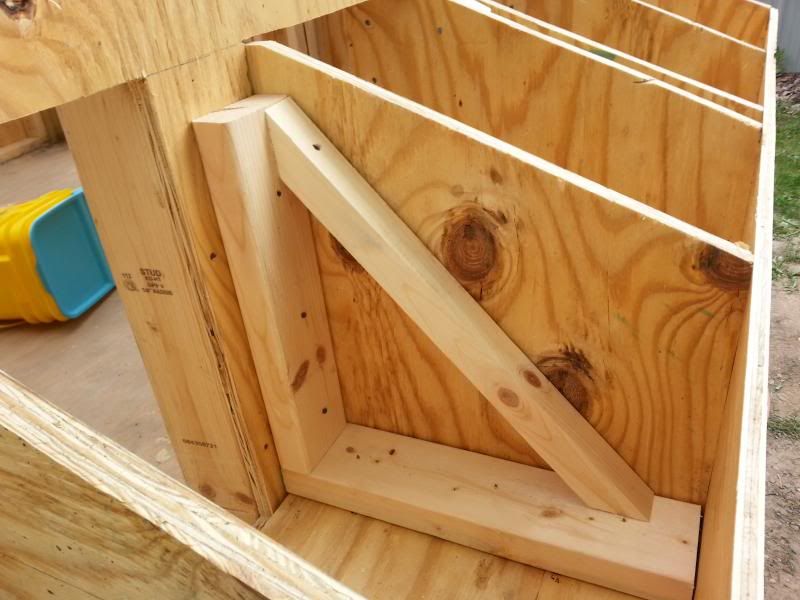
Wow, talk about building the proverbial brick outhouse... you did good! Way over-built for a chicken coop, but you did good on it!
|
|
|
|
[#9]
Quoted:
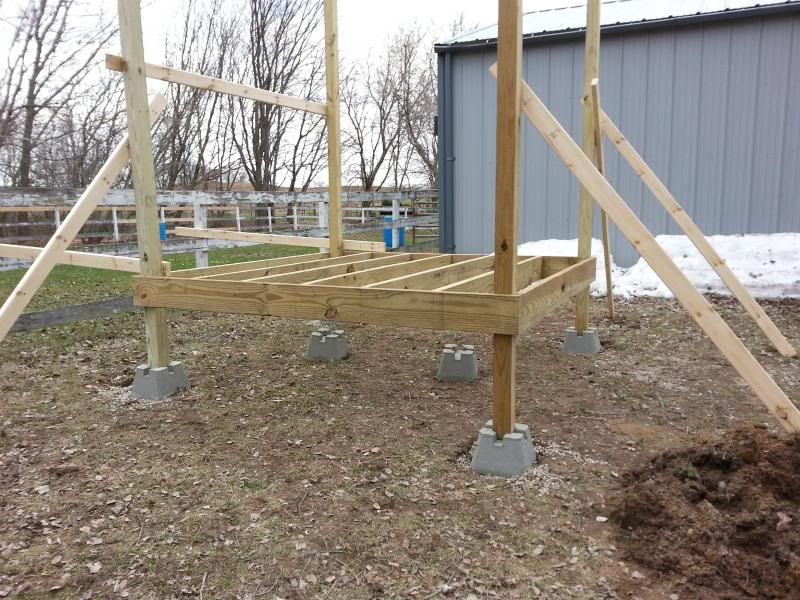
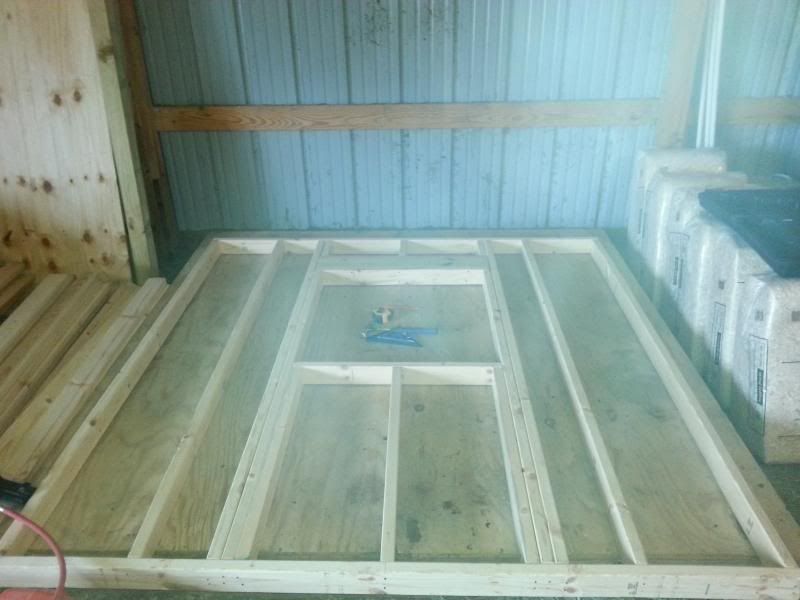
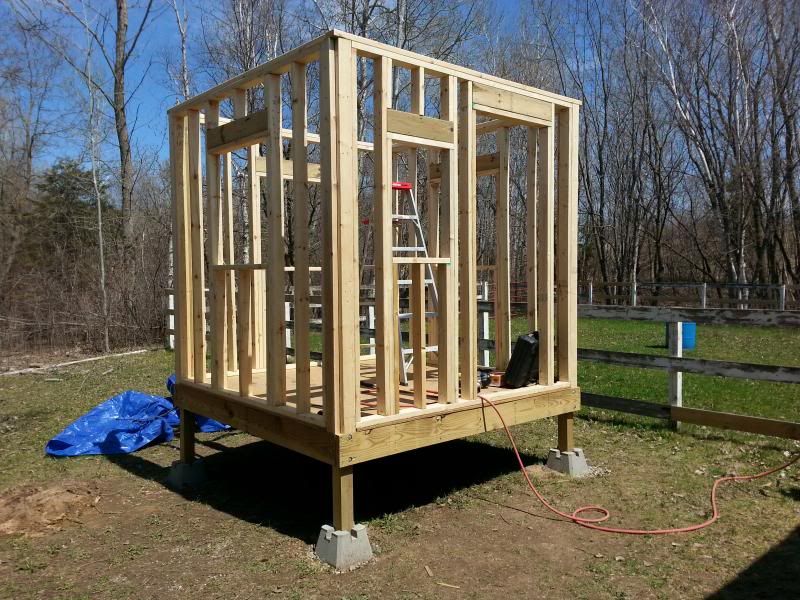
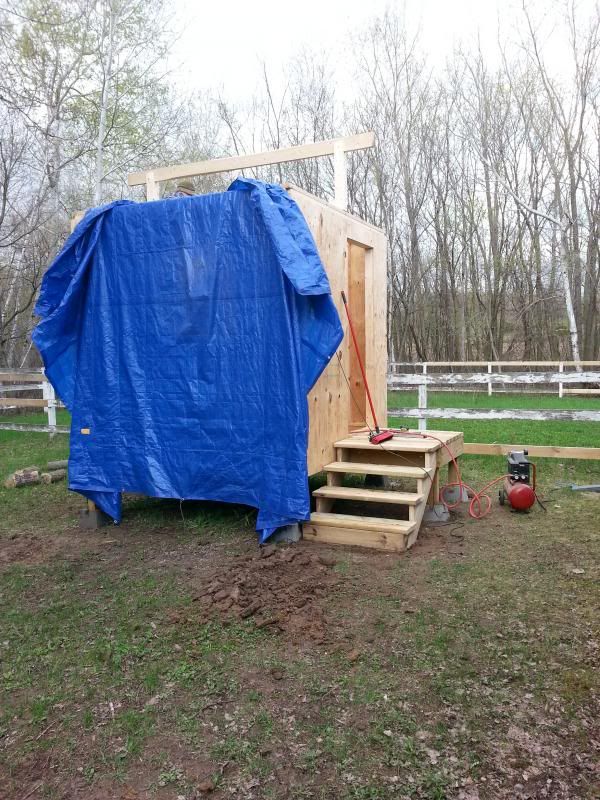
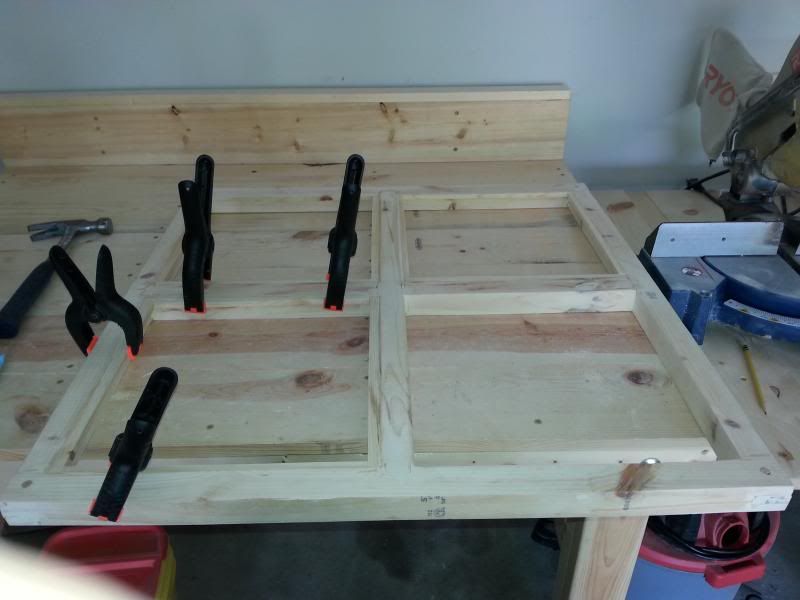
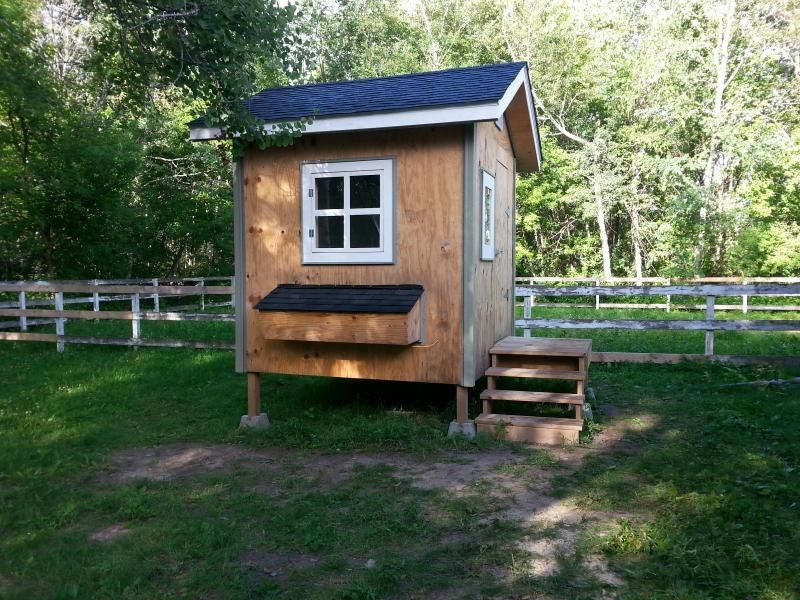
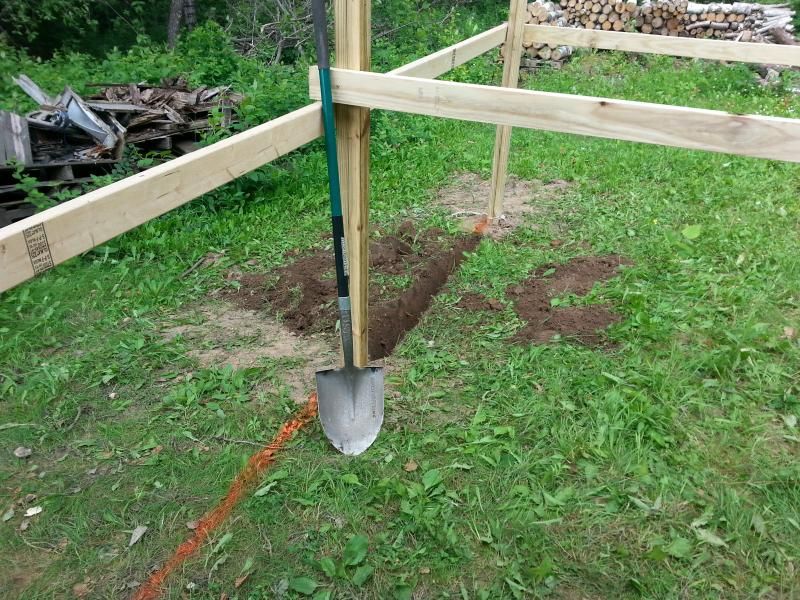
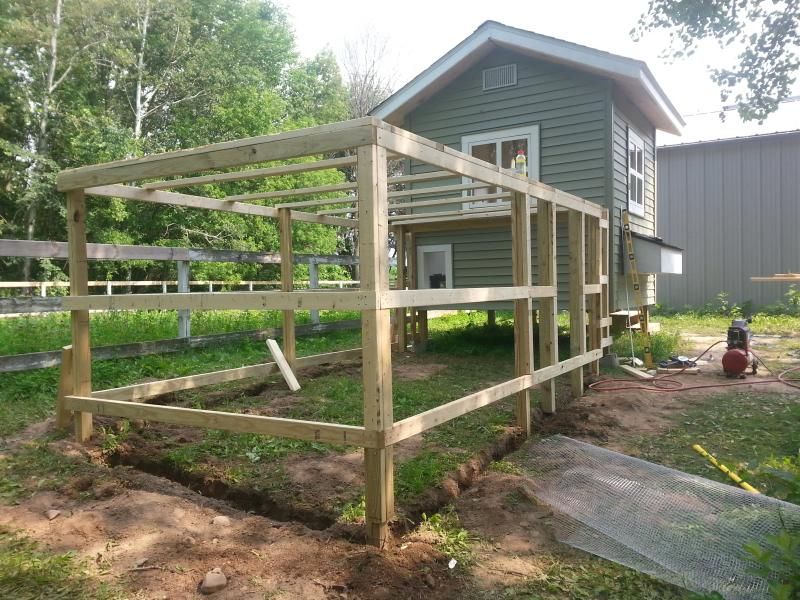
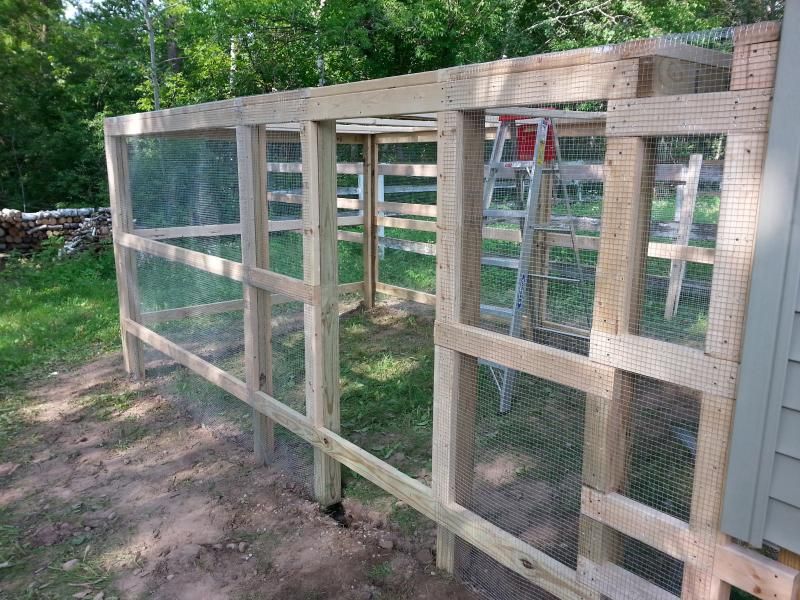
Wow, talk about building the proverbial brick outhouse... you did good! Way over-built for a chicken coop, but you did good on it! Trust me, I know (and get reminded of it every time my wife's farmer father visit). But I'm in my forty's and my body is starting to feel it (bad back, bad shoulders, etc.) so I didn't want to be building a coop, roofing, etc. in my fifty's or sixty's when the cheaper coop I built earlier in life fell apart. This one was built to last (hell, it will probably out last me) so I don't have to ever build one again. And at 8'x8' it is big enough if we ever want to expand our flock we have ample room or big enough if we want to re-purpose it for something else should be decide we no longer want chickens. |
|
|
|
[#10]
Way nicer than the monstrosity I built for mine.
|
|
|
|
[#11]
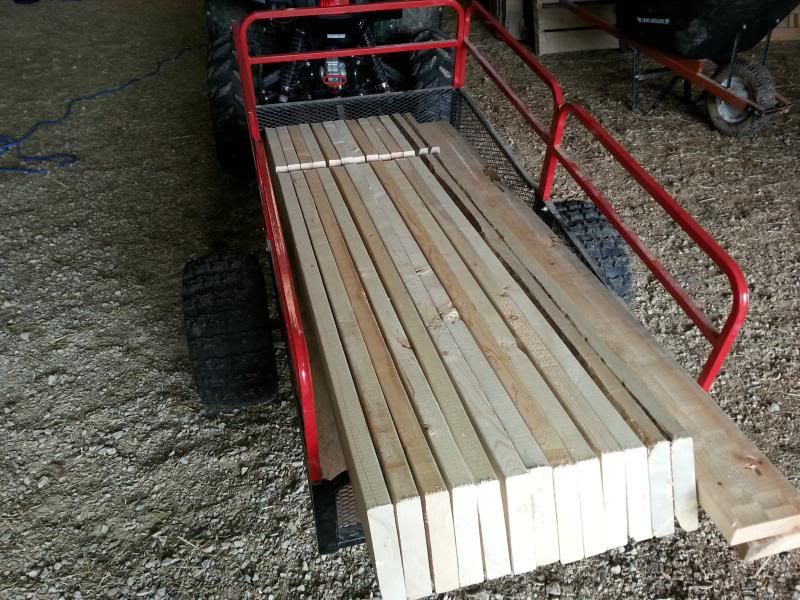
Three things
1. that is awesome! nice job. 2. where did you get that little pull behind trailer? 3. now you can go build the kids a playhouse |
|
|
|
[#12]
Quoted:
Three things 1. that is awesome! nice job. 2. where did you get that little pull behind trailer? 3. now you can go build the kids a playhouse 1. Thank you! 2. It's a YuTrax. I purchased mine from from Norther Tool and Electric (on-line catalog, but I'm not sure if they carry the brand anymore). It's an awesome utility cart for working around the yard. The top red guard rails come off. Rear gate comes off, and it even tilts for easy dumping. Does great hauling firewood. They make a slightly beefier version with dual wheels and independent axles. If you get one, make sure to buy some plywood to affix to the inside. The metal grating isn't as strong as I would have preferred and tossing heavy logs in could easily damage it. Little plywood and she is as tough as nails. I would buy one again in a heartbeat. Well worth the price (just remember to inject grease into the zerks on occasion to keep the bearings lubed). 3. They are asking for one, but after doing this build I need a break from building structures. Wife wants me to try my hand at making some furniture (we need an entryway bench) so after I get all my fall/winter firewood chopped that is my next project |
|
|
|
[#13]
Quoted:
1. Thank you! 2. It's a YuTrax. I purchased mine from from Norther Tool and Electric (on-line catalog, but I'm not sure if they carry the brand anymore). It's an awesome utility cart for working around the yard. The top red guard rails come off. Rear gate comes off, and it even tilts for easy dumping. Does great hauling firewood. They make a slightly beefier version with dual wheels and independent axles. If you get one, make sure to buy some plywood to affix to the inside. The metal grating isn't as strong as I would have preferred and tossing heavy logs in could easily damage it. Little plywood and she is as tough as nails. I would buy one again in a heartbeat. Well worth the price (just remember to inject grease into the zerks on occasion to keep the bearings lubed). 3. They are asking for one, but after doing this build I need a break from building structures. Wife wants me to try my hand at making some furniture (we need an entryway bench) so after I get all my fall/winter firewood chopped that is my next project Quoted:
Quoted:
Three things 1. that is awesome! nice job. 2. where did you get that little pull behind trailer? 3. now you can go build the kids a playhouse 1. Thank you! 2. It's a YuTrax. I purchased mine from from Norther Tool and Electric (on-line catalog, but I'm not sure if they carry the brand anymore). It's an awesome utility cart for working around the yard. The top red guard rails come off. Rear gate comes off, and it even tilts for easy dumping. Does great hauling firewood. They make a slightly beefier version with dual wheels and independent axles. If you get one, make sure to buy some plywood to affix to the inside. The metal grating isn't as strong as I would have preferred and tossing heavy logs in could easily damage it. Little plywood and she is as tough as nails. I would buy one again in a heartbeat. Well worth the price (just remember to inject grease into the zerks on occasion to keep the bearings lubed). 3. They are asking for one, but after doing this build I need a break from building structures. Wife wants me to try my hand at making some furniture (we need an entryway bench) so after I get all my fall/winter firewood chopped that is my next project Northern Tool still does have the YuTrax. --Sounds like you have busy winter ahead of you |
|
|
|
[#14]
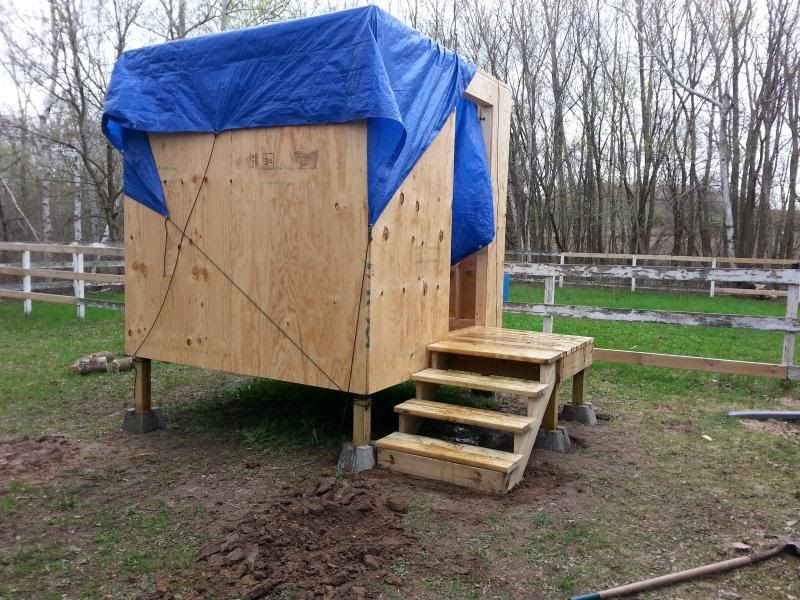
That's one nice chicken coop for someone with no formal experience in construction.
|
|
|
|
[#15]
Quoted: That's one nice chicken coop for someone with no formal experience in construction. |
|
|
|
[#16]
Quoted:
That's one nice chicken coop for someone with no formal experience in construction. Thanks! It was a great learning experience. I feel much more confident now than before in my building skills. We have a ~1,500 square foot unfinished basement in our house and I want to finish it. Doing the framing and work on the coop was a good starting foundation for moving on to the basement project in the coming years. Also plan on adding a small deck (maybe 8'x12') off from our ground floor kitchen. |
|
|
|
[#17]
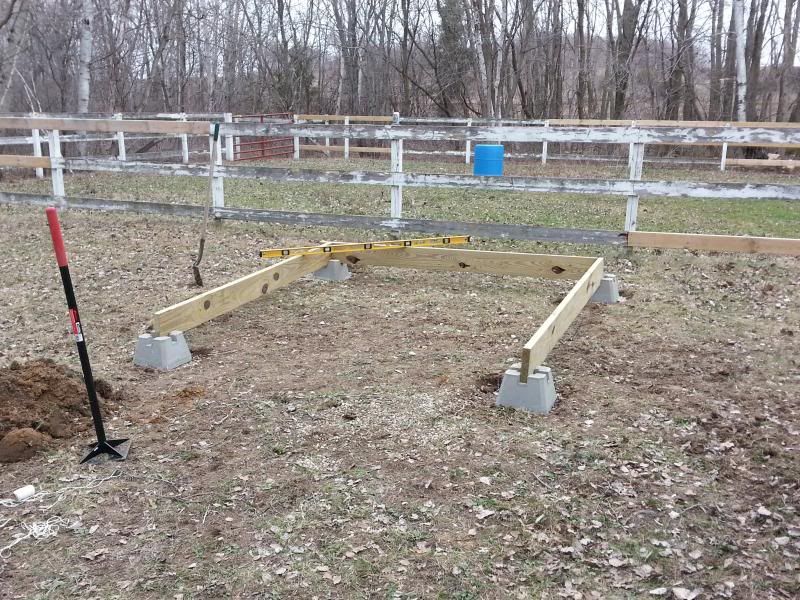
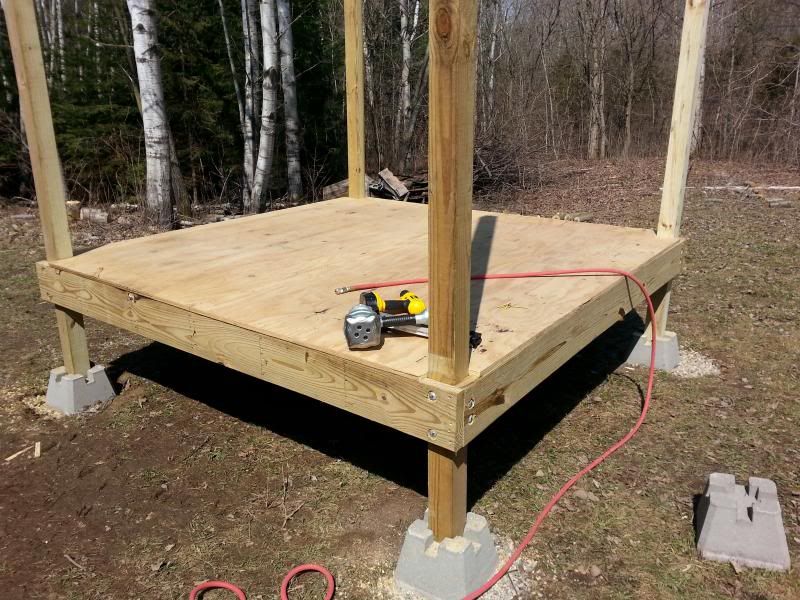
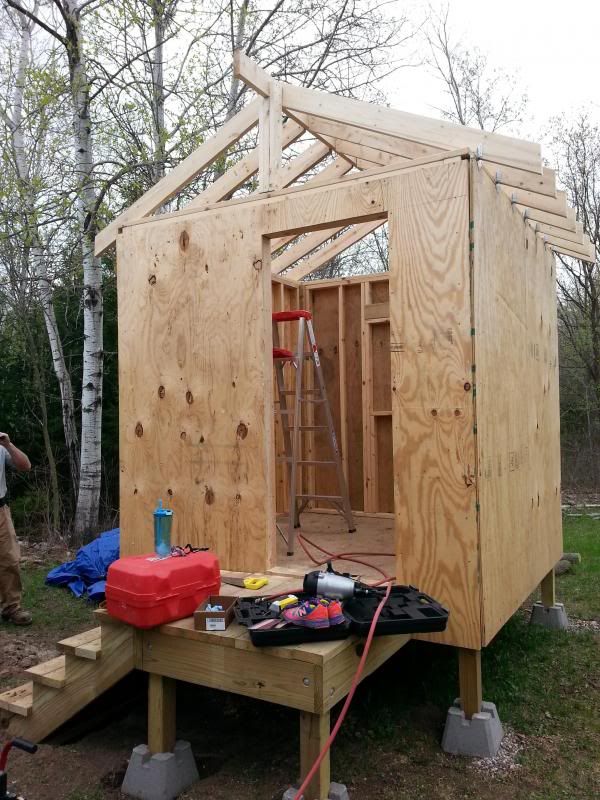
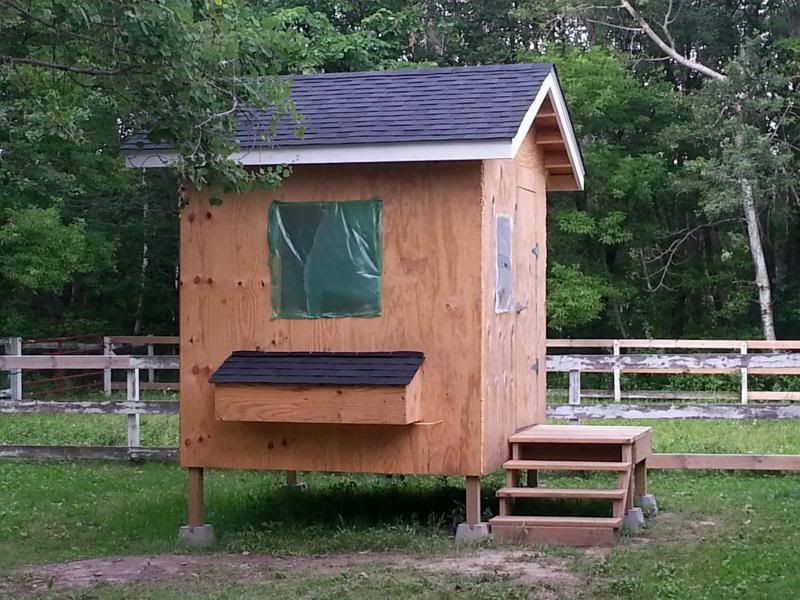
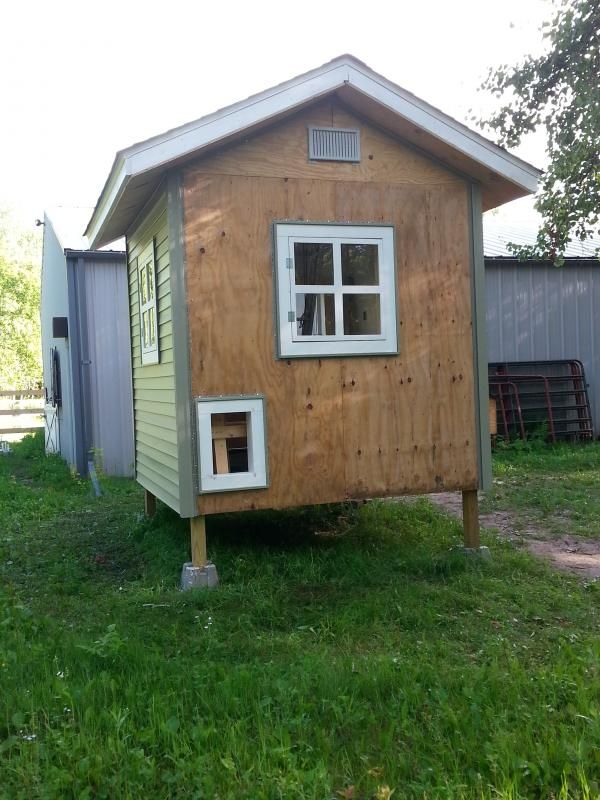
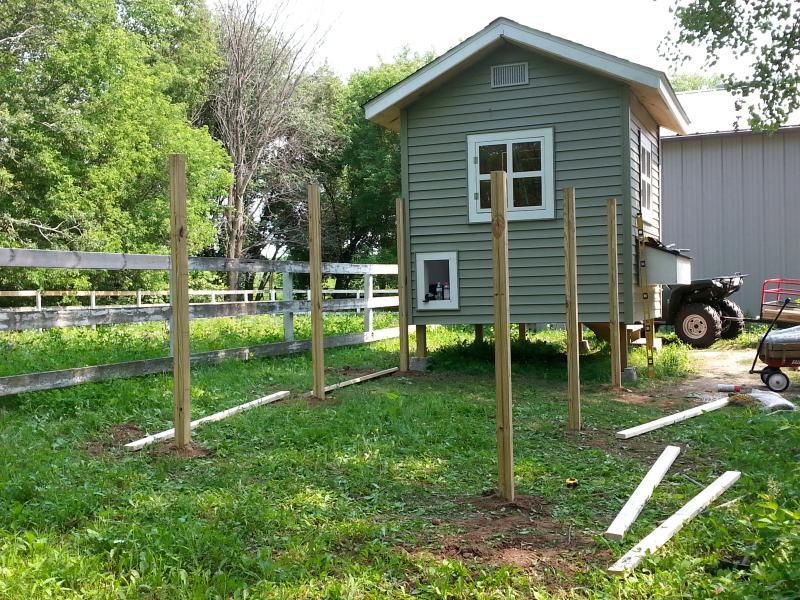
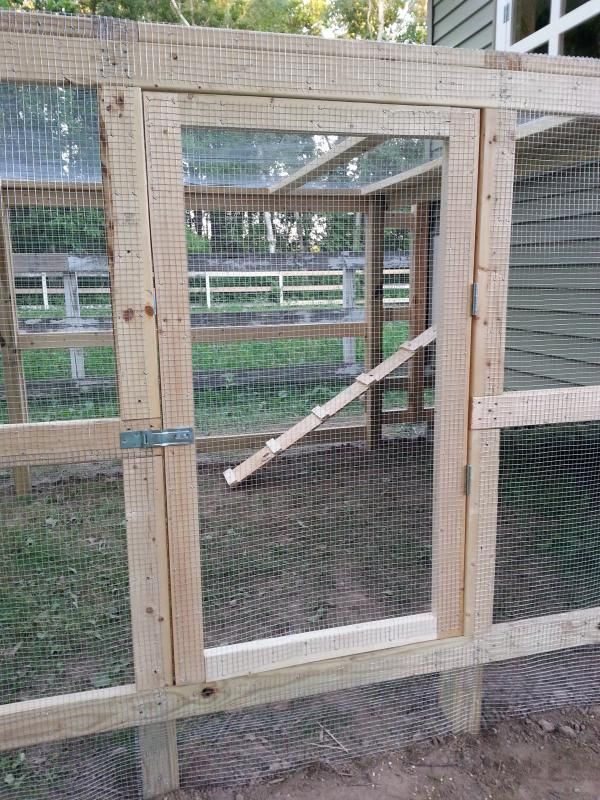
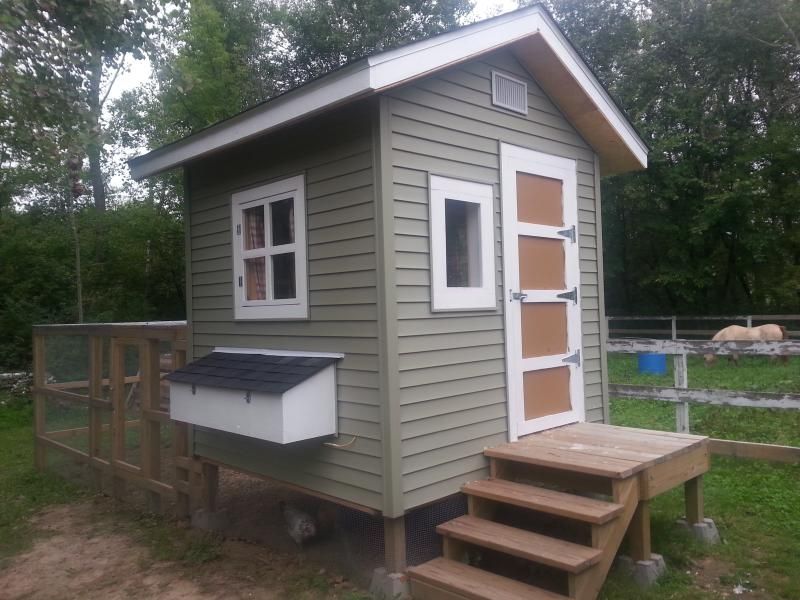
Stupid question, what are those pre-formed concrete things that you mounted the shed on? Where did you get them?
Nice coop, I've slept in worse.... |
|
|
|
[#18]
Quoted:
Stupid question, what are those pre-formed concrete things that you mounted the shed on? Where did you get them? Nice coop, I've slept in worse.... They are concrete deck blocks, and you can find them at any big box home improvement store like Home Depot or Lowe's for around $6.00 each. The center square measures 4"x4"and a typical 4"x4" post fits perfectly in it. Each block is rated to 3,000 psi compression strength. |
|
|
|
[#19]
Very nice job. Actually looks better that my first apartment years ago.
|
|
|
|
[#20]
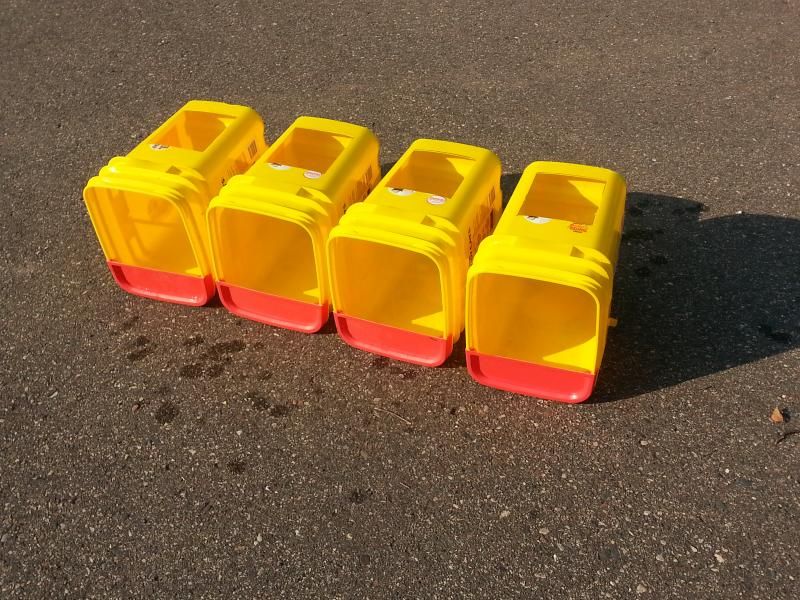
I am not a chicken person yet. Maybe next spring.
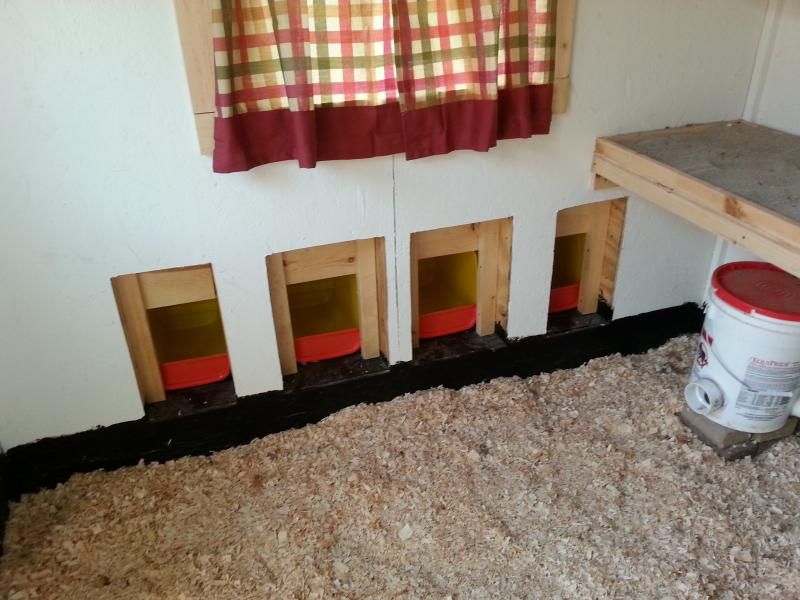
What is that in the poop tray? |
|
|
|
[#21]
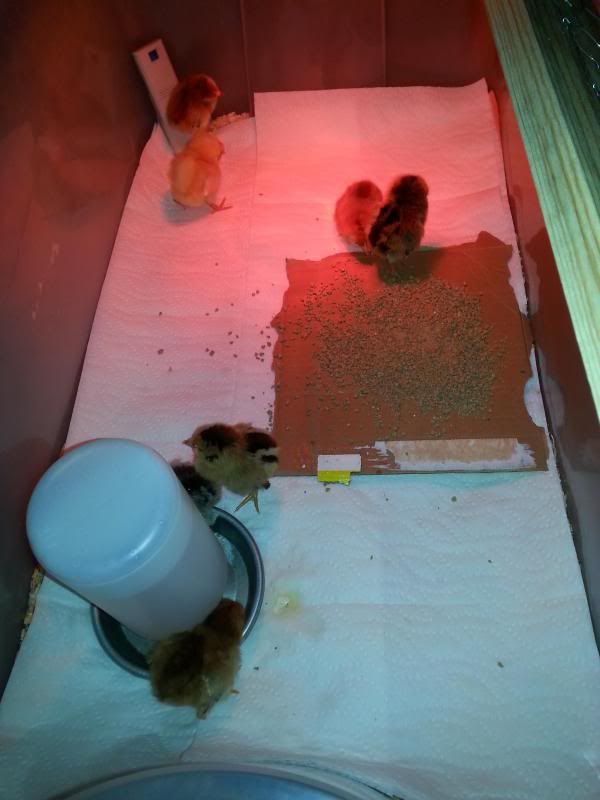
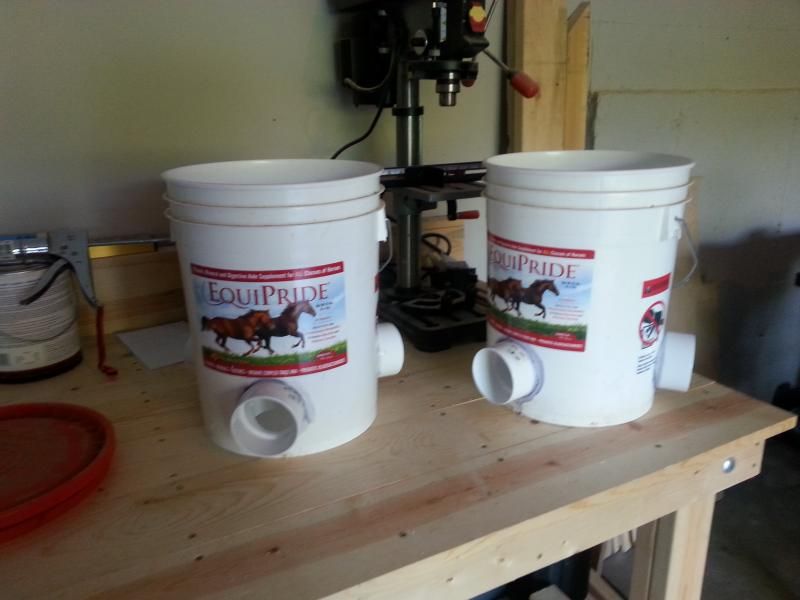
Quoted:
I am not a chicken person yet. Maybe next spring. What is that in the poop tray? Called Stall Dry (edited to add: that is actually the name brand of the stuff my wife buys, there are other brands). It's basically kitty litter. Can get it at any farm/feed type store. It's typically used to dry the pee spots in horse stalls. Just make sure to the the granular stuff not powder. One thing I would have done differently is the edges of the poop tray should have been about an inch taller. Mine are about 1 1/2"-ish tall. While it works, taller edges would do a better job keeping the litter in while scooping. |
|
|
|
[#22]
You build better than some "builders". Nice job.
|
|
|
|
[#23]
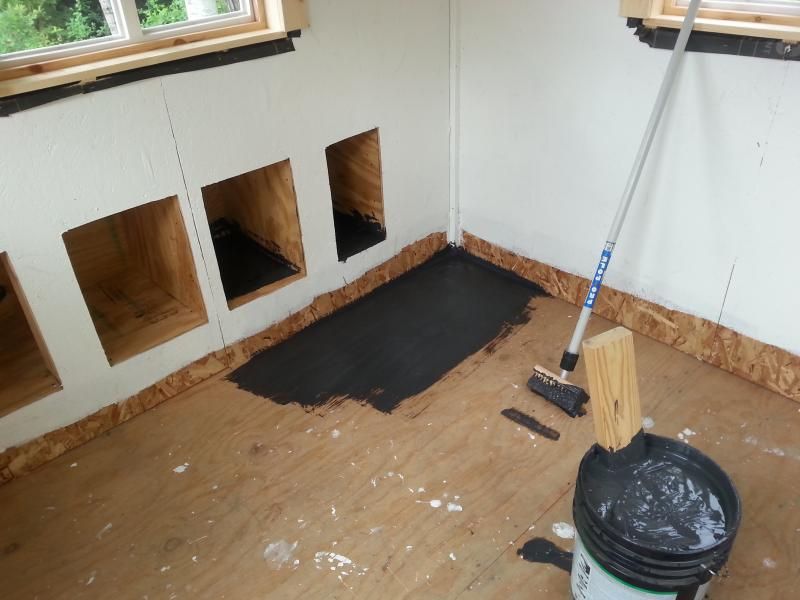
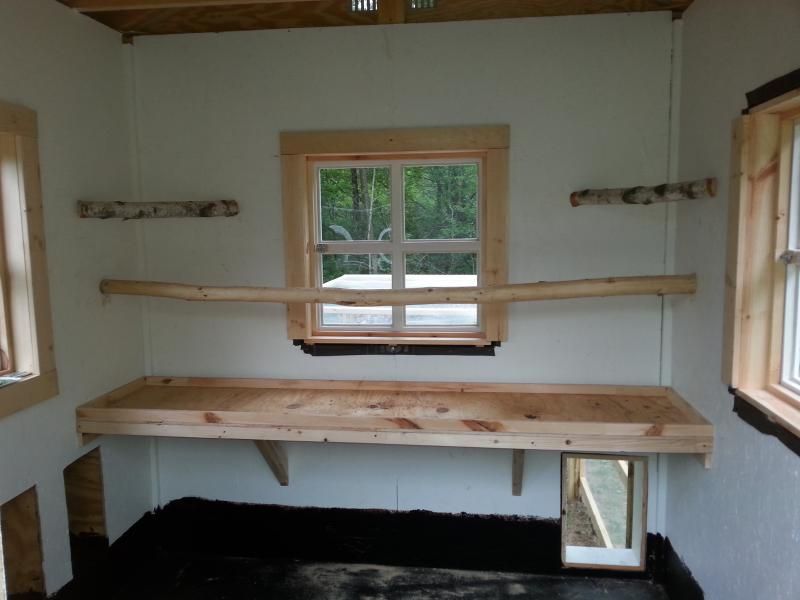
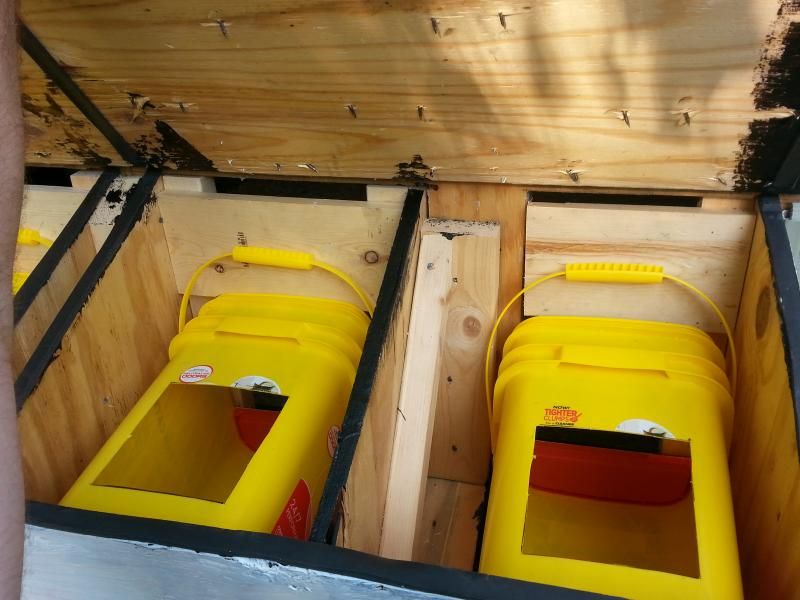
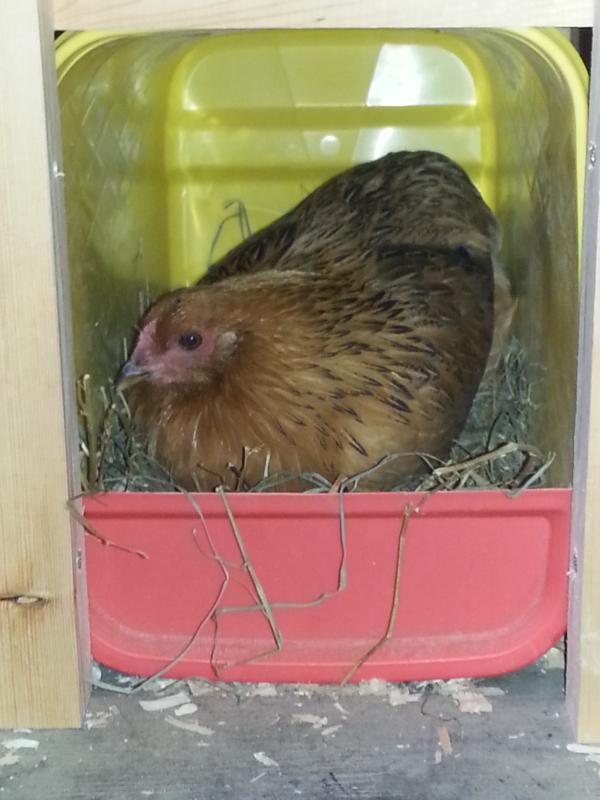
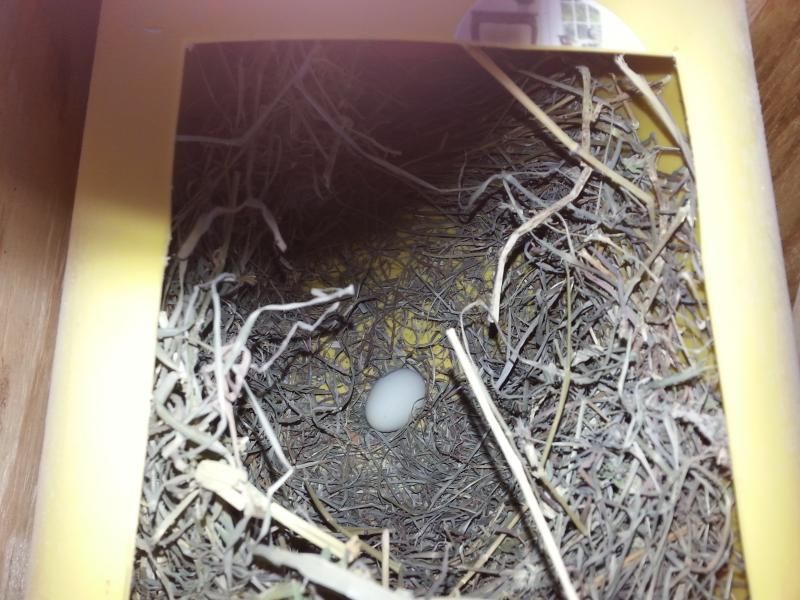
Yea, dont expect the chickens to actually use the nesting boxes
Mine quit using them and started laying in the corner of the coop.  |
|
|
|
[#24]
Quoted:
Yea, dont expect the chickens to actually use the nesting boxes Mine quit using them and started laying in the corner of the coop. Mine, so far, are using two of the four nesting boxes regularly. We occasionally find a egg on the dirt in the run, but all the others are in the nesting boxes. |
|
|
|
[#25]
that is seriously nicer than my shed, which was evidently once a chicken coop
|
|
|
 Win a FREE Membership!
Sign up for the ARFCOM weekly newsletter and be entered to win a free ARFCOM membership. One new winner* is announced every week!
You will receive an email every Friday morning featuring the latest chatter from the hottest topics, breaking news surrounding legislation, as well as exclusive deals only available to ARFCOM email subscribers.

AR15.COM is the world's largest firearm community and is a gathering place for firearm enthusiasts of all types.
From hunters and military members, to competition shooters and general firearm enthusiasts, we welcome anyone who values and respects the way of the firearm.

Subscribe to our monthly Newsletter to receive firearm news, product discounts from your favorite Industry Partners, and more.
Copyright © 1996-2024 AR15.COM LLC. All Rights Reserved.
Any use of this content without express written consent is prohibited.
AR15.Com reserves the right to overwrite or replace any affiliate, commercial, or monetizable links, posted by users, with our own.