IA, USA
|
[#1]
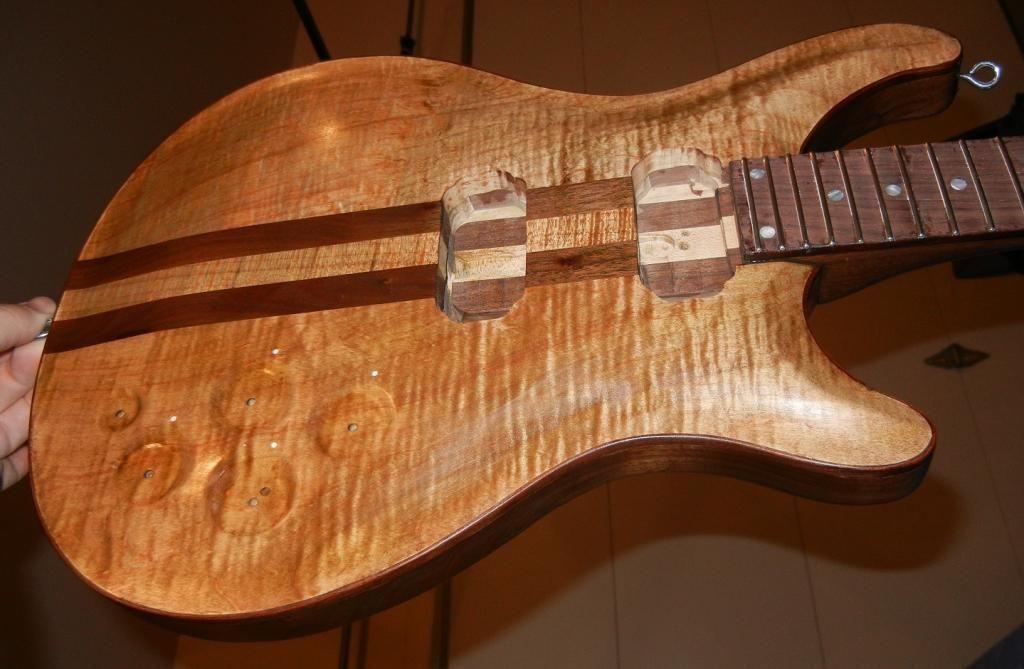
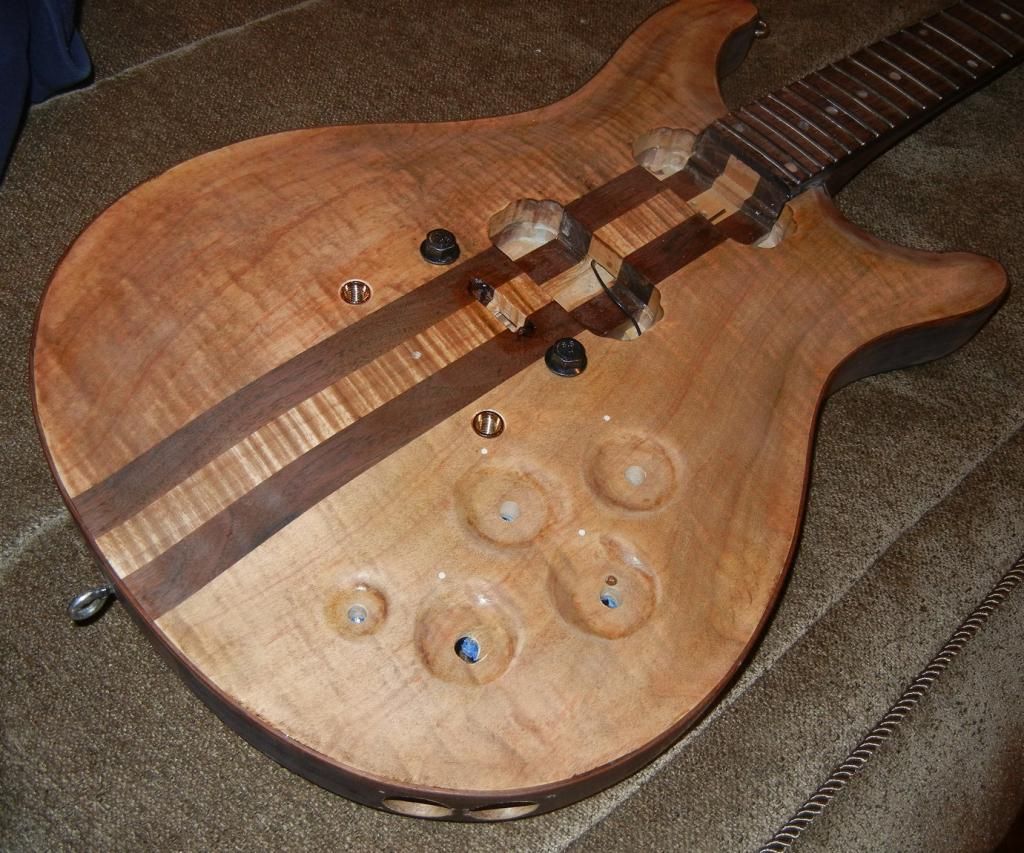
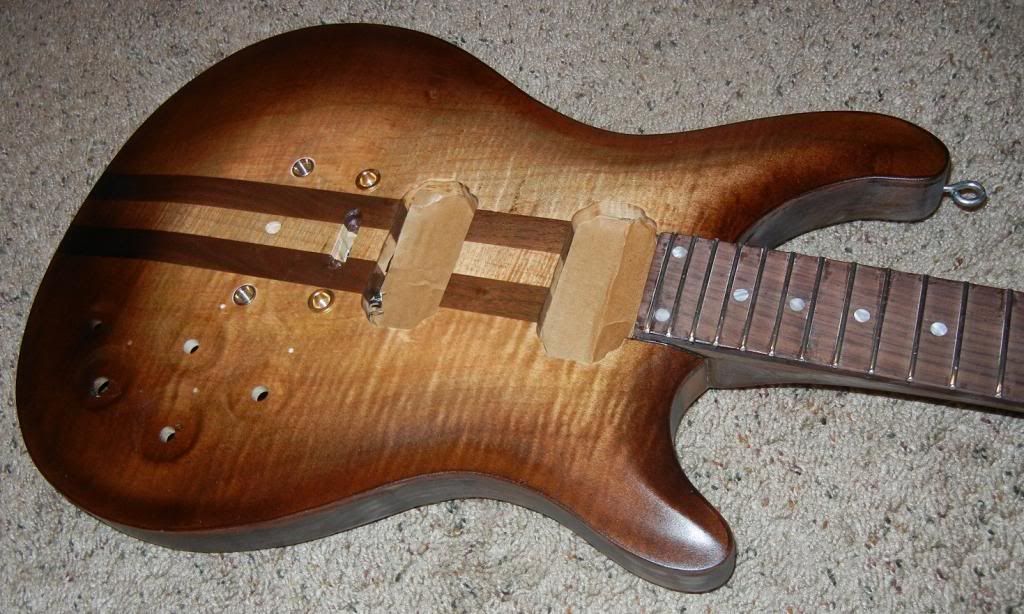
Here are a few pictures of the frets. the first shows the undercut I made with the dremel on each end. it extends about 1/16" from the side of the fretboard on each side.
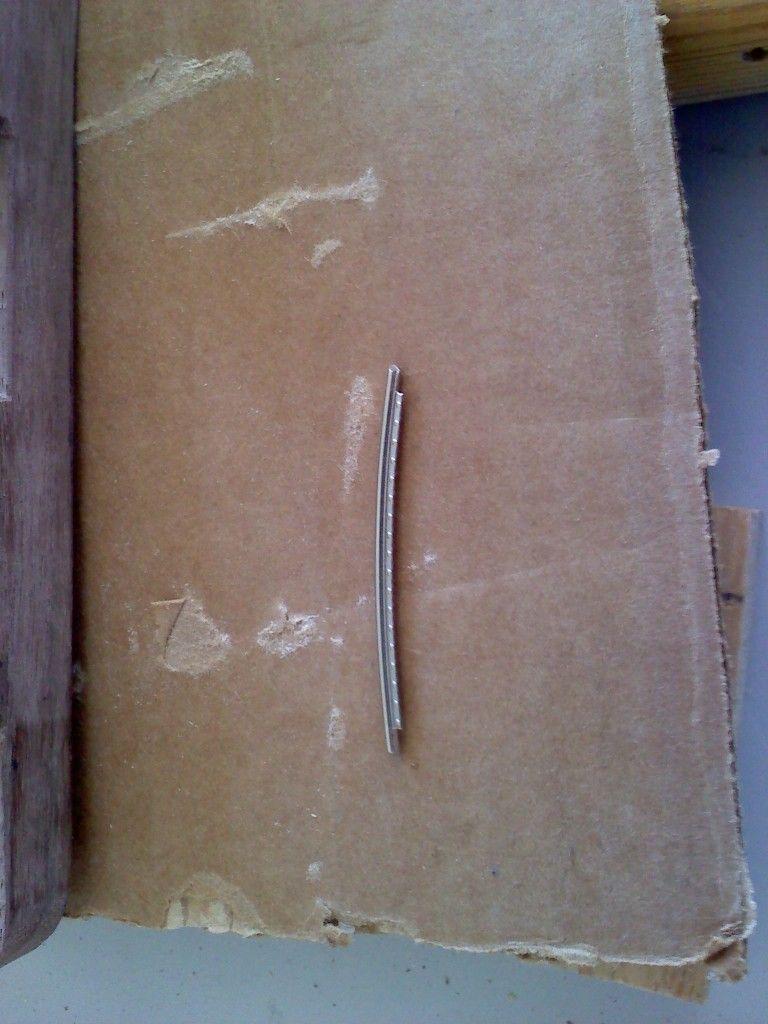
One fret placed prior to hammering it home 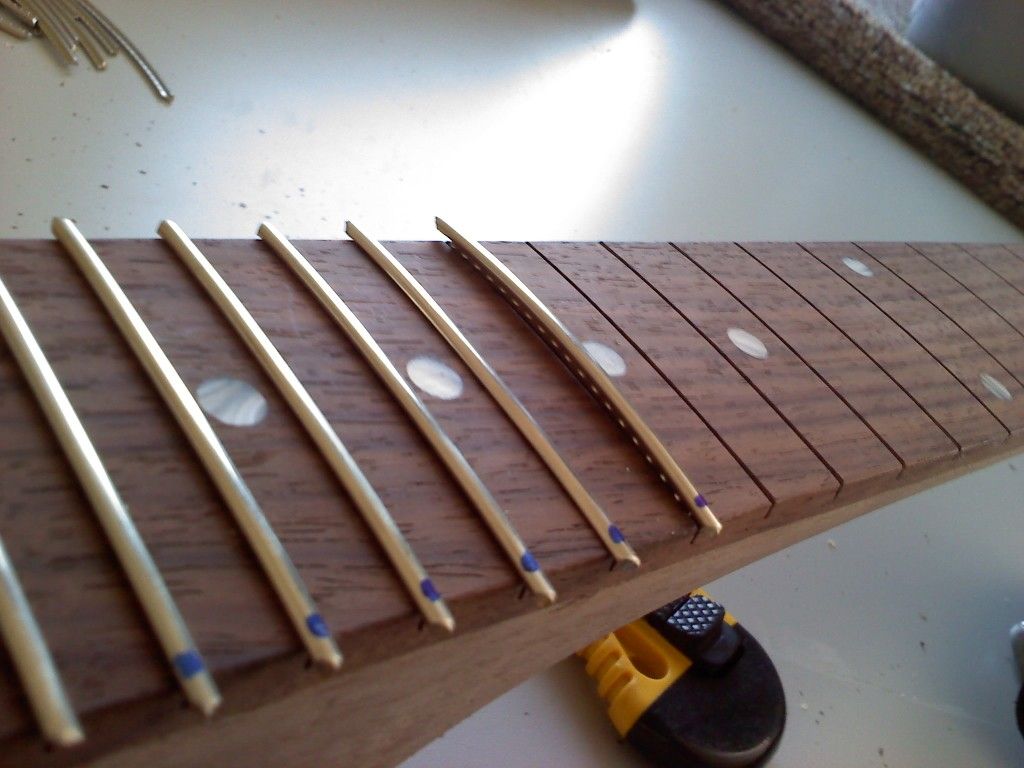
the whole neck 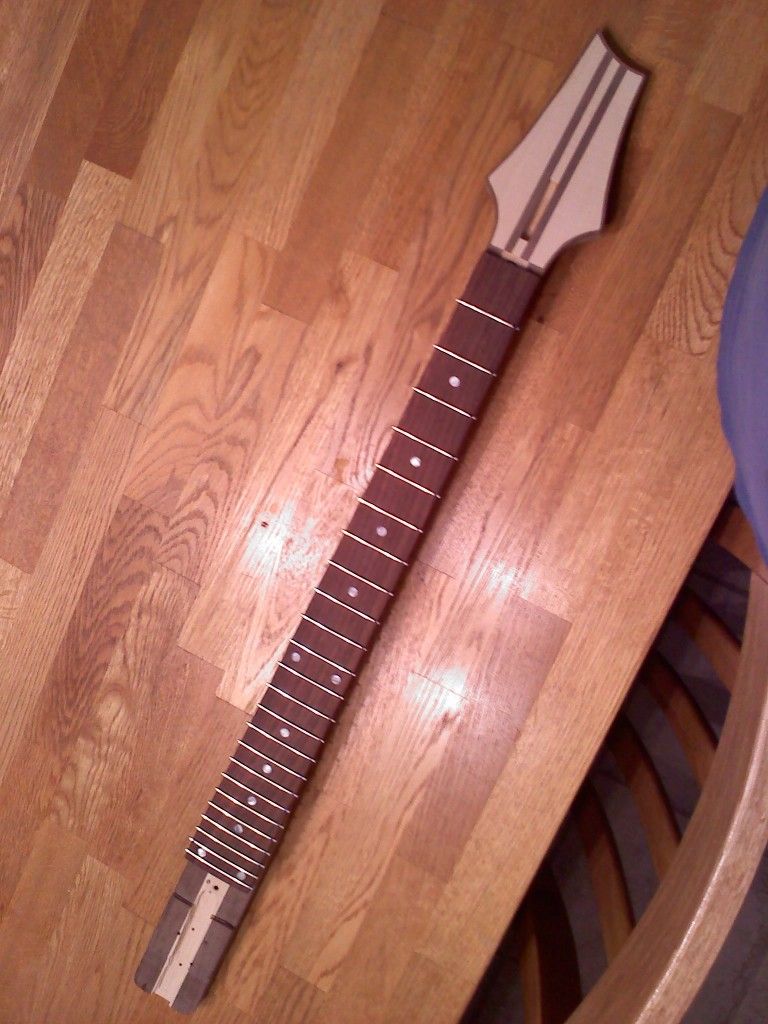
a bit closer 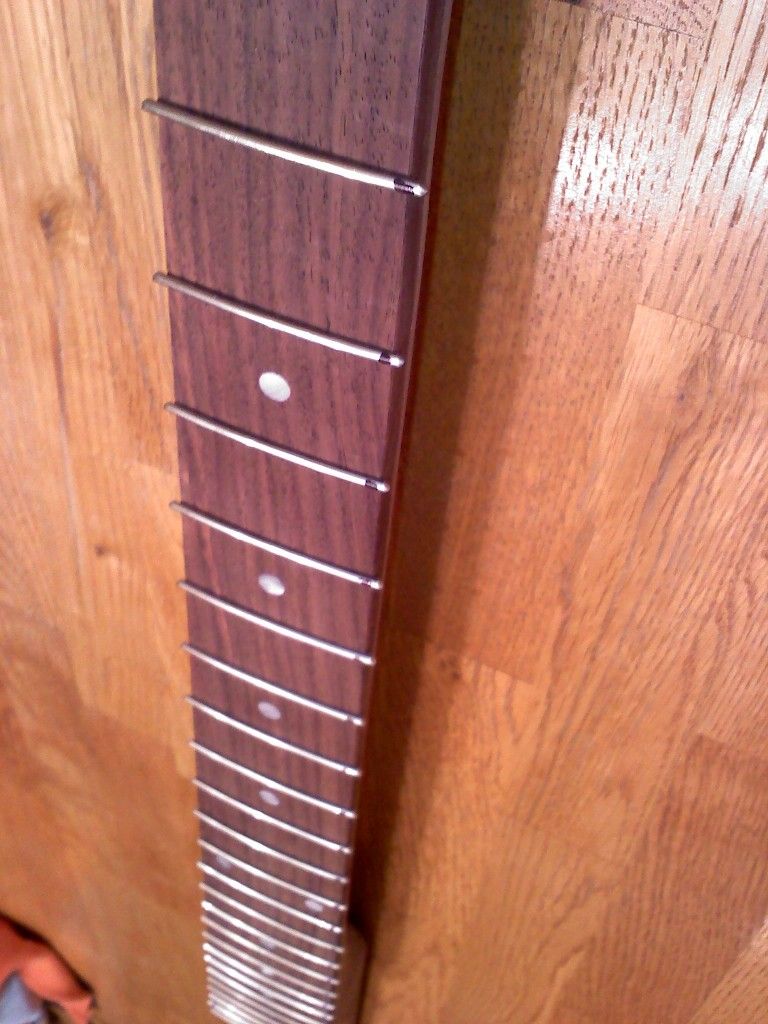
no fret tang visible from the side! 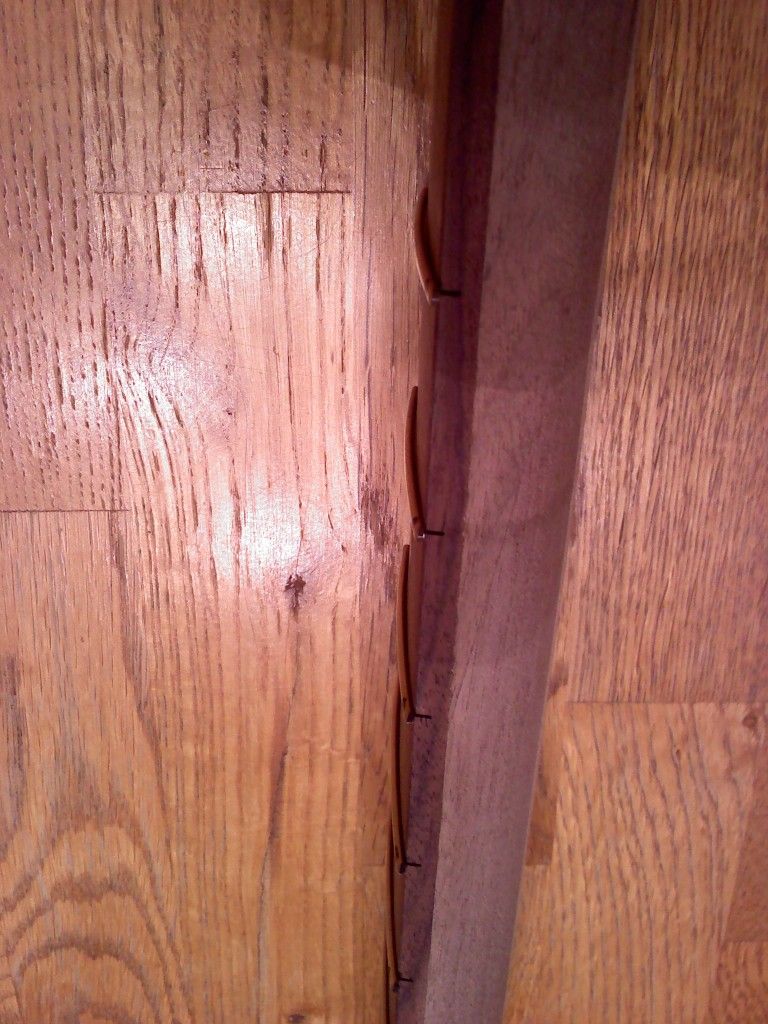
|
|
|
IA, USA
|
[#2]
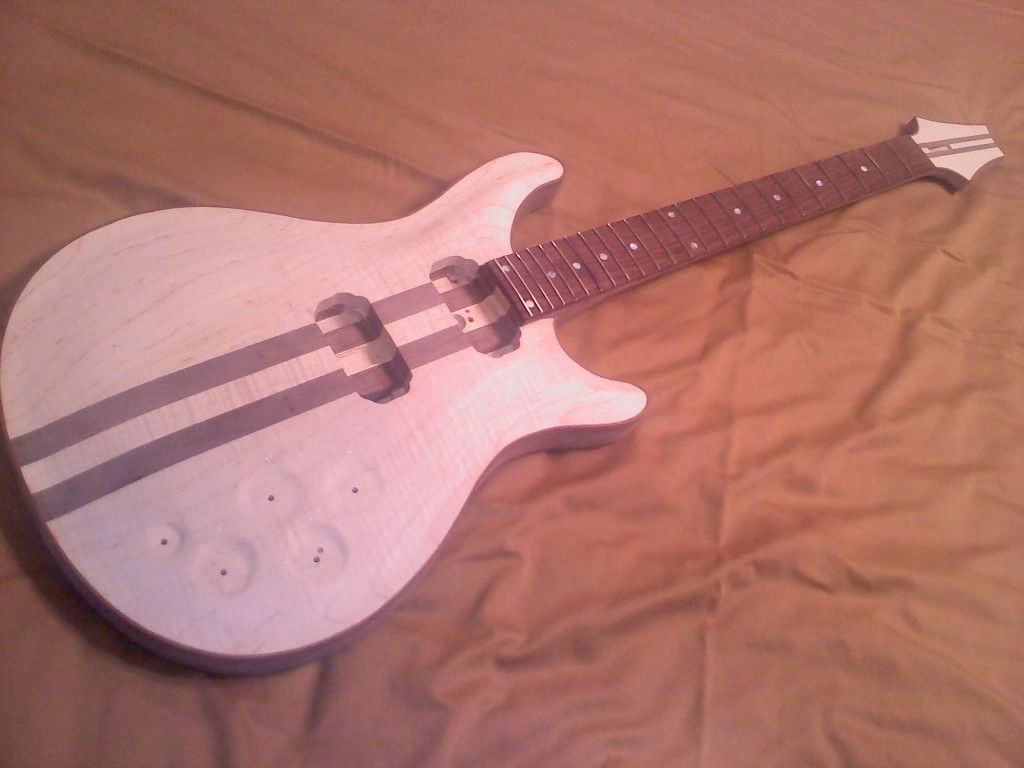
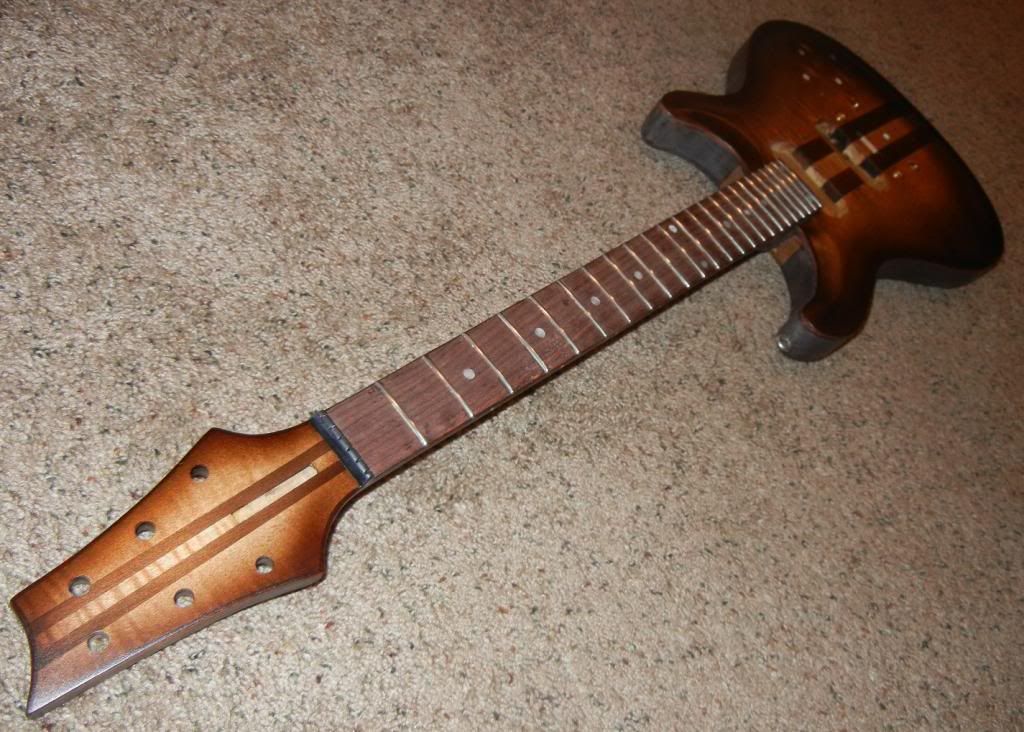
here it is with frets in and almost leveled. there's one low fret that needs replacement. Then I'll finish leveling, crowning, and dressing the ends, should be able to glue the neck in soon afterwards
|
|
|
IA, USA
|
[#3]
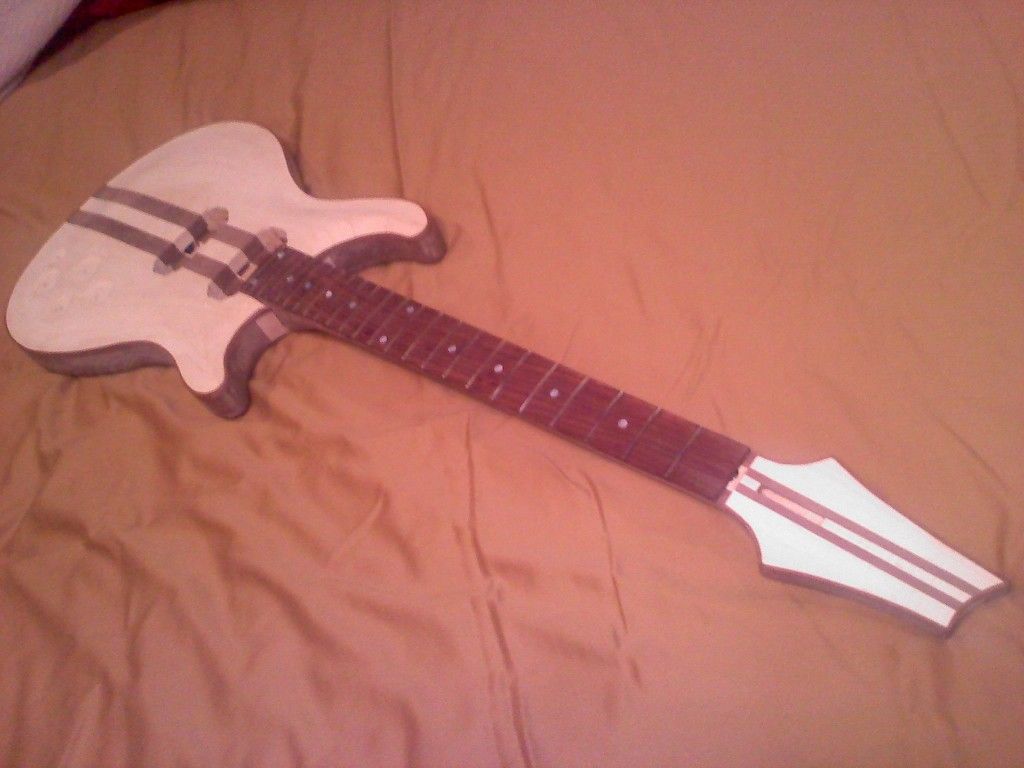
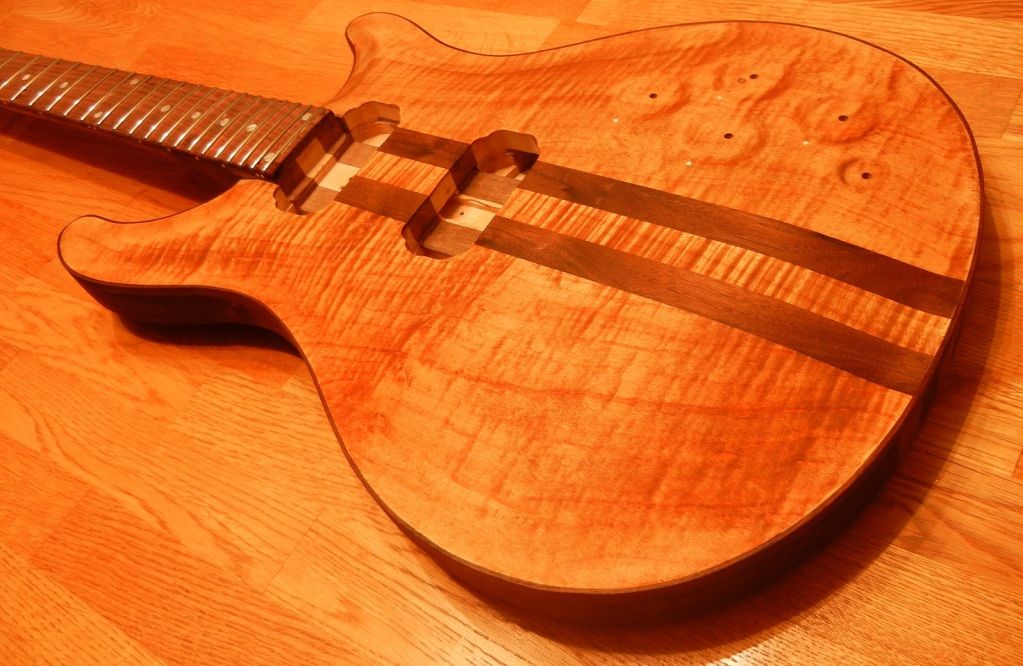
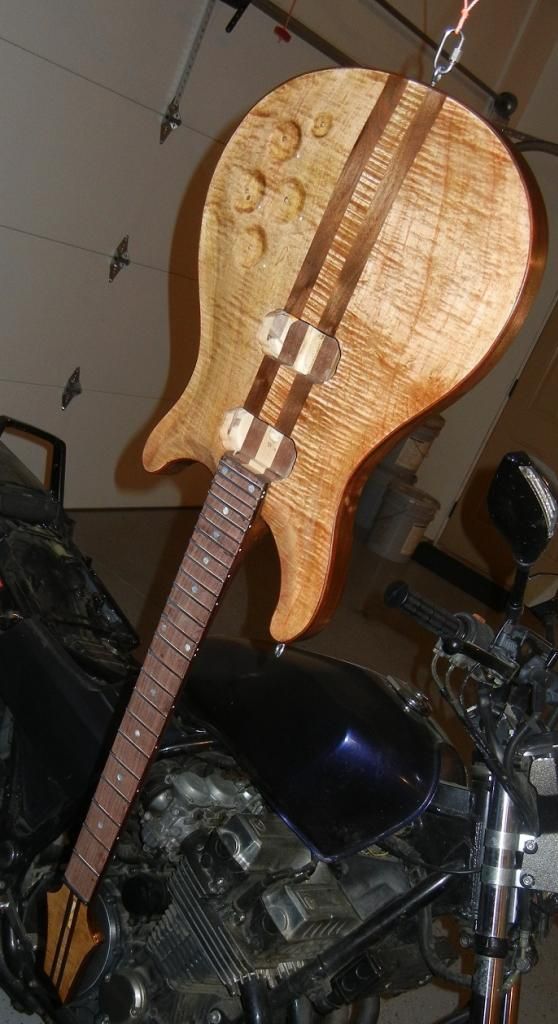
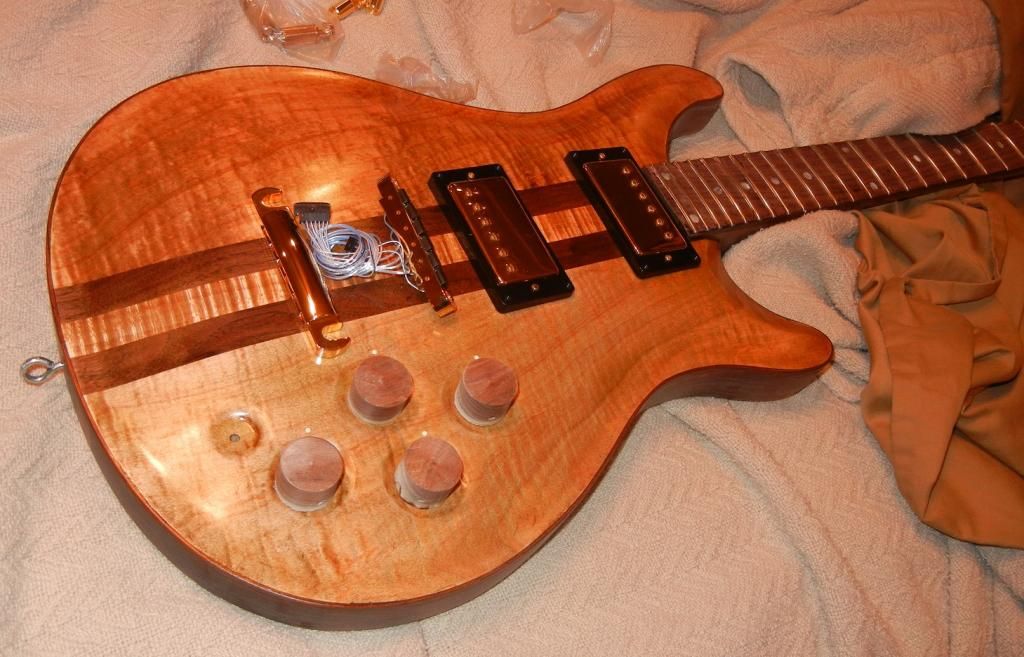
here's after polishing the frets:
I dyed it tonight, I still have to dye the headstock as I forgot to do that but that's easy enough and I still have the mix. still have to sand it back then dye it with the amber 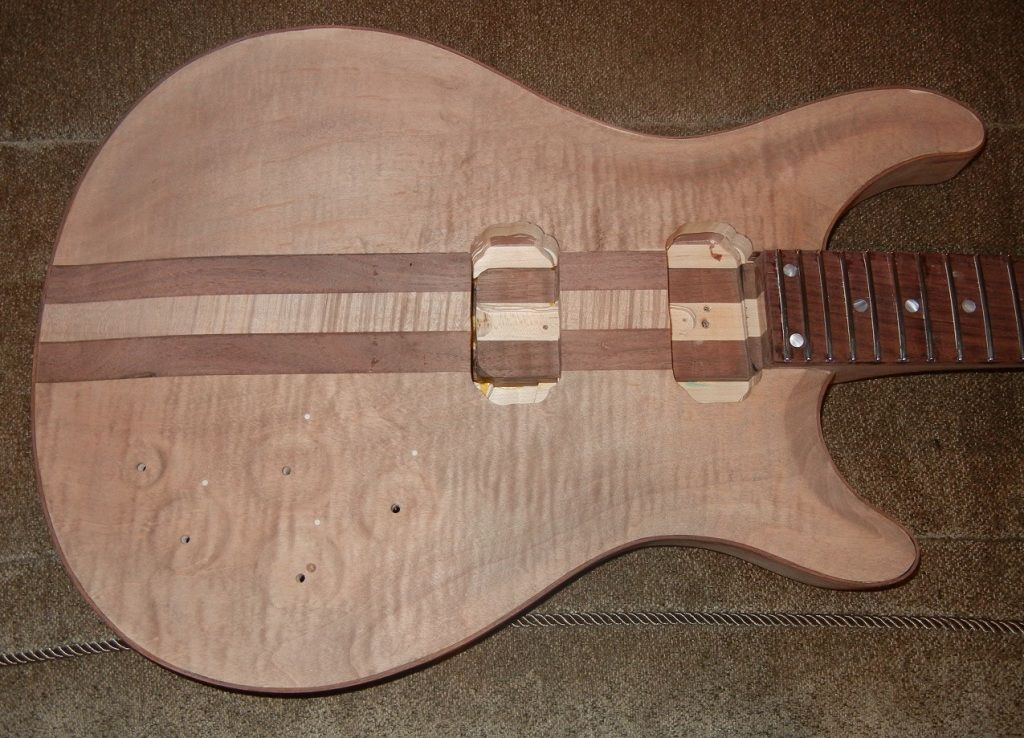
A small gap in the neck joint that will need some filler: 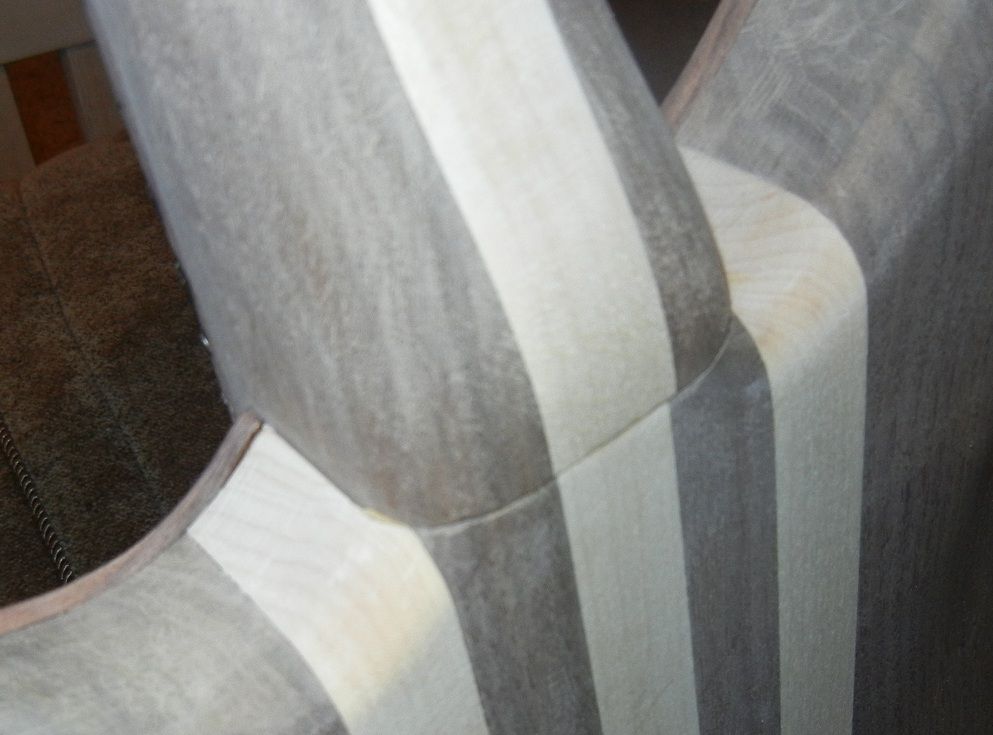
|
|
|
IA, USA
|
[#4]
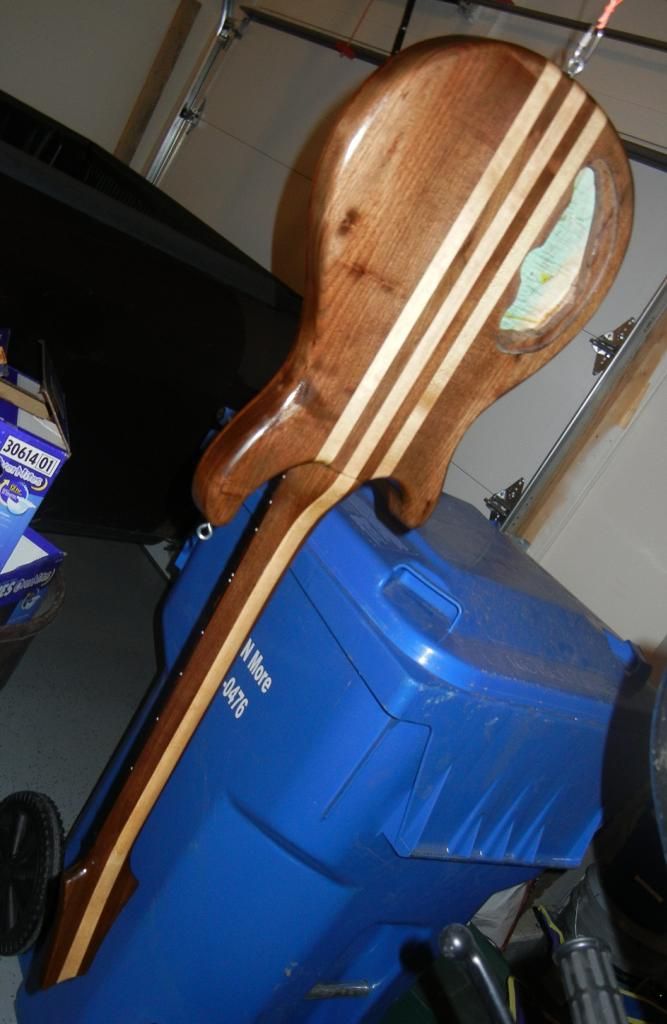
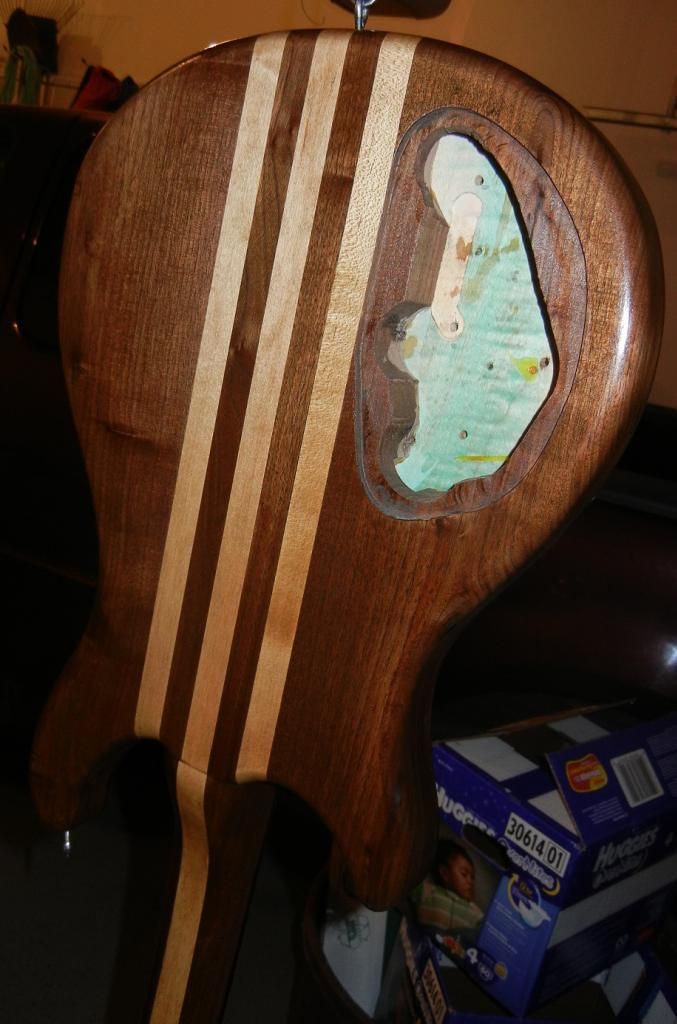
I hadn't had a chance to get pictures off of the camera...
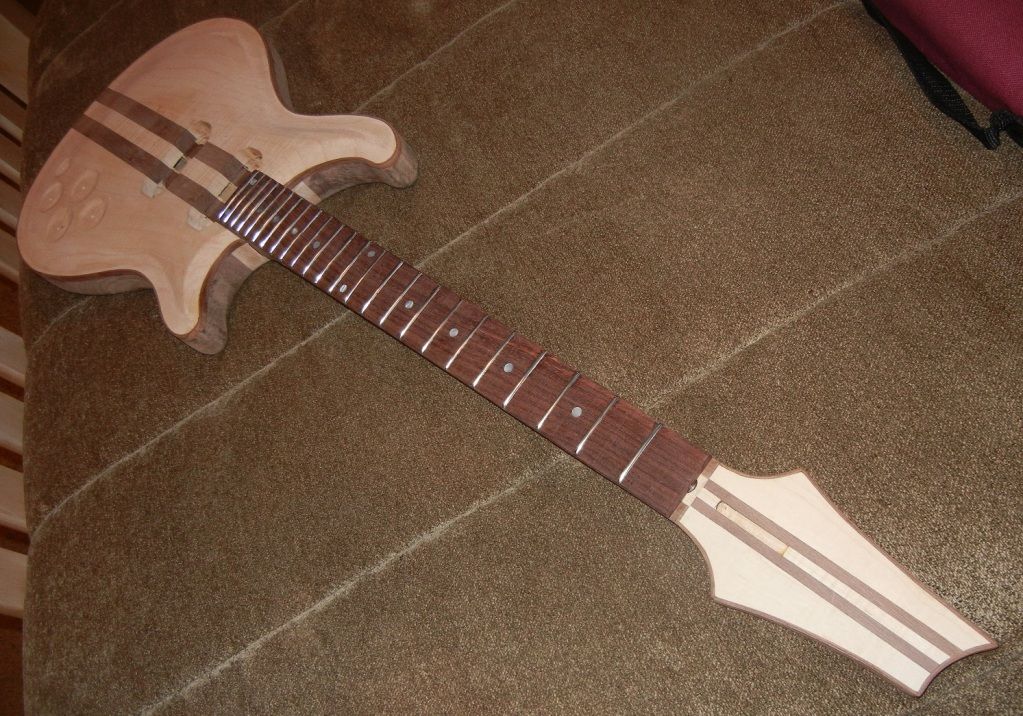
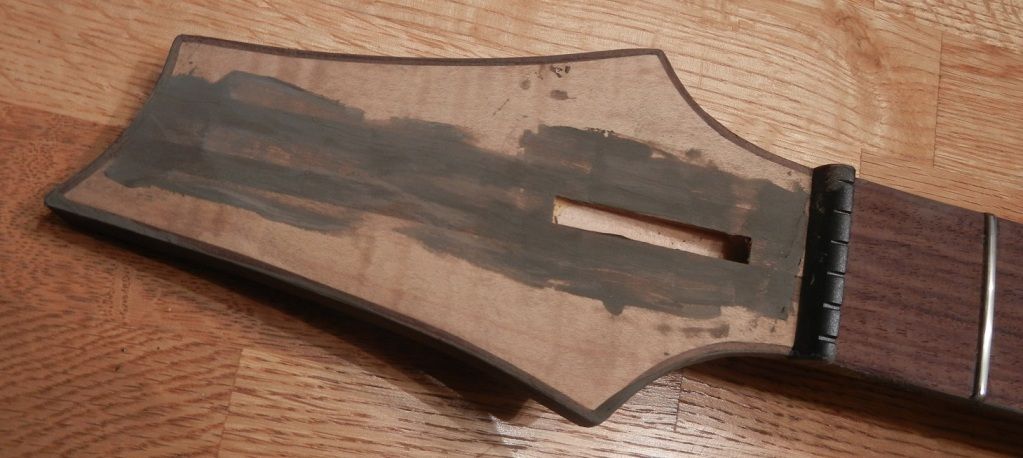
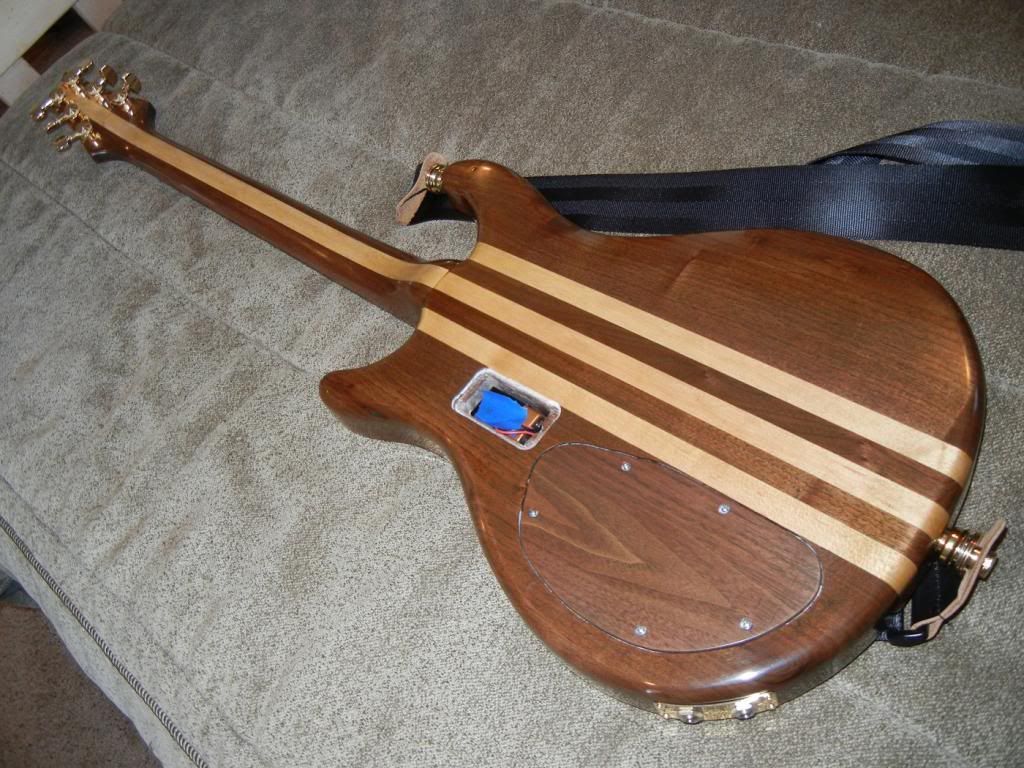
amber dye has been applied, I've filled in a couple of cracks and am filling the grain pores now. 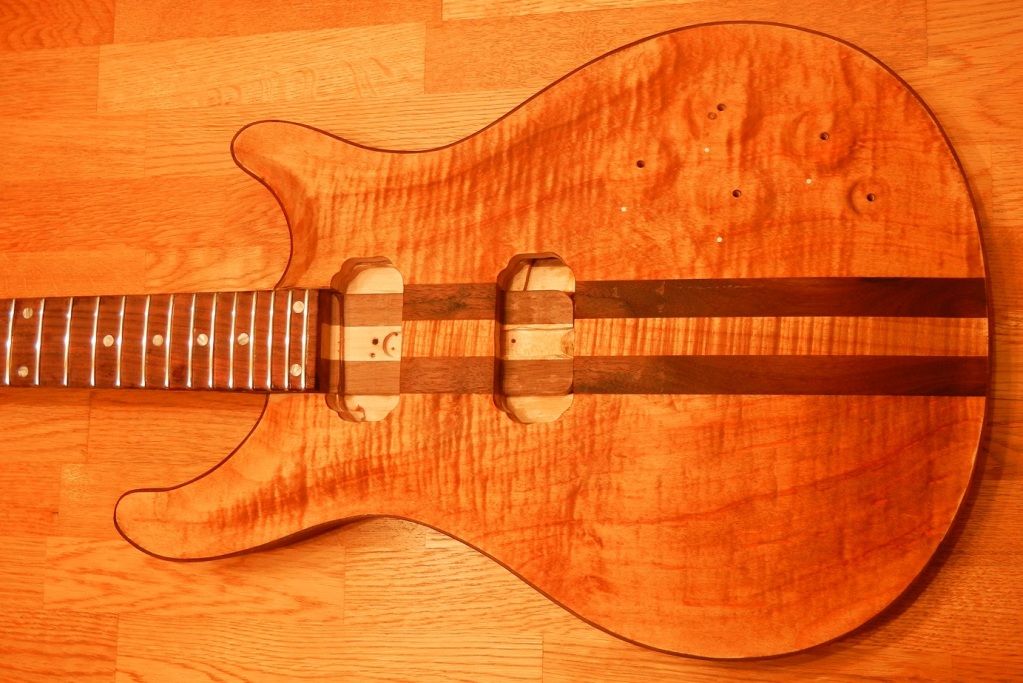
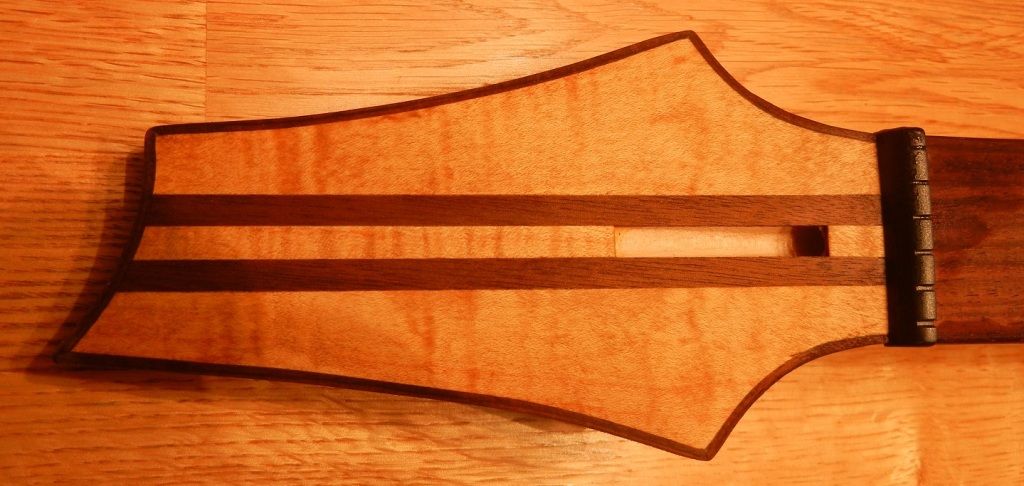

and the grain filling: 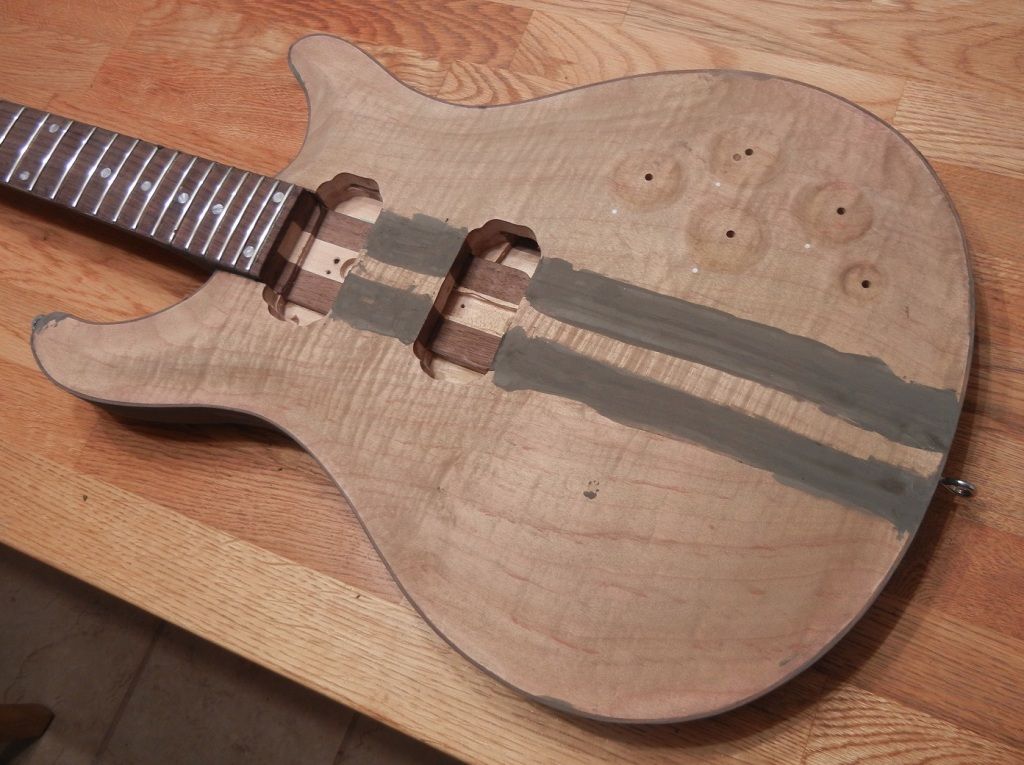
|
|
|
IA, USA
|
[#5]
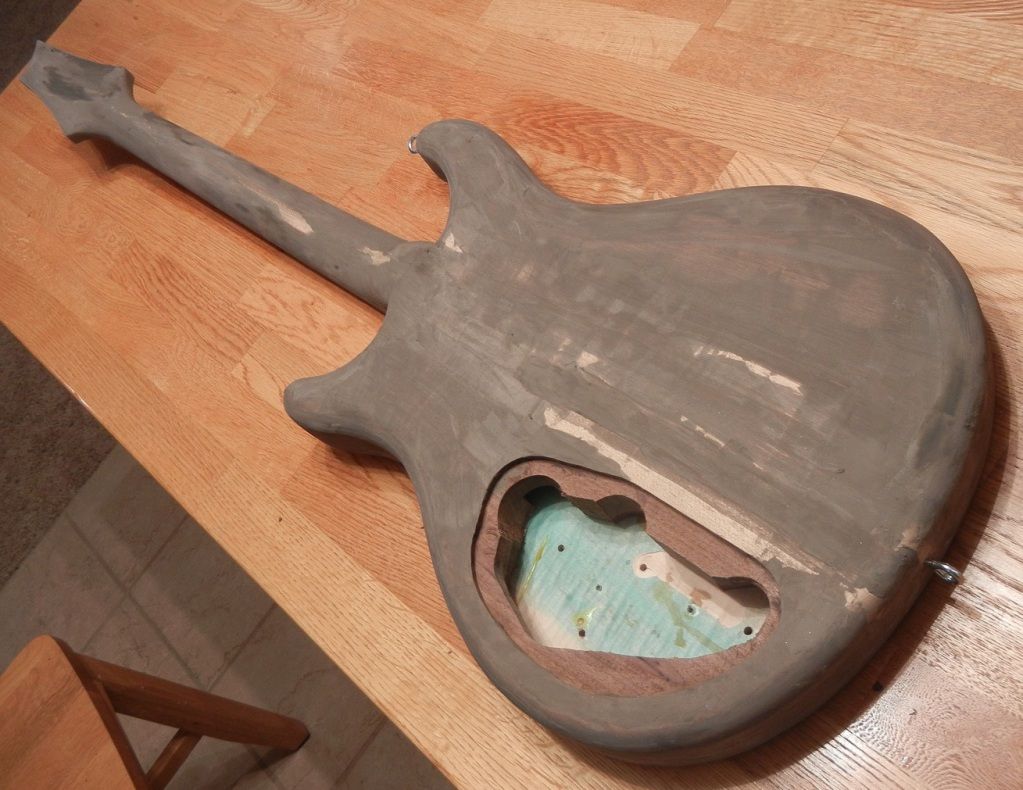
2nd coat of poly has been brushed on. I'm brushing it and sanding back to finish filling the grain then I'll wait a while and make sure it gasses out before I do the final auto grade 2 part poly
|
|
|
IA, USA
|
[#6]
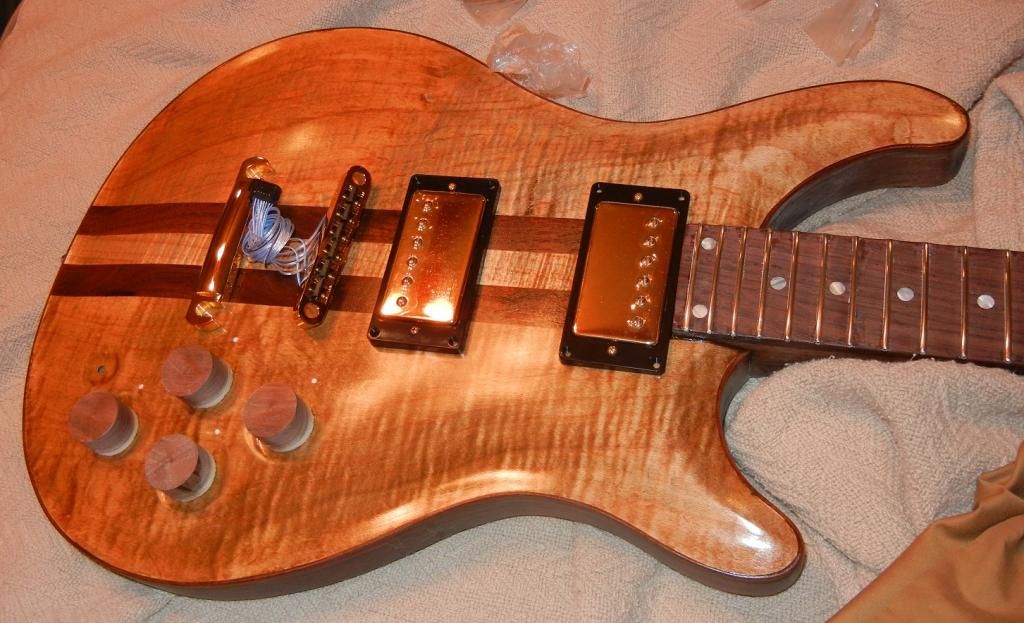
gfs crunchy pats are on sale so I got those instead... that's what I was looking at originally anyway. also got the bridge tailpiece. saved about $40 going with these pickups instead of the dream 180s and $4 per pickup under their normal price
still need tuners and electronics plus a few odds and ends to finish it |
|
|
|
[#7]
Absolutely gorgeous.
|
|
|
|
IA, USA
|
[#8]
I put a few more light coats of the clear on tonight. I'm establishing a smooth base to put the 2k clear over eventually. I want all of the pores in the walnut filled in so it looks like glass when I'm done. I may have to do a couple of thicker coats with it laying flat and just do one surface at a time so that it doesn't run.
|
|
|
IA, USA
|
[#9]
pups and tailpiece came in today. Glad I measured to verify the post spacing, it was a bit different then the template I was going to make for drilling the holes.
|
|
|
IA, USA
|
[#10]
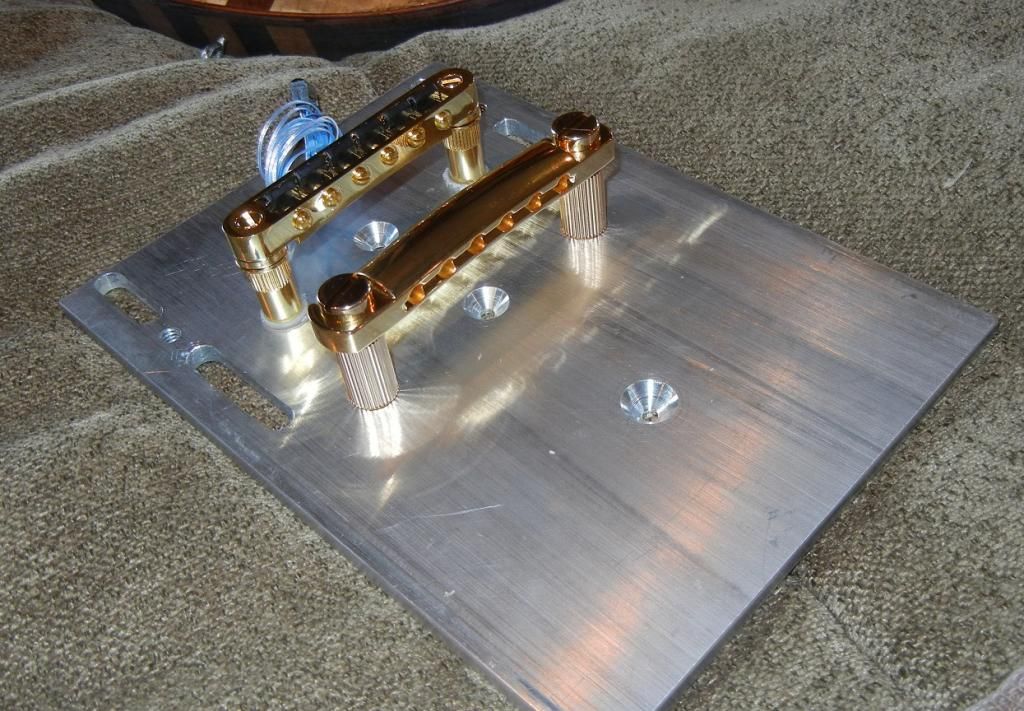
There, the knobs look a bit better
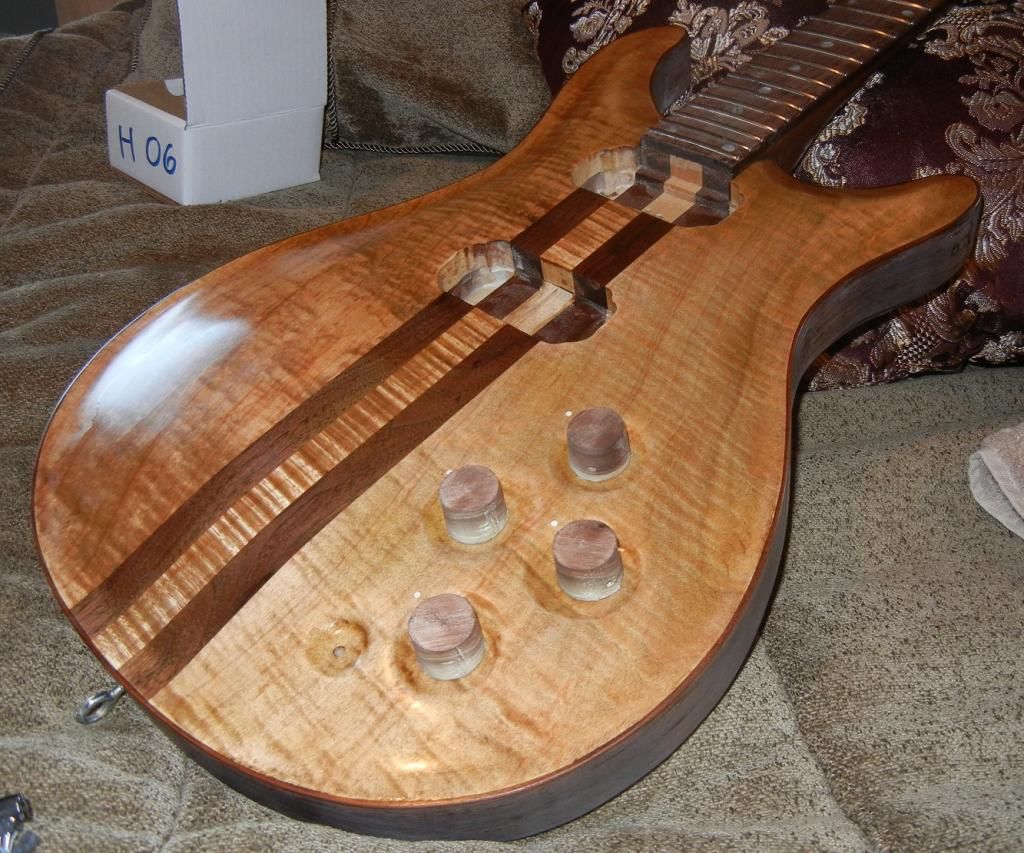
here's the template for drilling the bridge holes, the countersunk holes show me the scale length mark and the centerline :) 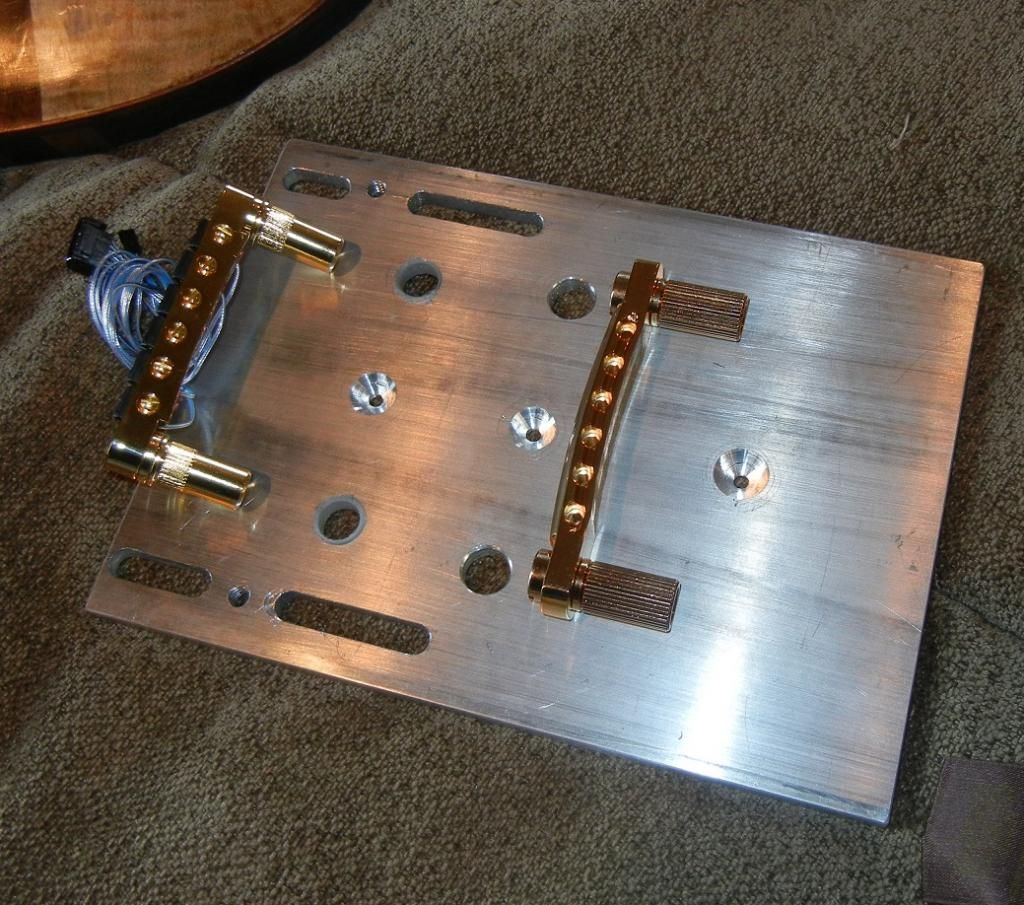
|
|
|
|
[#11]
If you can make the template, why not just put the guitar body right on the mill table and do the work directly on the mill? It's what I do.
Double sided foam tape is your friend. I always keep rolls of it handy and use the milling machine to maximum benefit on a guitar body, and even for necks, too. |
|
|
|
IA, USA
|
[#12]
It's the mill at work. I'd like to have the template available even if I don't have access to the mill but have a drill press available.
|
|
|
|
[#13]
Just a thought here....
If you were to make the template long enough, you could set it up so that you screw it into the body in the area that will be later routed out for the pickups. Your template is now solidly mounted and isn't going ANYWHERE. Nothing is more alarming than having a template shift on you. Especially if you're routing. I've done inverted routing with a template and a router table. So you can't even see the work and have to go by feel. I had the template (plexiglas) start to chip out and didn't know it. FORTUNATELY the damage wasn't big enough to cause an over-routed pickup cavity. No harm done. But it was scary. CJ |
|
|
|
IA, USA
|
[#14]
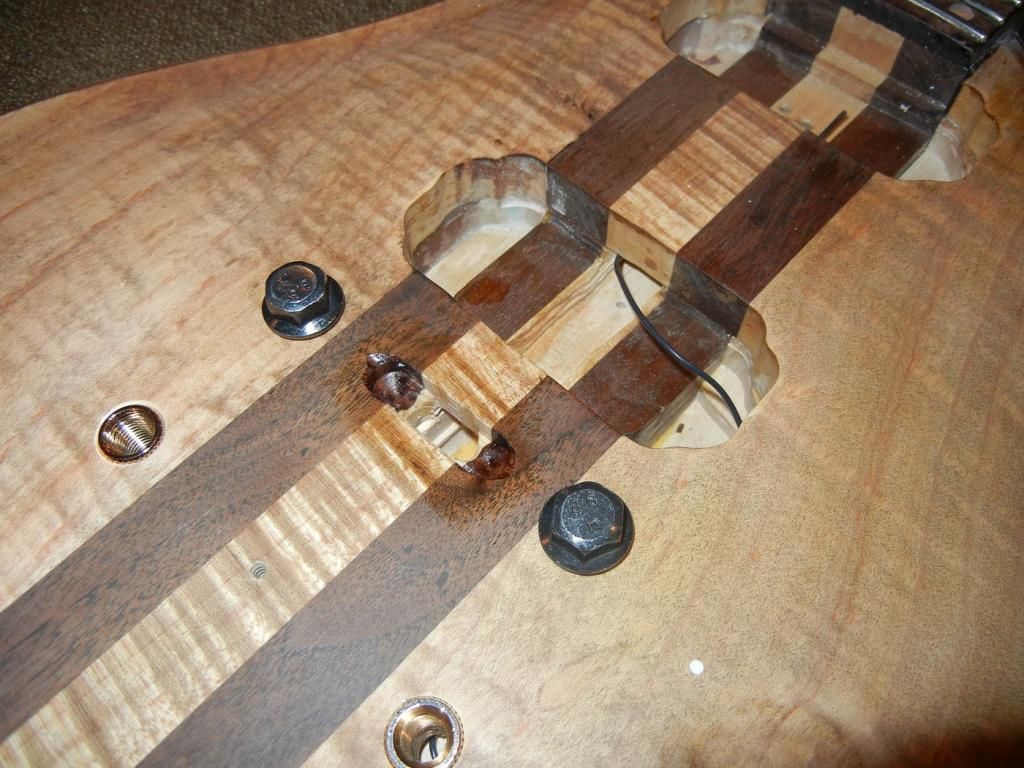
I made 2 of the holes so they would be under the bridge pieces. And with the piezo bridge I need a hole there anyway. I can screw it down there and use some double sided tape so that it doesn't shift.
|
|
|
IA, USA
|
[#15]
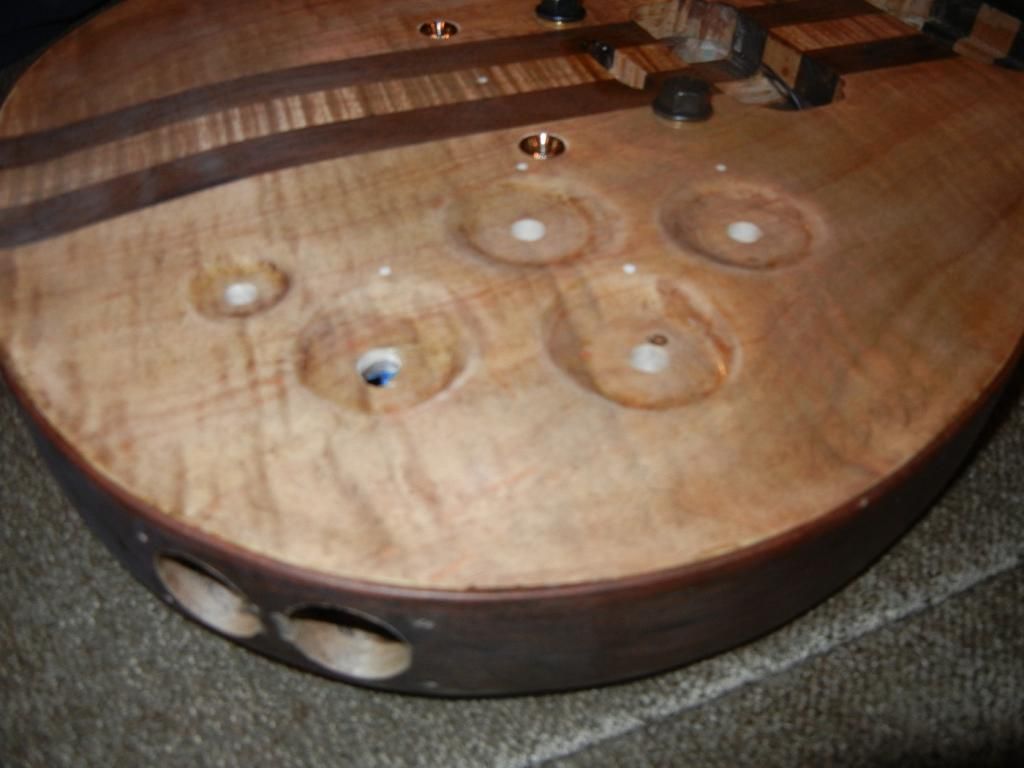
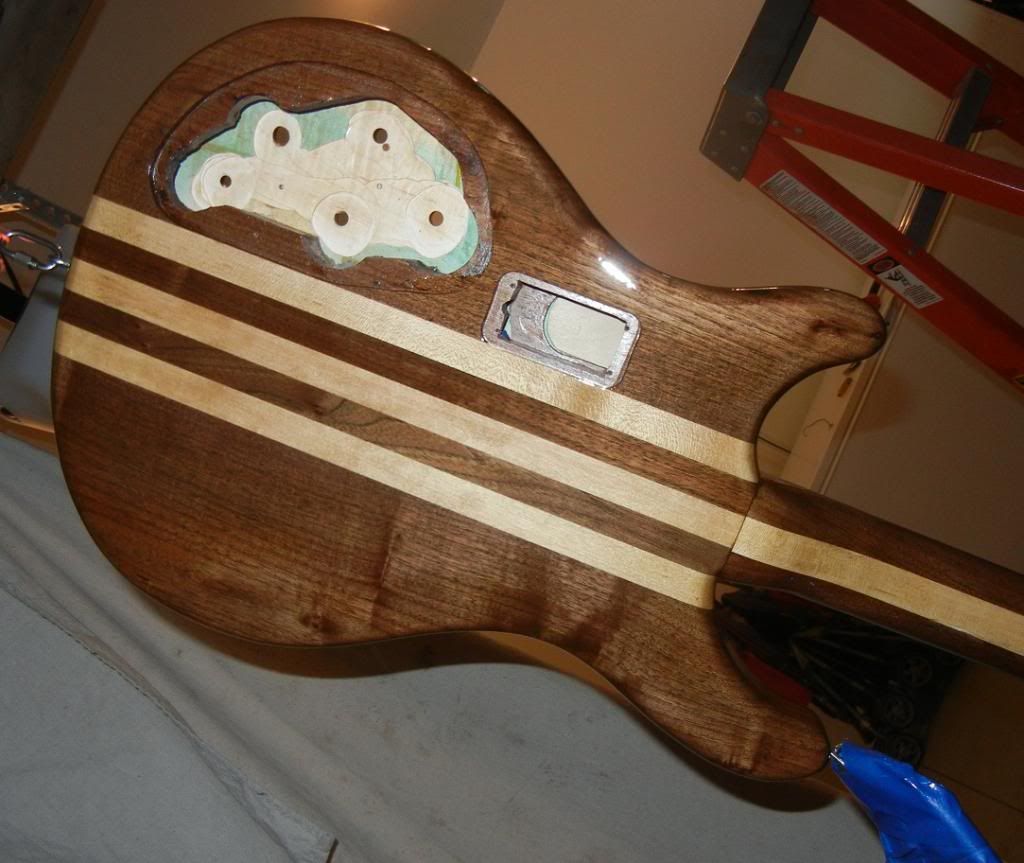
Added dots to the knobs, drilled out holes, put inserts in. The hole for my ground wire on the tailpiece insert is a bit big so that insert is tilted a bit. I may straighten it out and put some epoxy in the hole in the control cavity. The hole for the piezo wiring is in place. I may open the pickup cavities up a little bit yet.
|
|
|
IA, USA
|
[#16]
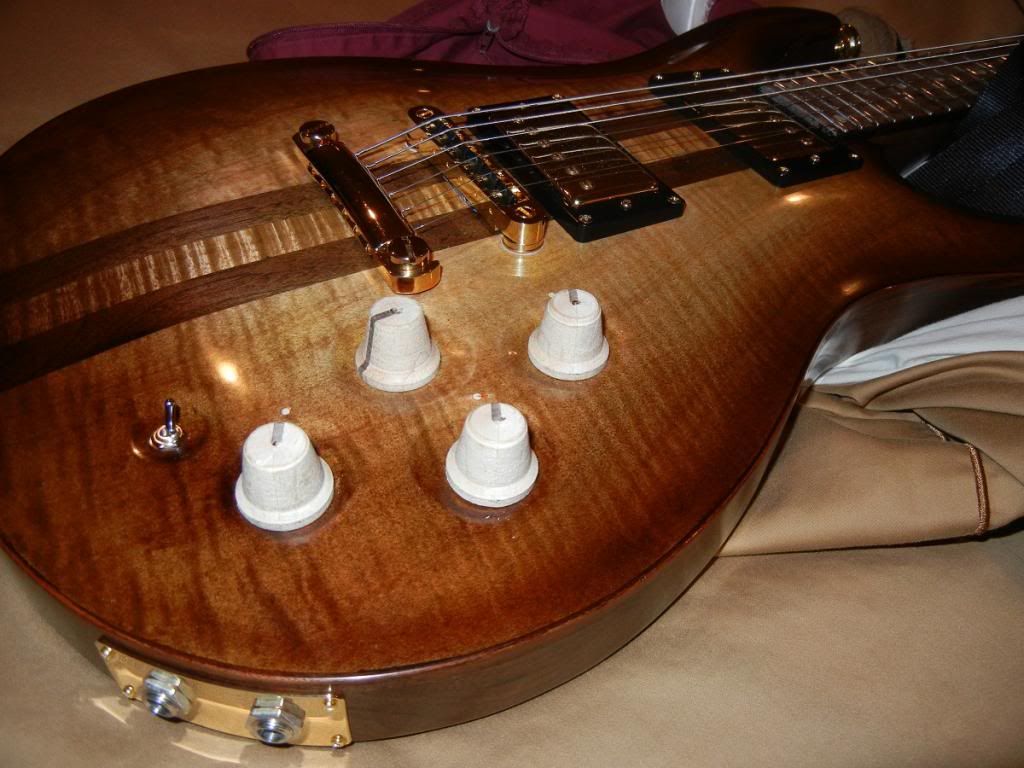
A couple pictures of it mocked up with hardware in place:
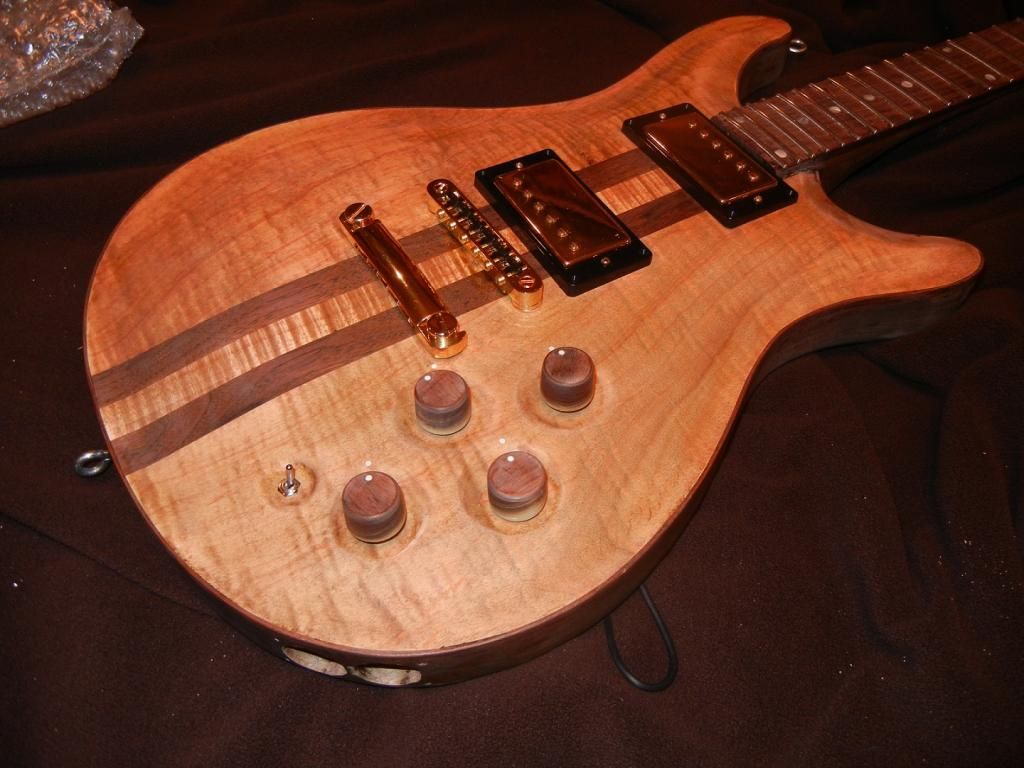
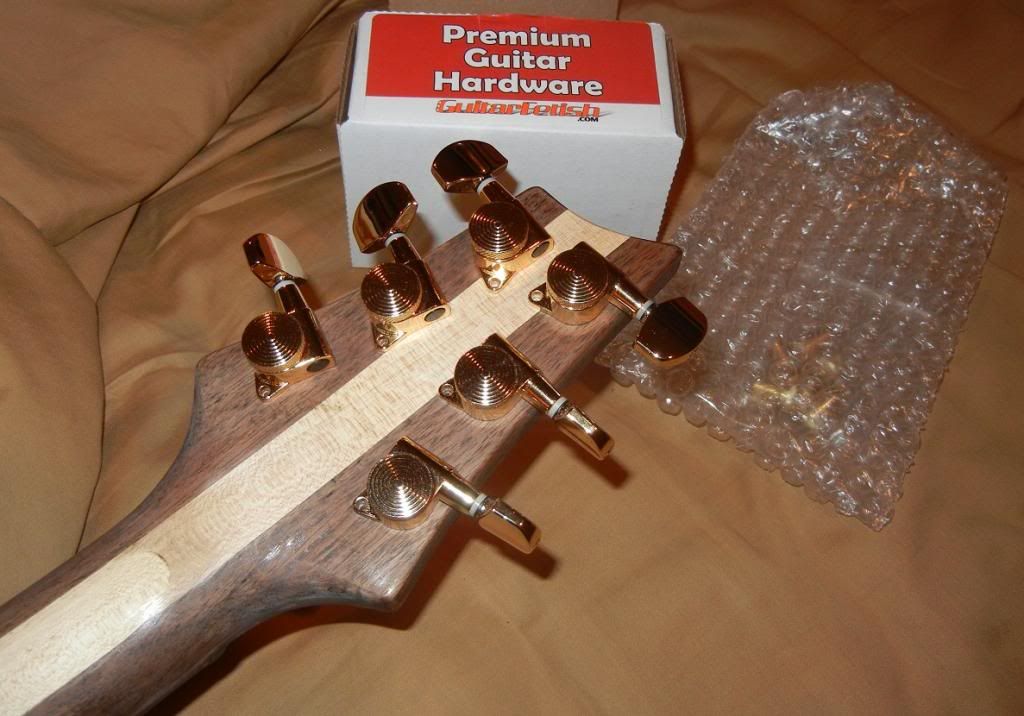
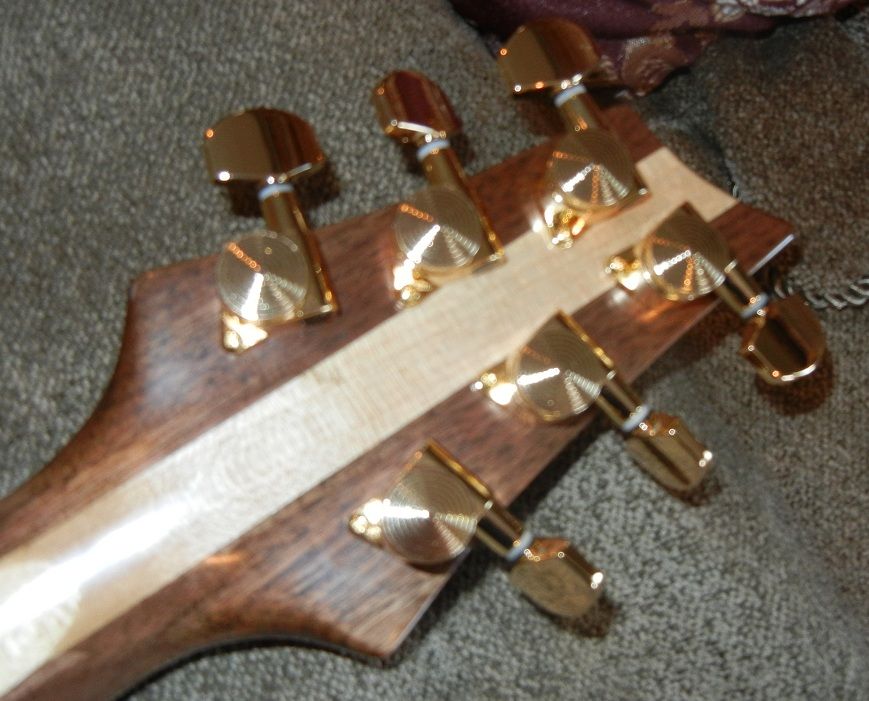
Sperzel type locking tuners: 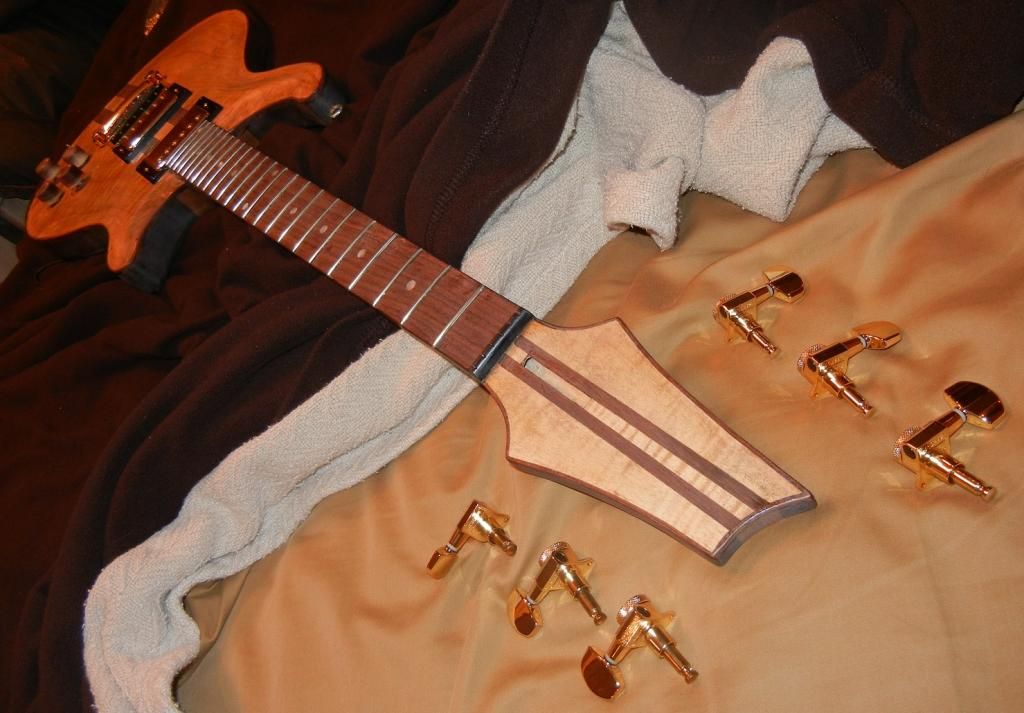

I got the bridge tailpiece post straightened out enough to work, but in the process of routing the control cavity for switch depths I managed to cut off the ground wire that I had soldiered onto the tailpiece insert flush with the epoxy that I had used to hold the post straight..... Good thing I routed the slot for the piezo wiring far enough to get under the tailpiece to so I can solder a wire to the bottom of the tailpiece... |
|
|
IA, USA
|
[#17]
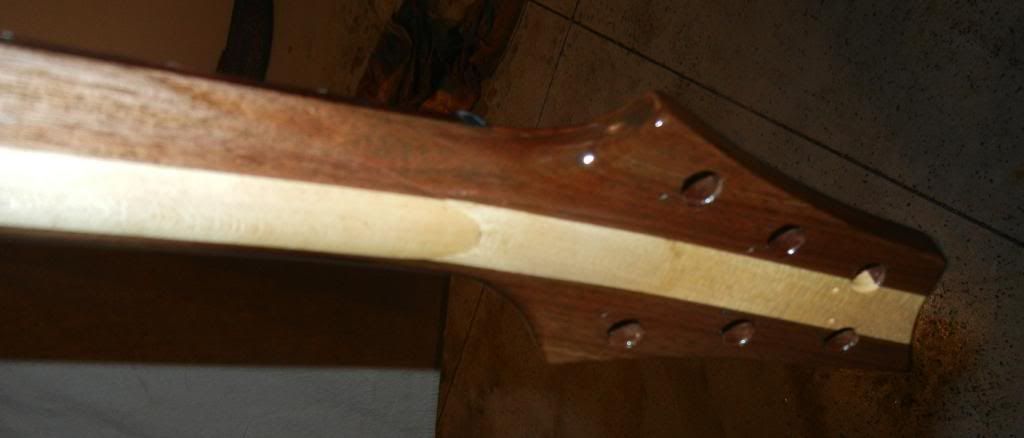
tuner holes are drilled :)
|
|
|
IA, USA
|
[#18]
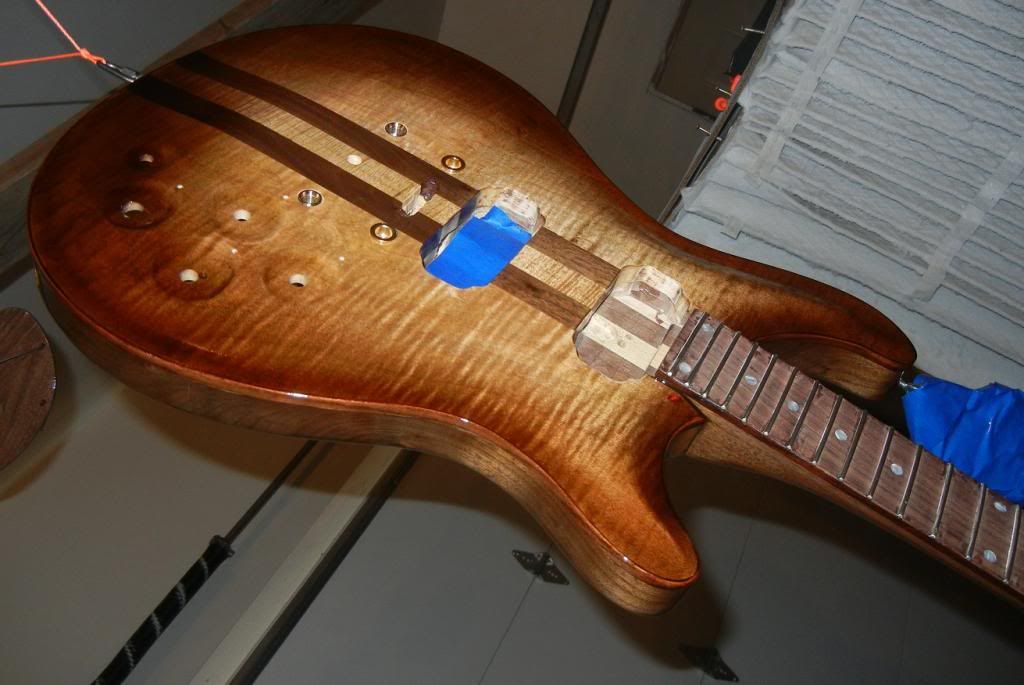
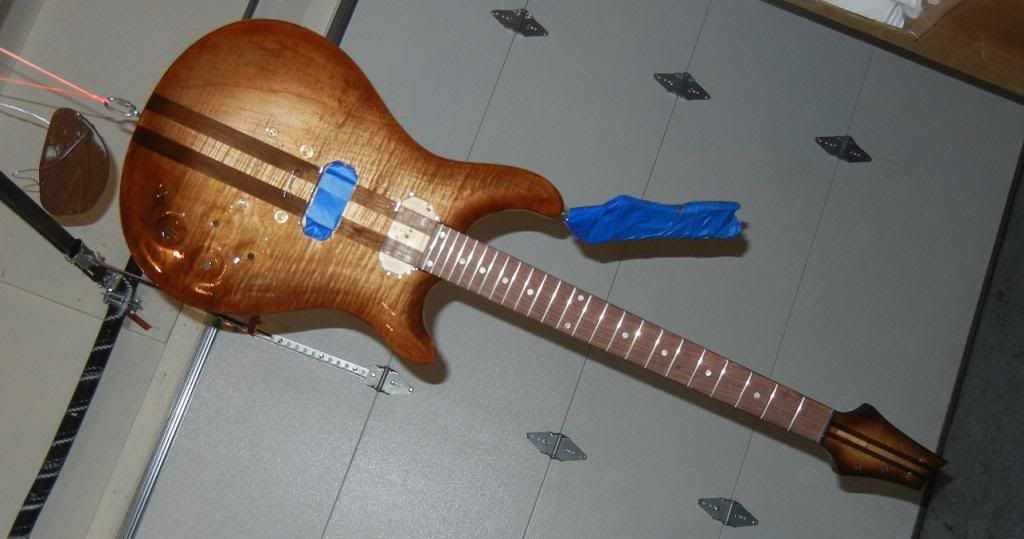
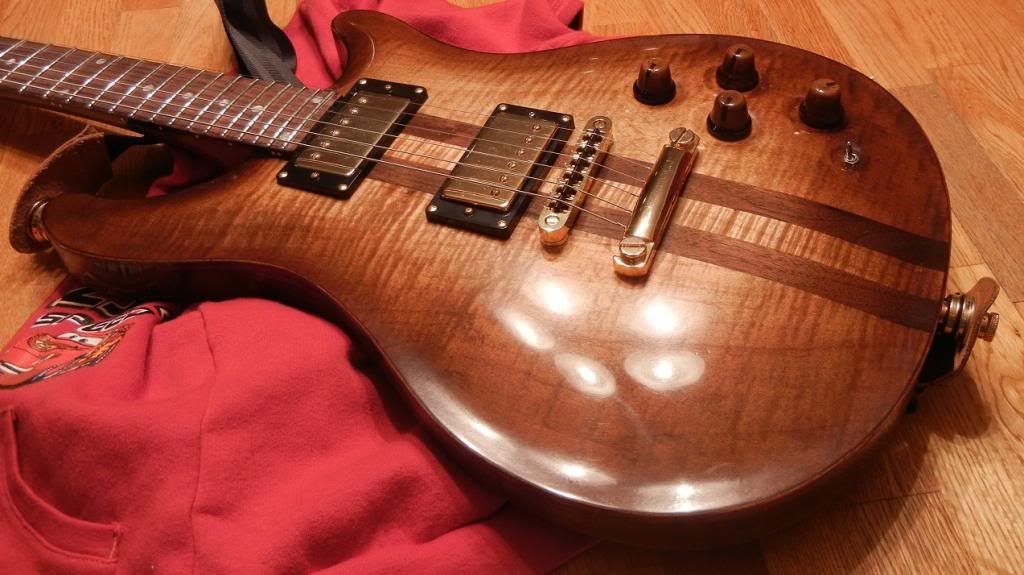
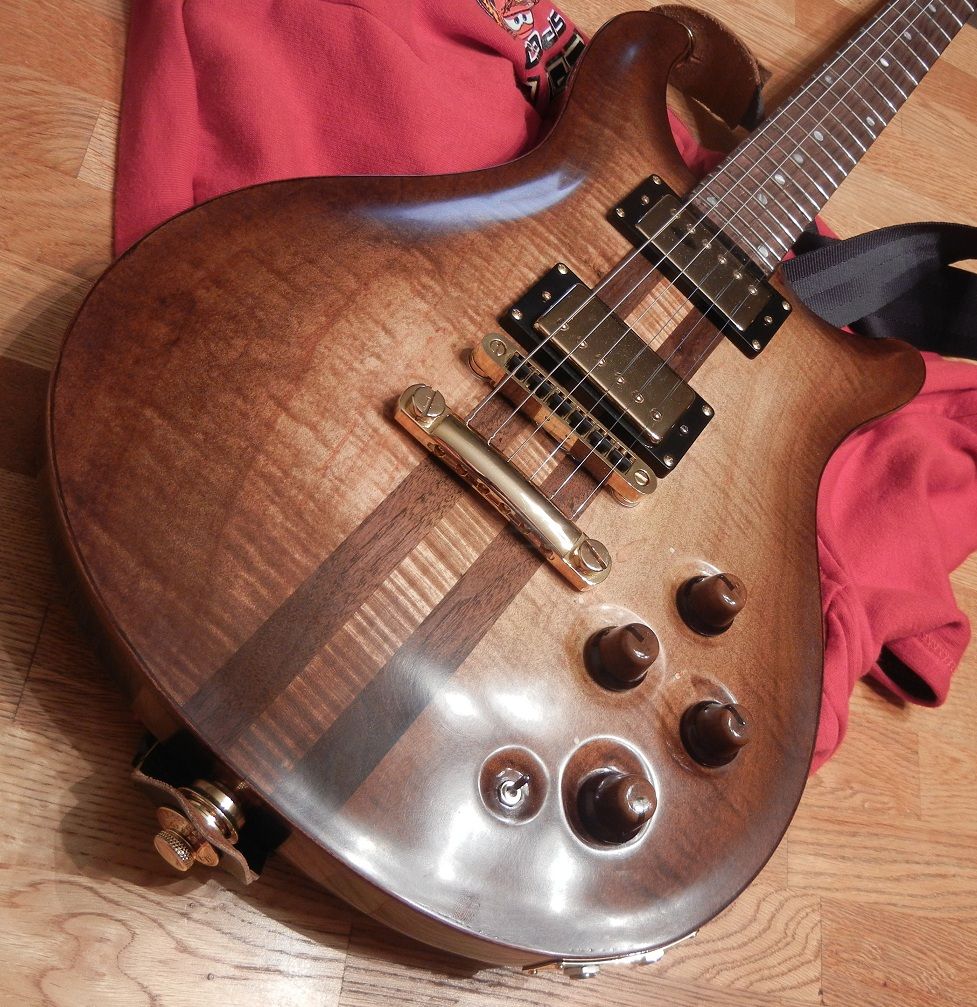
sprayed the burst today with some dark walnut dye mixed into clear... It really evened out some of the blotchy parts of the figure. turned out a bit darker then I envisioned but I like it

|
|
|
|
[#19]
Wish I had the time to do this one day. I didn't read the whole thread, but what is the build setting you back if you don't mind me asking?
|
|
|
|
IA, USA
|
[#20]
I'd say I'll have around $500 into it.
The piezo bridge and electronics was $200 |
|
|
|
[#21]
My most expensive build to this moment is in the planning stage.
325 dollars just for the one piece flamed maple top. Yes, it's impressive as hell. 50 bucks for a good one piece mahogany back. 200 bucks for an elaborately inlaid fingerboard 60 bucks for an Indian Rosewood neck blank (Other Rosewood species can cost much more.) 70 bucks for the tuning machines 70 bucks for the bridge/tailpiece (or more for some types) 200 bucks for the pickups 50 bucks for the electronics with every wiring option It's possible to sink over a grand into just the materials for a really special guitar. And then again I've built complete guitars for under 300 bucks by being willing to use good condition used parts and being less picky about getting the best of everything. Schaller tuning machines may be the very best, but they're pricey. A set of Gotohs is really good enough for most people at half the cost. You can spend as much or as little as you want on a guitar build. I know that I could do one for under 200 bucks if I really set my mind to it. But it wouldn't be the kind of guitar that I want to represent me. CJ |
|
|
|
IA, USA
|
[#22]
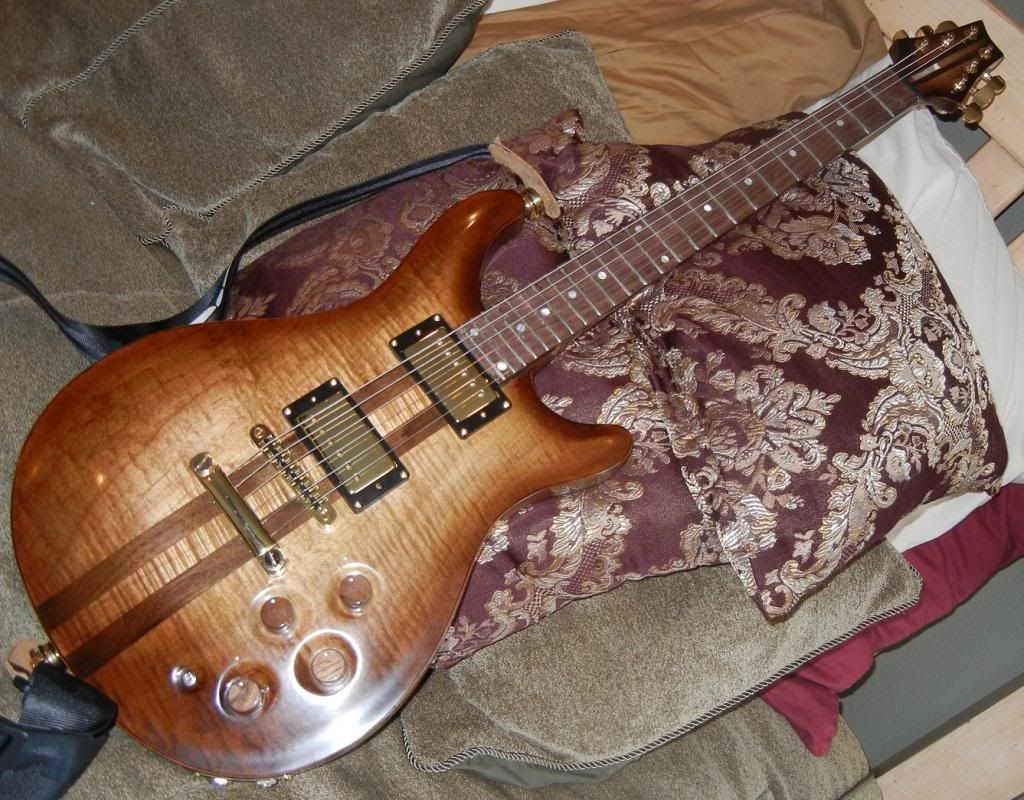
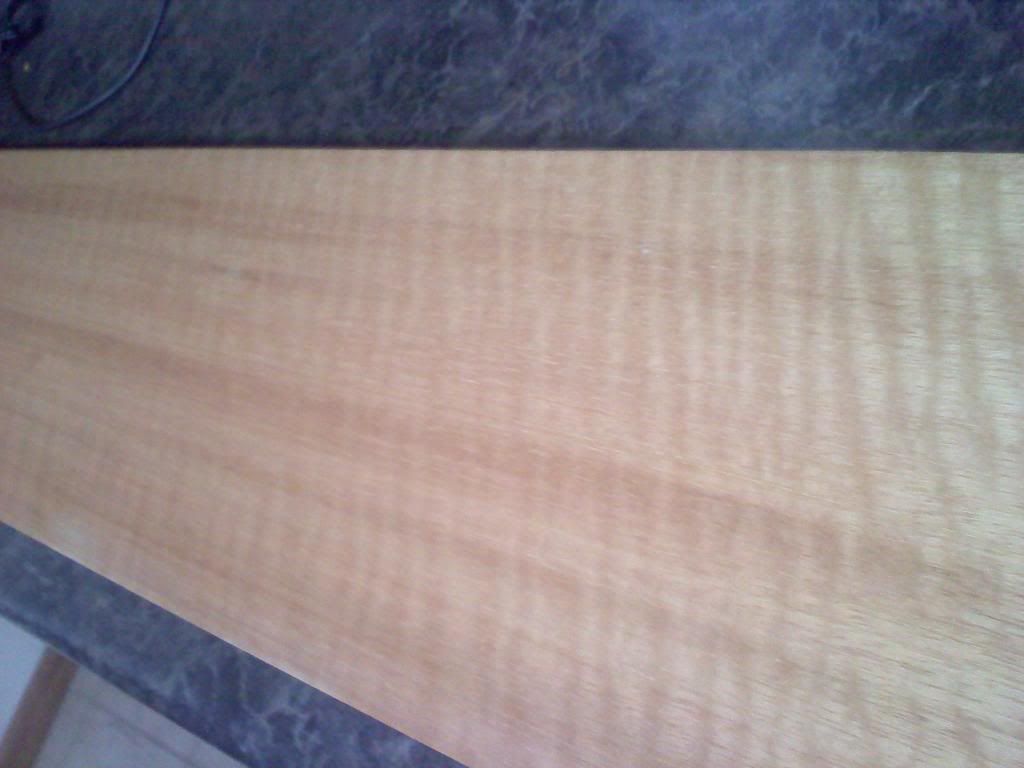
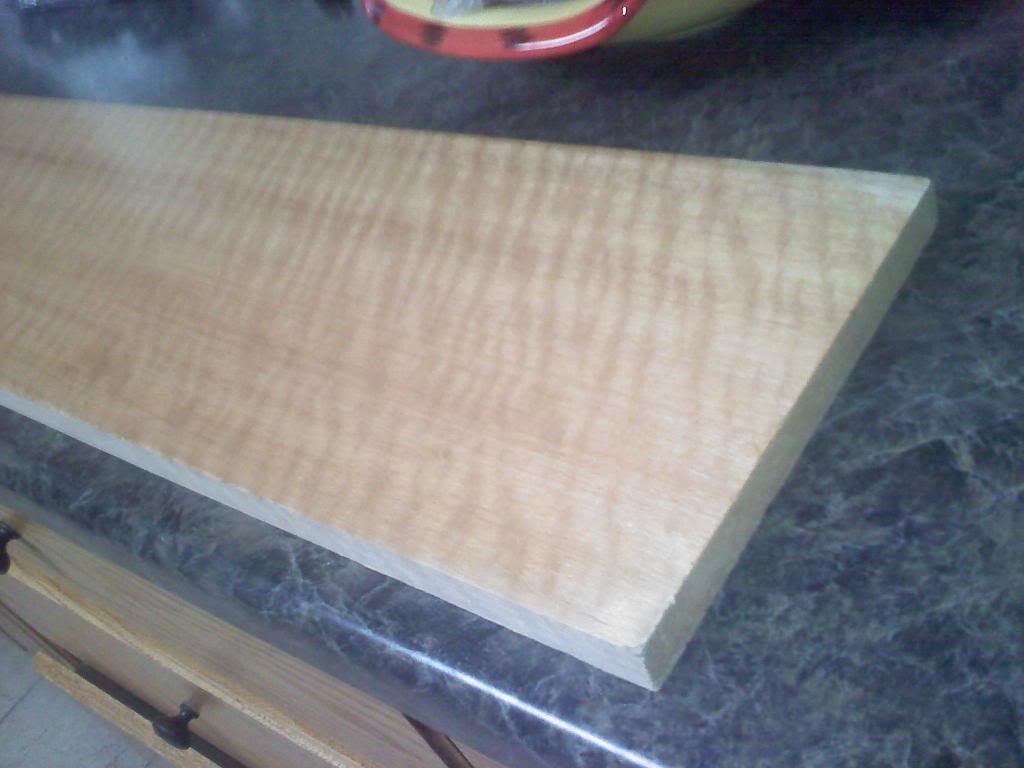
Yeah, I found the maple for the top at home depot for $15 but you can easily spend a bunch more. I'd say around $50 can get you a very nice flame maple cap. I spent $50 on the walnut plank that was used in this build. It was rough sawn and a full 2" thick.
Pickups can get plenty expensive as well. I opted for some GFS pickups for a low price but they were $22 each so even if I don't like them, I'm not out much and can save up a while to get some nicer ones while still being able to play the guitar. I chose to splurge on the graphtech ghost system as the thought of a nice piezo equiped guitar was very attractive to me and the ghost system gets excellent reviews wherever I looked while costing a bit less then some of the other options. I'm really happy with how the burst turned out. The pictures really don't do it justice. |
|
|
IA, USA
|
[#23]
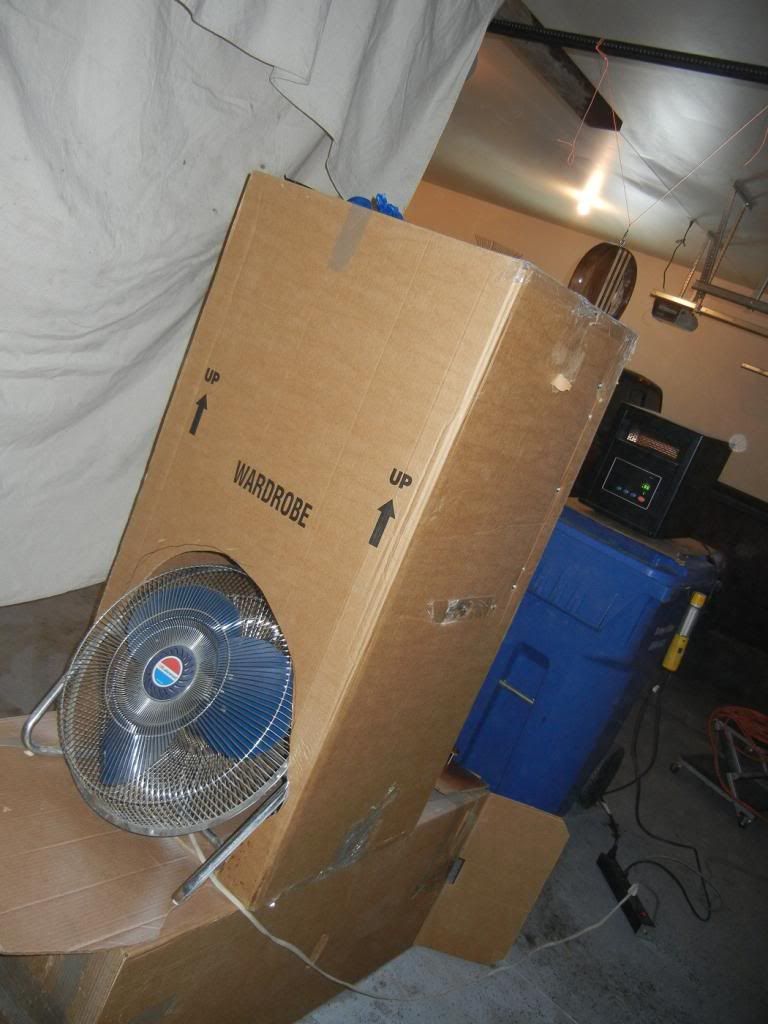
I sprayed my clear! Spraymax 2k urethane in a rattle can. It is a 2 part with an activator button on the bottom. Upon activation you have 24 hours to use it. I made a bit of a spray booth with a makeshift filtration system using a used furnace filter and an old fan that's quite powerful. It did a great job of cleaning the particulates from the air. I still wore a mask for the other fumes but it worked well.
|
|
|
IA, USA
|
[#24]
Got it wired up tonight and plugged in at low volume. (the boys are in bed)
So far I tested piezo system - good blend potentiometer - good magnetic pickup bypass (routes it around the piezo circuitry in case the battery dies) Tone - check volume - check still need to check the parallel/series switching on the pickups. It's late so I forgot to mess with those. |
|
|
|
[#25]
Originally Posted By MachGT:
Got it wired up tonight and plugged in at low volume. (the boys are in bed) So far I tested piezo system - good blend potentiometer - good magnetic pickup bypass (routes it around the piezo circuitry in case the battery dies) Tone - check volume - check still need to check the parallel/series switching on the pickups. It's late so I forgot to mess with those. I'm so jealous. I wish I had the talent and tools to do this, it would be great to build a guitar exactly as I want it. |
|
|
|
IA, USA
|
[#26]
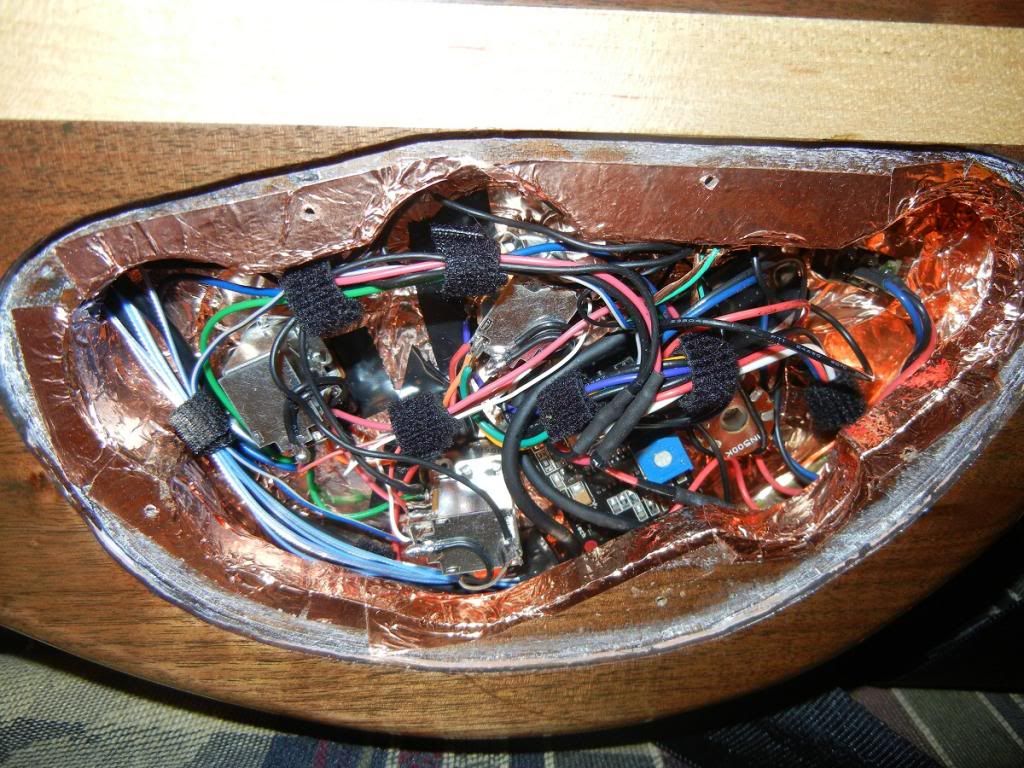
Just a couple of small details left to finish, but I can now play it through the amp, all wiring works with no rework :) It's a bit of a spaghetti bowl control cavity, though I did bundle up some wires to clean it up a bit. But it's a fairly versitile guitar with parallel/series switching on both buckers, piezo system, and a bypass switch along with the blend potentiometer.
I haven't been able to crank up the amp yet due to sleeping boys but it has been played and tested. I made a little mockup of the control cavity to wire the controls up, made it MUCH easier then wiring in the confined space. 
onto the actual guitar, I'll post some sound clips/videos later 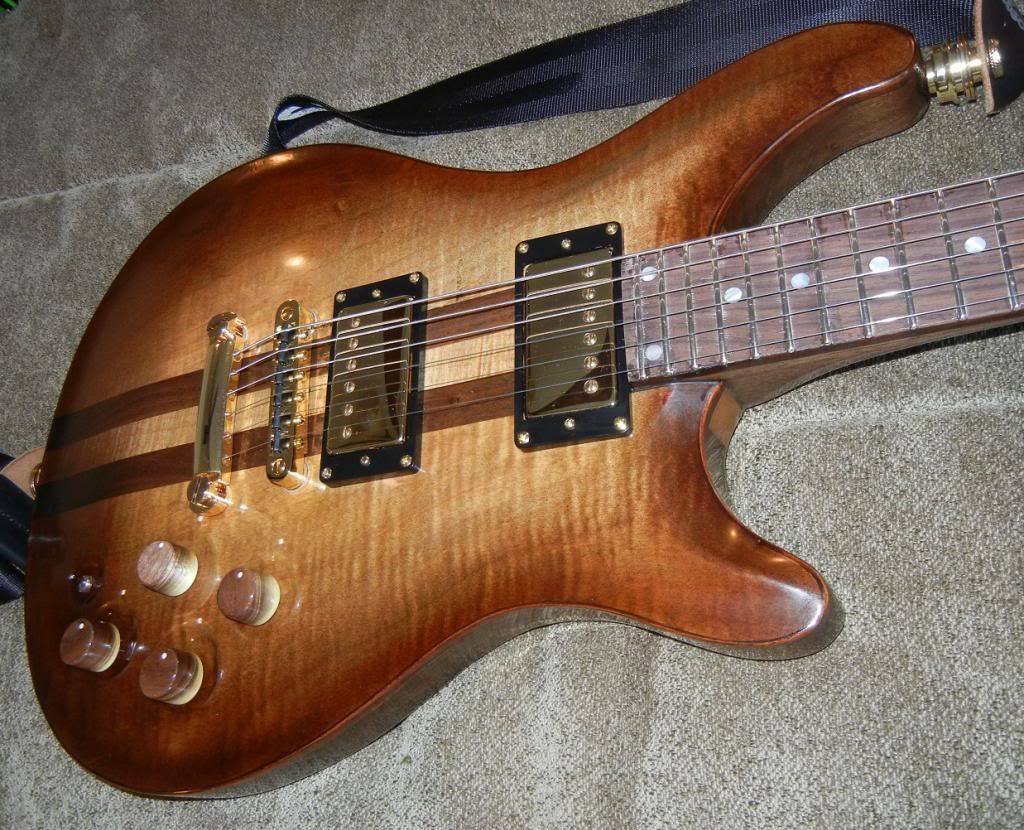

|
|
|
IA, USA
|
[#27]
Some videos!!
through a frontman 25R with a Boss Overdrive pedel on the distortion parts http://youtu.be/gdc2vqmO-TU http://youtu.be/CGT4-wDa3Fs http://youtu.be/E16Z1u0Flg8 |
|
|
|
[#28]
Very nice. Good job.
|
|
|
|
IA, USA
|
[#29]
thanks!
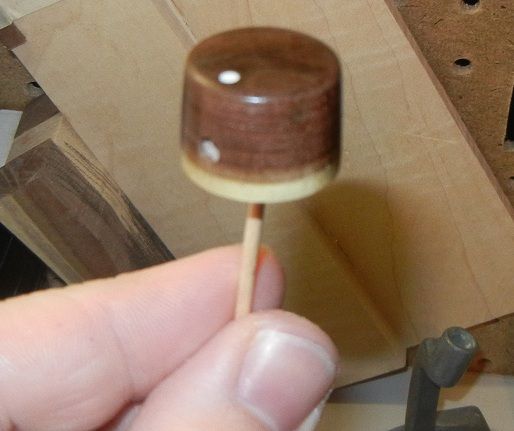
I am redoing the knobs though. I didn't leave enough of a recess on the bottom of them to cover up the jam nut on the potentiometers and they have a bit of a wobble when turned. I laminated some curly maple with a walnut strip for a little indicator mark and am going to turn that in the lathe to make the new knobs. 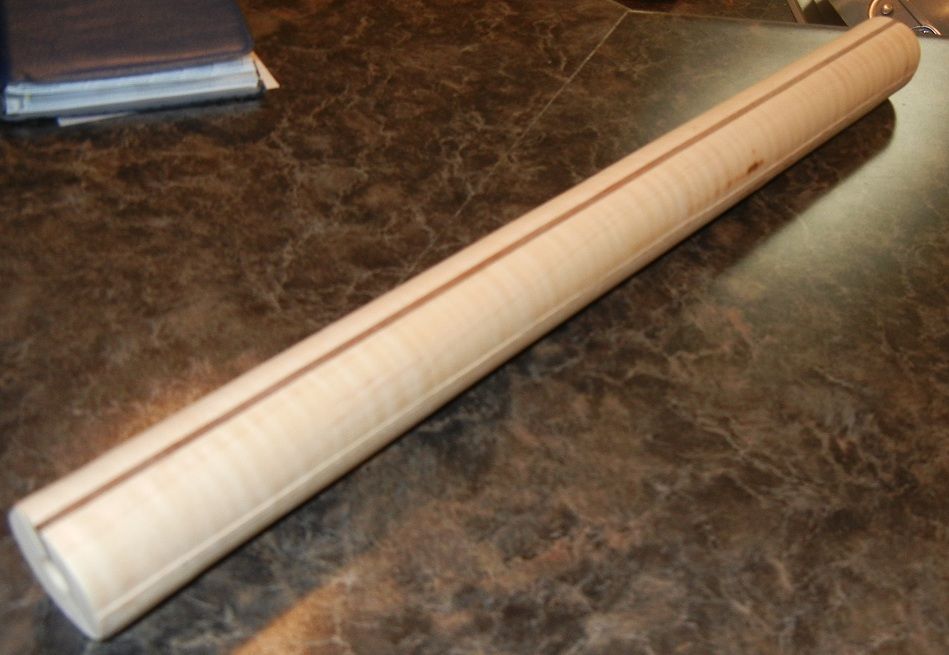
|
|
|
|
[#30]
sounds great. Must be quite a feeling of accomplishment.
|
|
|
|
IA, USA
|
[#31]
new knobs are shaped. going to make the inserts for them still and then it is to sanding and finishing
|
|
|
IA, USA
|
[#32]
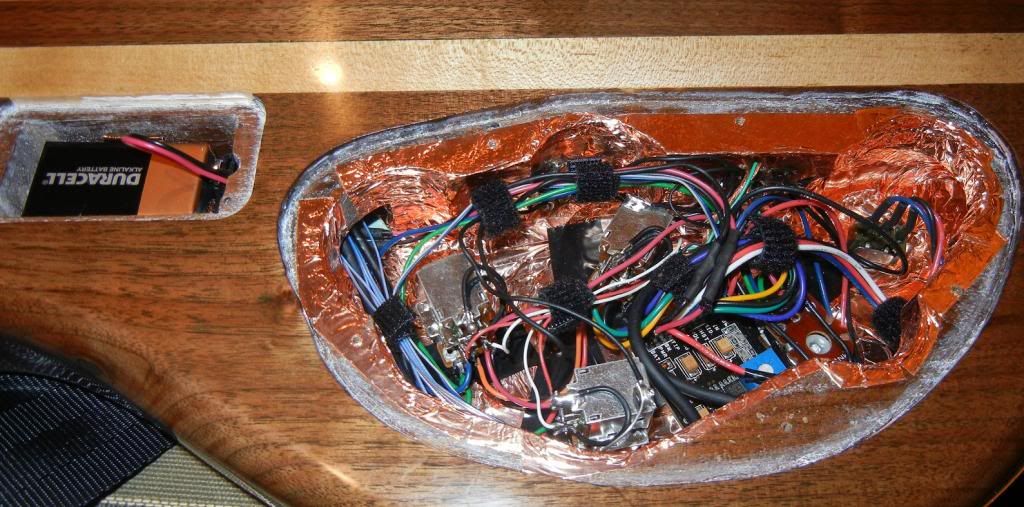
I replaced the screws on the control cavity so I took a couple shapshots of the wiring. I bit cluttered in there but there are a lot of wires!
|
|
|
IA, USA
|
[#33]
new knobs installed, don't know if I like them yet... I might just buy some amber tophat knobs or some gold knurled knobs
|
|
|
|
[#34]
It looks REALLY good. Nice job.
You might try the amber PRS lampshade knobs. While they're far from cheap, I like them enough that lampshades are now my stock knob type. I always use them now. |
|
|
|
IA, USA
|
[#35]
thanks. it means a lot coming from u cm. i will take a look at those knobs
|
|
|
|
[#36]
I think knobs shaped like the bolt from an ar would be cool!
|
|
|
|
IA, USA
|
[#37]
how about a nice figured piece of phillipine mahog??
|
|
|
|
[#38]
|
|
|
|
OH, USA
|
[#39]
That is awesome man. I have several friends that play guitars. I tried playing but could not do good. I do woodwork so I have been building one lately. None of them know I am building it. It is made with quilted maple and walnut. All I have left to do is the electronics.
|
|
|
 Win a FREE Membership!
Sign up for the ARFCOM weekly newsletter and be entered to win a free ARFCOM membership. One new winner* is announced every week!
You will receive an email every Friday morning featuring the latest chatter from the hottest topics, breaking news surrounding legislation, as well as exclusive deals only available to ARFCOM email subscribers.

AR15.COM is the world's largest firearm community and is a gathering place for firearm enthusiasts of all types.
From hunters and military members, to competition shooters and general firearm enthusiasts, we welcome anyone who values and respects the way of the firearm.

Subscribe to our monthly Newsletter to receive firearm news, product discounts from your favorite Industry Partners, and more.
Copyright © 1996-2024 AR15.COM LLC. All Rights Reserved.
Any use of this content without express written consent is prohibited.
AR15.Com reserves the right to overwrite or replace any affiliate, commercial, or monetizable links, posted by users, with our own.


