|
Posted: 5/10/2021 12:37:50 AM EDT
who would be willing to give me a brief run down on making a model to 3D print for model railroad? I want to build a coaling tower by overlaying the modeling over top of railroad mechanical department drawings in the 3D modeling software.
I am willing to pay for your time. These are images from the N&W Historical Society. I would buy that actual images. There are several more sheets of drawings, and the originals are 35 x 23 inches, so there are good details and measurements to work from.   I have some previous 3D modeling experience... about 20 years ago, I created a loco for MS Train Simulator. A friend did the textures. Obviously things were a little more basic back then, and polygon count was really important. Just so you don't think you would get pulled into a black hole time waster, this is what I made back then, so I can do it with a crash course in modeling. 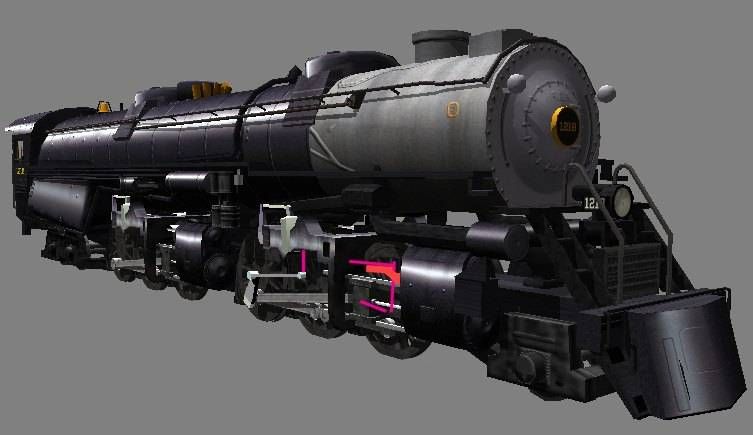 |
|
|
|
[#1]
Check Shapeways and see if someone has already done it?
|
|
|
|
[#2]
I'm mostly a 3ds MAX, and more recently Rhino guy. You should be able to hit a few primitives modelling videos and get going on that. What I see of that choochoo building is mostly primitives.
Depending on how big the printed model is, you might have trouble getting some of the smaller pipes and stairs. I'd load those images on a texture plain, front and left, or do a viewport background, or whatever they do in Blender, and use that, those images are totally serviceable for that purpose. Do you have any 3d printer experience? Great thing is, your model doesn't have to be of great technique, or water tight, low poly, or just general good. You're going to lose some dimensional accuracy in the print anyway. You can bash them primitives together and go. You're probably looking at printing that think out in several pieces and then gluing them together. |
|
|
|
[#3]
The pipes and fittings could be done separately using brass of or plastic tubing and lost wax for any elbows and valves.
Same for the ladders and conveyors. Evergreen or plastruct, or brass photoetch for that stuff and will have finer detail unless you do resin printed parts Walters probably still has all that stuff in their big catalog. That’s a very neat coaling tower design. So I’d say simplify the 3D printed parts and apply separate details for a more refined appearance. Id like to see some background how you do the object as it’s all way beyond me. I’m still Neanderthal level at any modeling. I have a Creality 10 still in the box with no time for it for at least a couple months. |
|
|
|
[#4]
Quoted: The pipes and fittings could be done separately using brass of or plastic tubing and lost wax for any elbows and valves. Same for the ladders and conveyors. Evergreen or plastruct, or brass photoetch for that stuff and will have finer detail unless you do resin printed parts Walters probably still has all that stuff in their big catalog. That's a very neat coaling tower design. So I'd say simplify the 3D printed parts and apply separate details for a more refined appearance. Id like to see some background how you do the object as it's all way beyond me. I'm still Neanderthal level at any modeling. I have a Creality 10 still in the box with no time for it for at least a couple months.  Blender 2.8: Intro to 3D Modeling #b3d |
|
|
|
[#5]
Here's a good video where you can watch him build the part. After watching I have a couple questions, but think I can figure it out mostly.
 Dimensioned Drawing to Accurate 3D Part Using Blender - Full video. |
|
|
 Win a FREE Membership!
Sign up for the ARFCOM weekly newsletter and be entered to win a free ARFCOM membership. One new winner* is announced every week!
You will receive an email every Friday morning featuring the latest chatter from the hottest topics, breaking news surrounding legislation, as well as exclusive deals only available to ARFCOM email subscribers.

AR15.COM is the world's largest firearm community and is a gathering place for firearm enthusiasts of all types.
From hunters and military members, to competition shooters and general firearm enthusiasts, we welcome anyone who values and respects the way of the firearm.

Subscribe to our monthly Newsletter to receive firearm news, product discounts from your favorite Industry Partners, and more.
Copyright © 1996-2024 AR15.COM LLC. All Rights Reserved.
Any use of this content without express written consent is prohibited.
AR15.Com reserves the right to overwrite or replace any affiliate, commercial, or monetizable links, posted by users, with our own.


