|
Posted: 1/13/2019 8:02:37 PM EDT
Title says it. I have never media blasted anything, never picked up an airbrush and never sprayed anything using something other than Krylon.
The retro bug bit me, anodizing services became difficult to find. So I decided to try and learn to prep and apply Norrells Moly Resin. I chose Norrells because it seemed to be an easier process than Cerakote. If there is ANYTHING you see that I could do differently that would yield different results then PLEASE let me know. I want to get better at this. I started off with a sacrificial Anderson lower. 
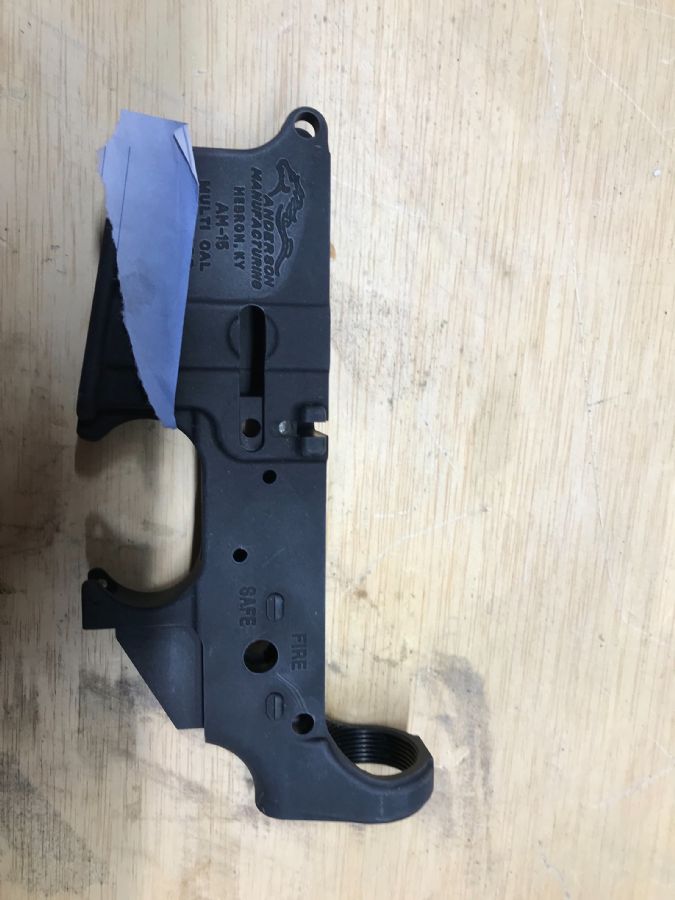
I used Acetone as my degreaser. You can see there is glue residue on the lower where the gun store stuck a price tag. It had been on there a LONG time. 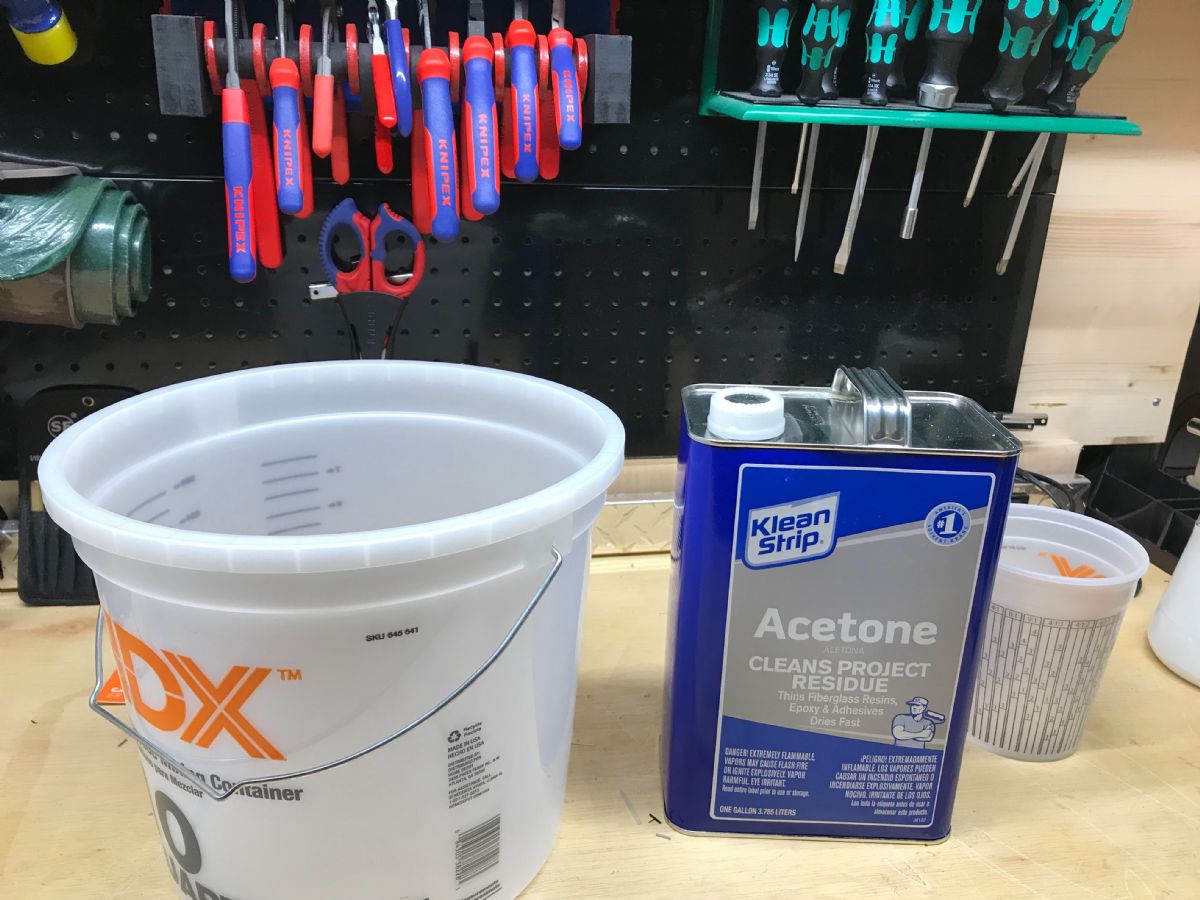
I soaked the lower for about 30 minutes then scrubbed it with a nylon brush. 
I bought this media blaster from Harbor Freight. It is heavy when filled with media. It is not ergonomic so it was a PIA to use but it was CHEAP and available. 
I used this Aluminum Oxide 70 grit from Harbor Freight. Norrells reccomends 60-100 grit for aluminum parts. 
This is the compressor I used out in my yard. I ran the compressor around 40-50 PSI which is what Norrells recommends. The goal was not to take the lower to metal but to simply rough it up. 
I used a full face shield and a pair of safety glasses. Glad I did. That stuff goes EVERYWHERE!! 

I soaked it in Acetone again just to make sure it was clean. 
Hung it on a wooden dowel to dry. 
This is the airbrush I bought. A Paasche H Series. It comes with a 1,3,and 5 tip. I had NO idea what that meant so after a little research it appears the 1 tip is for the thinnest paint application. It came with the 3 tip installed so I switched it to the #1 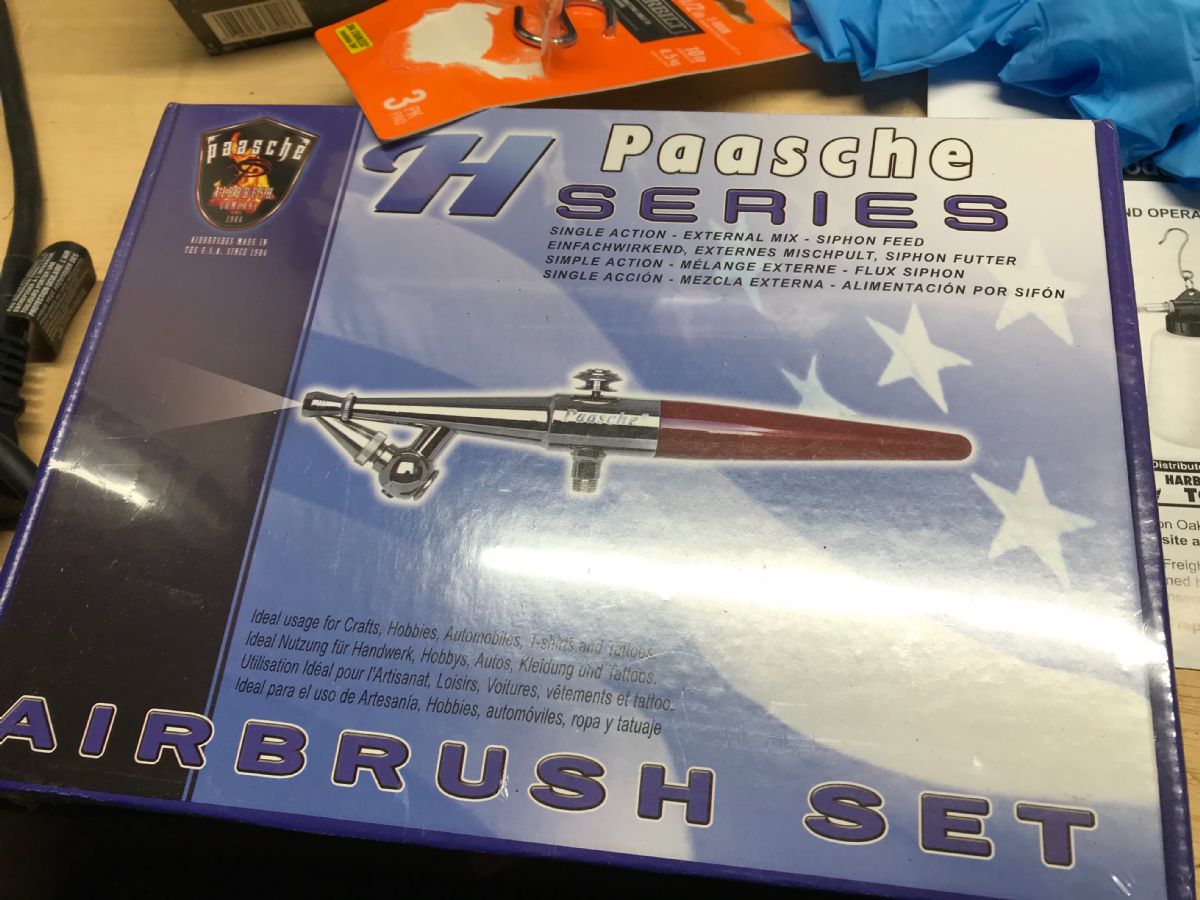

This is my pancake compressor. Norrells recommends running the compressor around 25-30 PSI. I was closer to 30 PSI. I noticed the airbrush would sputter a little when the PSI dropped so I monitored it pretty closely. 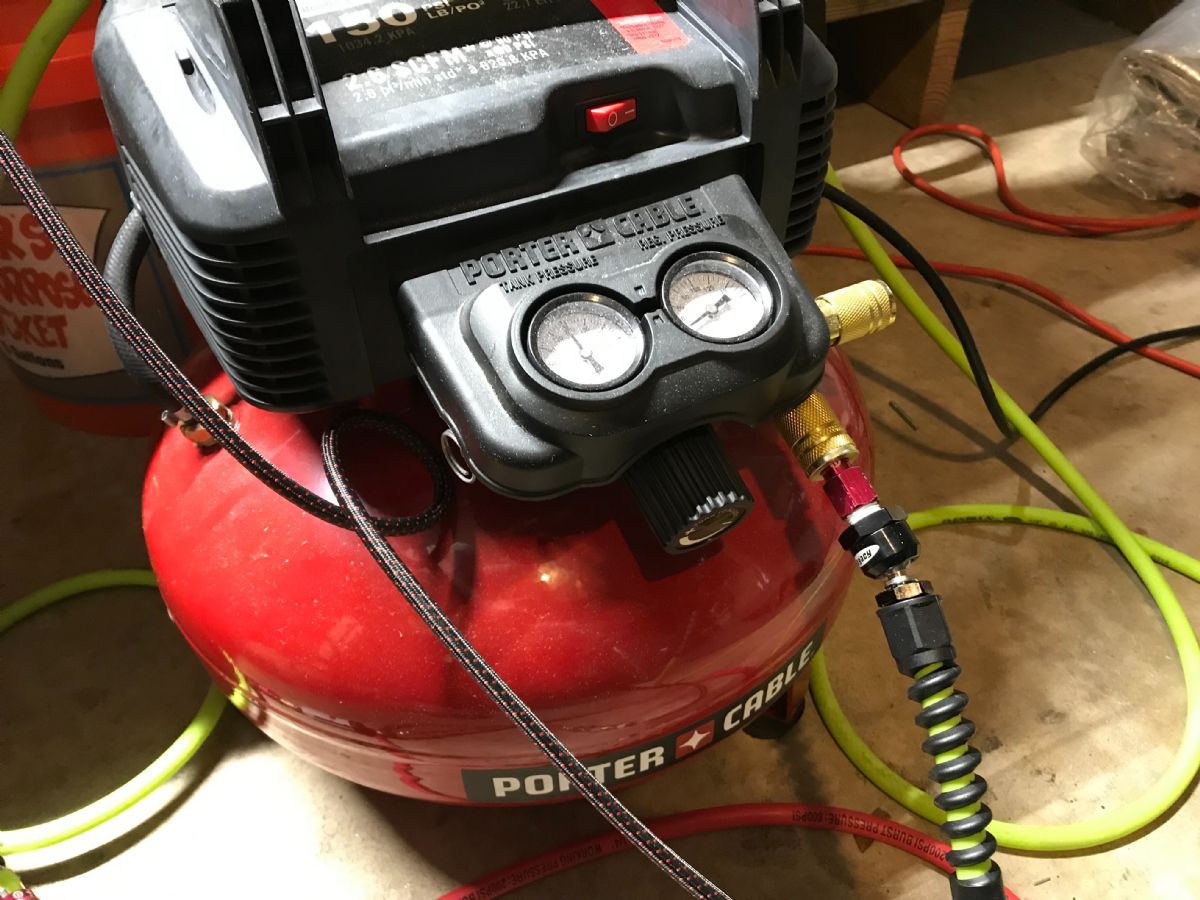
This is my cardboard “paint booth” I poked holes in the side so my vent could suck any overspray out. That is a high output fan inside a box with a 2 AC filters on intake side and 1 on the output side. 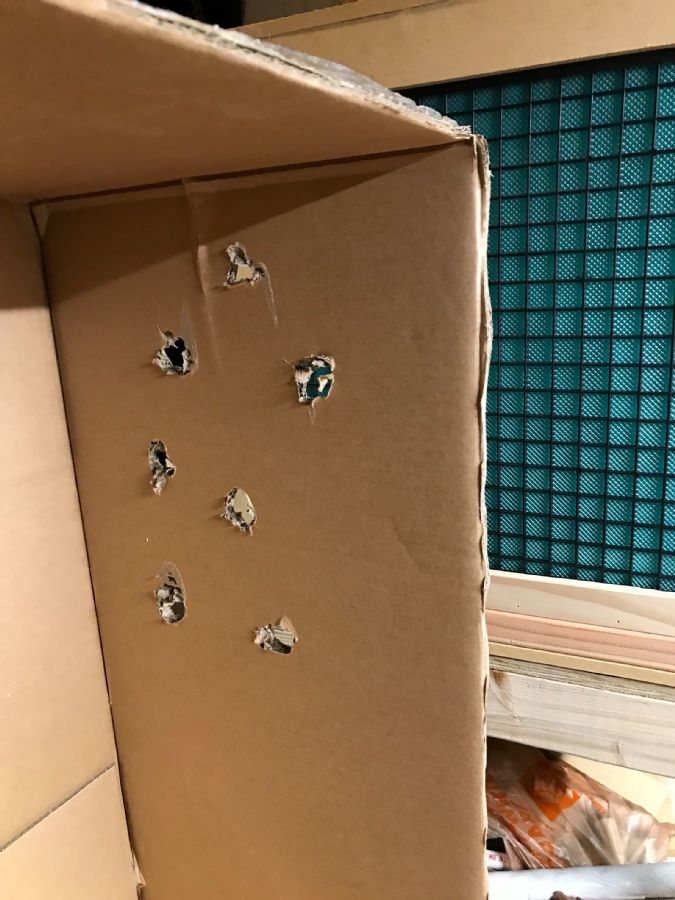


Norrells Moly Resin has to be backed at 300 for 1 hour to cure. I elected to buy an electric smoker for $99. This one said it would get up to 325 degrees so I jumped on it. I played with the smoker before I started painting so I could preheat it to 300. Well, getting this thing to maintain 300 temp was impossible. At one point it jumped to 400!! I was using a Thermapen Smoke external thermometer to monitor the heat and the smoker was all over the place. I understand why it was $99. Here is the problem the temp swings can cause with Moly Resin. - too low = won’t cure - too high = too shiny - too long = greenish hue I just went with it and when it got too hot I would crack the door, play with the vent, play with the thermostat. I am going to need to figure out a better system. 

I pre heated the parts and had a heat gun close by to reheat the lower when it cooled off. Outside temp is about 44 and raining so it’s chilly in my garage. Here are the results 
 It cured properly because none of Moly Resin wiped off with Acetone on a white rag 
Here it is next to another Anderson Lower I bought at the same time. 
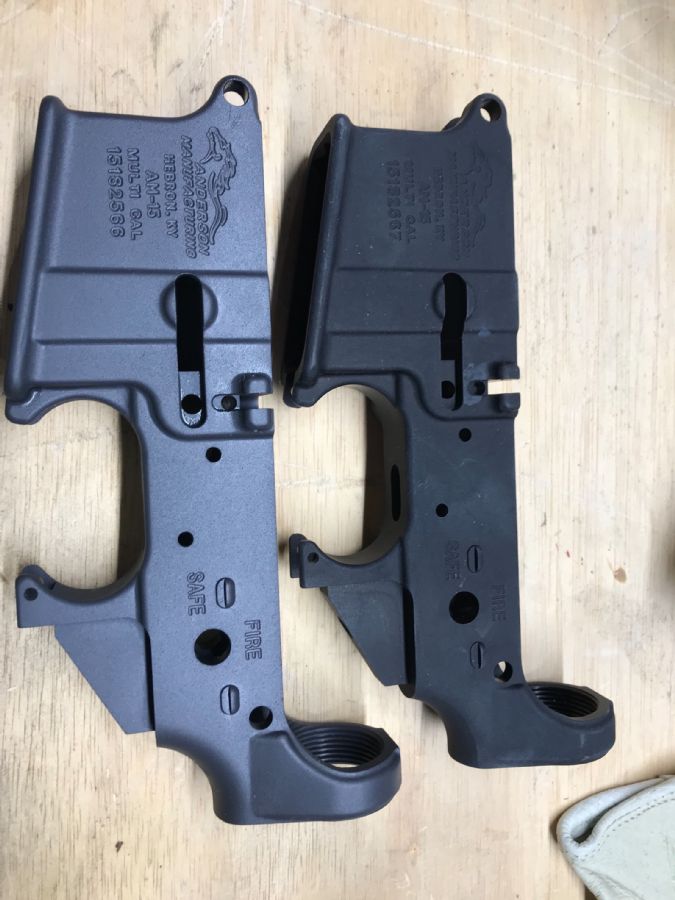
One thing I noticed is the Colt Moly Resin isn’t as dark as I expected it to be. Not sure if it was something I did or if that’s the way it is supposed to look. It’s not as blue looking in person either, that might be the fluorescent lighting. I brought it inside to take a picture under different lighting the smudges around the holes are from oil that I rubbed it. 
|
|
|
|
[#1]
You do good work Op. Looks great
|
|
|
|
[#2]
Quoted:
You do good work Op. Looks great |
|
|
|
[#3]
So the end product is 100% great job considering you have never done anything like this before. The finish looks consistent and not to thick. Here is my take:
70 grit is a little rough IMO for surface prep for painting. I usually use 100 grit, but 90 is the lowest I use if I am going to paint. This way I can thin the paint out, lay thin even layers, allowing for a smooth finish (to the touch). If you look at the finish product, it appears the paint was either sprayed to far away with too much psi, which cause the finish to flash before it touches the surface (think stacking golf balls, there are small gaps in the paint because it was chemically drying before it could settle on the surface). This combined with a rougher prep media can cause the finish to feel "rough". When using airbrush, you have to keep an eye on how much paint is being pushed out, how close you are to the item, and how much air is allowed to flow thru. The same issue of flashing can cause airbrush to gum up and cake. Your concern about the degreasing is spot on!!! When in doubt, soak it again. Also, try hanging the item(in this case the lower) in an oven, heat up to 170-200 for 10 mins. This causes any grease or oil to leach out, and will appear like wet spots. Degrease, blast again any wet spots, then repeat. Non chlorinated Break clear is cheap and works just as well as acetone as well. As long as the degreaser wasnt used to clean a heavy oiled item, I pour it back into the container. I do however have 1 container for degreasing, and 1 for cleaning paint guns. This way I can degrease other items with minimal loss due to evaporation. Any scientific grade PTFE will hold up to VOC (acetones, etc). I get mine from Amazon, they have a spout, so I can squirt the cleaner in my paint gun to clean. The thing with VOC is they all evaporated when they reach room temp. |
|
|
|
[#4]
Quoted:
So the end product is 100% great job considering you have never done anything like this before. The finish looks consistent and not to thick. Here is my take: 70 grit is a little rough IMO for surface prep for painting. I usually use 100 grit, but 90 is the lowest I use if I am going to paint. This way I can thin the paint out, lay thin even layers, allowing for a smooth finish (to the touch). If you look at the finish product, it appears the paint was either sprayed to far away with too much psi, which cause the finish to flash before it touches the surface (think stacking golf balls, there are small gaps in the paint because it was chemically drying before it could settle on the surface). This combined with a rougher prep media can cause the finish to feel "rough". When using airbrush, you have to keep an eye on how much paint is being pushed out, how close you are to the item, and how much air is allowed to flow thru. The same issue of flashing can cause airbrush to gum up and cake. Your concern about the degreasing is spot on!!! When in doubt, soak it again. Also, try hanging the item(in this case the lower) in an oven, heat up to 170-200 for 10 mins. This causes any grease or oil to leach out, and will appear like wet spots. Degrease, blast again any wet spots, then repeat. Non chlorinated Break clear is cheap and works just as well as acetone as well. As long as the degreaser wasnt used to clean a heavy oiled item, I pour it back into the container. I do however have 1 container for degreasing, and 1 for cleaning paint guns. This way I can degrease other items with minimal loss due to evaporation. Any scientific grade PTFE will hold up to VOC (acetones, etc). I get mine from Amazon, they have a spout, so I can squirt the cleaner in my paint gun to clean. The thing with VOC is they all evaporated when they reach room temp. The aluminum oxide is also an excellent point. Your golfball analogy helped me visualize what you are saying. It was the only grit my local Harbor Freight had so I went with it. I will search for some 100. Thanks again |
|
|
|
[#5]
I also made my own oven. I had an old fire proof filing cabinet, and working oven. I gutted the electrical of the oven. I went to a appliance store got 2 new heating elements, hooked them on the same wiring. I lined the inside with cement board (stuff laid under tile flooring). Cost was $60.
Stack on safes can be used in the same way, just line with fireproof gypsum or ceramic insulation board. Lots of diy guided online. I started with a gutted electrical smoker, used a farming heating lamp. Simple and it worked. I just cant seem to buy a professional made oven. Idk. Fyi, your paint booth was Walmart Macgyver James Bond stuff. Well done. 
Anyway I can help, PM me, always willing to offer input |
|
|
|
[#6]
Looks good brother!
|
|
|
|
[#7]
Quoted:
Thanks. I have been wanting to take a stab at this. I need to figure out a better heat source for curing. Quoted:
Quoted:
You do good work Op. Looks great |
|
|
|
[#8]
All solid tips from Scout, nice thing about Norrels is that you can reapply overtop if necessary unlike cerakote once it is baked. My tip, spray something else first next time that you don't care much about for a little practice, do it even though this stuff isn't necessarily cheap. Oh and make sure to give your spray gun a good cleaning immediately.
A BHP I did many moons ago, 75% flat black/25% gloss black, small parts with straight flat black if I recall correctly. 
Another w/ full gloss 
|
|
|
|
[#9]
The good tips keep coming. Thanks guys.
|
|
|
|
[#10]
Quoted:
All solid tips from Scout, nice thing about Norrels is that you can reapply overtop if necessary unlike cerakote once it is baked. My tip, spray something else first next time that you don't care much about for a little practice, do it even though this stuff isn't necessarily cheap. Oh and make sure to give your spray gun a good cleaning immediately. A BHP I did many moons ago, 75% flat black/25% gloss black, small parts with straight flat black if I recall correctly. https://i.imgur.com/K2l97s6.jpg Another w/ full gloss https://i.imgur.com/YPwjH2c.jpg A Colt Commando which I have the parts for and found someone to engrave it with retro marking Laid together with a lower I’m not going to use on this one 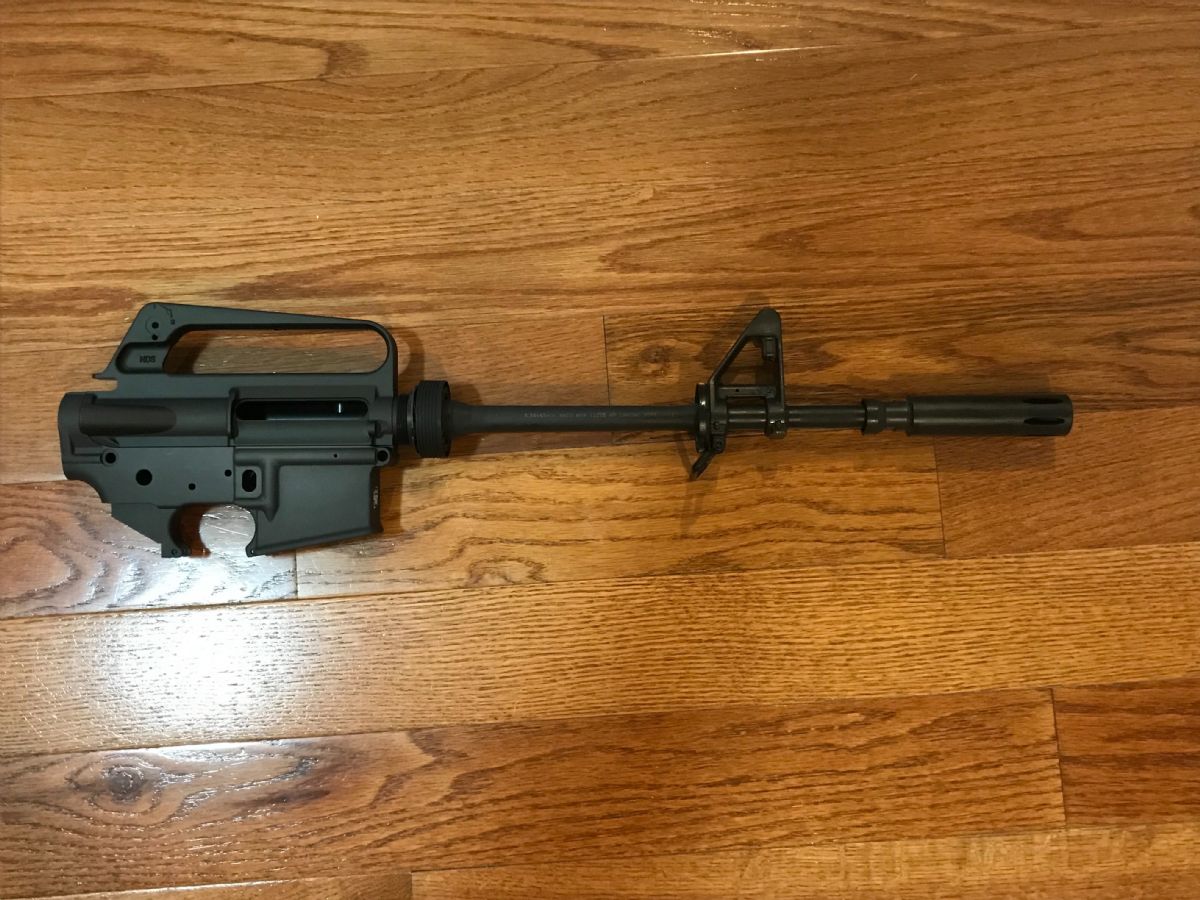 And the other is going to a Colt DOE 9mm. I am on the list for a barrel, handguard and front sight assembly. If that takes too long I already have a handguard from a different manufacturer and I can get the barrel and front sight elsewhere. 
I am going to practice and practice before I start painting the completed Nodak Spuds. It blows my mind how informative this place is on pretty much any topic I have thrown out. |
|
|
|
[#11]
I think it looks pretty good. From the reading that I have been doing on anodizing (and my lack of tooling) I would have opted for strong base to remove the anodizing and etch the metal after cleaning. I think that would have saved on the media blasting gear (but that is inconsequential seeing as you were using a compressor as part of the painting process anyways).
Overall to my untrained eye, you did good OP. Looks nice and even. |
|
|
|
[#12]
I am no professional but that turned out quite well in my opinion. Also, I am liking the paint booth and filter unit you put together.
I had to spray an AK the other day in the garage as it was too cold out in the shop and I didn't want wait. I need to build a filter like yours to use for small jobs. |
|
|
|
[#13]
Quoted:
I am no professional but that turned out quite well in my opinion. Also, I am liking the paint booth and filter unit you put together. I had to spray an AK the other day in the garage as it was too cold out in the shop and I didn't want wait. I need to build a filter like yours to use for small jobs. I was having issues with regulating my electric smoker at 300. My solution is this. A PID This looks like a complete fire hazard but I just wired it today for a test run. I was able to purchase the parts and wire it by watching this guy (posted below) on YouTube. I will transfer all of it into a box once my step down transformer shows up. 
This guy is FANTASTIC at walking a complete novice like myself through the process. He isn’t limited to these 2 videos. There are plenty more.  Wiring 120V PID and Theory Part 1  Wiring 120V PID and Theory Part 2 |
|
|
|
[#14]
With all that stuff, you're pretty much ready to Cerakote. I'm using an Iwata HVLP gun but the rest is pretty close. Using an electric smoker as well, but Cerakote only needs 250F. Like you, I didn't have any experience with paint/blast but I've learned a lot lately and am getting pretty good. I'm about to Cerakote a few rifles in the coming weeks. Your results weren't bad. I actually did what you were afraid of the first time I used Cerakote. I had the gun too close and the volume on the gun to high. Went on really thick and actually dripped. You have to find a happy medium.
|
|
|
 Win a FREE Membership!
Sign up for the ARFCOM weekly newsletter and be entered to win a free ARFCOM membership. One new winner* is announced every week!
You will receive an email every Friday morning featuring the latest chatter from the hottest topics, breaking news surrounding legislation, as well as exclusive deals only available to ARFCOM email subscribers.

AR15.COM is the world's largest firearm community and is a gathering place for firearm enthusiasts of all types.
From hunters and military members, to competition shooters and general firearm enthusiasts, we welcome anyone who values and respects the way of the firearm.

Subscribe to our monthly Newsletter to receive firearm news, product discounts from your favorite Industry Partners, and more.
Copyright © 1996-2024 AR15.COM LLC. All Rights Reserved.
Any use of this content without express written consent is prohibited.
AR15.Com reserves the right to overwrite or replace any affiliate, commercial, or monetizable links, posted by users, with our own.


