|
Posted: 11/8/2021 8:19:26 PM EDT
I'm taking a gunsmithing course through Sonoran Desert Institute. And for this block of instruction, I have to build this black powder rifle kit. I was wondering if anyone here had experience with these and could offer advice on areas that are more difficult than others or just helpful advice for the building of it. 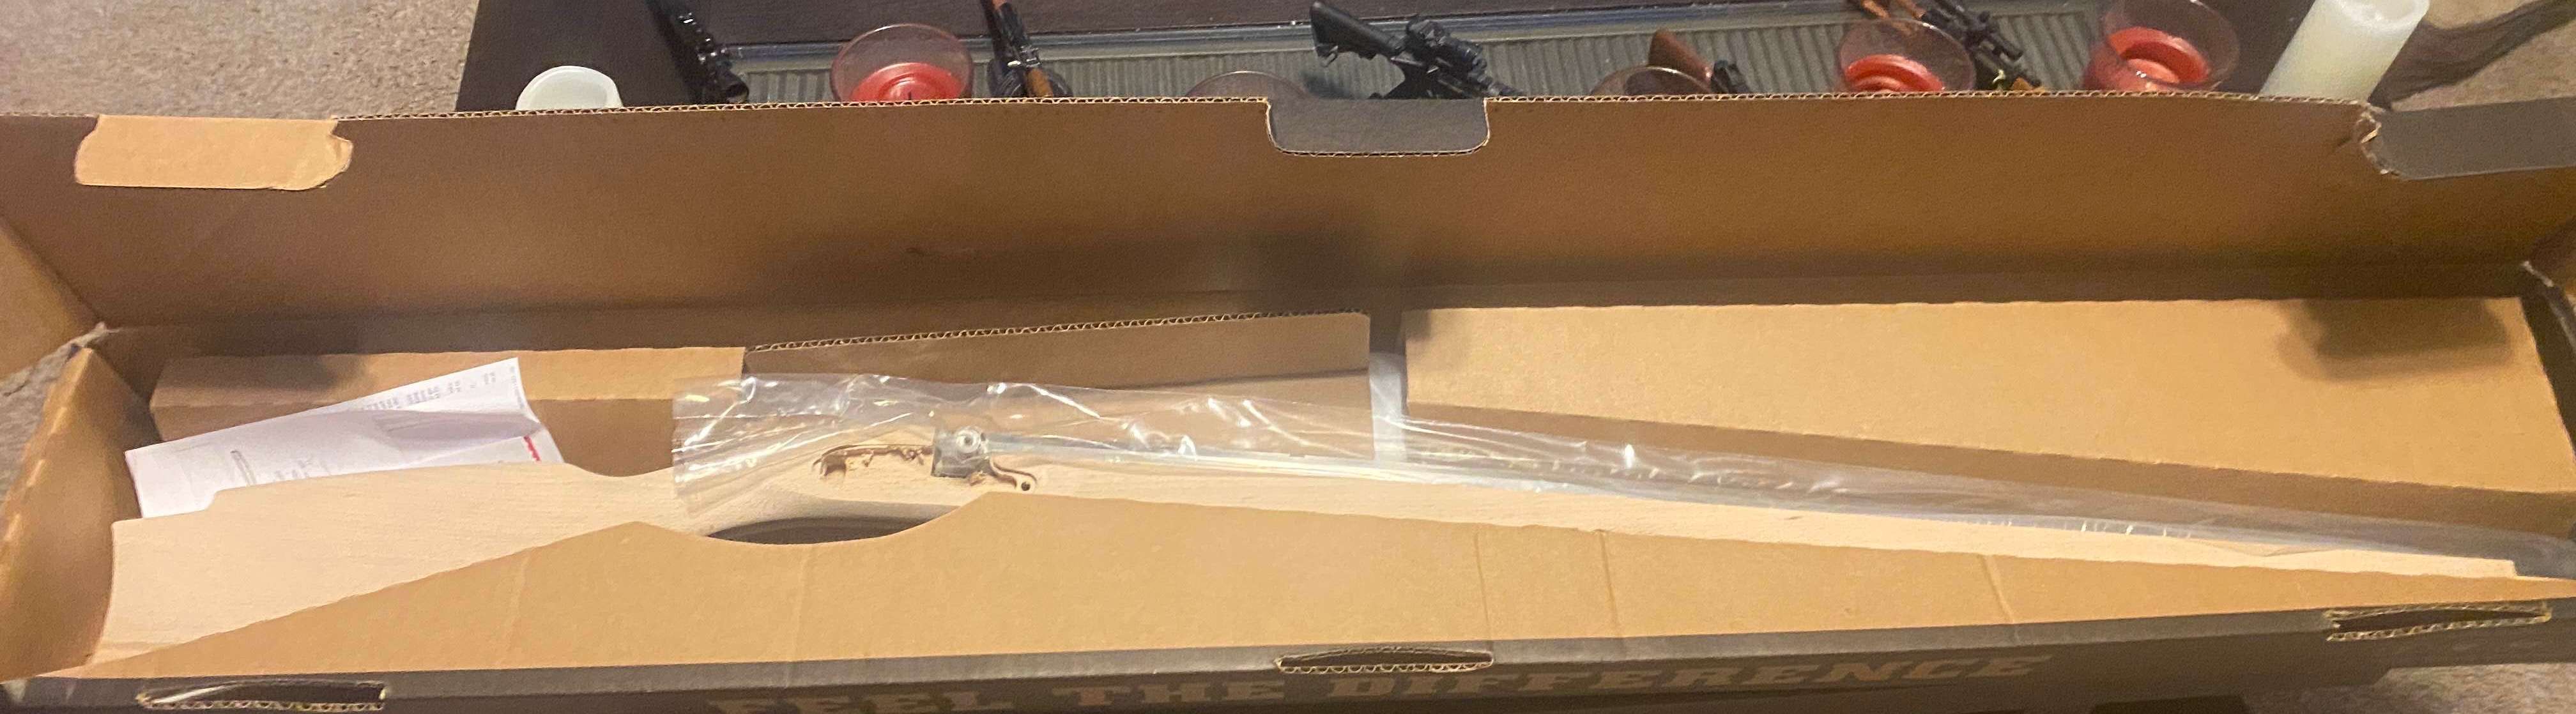 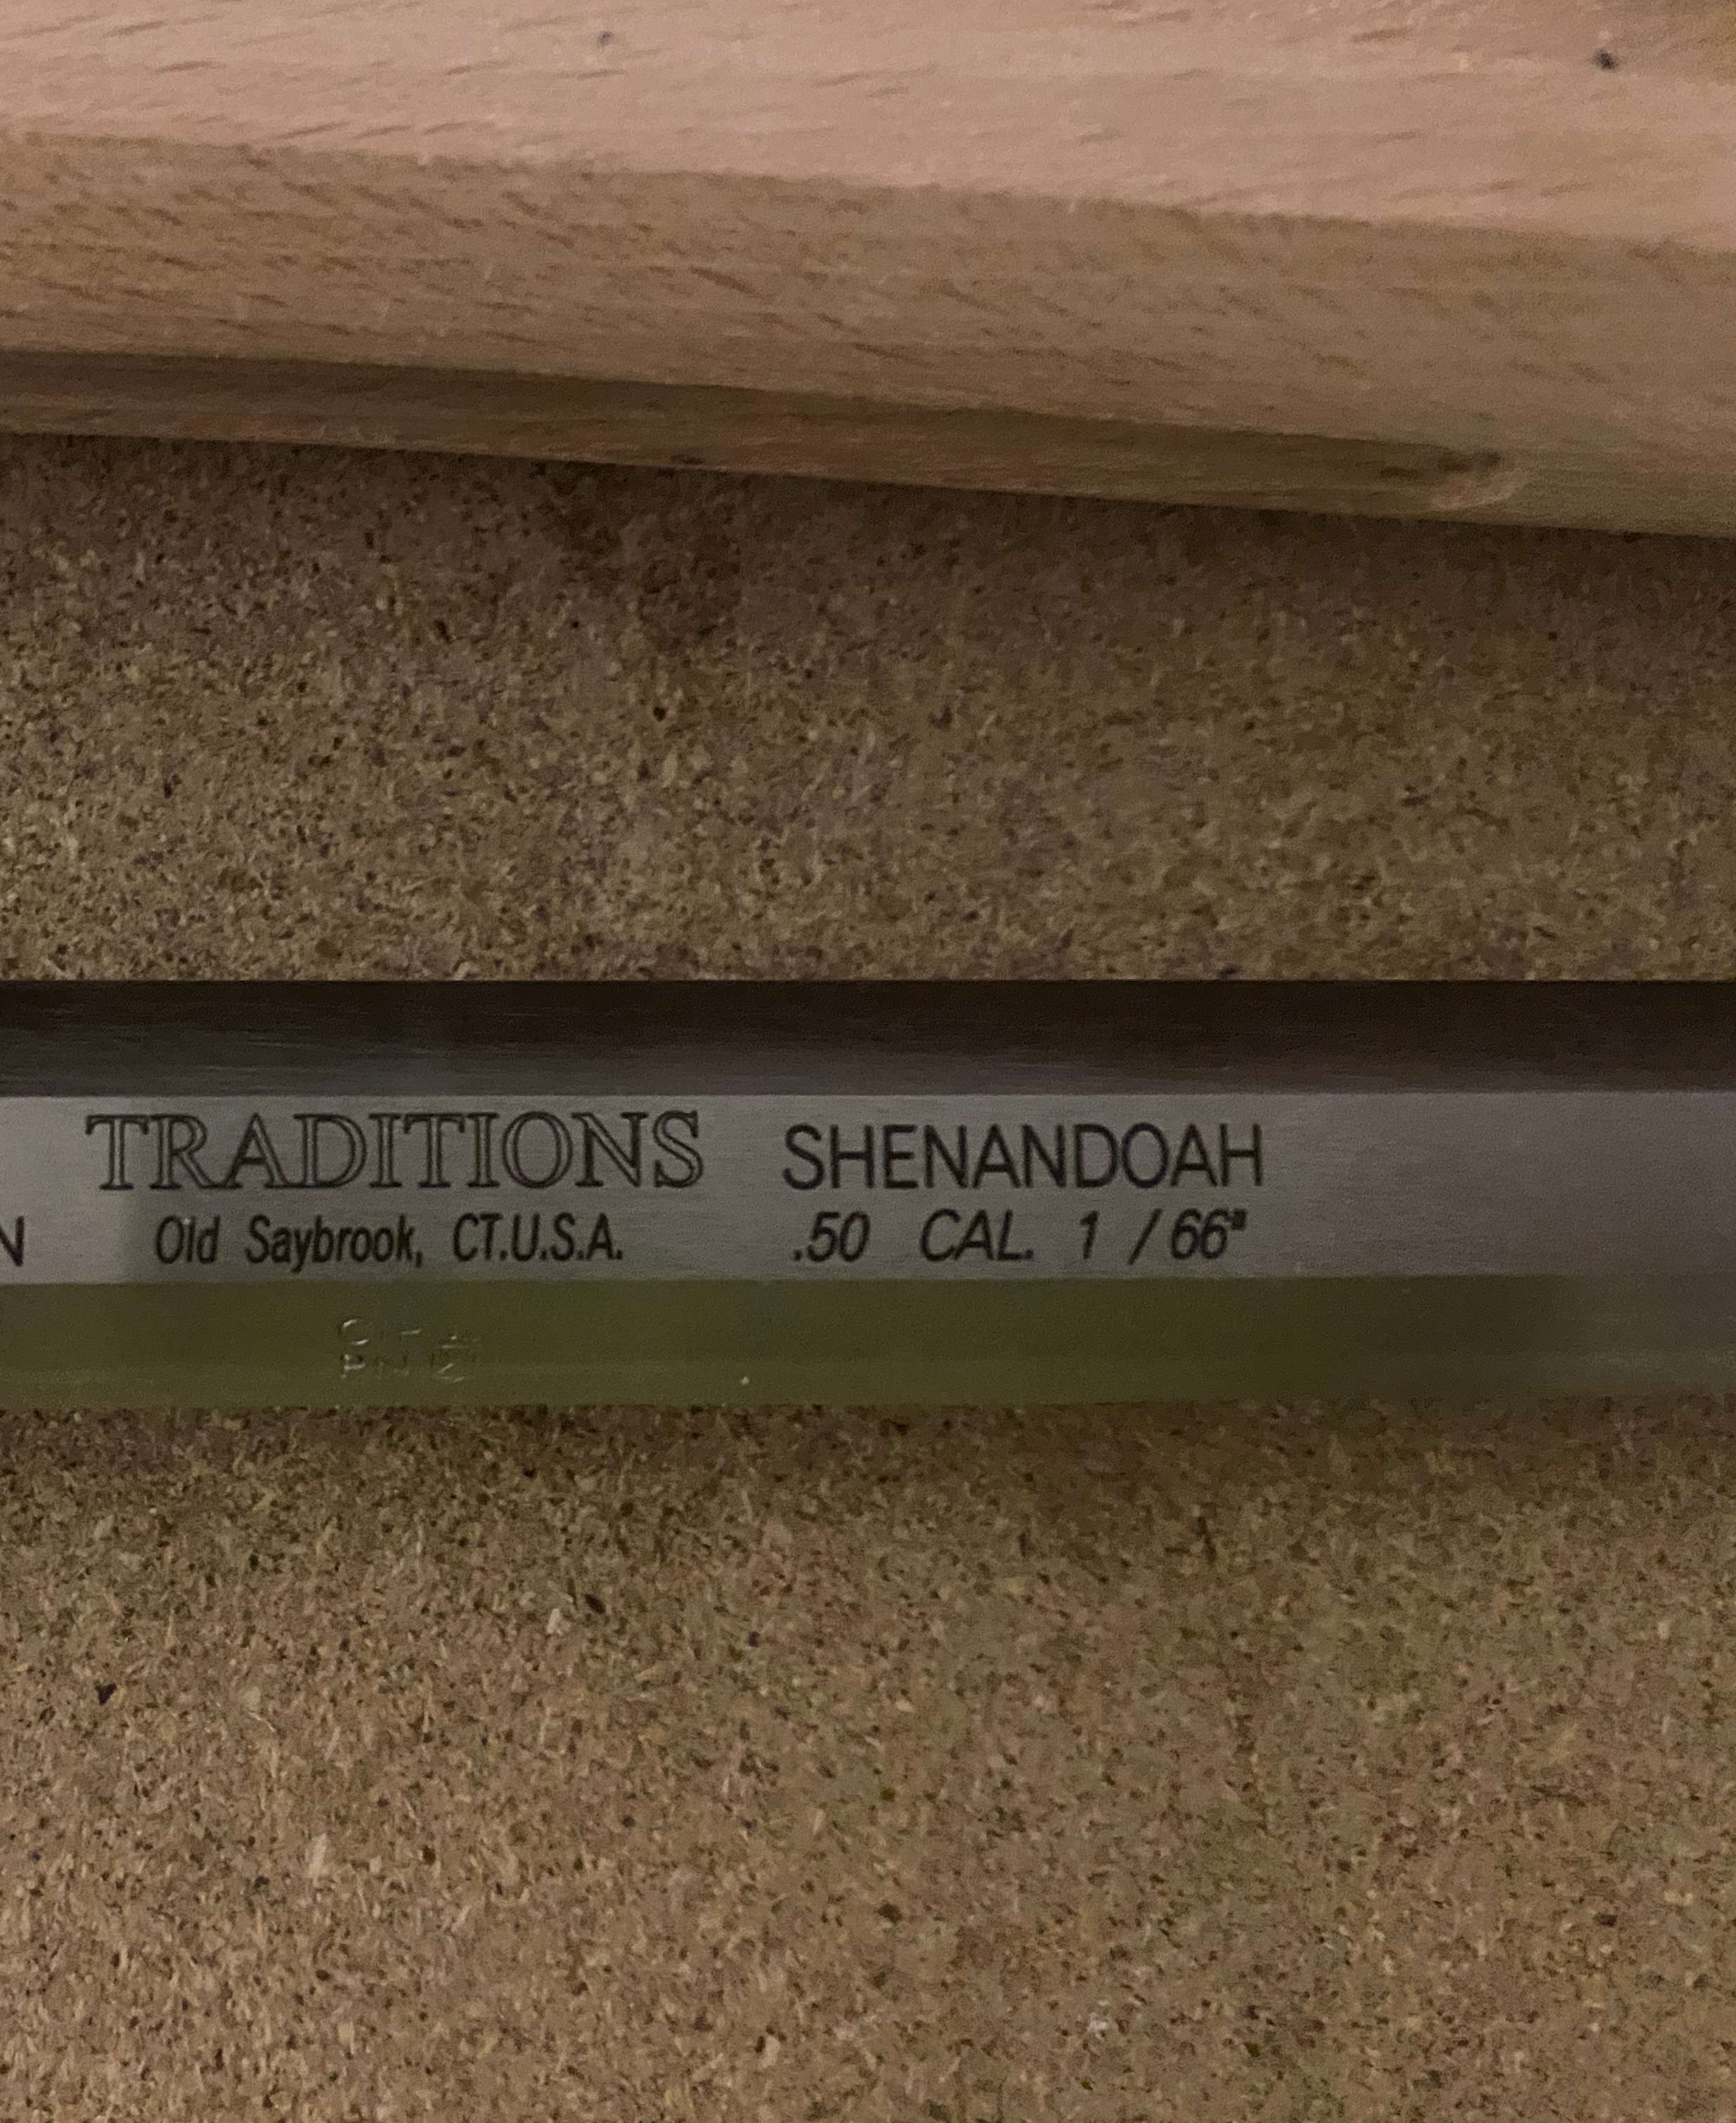 |
|
|
|
[#1]
I’m no expert gunsmith, but there are multiple videos on you tube that are great. I’ve been looking to build an early Hawken, and the ones I watched are very informative.
BTW looks like a good kit choice! |
|
|
|
[#2]
Been many years since I did this.
The barrel is already blued? that was the pain in the butt part. Now all you need to do is fit the pieces and sand down the wood to make smooth transitions. Go slow and hand sand, don't tear into with a dremel unless you are really experienced with a dremel. Then stain or finish the wood. |
|
|
|
[#3]
I built the CVA version of that kit decades ago. It was pretty much all drop in parts with minimal fitting of the wood. Most of the work was in polishing the brass castings and fitting the wood to the castings and smoothing out the transitions. My stock was a two piece affair and it was off by an 8th of an inch at least so there was a lot of sanding to fix that. To blue the barrel nicely, de-grease it thoroughly and heat it with hot water before applying either the bluing or plum brown (if you like). I added a brass patch box and cut a flying heart of of sheet brass, it's primitive looking but I kind of like that. They shoot surprisingly well with a patched round ball of .490. I can't see in your pics, is this flint or percussion?
|
|
|
|
[#4]
Quoted: I built the CVA version of that kit decades ago. It was pretty much all drop in parts with minimal fitting of the wood. Most of the work was in polishing the brass castings and fitting the wood to the castings and smoothing out the transitions. My stock was a two piece affair and it was off by an 8th of an inch at least so there was a lot of sanding to fix that. To blue the barrel nicely, de-grease it thoroughly and heat it with hot water before applying either the bluing or plum brown (if you like). I added a brass patch box and cut a flying heart of of sheet brass, it's primitive looking but I kind of like that. They shoot surprisingly well with a patched round ball of .490. I can't see in your pics, is this flint or percussion? It is percussion |
|
|
|
[#5]
Can't wait to see what it looks like completed! I have been eying some Traditions stuff here and there.
|
|
|
|
[#6]
What's your thoughts on the SDI course? I'm half considering them or one of the other online "colleges" to blow some GI bill money on
|
|
|
|
[#7]
Quoted: What's your thoughts on the SDI course? I'm half considering them or one of the other online "colleges" to blow some GI bill money on So far it's a decent enough course. So far just covering basic stuff |
|
|
|
[#8]
Quoted: @K1rodeoboater. So far it's a decent enough course. So far just covering basic stuff |
|
|
|
[#9]
Quoted: 1/2 rate BAH E5 w/ Dependents right? $800ish/mo Been out 5 years don't know what the rates are these days |
|
|
|
[#10]
I did not like the deep groove in the nose piece. I thought it made the rifle look too thick in the front. I filed it down a lot, then thinned the fore end to match.
You will probably want to de-whisker the wood multiple times before finishing it. I had to sand off the first coat of stain because it raised the grain AGAIN. Turned out decent overall. |
|
|
|
[#11]
There is really only so much you can do with those kits.
|
|
|
|
[#12]
Quoted: I did not like the deep groove in the nose piece. I thought it made the rifle look too thick in the front. I filed it down a lot, then thinned the fore end to match. https://www.ar15.com/media/mediaFiles/114193/IMG_0203_jpg-2175811.JPG https://www.ar15.com/media/mediaFiles/114193/IMG_0204_jpg-2175813.JPG You will probably want to de-whisker the wood multiple times before finishing it. I had to sand off the first coat of stain because it raised the grain AGAIN. Turned out decent overall. https://www.ar15.com/media/mediaFiles/114193/IMG_0206_jpg-2175815.JPG That looks beautiful |
|
|
|
[#13]
@flynhghr2001
Thanks. Mine had the two piece stock, designed to have a brass spacer. I discarded the spacer and joined the two pieces with threaded rod, a plumbing fitting and WeldWood. I tiger striped it to conceal the joint. The striping was much more subtle before the finish was applied. The Tru-Oil really made it pop. If I were to do it again I would try to make the stripes less bold, or maybe skip them. The joint was really not that noticeable. The hook on the trigger guard seemed pretty uncomfortable to me so I cut it off just leaving a nub. Also the trigger guard was a bit smaller than the inletting job the factory did. I did the best I could there. As JupiterMaximus mentioned, there is only so much you can do with these kits. It will never be perfect, but it can be pretty nice. |
|
|
|
[#14]
Uplander, that is a pretty bang up job on the faux stripe finish. Period correct too. Henry Leman did that a lot.
|
|
|
|
[#15]
Quoted: @flynhghr2001 Thanks. Mine had the two piece stock, designed to have a brass spacer. I discarded the spacer and joined the two pieces with threaded rod, a plumbing fitting and WeldWood. I tiger striped it to conceal the joint. The striping was much more subtle before the finish was applied. The Tru-Oil really made it pop. If I were to do it again I would try to make the stripes less bold, or maybe skip them. The joint was really not that noticeable. The hook on the trigger guard seemed pretty uncomfortable to me so I cut it off just leaving a nub. Also the trigger guard was a bit smaller than the inletting job the factory did. I did the best I could there. As JupiterMaximus mentioned, there is only so much you can do with these kits. It will never be perfect, but it can be pretty nice. https://www.ar15.com/media/mediaFiles/114193/IMG_0208__1__jpg-2176363.JPG Did you flame stripe it or do something else. Nice job on it! I only know where the joint is in taht pic because I know where to look, you did a good job hiding it. |
|
|
|
[#16]
@K1rodeoboater - Thanks!
The stripes are brown boot dye applied with a q-tip. For a more subtle pattern, you can use a paint brush and cut the working edge into an irregular saw tooth pattern. |
|
|
|
[#17]
On a stock blank, the first thing we do is:
Inlet the tang and barrel. Where the end of the tang's breechplug goes determines the touch hole or drum & nipple's location. Where the touch hole or nipple goes determines where the lock goes. Where the lock goes (sear arm in particular) determines where the trigger goes. Where the trigger goes determines the length of pull (and with it, the trigger guard). When the length of pull is determined, you know where to install the buttplate. However, you have a kit. So, inlet the barrel and tang first, then the lock. Adjust the drum (rotation) to time it with the hammer. I had a traditions pistol that required me to reduce the drum size just so it would mate with the lock plate. Guys in classes after mine turned them on the drum to reduce the diameter to attain the same result. |
|
|
|
[#18]
BTW, I started a thread here on the National Muzzle Loading Rifle Association's gunbuilding workshop at Western Kentucky University, Bowling Green, KY. They have a Kibler kit assembly class and classes on other things. I'm trying to enroll in the patchbox/thimble class (George Suiter) and his engraving class.
If your kit has a brass nosecap, you might want to pour a pewter one instead. Go to 1:27 to see a pewter nose:  Josey Wales "Nothing Extra" They're easy to do. Clean up the wood and apply graphite (pencil) all around the area you want to pour. Build a paper and stick dam on the exterior of the stock and around the barrel. Clamp it so it's upright against a bench or something. Heat the pewer and have a buddy torch the metal (just to warm) while you're melting the pewter. Then pour. It cools fast. Remove dam, check for pores/gaps an if visible, melt and re-do. If not, file to finish. I poured the first pewter nose in decades at Trinidad State but I learned from Hershel House (none of my instructors ever did that). |
|
|
|
[#19]
Please @ me when you post a question. I'm happy to share my insights.
|
|
|
|
[#20]
Brass, iron and pewter forearm tips were all quite common. Pewter does seem to show up on the tips of half stock trade guns with some frequency, not exclusively.
|
|
|
|
[#21]
Quoted: BTW, I started a thread here on the National Muzzle Loading Rifle Association's gunbuilding workshop at Western Kentucky University, Bowling Green, KY. They have a Kibler kit assembly class and classes on other things. I'm trying to enroll in the patchbox/thimble class (George Suiter) and his engraving class. I will be looking in to this |
|
|
|
[#22]
Quoted: @flynhghr2001 Thanks. Mine had the two piece stock, designed to have a brass spacer. I discarded the spacer and joined the two pieces with threaded rod, a plumbing fitting and WeldWood. I tiger striped it to conceal the joint. The striping was much more subtle before the finish was applied. The Tru-Oil really made it pop. If I were to do it again I would try to make the stripes less bold, or maybe skip them. The joint was really not that noticeable. The hook on the trigger guard seemed pretty uncomfortable to me so I cut it off just leaving a nub. Also the trigger guard was a bit smaller than the inletting job the factory did. I did the best I could there. As JupiterMaximus mentioned, there is only so much you can do with these kits. It will never be perfect, but it can be pretty nice. https://www.ar15.com/media/mediaFiles/114193/IMG_0208__1__jpg-2176363.JPG Looks awesome ! I just ordered the same kit, except the flintlock version. Plan to ditch the brass spacer and join stock like you did. Could you give a little more detail on how you did it ? -Thanks Also what stain and finish did you use ? |
|
|
|
[#23]
@kyron4
I wanted a very strong joint. I replaced the smooth pins with bolts with the heads cut off. I enlarged the ramrod hole at the joint so a hose coupling would fit. https://www.homedepot.com/p/Apollo-3-8-in-Brass-PEX-Barb-Coupling-APXC3838/301541095#overlay (This is not the exact one I used. Test for fit before you glue) I used WeldWood to glue it all together. Make sure everything fits well and aligns properly before you glue it. You will not get a second try. I greased the barrel and used it to hold the two stock sections in place. I ran the ramrod through before the WeldWood hardened to ensure the channel was not blocked with glue. The stain was a couple coats of Birchwood Casey Rusty Walnut Wood Stain and a coat of medium walnut Danish Oil. The stripes were Kiwi brown boot dye.I used Tru-Oil to finish it. By the way, I’ve found it works best to apply the Tru-Oil with a piece of cloth. Rubbing it in with fingers is stupid. It has never worked well for me. |
|
|
|
[#24]
Quoted: @kyron4 I wanted a very strong joint. I replaced the smooth pins with bolts with the heads cut off. I enlarged the ramrod hole at the joint so a hose coupling would fit. https://www.homedepot.com/p/Apollo-3-8-in-Brass-PEX-Barb-Coupling-APXC3838/301541095#overlay (This is not the exact one I used. Test for fit before you glue) I used WeldWood to glue it all together. Make sure everything fits well and aligns properly before you glue it. You will not get a second try. I greased the barrel and used it to hold the two stock sections in place. I ran the ramrod through before the WeldWood hardened to ensure the channel was not blocked with glue. The stain was a couple coats of Birchwood Casey Rusty Walnut Wood Stain and a coat of medium walnut Danish Oil. The stripes were Kiwi brown boot dye.I used Tru-Oil to finish it. By the way, I’ve found it works best to apply the Tru-Oil with a piece of cloth. Rubbing it in with fingers is stupid. It has never worked well for me. Thanks ! |
|
|
|
[#25]
I just got myself the Traditions Kentucky Rifle kit. The spacer doesn't bother me but that delete looks amazing!
I'm planning on using the Laurel Mountain nut brown stain, is that a good choice? And the Laurel Mountain barrel brown and degreaser. This is my first flintlock, and my first time building one from a kit. Any tips? @4v50 |
|
|
|
[#26]
I'm doing one now.
Was fitting the trigger guard and it had a bend to it. I tried to give it a bend and snapped it. Have a new one coming from log cabin for 25 $ for my screw up |
|
|
|
[#27]
Well, I have been progressing on my build and did the barrel browning today. I did terrible, it looks like it was brushed with poop. Uneven streaks and bare spots where I didn't clean the barrel good enough.
|
|
|
|
[#28]
I have been debating on cold blue or browning the barrel.
I want to brown it but have never done that before. |
|
|
|
[#29]
Quoted: I have been debating on cold blue or browning the barrel. I want to brown it but have never done that before. Do you have an oven that is big enough for the barrel? If not a heat gun will do. Heat just enough so that it's slightly uncomfortable to touch. Heat the barrel evenly and apply the browning quickly with a wool dauber and it will turn out even and smooth. I did this with a Hawken barrel and it was beautiful. |
|
|
|
[#30]
Quoted: I have been debating on cold blue or browning the barrel. I want to brown it but have never done that before. I have to ask...was 'browning' cheaper or more field expedient back in the day? I must admit I do NOT find it attractive. |
|
|
|
[#31]
Quoted: I have to ask...was 'browning' cheaper or more field expedient back in the day? I must admit I do NOT find it attractive. I believe it was both. Browning is basically just rust bluing that stops before the "boil it to turn the rust black (blue)" step. You could always take it the extra step, if you've got or can make a tank long enough to hold the barrel and sturdy enough to boil the barrel in it. Distilled or deionized water: you don't want any dissolved salts. |
|
|
 Win a FREE Membership!
Sign up for the ARFCOM weekly newsletter and be entered to win a free ARFCOM membership. One new winner* is announced every week!
You will receive an email every Friday morning featuring the latest chatter from the hottest topics, breaking news surrounding legislation, as well as exclusive deals only available to ARFCOM email subscribers.

AR15.COM is the world's largest firearm community and is a gathering place for firearm enthusiasts of all types.
From hunters and military members, to competition shooters and general firearm enthusiasts, we welcome anyone who values and respects the way of the firearm.

Subscribe to our monthly Newsletter to receive firearm news, product discounts from your favorite Industry Partners, and more.
Copyright © 1996-2024 AR15.COM LLC. All Rights Reserved.
Any use of this content without express written consent is prohibited.
AR15.Com reserves the right to overwrite or replace any affiliate, commercial, or monetizable links, posted by users, with our own.


