


Armory Sponsor

Posted: 12/31/2016 6:57:49 PM EDT
|
Today I tried powder coating my 9mm and .223 cast bullets. First I put them in my Rockford tumbler for 20mins. and the powder coating didn't seem to stick well. So then I left them in for an hour. Next I put them in a small strainer basket (wire-screen) and shook off the excess powder then put them in the toaster oven at 400 for 5-10 mins. When taking them out they all stuck together in the basket so I leveled them out on a tray to cool. Still some of them stuck together. Then I noticed they weren't fully coated. When cooled they went back in the tumbler for a few minutes and then I repeated the process in the toaster oven.
Problem is, while some turned out okay, others have big chips taken out where they were snapped apart. Others have uneven paint spread around them (heavy in some spots and light in others). Any tips on how to fix things the next go round? Thanks -Emt1581 |
|
i shake for about a minute with my hands. Use your tumbler to clean brass.
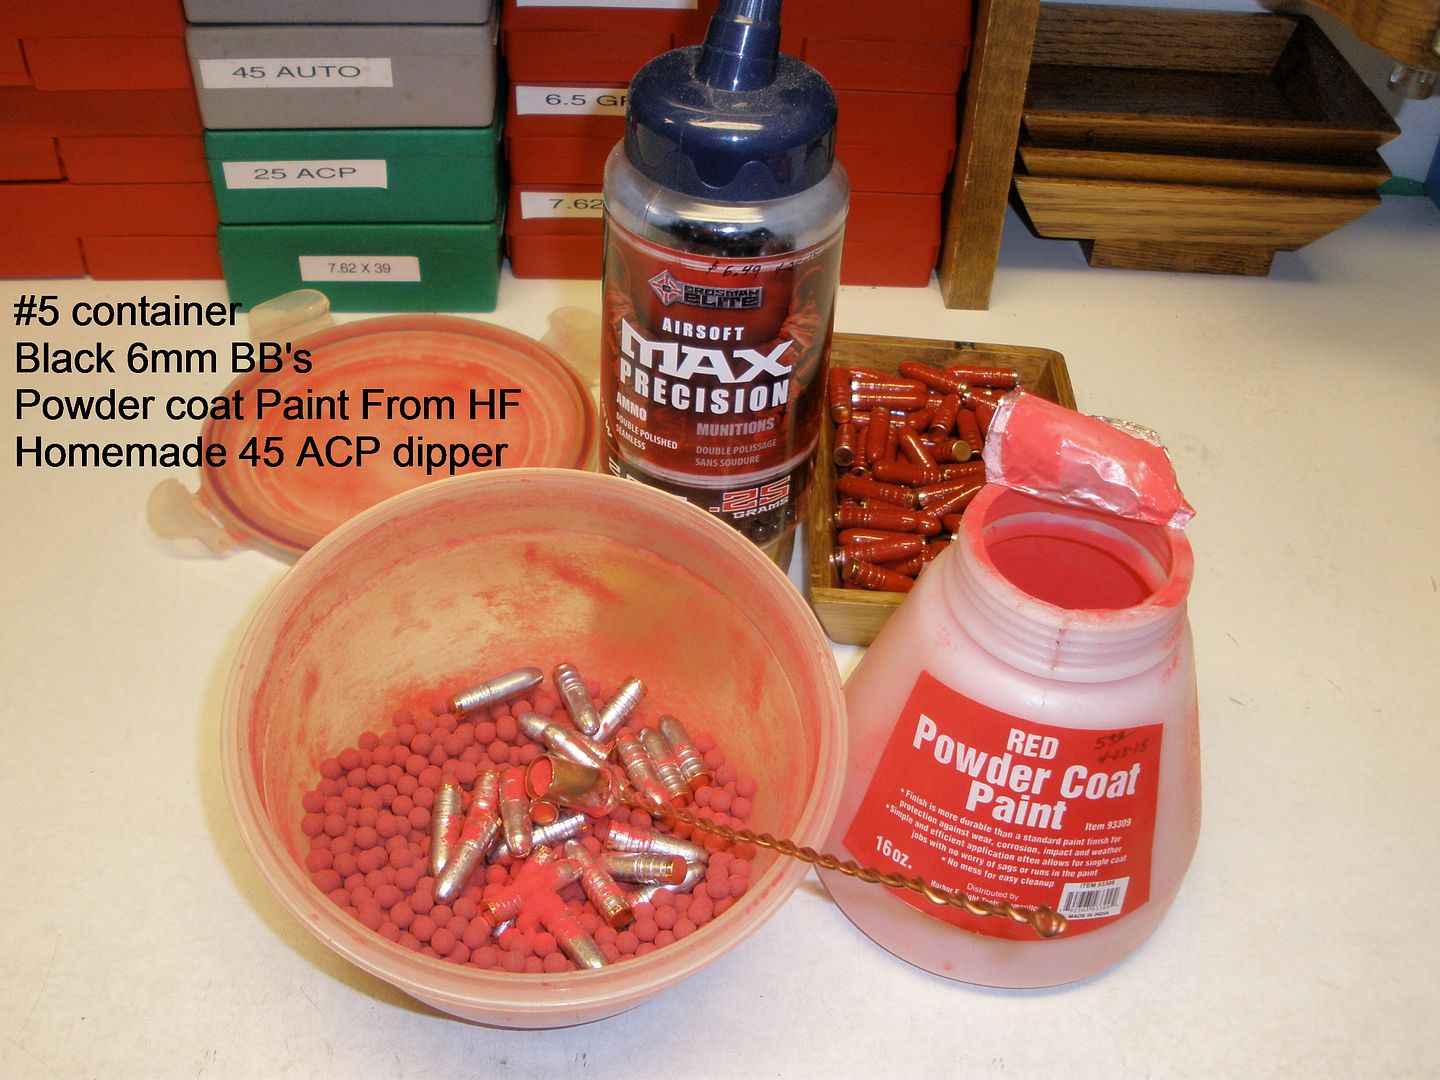
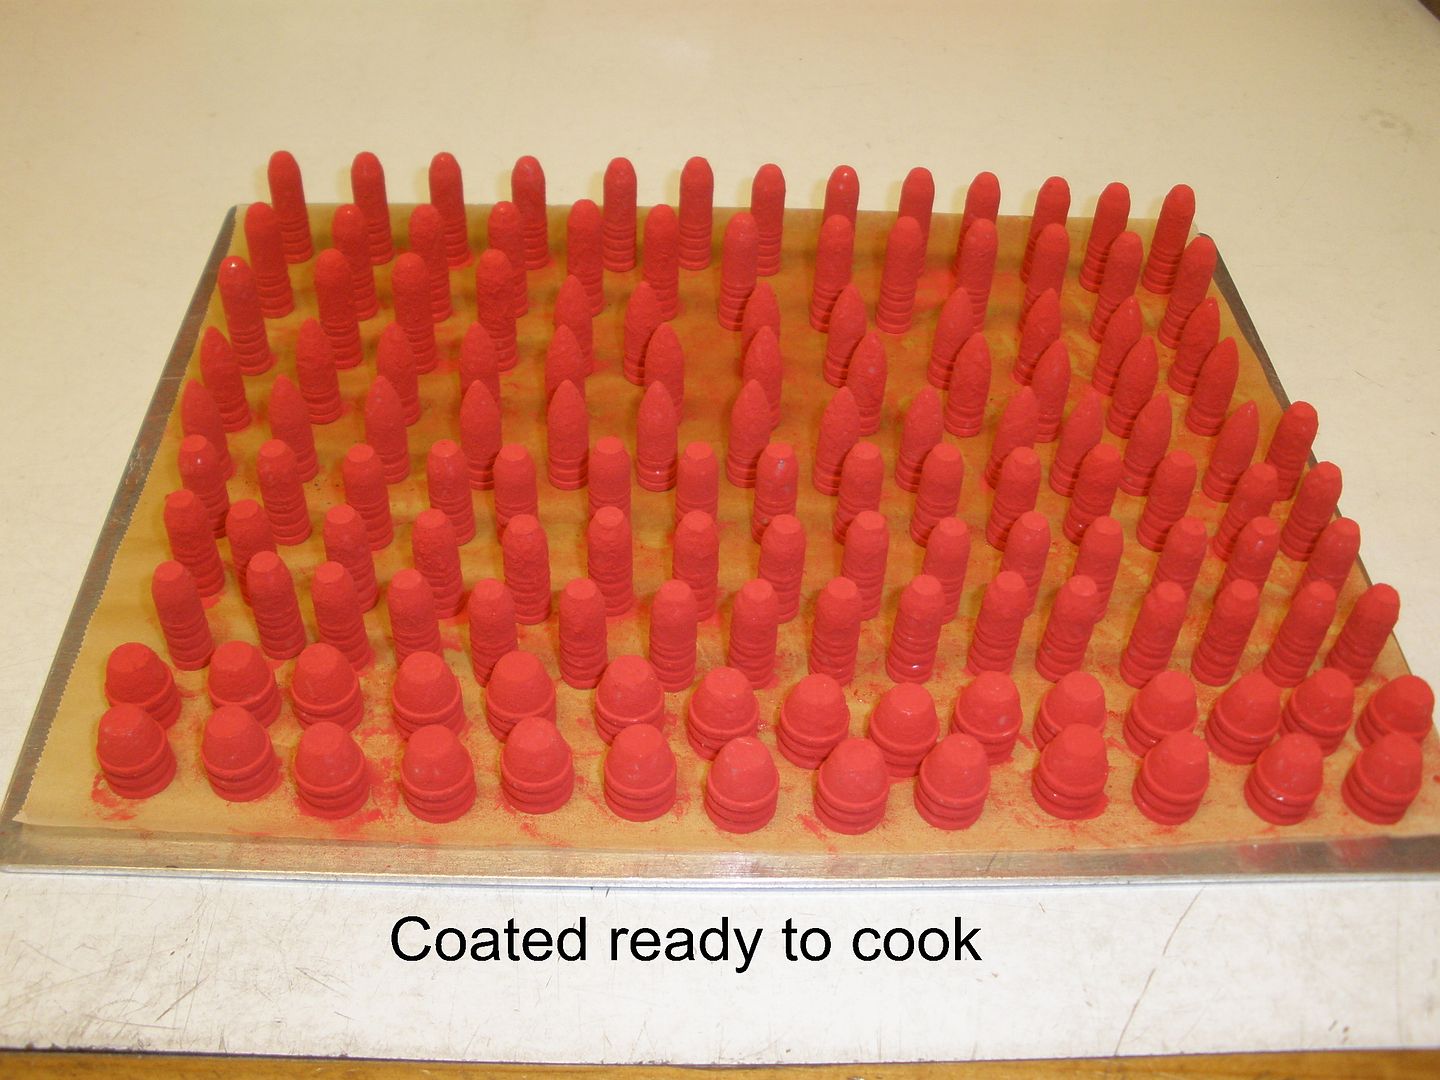
Use the black bb's and #5 (i think?) sandwich size plastic container (works best IMO). do a small batch at a time. If you want to do the dump and pray method (i place each bullet using forceps onto parchment paper), make sure you break them apart right as you take them out of oven.. Use leather gloves or something.. they will be hot! Breaking them apart right away is best I have heard... prevents issues like you had. I have done dump and pray method... once.. but i didn't break them apart. Instead, i had a mess that went right back into my smelting pot. I enjoy placing them by hand. It's slow but I can do it on days like today when I am fighting a horrible cedar fever episode... Normally, I would stay away from reloading room when I have a foggy head.. But not much can go wrong when coating if you take your time. Good luck! |
|
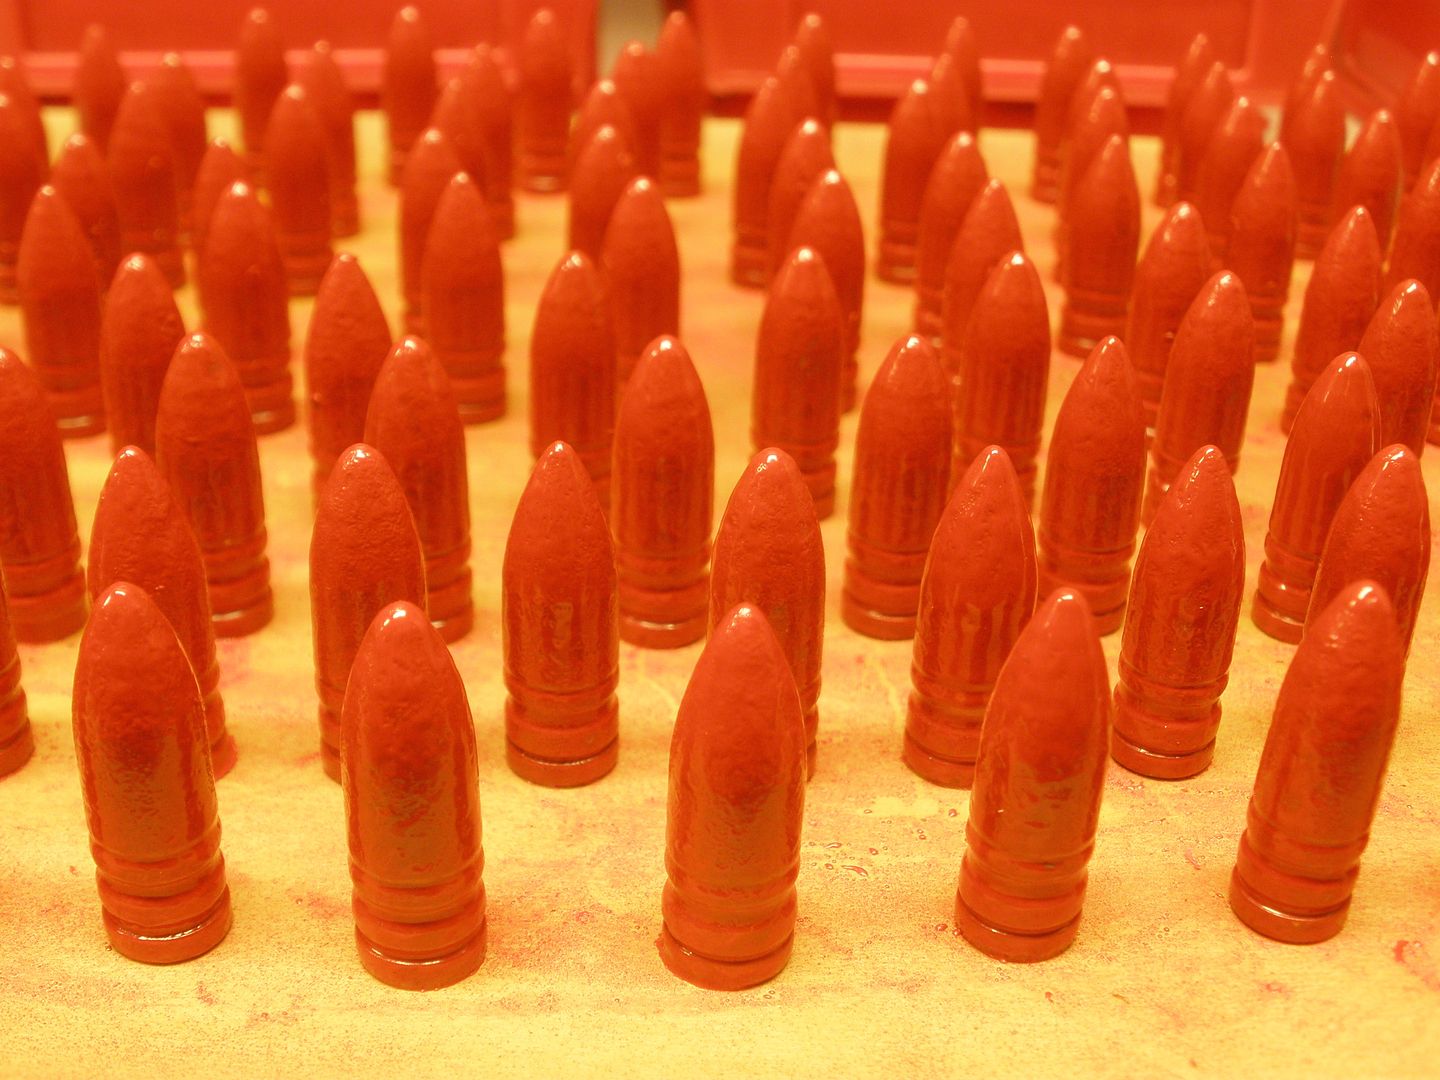
The placing with tweezers is the way to go. It takes more time but i get perfect bullets every time.Attached File Attached File |
|
Two ways to attack it.
Either the BB's in the mix to create the needed static on the bullets to get the powder coat to stick, or you can do the pre heat method to get the powder coat to light layer coat bond the the bullets before baking instead. [youtube]https://youtu.be/MRVXic3-ztE[/youtube] I do the pre heat method since it means that I don't have to do a lot of shaking to create a static charge, and as for baking the bullets, use a pair of hemostats to set the bullets on the rack base down before baking them instead. My racks are simple, and just a layer of aluminum foil to begin with, the some steel screen door type screen on top of the foil. As for the racks, they are just the ones that came with the oven, and allow me to not only pre-load a rack while the other rack is backing bullets, but size the bullets that came out of the oven while the next batch is baking isntead. So my bake times are around 15 mins per rack, it takes me about 5 mins to load a rack, leaving me with about 5 mins once the last rack bullets have cooled enough to remove them from the rack and size them. Production wise, average around 400 bullets a hour in my small oven that are not only PC baked, but sized as well. Considering that I will cast around 2K-4K per sitting, a couple of half days either casting or PC coating has me covered for a while. 
|
|
If you don't want to pick the bullets up with tweezers, hemo-stats or fish hook removers you can simply use the blue nitrate gloves. Put on the glove (bullet picking hand) and stick your pinchers (thumb/finger) into the powder coat to get a light dusting on the nitrate glove. Pict the bullets up after they have been tumbled/coated and place them on trays spacing them so they don't touch like in the pictures above.
I like to use the shake and bake method myself using the #% containers and the harder black airsoft bb's. It only takes around 30 seconds of shaking to coat 40/50 bullets at 1 time in the containers I use. A little time consuming and it gets boring rather quickly. I'm pretty much good for 3 batches anymore and then I'm done. I cook my batches for 15 minutes @ 400*. Typical batches are 150+ bullets depending on the caliber. While 1 batch is cooking I can easily coat/fill 2 more trays. The nitrate glove is a lot quicker than plucking the bullets with tools. |
|
In pistol, I pre-bake about 4 racks worth of bullets at one time (400), and using a large lock lid container, only have to shake the bullets for about 10 seconds before they are evenly coated. From there, the whole container is just dump to the my shake screen, and then pulled one at a time to be placed on the racks to pre load them.
As for gloves over the hemostats, tired it both ways, with the hemistats ending up with a more even coating of the bullets isntead ( a lot cleaner as well). Plus, if you do manage to scrap off a touch of paint before baking on a bullet or two as you are placing it on the rack, you can grab a small portion of paint to put back on the scrapped section with the hemostats as well. 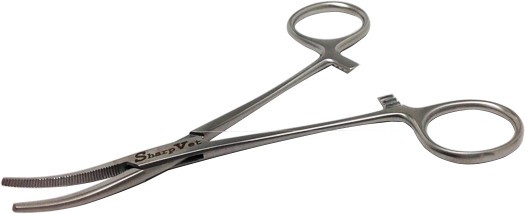
As for the shake and clump baking on the rack isntead, it's a lot faster, but did end up with some funky spots of the bullets that we not asthenic pleasing, and why I went to the rowed racks with the bullets placed base down on them instead. And yes, the spots don't really matter when shooting the ammo, but at some point when loading the ammo, you do have to look at it, and where I was having the glitches in my head with the spotty bullets instead. |
|
Quoted:
Does shaking and then pouring onto a mesh screen work well for baking? Without using tweezers I mean. Or do you still get uneven/splotchy bullets? Where the bullets are touching during baking on the screen, is where I ended up with the less than idea separation/screen marks trying to get the bullet separated in the end. Maybe dumping them while still hot right out of the oven directly into water, or some other trick would solve this problem, but I have yet to find the solution yet (why I do the base standing of the bullet away from each other. If you look close, you can see the paint void marks from the bullets being screen bunch baked. 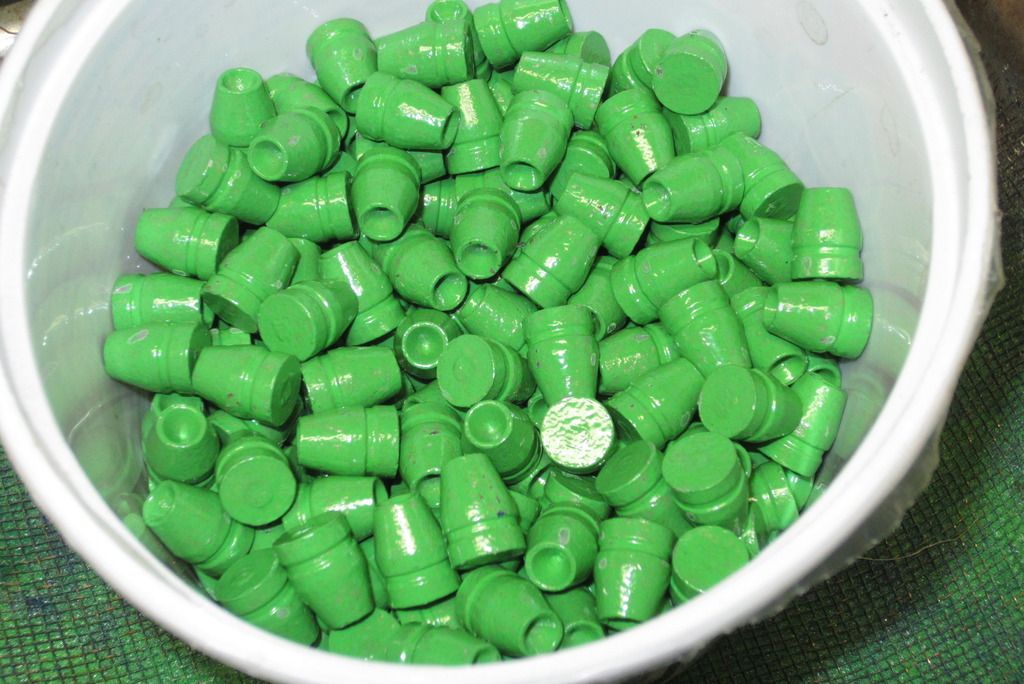
Maybe someone else can chime in that has found the solution to the problem to not end with these marks (be it really not a problem shooting them, but more of less that appealing bullets powder coated isntead). |
|
With the HF powder, and especially double coating, you may want to try some through your sizing die before you do too many. I found it didn't take much to make sizing a PITA as far as force was concerned if the coating was thick. Switching to a better quality powder (either the Smoke's from Cast Boolits, or other) makes for a more consistent coating, that is thinner, and easier to size.
I've not done any with multiple coats, but had a batch (HF powder) where I didn't sift them well enough and had too much powder sitting on them in spots, and ended up remelting them in the casting pot. Sizing them was difficult at best, and some were damaged at worst. Scrapped/remelted most of those in the learning process. Switched out to some polyester Diamond Vogel powder from eBay, and had much better success with consistency, and even sticking together after curing (doing the Elvis Ammo method). |
|
All I have used so far is HF red for powder. The other colors at HF don't work with the "shake and bake" PC method.
Never had any sizing issues with the Lee bullet sizing dies. And I have done 2 and 3 coats of PC, powder coat, when I was experimenting. They sized fine. One thing I always did was pick up bullet with needle nose pliers and tap needle nose pliers holding the bullet on side of container to remove the excess powder. So a blanket statement stating HF powder is hard to size is misleading. If you have excessive amounts of powder on the bullet and use the screen method, I could see having problems. |
Armory Sponsor