



Posted: 9/23/2024 1:16:57 AM EDT
|
I am doing custom craftsman style door and window casings as we renovate/update. I am adding a piece of cove along the top with 90 degree outside corners wrapping around. Other than starting long and working my way back to the length I need, what is the right way to measure to cut once instead of five times? There has to be a more scientific way than trial and error.  |

|
Lesson in miters- I did the floor in Seattle. Every fucking 45 degree wall, I would cut my the quarter round trim backwards. I started setting it up backwards and it worked out great I bought bnib rigid compound miter saw from the pawn shop. They had 20 of them, I paid 40 bucks That's ALL I know about miter saws |
I'm on break.

|
Nibbling them down to length is a viable technique. Also, don't cut 45s. Cut 45.5s as the joints will shrink and try to blow open. I tend to set my saw and leave it. I flip my piece so I'm not trying to tweak for that half a degree. That's after cutting all of my wall returns. Then I place the right side, cut the complementing right side angle on my long piece, hold it up and make that joint look right and scribe the other end with a sharp pencil from the back side. Sneak up on that line, cuttingfrom the front to avoid tearout. When it's right, I move on. I come back later and do my left side wall returns so and adjustments can be made by trimming the length of the wall return and not dicking with the miter. |

|
Originally Posted By Homesteader375: Nibbling them down to length is a viable technique. Also, don't cut 45s. Cut 45.5s as the joints will shrink and try to blow open. I tend to set my saw and leave it. I flip my piece so I'm not trying to tweak for that half a degree. That's after cutting all of my wall returns. Then I place the right side, cut the complementing right side angle on my long piece, hold it up and make that joint look right and scribe the other end with a sharp pencil from the back side. Sneak up on that line, cuttingfrom the front to avoid tearout. When it's right, I move on. I come back later and do my left side wall returns so and adjustments can be made by trimming the length of the wall return and not dicking with the miter. I suck at 45s, they never match up. Is there a video on what you describe? |
|
Originally Posted By ThatGuyTheCooler: I suck at 45s, they never match up. Is there a video on what you describe? Hell, I have no idea. It's just how I learned wrap around moldings and trims. The main reasons miters fail are a poorly set up machine, your corners weren't 90 to start with, or your miters weren't cut to the right angle. Wrap around trim is easy because it's applied to casing, which is pretty square, unless it's completely screwed. The real magic is set the angle at 45.5, cut the left and right return pieces, and the right side face angle. Don't touch your angle. That way you know your miter will be closed at the point and both angles are identical. Once the right side looks good, put a brad in the wall return so it doesn't move. It helps to have a second pair of hands but a piece of blue tape will also hold that right side tight while you mark the left along the back where it meets the casing... the inside corner of the miter. Now you know where you are cutting to but you can't see it when you're cutting because it's on the back side. Cut a little long and sneak up on the line until you just see half a pencil line. That's your finish piece. Put it up. Your left side return should fit if you cut it right. If you left it long, set the saw back to 90 and shave the square end down until the piece fits right. If you're doing a bunch of these, save all of the left side pieces until last so you don't have to fuck with your angle. Works with cove, bed, shoe, base cap, novelty molding that's small enough, lots of stuff. Even works for small crown... like 1 1/2" ish. Big 3"+ crown needs to be cut flat |


|
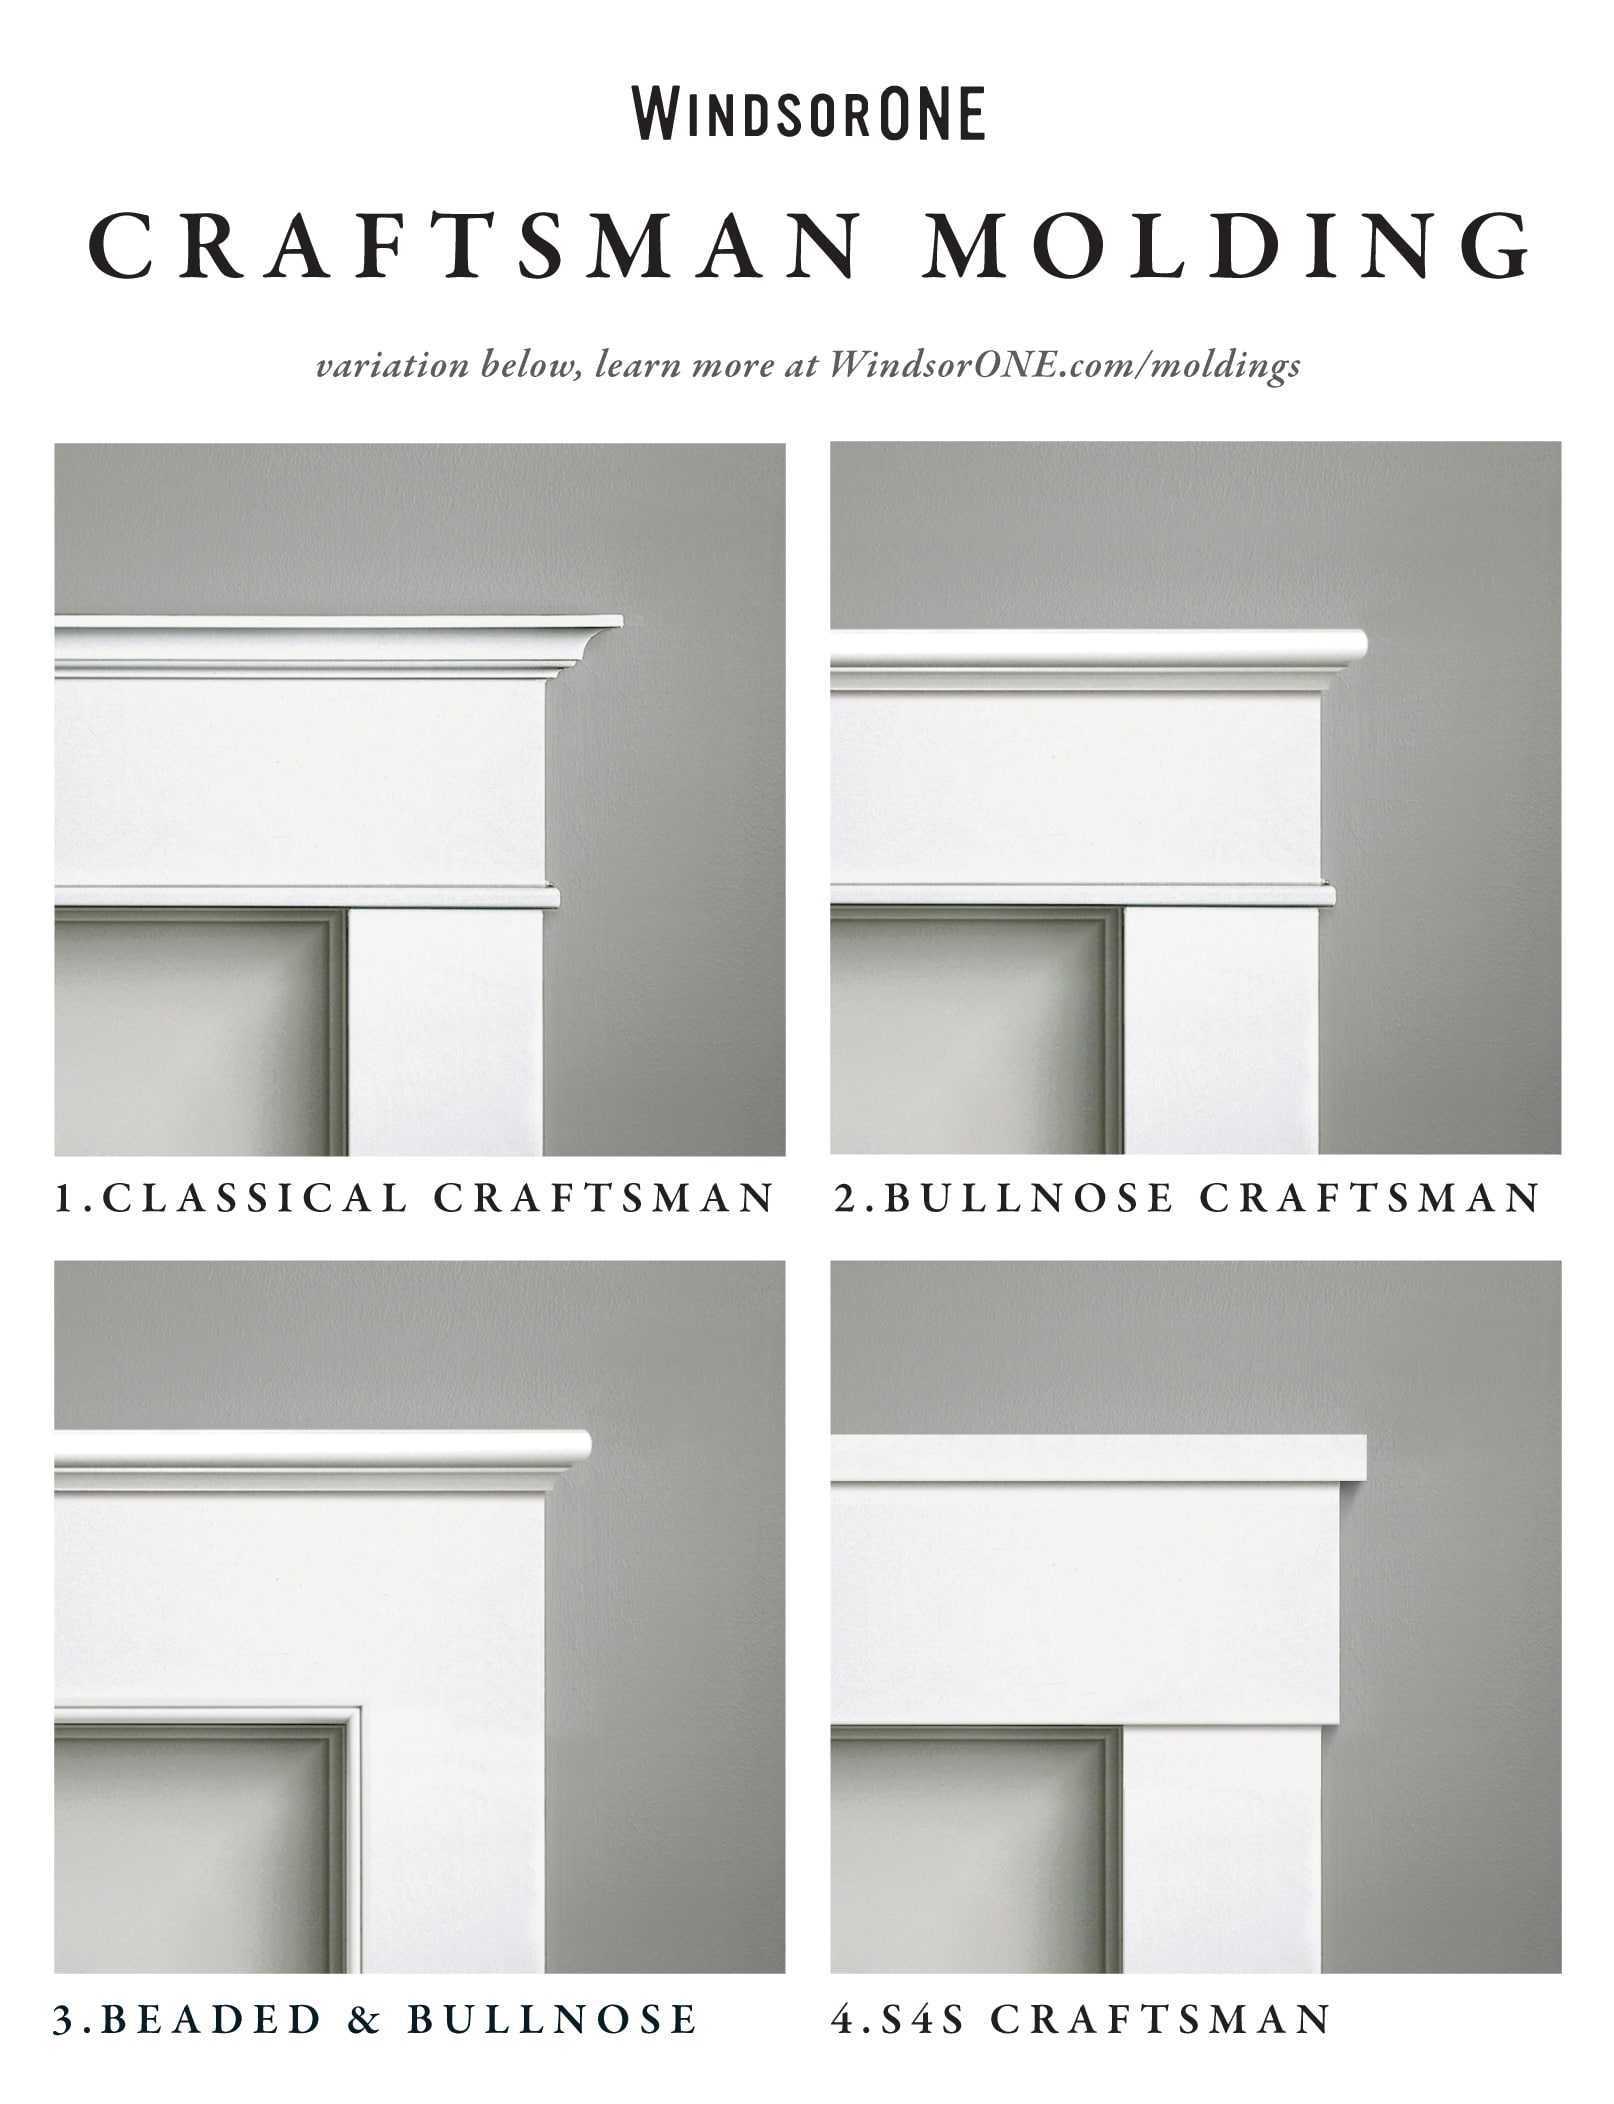
Originally Posted By SpankMonkey: Simple add 1 inch to the length of the casing before you do your returns. Let it overhang 1/2 inch on each side. You said craftsmen. https://i.pinimg.com/originals/1c/af/04/1caf04d391812a75122ee50f90932c89.jpg https://windsorone.com/wp-content/uploads/2015/12/WindsorONE_craftsman-1-grid.jpg #1 is almost exactly what I am doing, with the cove along the bottom of the upper rail. |



|
Originally Posted By SpankMonkey: Simple add 1 inch to the length of the casing before you do your returns. Let it overhang 1/2 inch on each side. You said craftsmen. https://i.pinimg.com/originals/1c/af/04/1caf04d391812a75122ee50f90932c89.jpg |
"Over the years, it has become increasingly difficult to tell the difference between skilled trolls versus fucking morons." DK-Prof
C 2/325 1983 - 1986
C 2/325 1983 - 1986