


‘66 Bronco Restoration (Page 3 of 4)

|
Since the last update, I’ve gotten both rocker panels welded on. I repaired the cab bulkhead and started on the grille and hood. I took the locking and latching hardware out of the doors, and inspected them more closely. Found some rust through the passenger side skin, and a bunch of rust on the drivers side where the skin folds over the shell. I decided to replace them instead of trying to repair them. I did decide to repair the grille instead of replacing it, though. It wasn’t as bad as I initially though. Have a little more welding remaining on it. Yesterday I repaired the cracks in the hood, and today I was cleaning the those welds up and was also hitting some surface rust with a wire wheel. Turns out in one spot it was slightly more than surface rust. Dammit.  Oh well, it won’t be too hard to fix those holes. Attached File Attached File Attached File |

Great thread OP. As an old guy who spent the majority of his first 70 years of life in Mich. (rust belt wonder), and as one who began "consuming" a large amount of 4x4 vehicles from 1973-2017, I am appreciative of what you are doing. I never had the talent/tools/desire to restore any vehicles but I had good friends who did. Thus I am interested in your project and look forward to your progress. 
|
Socrates..."Easy to pull wool over a sheep's eyes"
|
Originally Posted By 1911lover: Great thread OP. As an old guy who spent the majority of his first 70 years of life in Mich. (rust belt wonder), and as one who began "consuming" a large amount of 4x4 vehicles from 1973-2017, I am appreciative of what you are doing. I never had the talent/tools/desire to restore any vehicles but I had good friends who did. Thus I am interested in your project and look forward to your progress. Thanks! |
|
Since the last update, I have patched the rust holes in the cab bulkhead, grille and hood. I took the hardware out of the tailgate, and hit a few suspicious spots with a wire wheel, and sure enough, more holes. I’m getting sick of rust. I needed up cutting a couple of sections out of the tailgate and welding in patches. Not super happy wit ph how it turned out, but it’s at the point of diminishing returns and it’s good enough for who it’s for. Every time I try to make it look better, I end up blowing holes through the metal, so I got it good enough, and will just cover it with some body filler when I get to that point. Today I got the cab bulkhead fitting good, stripped the windshield frame down, took the glass out of the cab, and then test fit the windshield and cab on the body. I was quite happy that it all fit!  I also cut the rear bumper off my parts truck, it was nice and straight. The one that had been on mine was bent pretty good. Once I got it off the donor truck I saw why it was so straight. Someone had welded a pretty good sized steel channel down the middle for reinforcement. They did a nice job, but it was all full of rust, so I ended up straightening my bent one. Also straightened the front bumper. I’m running low on O2 for my oxy-acetylene torch, so I was trying to use it up before getting a new bottle. I may do a little more on the rear bumper, but it’s pretty good now. The pieces I cut out of the tailgate. Attached File Cab and windshield on. Attached File Attached File Attached File Bumper is pretty straight, wish I had taken a before shot, it was pretty bad. Attached File |
|
Today I wire wheeled the rust spots on the windshield frame and cab. No holes through anywhere, I was quite happy to see that. After that I wire wheeled both bumpers, and then spent some more time straightening the rear. Got it good enough. Once that was done I set the dash panel in to see how it fit. Looks good to me! Wish some idiot (me) hadn’t hacked a hole in it for a radio. Oh well. Attached File |

|
I am super jealous of your garage, with a lift. Awesome project OP. My brother inherited a 65 Mustang Fastback, and we just stripped it down to the frame. Since he has neither the time or the knowledge to fix the rust problems (Came from a garage stored in Tacoma, WA for 20+ years) the total to fix it is in the $15,000 range. CRAZY. He may just scrap the project, as we have to replace 90% of the car due to the rust and damage. So your knowledge and abilities are well noted. |
A people that values its privileges above its principles soon loses both. - Dwight D. Eisenhower

|
Originally Posted By aztrooper: I am super jealous of your garage, with a lift. Awesome project OP. My brother inherited a 65 Mustang Fastback, and we just stripped it down to the frame. Since he has neither the time or the knowledge to fix the rust problems (Came from a garage stored in Tacoma, WA for 20+ years) the total to fix it is in the $15,000 range. CRAZY. He may just scrap the project, as we have to replace 90% of the car due to the rust and damage. So your knowledge and abilities are well noted. Thanks! Yep, there is no way I could pay someone to do this for me. I haven’t tracked my time, but it’s been a lot, and there still a long ways to go. I started this project in the fall of 2018, and I hope to have it done this fall. We’ll see... |
|
Originally Posted By double_trouble_2003: Outstanding thread OP. The price for restored Broncos is crazy. What are your plans for this one? Drive it or sell it ? Have you set a budget for the build? Yeah, prices are nuts. I plan to keep it, I’ve had it for close to 25 years. No budget, it takes what it takes. I kept track of how much I had in my CJ-5, and went over my plan by about $2000. I haven’t bothered with the Bronco. I’m lucky to have a good job and understanding wife. I also tell her that I’ll be able to do the Jeep, Bronco and plane for less than we put into her Datsun 1600 restoration! 
|
|
Not much progress this month, was out of town for a while, and then have been sidetracked by other projects and chores. I have done a little over the last couple of days, cleaning up some welds, and finishing up the last of the welding. I have to fabricate a couple of small pieces to fill the gaps between the cargo floor extensions, and the main floor platform. I plan on doing that today. Basically getting ready to shoot primer. My plan is to get the body ready to prime, and then lift it back off the frame to prime and undercoat the bottom. Then, once that’s done, put it back on the frame for paint and final assembly. I used RaptorLiner on the bottom of the Jeep, and it has held up well, so I’m planning on doing that on the Bronco, too. I ordered a new paint gun that was recommended by the coating manufacturer for my airplane recover project, so I’ll be practicing with it on the Bronco. I used a cheap, crappy gun from Harbor Freight on the Jeep. It shows, too. Not that I’m a great painter or anything, but the gun was certainly a contributing factor. I’ve also been making plans to build a paint booth in the shop, want to make it big enough to paint the plane and Bronco. I still need to buy the fenders and doors. Also have to get the top, grille, tailgate and bulkhead to the e-coater. I’m trying not to spend too much cash all at once, but I need to get going if I’m going to finish it up by fall. |
|
Not a ton of progress lately. I cleaned all of the welds up, and welded in some angle iron braces across the door openings to support it when I lift the body back off the frame. That is the next step, and I’ll prime and undercoat it, and then reinstall on the frame for good. I’ll stick the engine back in the chassis while the body is off, too. Once that is done I’ll start on priming the tub. Still need to order new fenders and doors. And get the original sheet metal that I’m reusing to the e-coater. |
|
The tub is back off the chassis and the engine is reinstalled. A couple of days ago, I picked up some primer, both the green and white paint, and some Raptorliner. Hopefully tomorrow I’ll get the bottom of the tub primed and undercoated with the Raptor. I’m looking forward to getting some color on the body, even if it is just the tinted bed liner. I’m going to use it on the bottom of the tub, and also to line the cab and bed area. Still need to pick up some high fill primer, and get the gray paint for the instrument and interior door panels. I’m using a single stage paint on it, instead of base/clear. I’m not going for a shiny show truck. Attached File |

|
Originally Posted By aztrooper: I am super jealous of your garage, with a lift. Awesome project OP. My brother inherited a 65 Mustang Fastback, and we just stripped it down to the frame. Since he has neither the time or the knowledge to fix the rust problems (Came from a garage stored in Tacoma, WA for 20+ years) the total to fix it is in the $15,000 range. CRAZY. He may just scrap the project, as we have to replace 90% of the car due to the rust and damage. So your knowledge and abilities are well noted. Double the budget and go for it! I’ve got $40k in this one and I did it all myself. Granted, I could have done a few things cheaper. 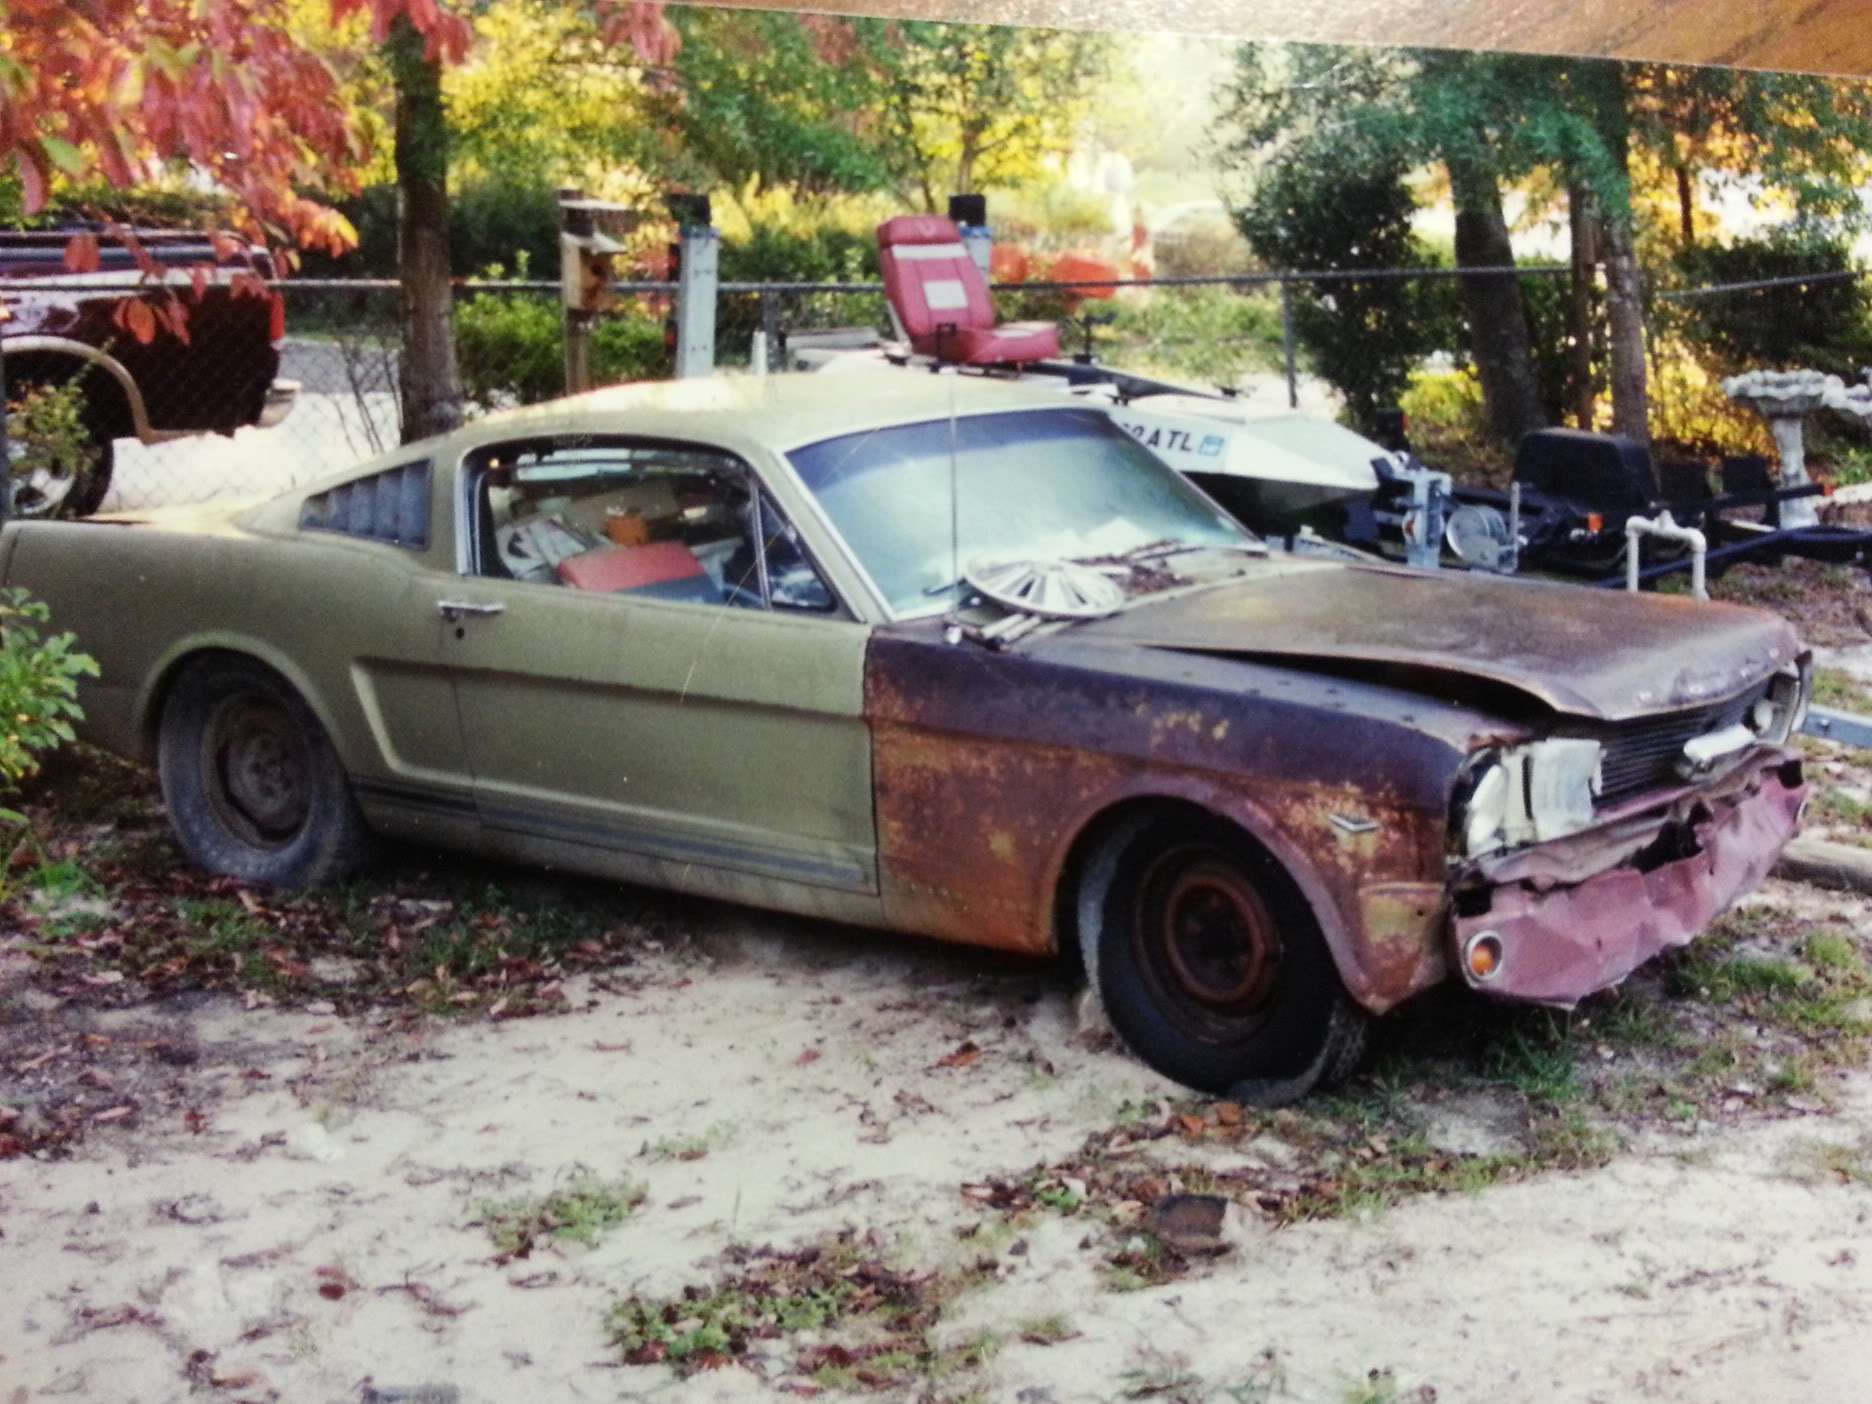 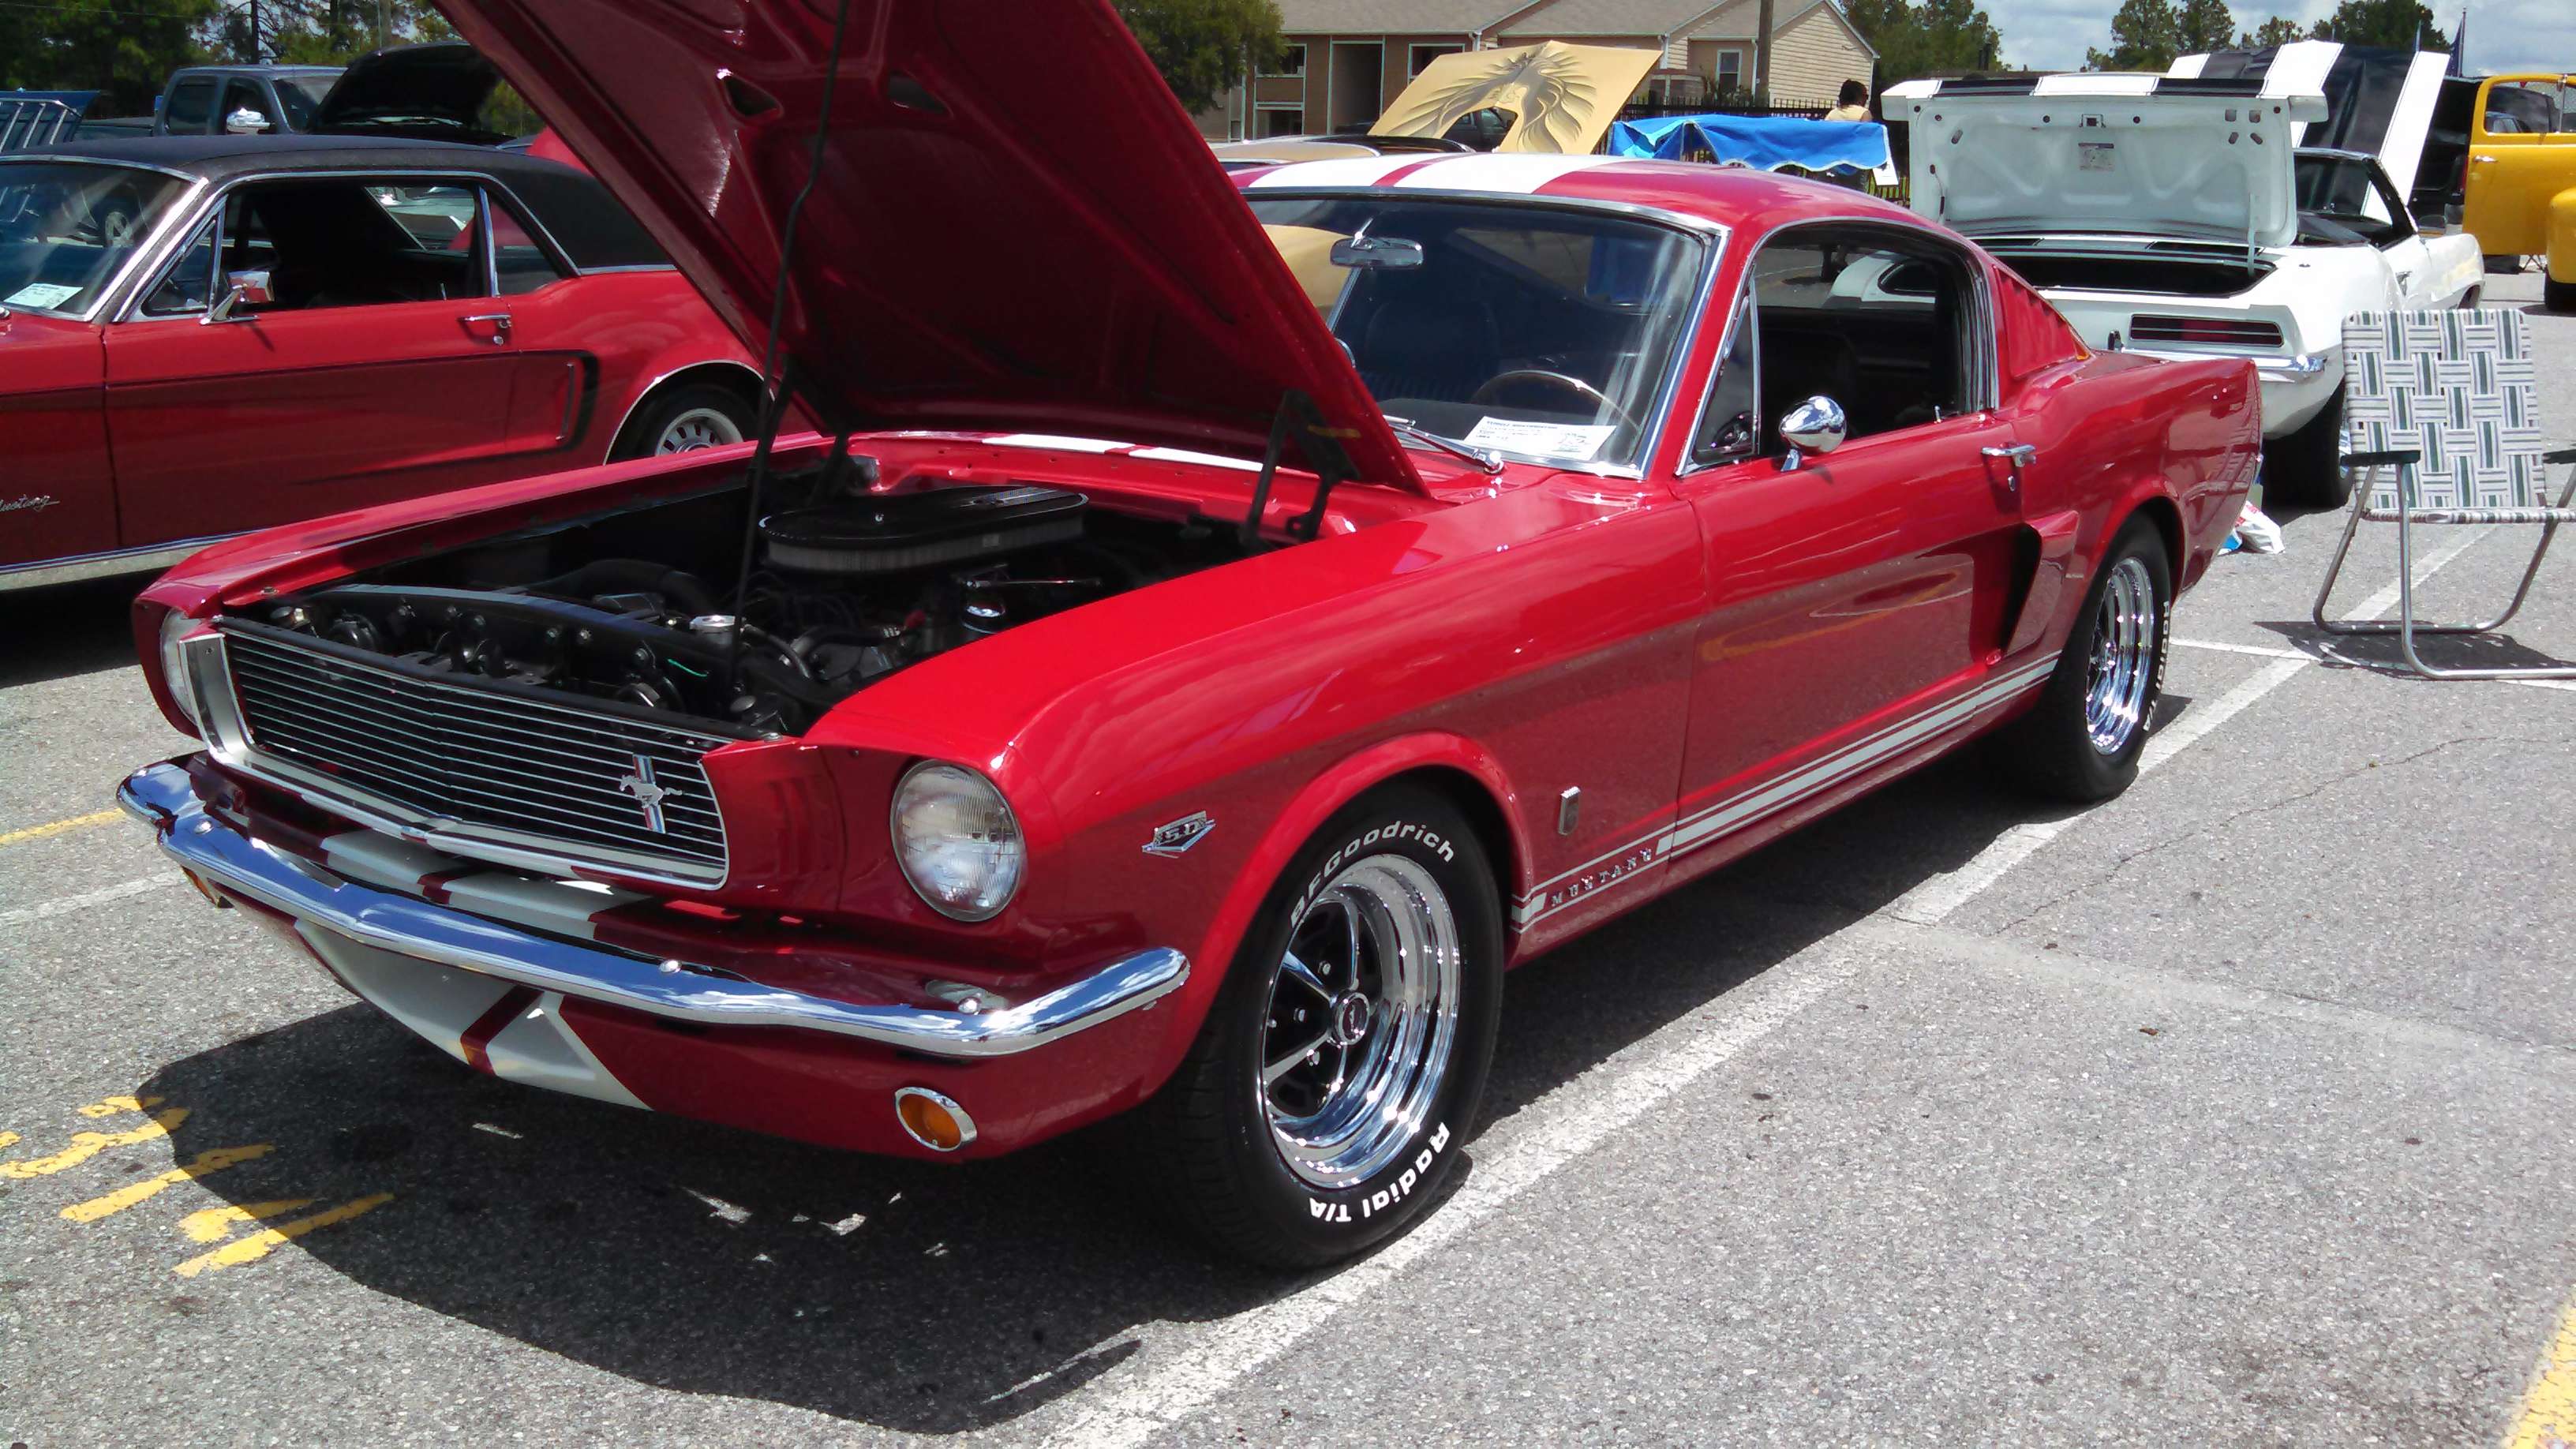
|

|
Originally Posted By ScottsGT: Double the budget and go for it! I’ve got $40k in this one and I did it all myself. Granted, I could have done a few things cheaper. https://imagizer.imageshack.com/img924/9415/sD6KAb.jpg https://imagizer.imageshack.com/img922/7826/oQc1rW.jpg Looks great! |
|
Today, in spite of a couple of setbacks, I got the bottom of the tub primed and undercoated. The first thing I did was mix up a quart of epoxy primer, and then promptly dump about half of it on the floor. Then, when I was turning the tub over, I managed to drop it on my foot. My big toe took the majority of the impact, and now the nail is a nice shade of purple. I should probably post pics of it, since it is Arfcom.  Once I had gotten done screwing around with all that, I shot the primer, and then the Raptorliner. I really like the color, and can’t wait to see the rest of the body painted! Attached File |
|
I haven’t made much progress on the Bronco itself, but over the last two days I have spent a bunch of time in the shop. The first thing I did was to rig up a rolling stand for the body. It will be a lot nicer having it on the stand for paint instead of on the chassis. Once that was done, I started working on building a paint booth. I sized it big enough to fit the airplane project. It would have been nice to go a little wider, but the lift limits that dimension. Having the tub on a rolling stand makes it easy enough to deal with the narrow width. I need to pick up a couple more lights for it, but I’m really happy with how it turned out. Between the booth and a quality paint gun, I really hope the paint on the Bronco turns out better than the Jeep did. I sure hope so anyway. I also got the wheels and body parts that I’m reusing to the e-coater. Still need to order the doors and fenders. Attached File Attached File Attached File |


|
Originally Posted By MoBigAl: Looks great OP. I do have one question though. What is all the paint that you suck out of your booth with that fan going to blow all over? Do you have a couple of furnace filters standing by? Yep, both the supply and exhaust are filtered. That one is the supply, and the exhaust is on the other end. I’m not sure if it’s going to be enough, but will find out. I can add another fan if necessary. |
|
Originally Posted By johnh57: If I recall correctly a paint booth is supposed to have an airflow velocity of 100 feet per minute. (Commercial / OSHA standards) I assume that’s CFM? I doubt I’m moving that with one box fan through two furnace filters. I’ll find out soon if it’s enough I guess. Easy enough to add another fan, and double the exhaust area if I need to. |
|
The paint booth is a partial success. It’s got plenty of light, and it contained the overspray well. It does need more airflow. The visibility decreased significantly while spraying primer. I think the fan is providing enough airflow in, so I’m going to double the size of the exhaust filters. If that isn’t enough, I can always add another fan. But, the tub is primed! And I’m pleased about that. Just in time to go back to work for a few days.  I’d rather keep at the Bronco, but I suppose I have to pay for it somehow. Next step is to put a little body filler in a few spots, and then shoot some color. I’m really excited to see some green on the tub. But I think it looks good being a uniform color now at least. Attached File |
Actually no, not CFM. its velocity - to get to CFM you have to multiply that by the cross-sectional area of the paint booth. If your booth is 10'x10' that's 100 SF times 100 fpm = 10,000 cfm.  I was working with a client once that wanted to convert an entire bay of a large metal building to a spray booth for full sized semis. The CFM requirements were astronomical - and totally undoable for the amount of money they ever hoped to make with the idea. Especially considering it was in Montana, so the make up air unit to keep the temps up was huge. I believe fans and lighting all are supposed to be explosion proof fixtures as well. Those are commercial booth requirements where you have OSHA and building code officials involved. |
|
Originally Posted By johnh57: Actually no, not CFM. its velocity - to get to CFM you have to multiply that by the cross-sectional area of the paint booth. If your booth is 10'x10' that's 100 SF times 100 fpm = 10,000 cfm. I was working with a client once that wanted to convert an entire bay of a large metal building to a spray booth for full sized semis. The CFM requirements were astronomical - and totally undoable for the amount of money they ever hoped to make with the idea. Especially considering it was in Montana, so the make up air unit to keep the temps up was huge. I believe fans and lighting all are supposed to be explosion proof fixtures as well. Those are commercial booth requirements where you have OSHA and building code officials involved. Gotcha, thanks for the explanation. That’s a lot of air! Doubt I’ll ever get that much moving, but as long as I can keep it kinda clear-ish I’ll be happy. It’s far better now than just painting in the shop. |
|
I double both the fans and exhaust area on the booth. It works pretty well now. Good enough, anyway. Today I shot color on the tub. Now I can put it back on the chassis, and remove the bracing across the door openings. Crappy pic, getting a lot of glare/reflection from the booth. It looks better in person. Attached File Attached File Attached File |


|
I’m going to call yesterday’s progress three steps forward, and one back. I got the tub reinstalled on the chassis, and the bracing cut out of the door openings. But I also put some scrapes in the paint while doing so. I also noticed some orange peel on the quarter panels So I sanded them down, and will re-shoot them if the humidity ever goes down. Attached File |
|
Since the last update, I repainted the quarter panels. They look a lot better this time. A couple of weeks ago, I picked my parts from the e-coater. There was some body work I needed to do on a few of the pieces. I finally was able to wrap that up, and today I primed them. I also cleaned up a few more parts, and I hope to get them primed tomorrow. Attached File Attached File |

|
Yesterday I primed all of the pieces I had ready, and today I shot color on them. Next week, I’ll paint white on the top, wheels and the center of the grille. I’m about ready to drop the coin for the fenders, doors and a few other pieces. Once those are painted, I can break the paint booth down and start putting it back together. |
|
Today I got some of the white paint shot. In the paint booth, it looked way too creamy or ivory colored, but out in the natural light it looks good. I think the top may have been a brighter white though. I may get some mixed up and give it a try. Before and after on the grille. I think the color matches pretty well.🤷🏻♂️ Attached File Attached File |

|
Looks great! Really admire your skill. |
Originally Posted By FLAL1A:
"Pretty much the only thing that keeps me paying my taxes and not turning my house into a chickenshit particle board and stucco compound is the fact that the police occasionally kill douchebag criminals in comical ways.
"Pretty much the only thing that keeps me paying my taxes and not turning my house into a chickenshit particle board and stucco compound is the fact that the police occasionally kill douchebag criminals in comical ways.
|
I was feeling lazy today, so I didn’t do too much to the Bronc. I prepped the interior door panels for prime and paint. While I was cleaning them up, the manufacturer mark on the steel showed up. Then I stripped down the dash panel. I want to repair the cut crossbar in the speaker grill, then I’ll sand it down, prime and paint it. I did stick the bumpers on to see how they look. I’m happy with it! Attached File Attached File Attached File Attached File Attached File |

|
Originally Posted By vmax84: I vacumed the car out yesterday, and thought I did good. Amazed at your talents, OP. Dam!!!!! Thanks! That is one job I hate! I spent a few hours vacuuming out my pickup last week, and hated every minute of it. The upholstery held onto our dog’s hair like Velcro, and white hair really stands out on a black interior. I was cleaning it to trade it in, and I have yet to let her in the new one, since I got another black cloth interior. |
|
Since the last update, I made repairs to the dash, primed it and the door panels, and today shot color on them. I think they turned out good. Next week, I’ll start putting the instrument panel back together. Attached File |
|
The angle on the panel doesn’t show it really well, but these are the holes I patched. Attached File |
|
Originally Posted By jmt1271: Can't wait to see this all back together. I hope to build a shop soon and do similar work. Great work brother. Thanks, and I can’t wait either. I’m ready for this project to be done, coming up on two years. I ordered the rest of the sheet metal yesterday, hopefully I can pick it up tomorrow. As soon as I finish up the painting, I can take the paint booth down and have room to work again. |