


Armory Sponsor

Posted: 11/24/2025 12:18:27 PM EDT
|
I've currently got more powder on hand then I've ever had. I used to have a really large amount but not as much as now. Back then I had an unoccupied outbuilding so I was able to store some out there and some in my house. Now that building is where my mother in law lives. I plan to buy a bunch of pine 2x12's today to construct several powder magazines. I know they are supposed to have a weak side or be weakly built. My plan is to just use 3" finish nails to hold them together. I figured that should be strong enough to hold them together but weakly enough to not trap pressure if they ignite. What do you guys think? 3" finish nails an appropriate choice? |
I use finish nails and no glue on the sides and bottom of my powder mags. The poly is for the outside of the box. The first one I built used 2x6's. Box was way too heavy to move around. So went to 3/4 inch boards and lined the inside with 1/4 plywood to get 1 inch thick walls. Some posters argue that 3/4 thick meets spec, but I go 1 inch. If your boxes are stationary the 2x12 will work well. |
|
Quoted: I use finish nails and no glue on the sides and bottom of my powder mags. https://i.imgur.com/XH5uoFUh.jpg The poly is for the outside of the box. The first one I built used 2x6's. Box was way too heavy to move around. So went to 3/4 inch boards and lined the inside with 1/4 plywood to get 1 inch thick walls. Some posters argue that 3/4 thick meets spec, but I go 1 inch. If your boxes are stationary the 2x12 will work well. That is a big box. My goal is the smallest box possible to fit 6-8lb jugs. I know I will be cutting 22" sections for the the sides and bottom but it will be a rectangle not a cube. I won't have to move them around a lot but I may have 2 stacked in one area. |
|
Quoted: That is a big box. My goal is the smallest box possible to fit 6-8lb jugs. I know I will be cutting 22" sections for the the sides and bottom but it will be a rectangle not a cube. I won't have to move them around a lot but I may have 2 stacked in one area. For normal 1 pound cans of Hodgdon or Ramshot cans I make the sides 8 inch tall.   Glued up panels I make the sides and ends from.  Side before being nailed to end, finish nails. |
|
I made some magazines. Pretty basic and looks as such but they work. I got two on the floor so I built legs on those to keep them off the floor/elevated. I have 2 more on a shelf. I need to build one more. Then maybe one for primers eventually. I found that doing the whole thing with finishing nails using 2X12's was to weak. So I ended up using deck screws to hold everything but one side together. One side is held on with finish nails and it is easy to pull off if desired. One box though one of my boards I cut short by like 1-2mm and there is a tiny gap. Would it work or be ill advisable to just fill the gap with one of these?  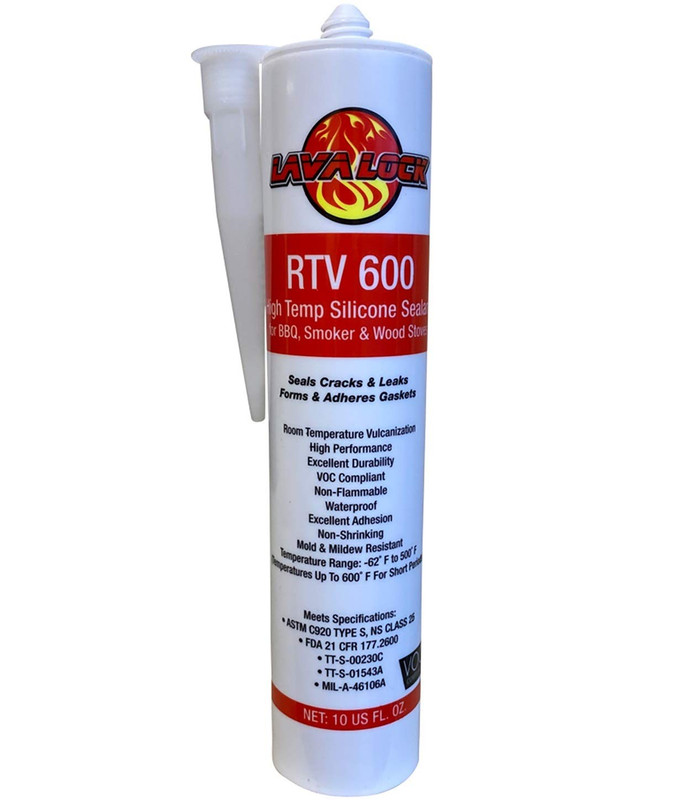 |
|
Quoted: I made some magazines. Pretty basic and looks as such but they work. I got two on the floor so I built legs on those to keep them off the floor/elevated. I have 2 more on a shelf. I need to build one more. Then maybe one for primers eventually. I found that doing the whole thing with finishing nails using 2X12's was to weak. So I ended up using deck screws to hold everything but one side together. One side is held on with finish nails and it is easy to pull off if desired. One box though one of my boards I cut short by like 1-2mm and there is a tiny gap. Would it work or be ill advisable to just fill the gap with one of these? https://i.postimg.cc/W3qM3FHt/418Gr-Rl-O5d-L-AC-SL1125.jpg https://i.postimg.cc/mD1QDz5c/617L-Ww-RIo-L-SL1449.jpg If you lid is held on by gravity, that would be your weak side. I build my lids with hinges and a simple draw latch. All my sides are "weak". |
|
Dryflash3 this definitely isn't as pretty as yours but I think it will work. The ones im building for the shelves have a front facing door. No latch just tight fit. The right side panel is nailed on with finishing nails. Im not a carpenter lol. My goal was simple and easy to make. I am going to put labels on the containers so I can see what they are without pulling them out. I also need a knob or handle right now there's just a screw for me to grab. 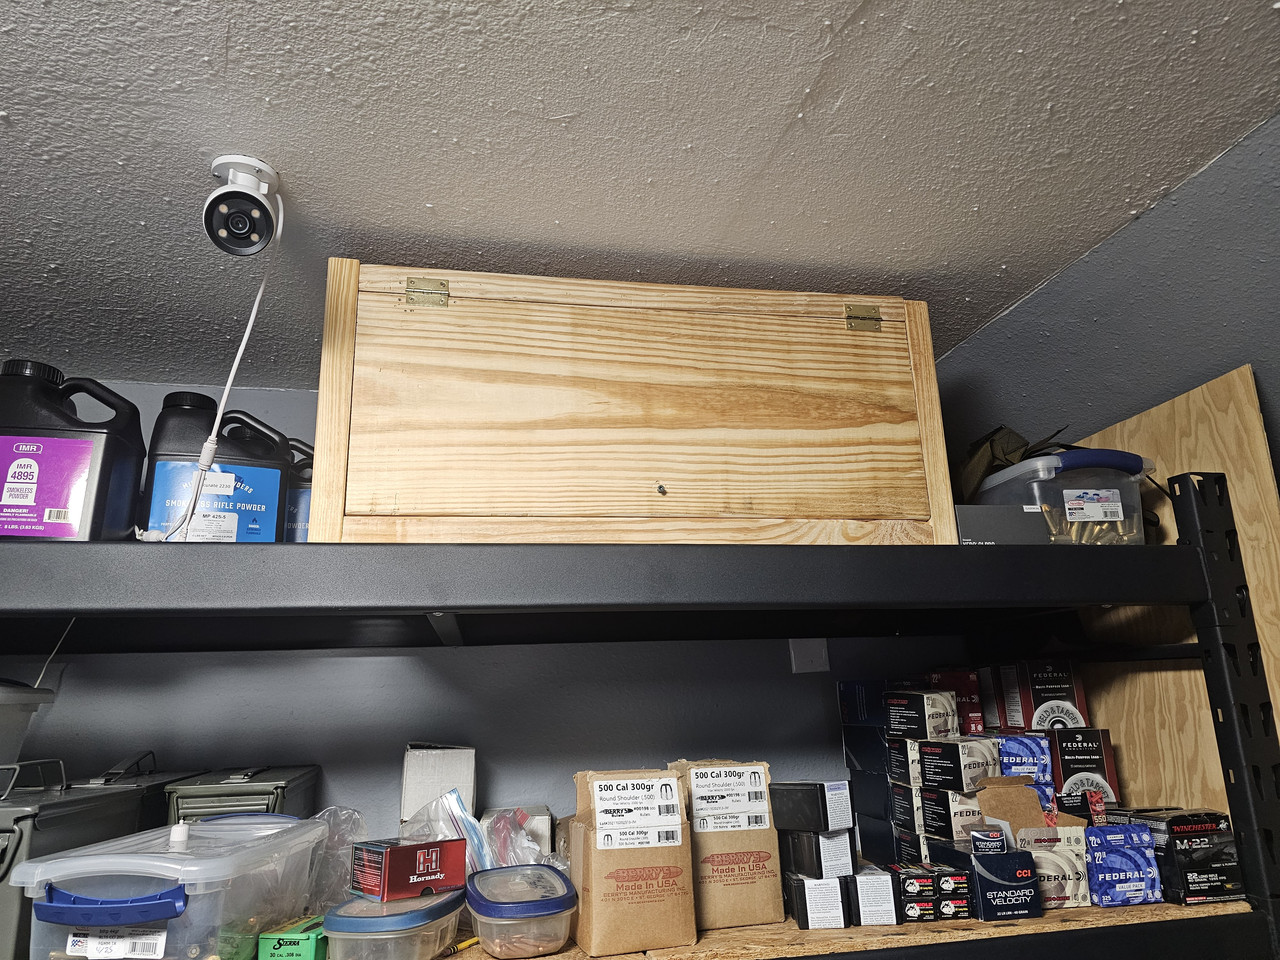 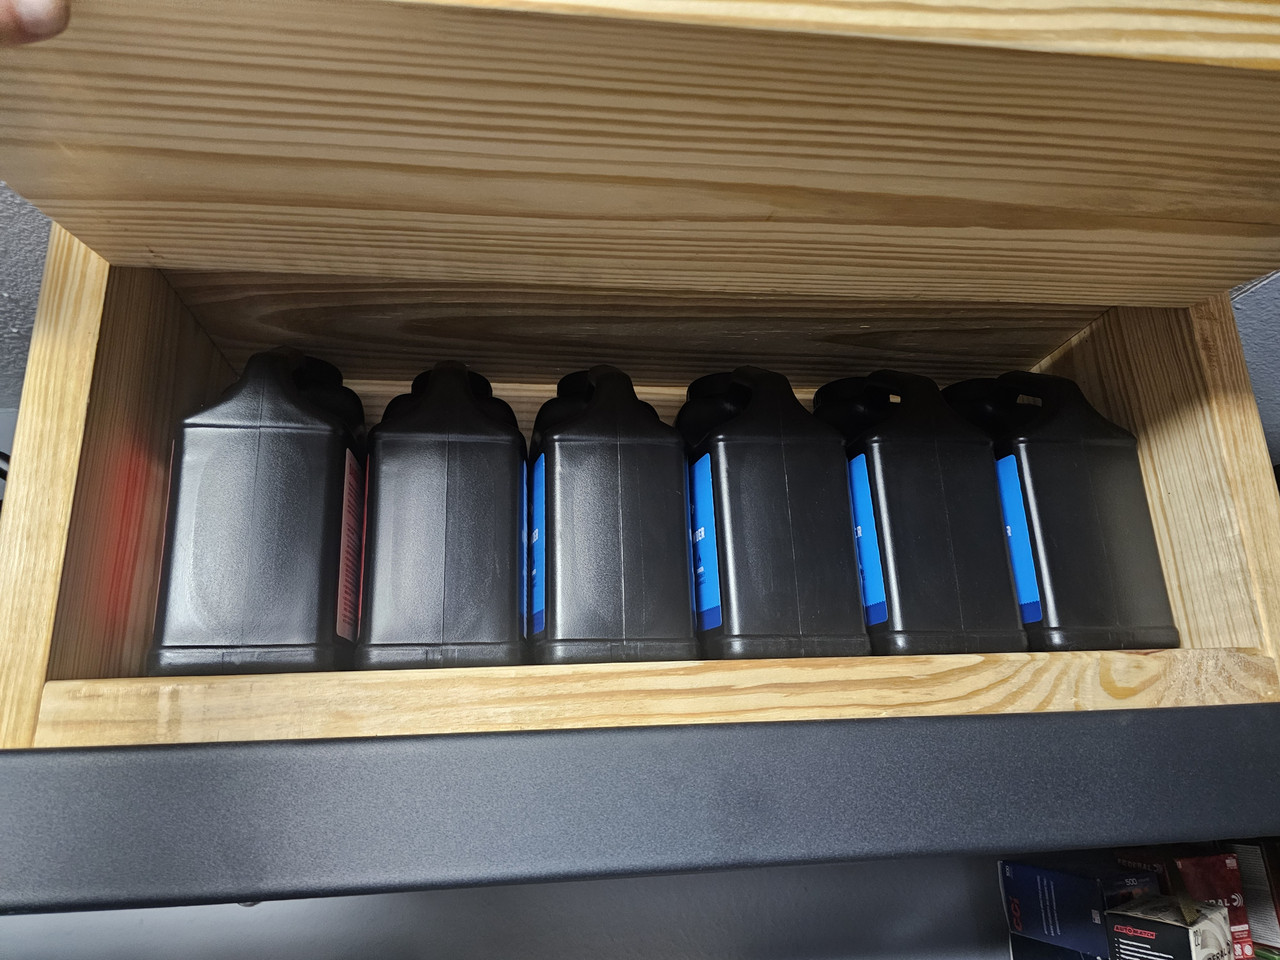 |
|
Quoted: Dryflash3 this definitely isn't as pretty as yours but I think it will work. The ones im building for the shelves have a front facing door. No latch just tight fit. The right side panel is nailed on with finishing nails. Im not a carpenter lol. My goal was simple and easy to make. I am going to put labels on the containers so I can see what they are without pulling them out. I also need a knob or handle right now there's just a screw for me to grab. https://i.postimg.cc/x175wfzy/20251126-174053.jpg https://i.postimg.cc/PxbMv1Rj/20251126-174120.jpg Myself I would put labels on the sides of your powder jugs for easy ID. You probably just hadn't gotten there yet. 
|
|
Quoted: No latch on the door, perfect weak side. Myself I would put labels on the sides of your powder jugs for easy ID. You probably just hadn't gotten there yet. Yea I need to use my label maker to label both the magazines and jugs. I haven't finished building them yet. |
|
Personally I feel the SAMMI recommended magazine is the minimum recommended method of protecting powder-ie not the “best” method. Look at actual explosives magazines, they do the same 1” nominal wooden interior, but with a steel exterior shell to help protect more against intrusion of heat and debris in a fire. Of course ATF also requires them to be locked for theft protection, but you can skip that for reloading powder. A small metal job box, lined with wood and wallboard, with the lid closed but not locked, would provide a lot more protection in a fire, but still be able to vent via the lid if it did go up. |
|
Quoted: Personally I feel the SAMMI recommended magazine is the minimum recommended method of protecting powder-ie not the “best” method. Look at actual explosives magazines, they do the same 1” nominal wooden interior, but with a steel exterior shell to help protect more against intrusion of heat and debris in a fire. Of course ATF also requires them to be locked for theft protection, but you can skip that for reloading powder. A small metal job box, lined with wood and wallboard, with the lid closed but not locked, would provide a lot more protection in a fire, but still be able to vent via the lid if it did go up. Who knows? I've read that document and it really isn't any good as guide to the design of a container. It says, "1 inch". It doesn't say, "1 inch nominal dimensional lumber (3/4" typical)". It doesn't say, "1 inch +/- 1/2 inch" (no tolerance on size is given). Is it okay to use 2" (nominal dimensional, 1 1/2" actual) lumber? The document does not address that. Is it okay to use steel cladding on the exterior? The document does not address that. Is it okay to use a commercial insulated & vented cabinet of the type typically used for solvent storage? The document does not address that. |
|
Quoted: [img]https://i.postimg.cc/x175wfzy/20251126-174053.jpg[/img You may not be a carpenter but the box looks terrific. If it were mine, I'd keep it at ground level. It is a LOT cooler down low during a fire. Plus, you don't have to heft a 60 pound crate up and down. |
|
I've got 3 like these on the floor. One in another area. No hinge just a board lid. I may eventually redo my shelving so the ones on shelves can go lower. One thing you cant see is half the wall is cinder block. I don't have 250lbs of powder but I needed 5 to fit all my jugs. A few partial jugs and sizes besides 8 lbs. 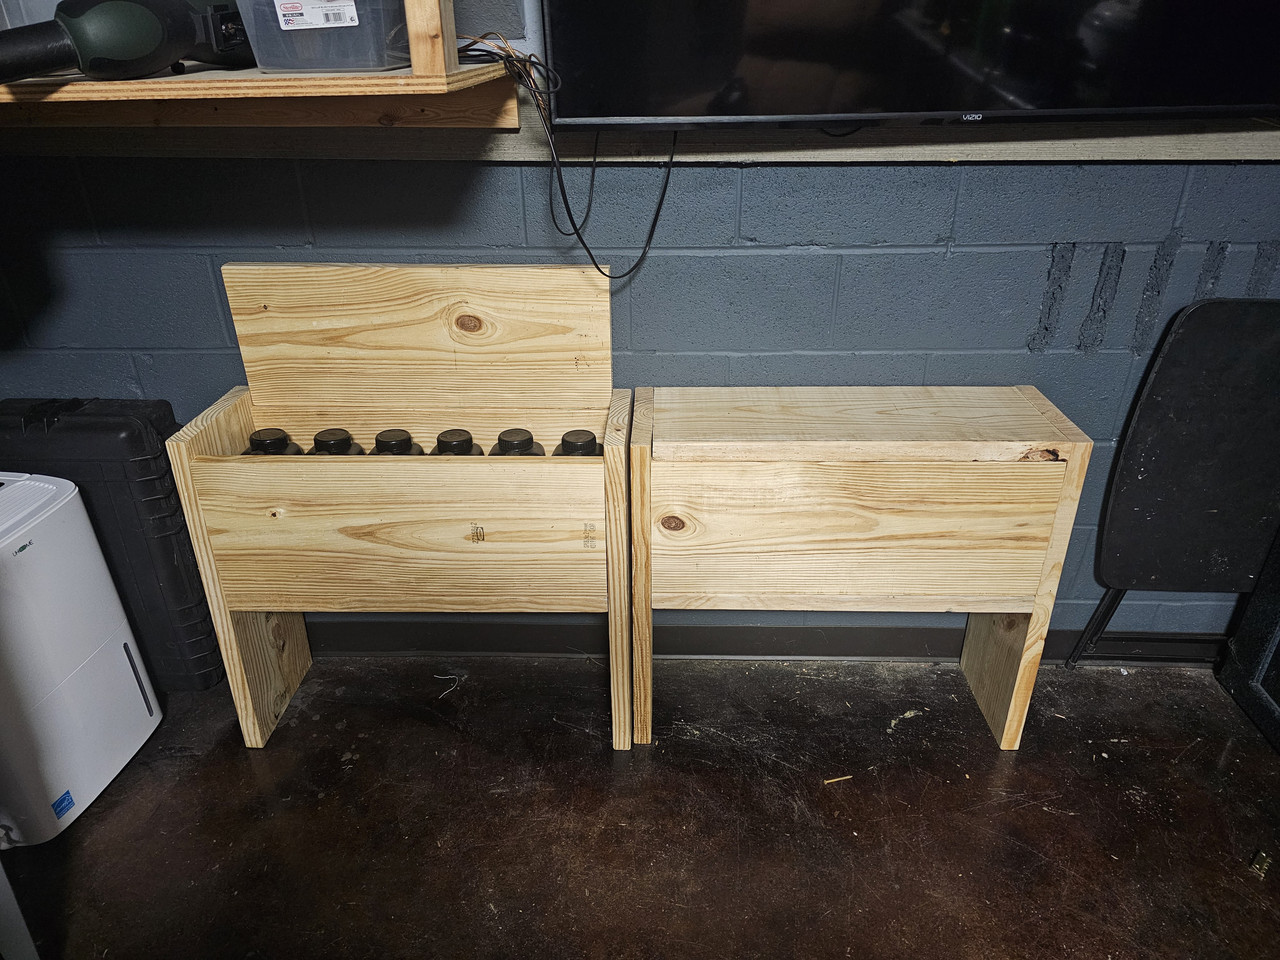
|
Last post. Im 95% done. Going to add some knobs and fill in some screw holes from having trouble with one hinge. I have to get the door board centered pretty well or it's to hard to open. My last box i had trouble with the last hinge. Then I got it perfect and the last screw I put in the wood started splitting from the teeny tiny screw  . I had to move the hinge but I got it right. My ocd demands I fill in the holes. . I had to move the hinge but I got it right. My ocd demands I fill in the holes.I realized I had enough clearance on the shelves on the bottom two so I took the advice and put those lower. I have some scrap 2x12 boards and tons of 3/4 plywood so my next long weekend ill make something for my primers. Pics of them all: 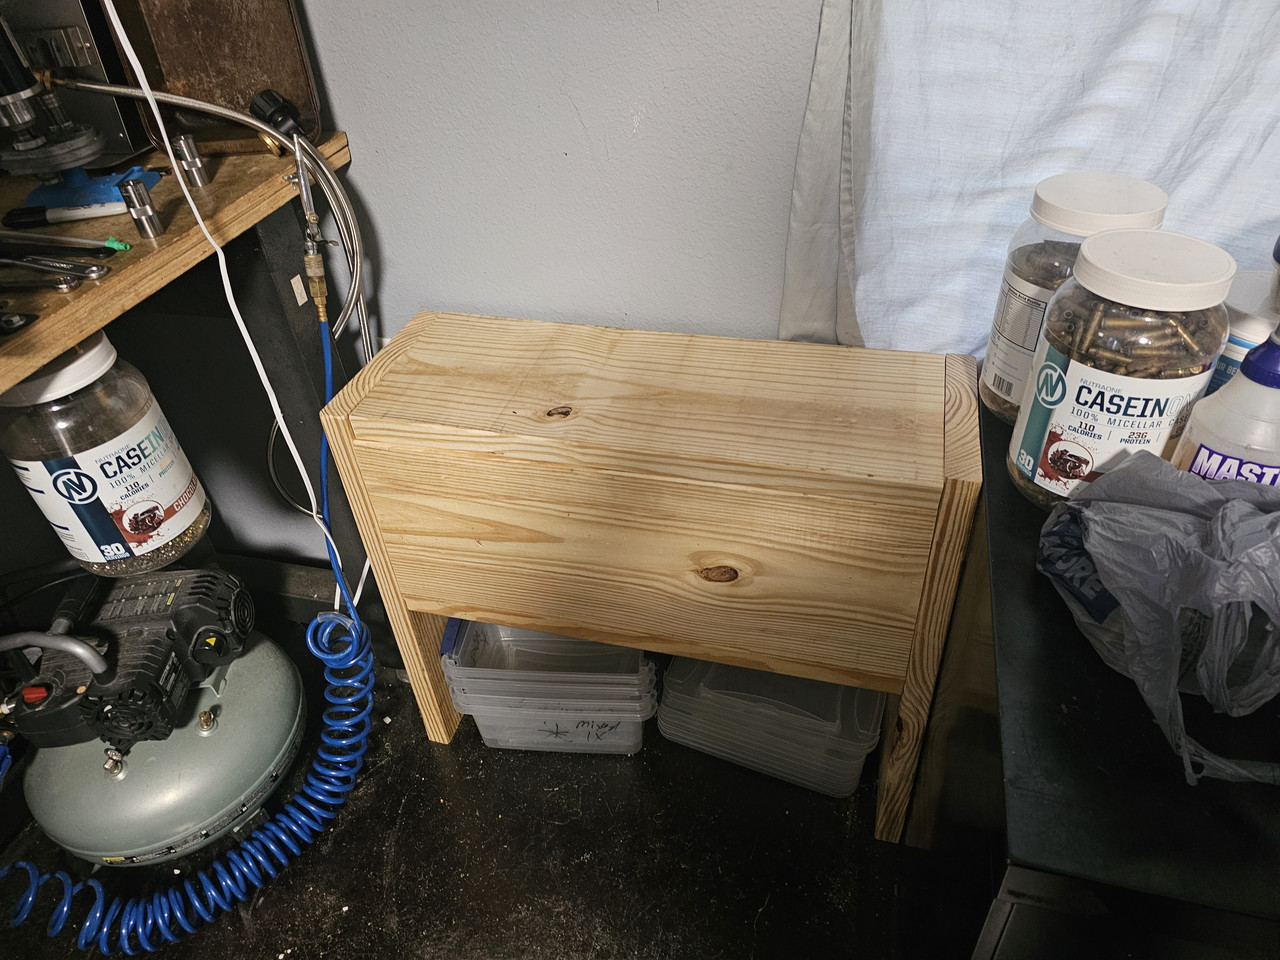  |
|
Quoted: Last post. Im 95% done. Going to add some knobs and fill in some screw holes from having trouble with one hinge. I have to get the door board centered pretty well or it's to hard to open. My last box i had trouble with the last hinge. Then I got it perfect and the last screw I put in the wood started splitting from the teeny tiny screw . I had to move the hinge but I got it right. My ocd demands I fill in the holes.I realized I had enough clearance on the shelves on the bottom two so I took the advice and put those lower. I have some scrap 2x12 boards and tons of 3/4 plywood so my next long weekend ill make something for my primers. Pics of them all: https://i.postimg.cc/Dwmw41ff/20251128-231020.jpg https://i.postimg.cc/XJ0Nst8j/20251129-151723.jpg https://i.postimg.cc/cLrJCRCx/20251129-170934.jpg Let dry cut flush with a single edge razor blade. New hole can now be placed right next to previous repaired hole. Your not the only one who fills holes. I do it before painting on Polyurethane. 3 coats.....talk about ocd. |
Armory Sponsor