Now that we have the knife profiled it is time to grind the bevels. The first thing I like to do is coat the area which will be the cutting edge with blue dykem, then scribe two lines along the edge with my knife maker's scribe. These lines are guides to help me get an even grind on both sides of the blade. I actually rarely use the lines anymore, but it is helpful for beginners and helps illustrate the process. The lines are not quite 1/16" apart. Since I will be using a convex edge I like the material a little thicker at this stage of the grind. Later I will grind in the taper for the edge.

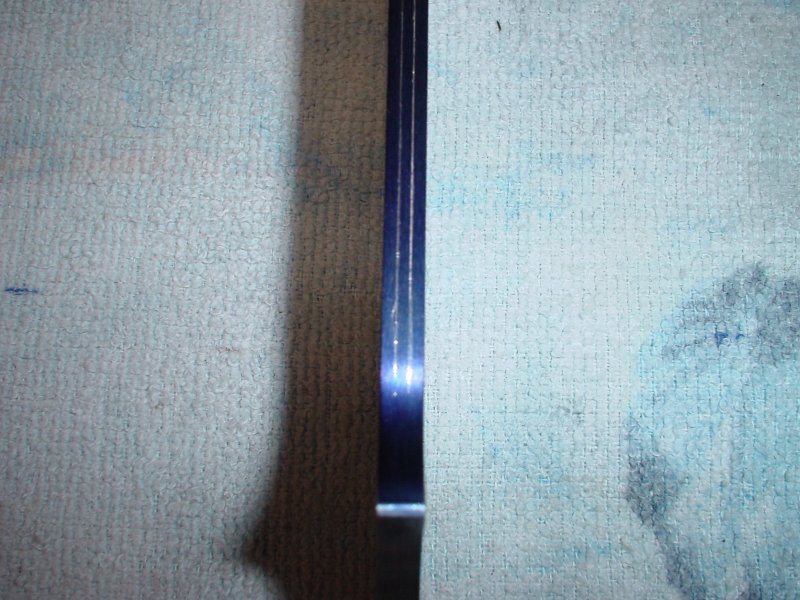
I use another worn 50-grit belt on the Bader to break the edge of the steel and grind an angle along each side of about 30 - 45 degrees. I always grind edge up. The small bevel prevents shearing of the grit on the sharp edge of the steel when we switch to a new 50 grit belt. A lot of makers use 36-grit and I am experimenting with it. However, I find that the 50-grit works well and does not leave the deep scratches in the steel if I go too far before switching to a smaller grit. The quench bucket located below the grinder is there for cooling the steel and also picks up most of the steel dust and grit from the grinding process. I wear a hat, leather apron, earplugs, respirator and safety glasses while grinding. If the weather is nice I will have the doors open and a fan running to help eliminate dust. I quench the steel after each pass on each side to keep from overheating and developing internal stresses. I have placed masking tape on the sides of the blade to show the approximate location of the plunge cut. The tape is actually just in front of where the final plunge will be. I put blue dykem along the bevel area so that it is easy to see the grind lines. The blue color really stands out and lets you know if you are getting high and low spots in the bevel, making it easy to correct on the next pass. Since this knife is a little uncomfortable to hold edge up while grinding, I have wrapped the handle with tape. I do not get too close to the tape at this point. I run the grinder at a pretty high rate of speed to get the material off. I grind a couple of passes on each side of the blade then switch to the other side, again, to avoid stressing the steel which could lead to warping later during the heat treatment. The main function of the 50-grit belt is to remove the bulk of the material and grind in the taper. While I do not taper my tangs thus ensuring a full distal taper from tip to butt, I do put in a nice taper from the plunge cut to the tip. I leave a lot of the material at the top of the plunge so that I can clean up and define the plunge line with finer belts as I progress. The steel is still a bit thick at this point so that I can get most of the 50-grit scratches out with a 120-grit belt, which is the next step.

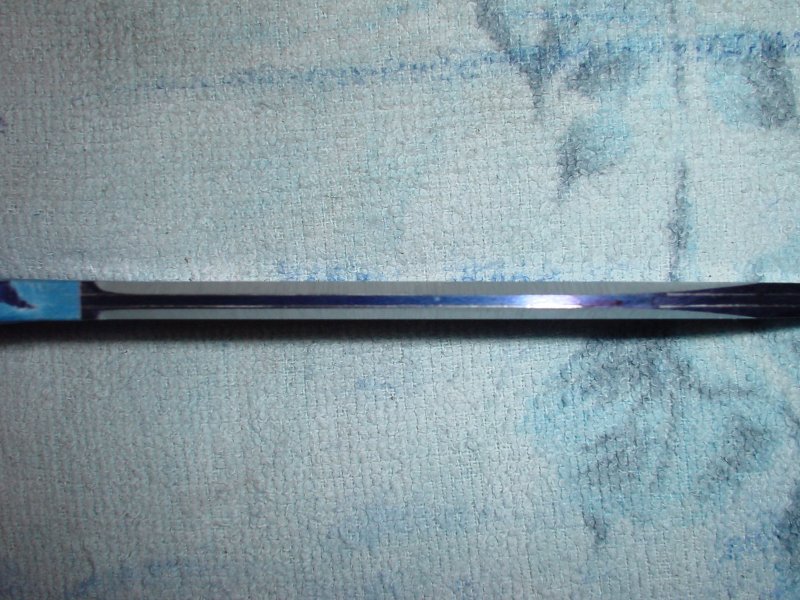
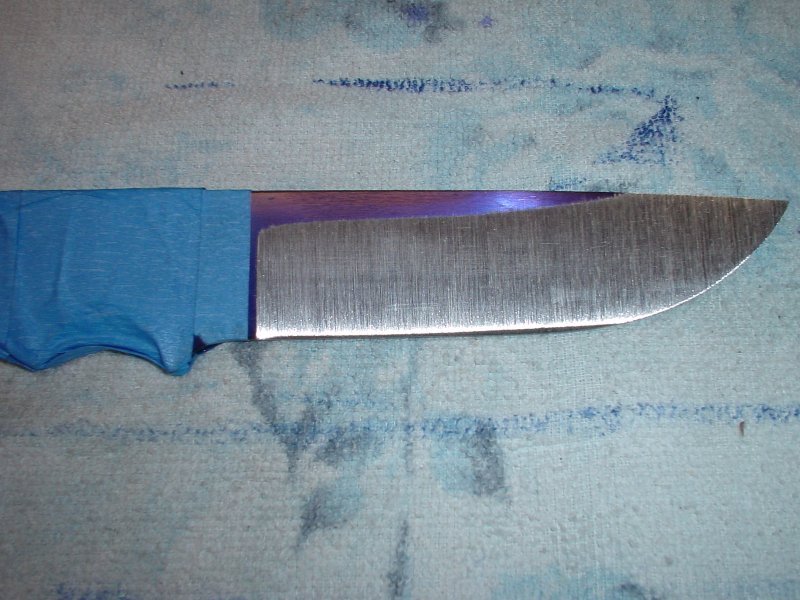
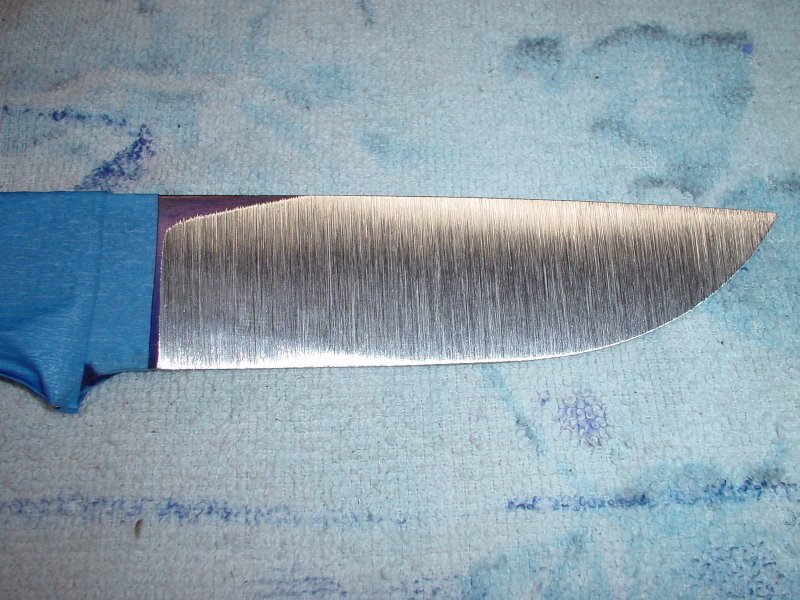
I use the 120-grit to smooth out the bevels and remove most of the deep scratches. The 120-grit belt does not have to be new, but if it is too worn it will just heat up the steel without removing sufficient material. I have discovered that trying to use belts for too long just to save a few bucks is not worth it and costs more in the long run in mistakes, aggravation and wasted time. Most maker now go by the adage: “Use belts as if they were free.” The 120-grit belt is called a "J" weight belt and is very flexible. By adjusting my tracking I can run the belt off of one side of the platen or the other. This allows me to bend the belt around the edge and clean up the plunge line while grinding out the deep scratches left by the 50-grit belt. I can also move the plunge cuts toward the rear to get them into alignment. It takes a little practice to know exactly how much of the belt to run off the platen. Too much and you can ruin the plunge cut. Too little and you cannot form the plunge and round it on the grinder, which can make it difficult to clean up by hand.
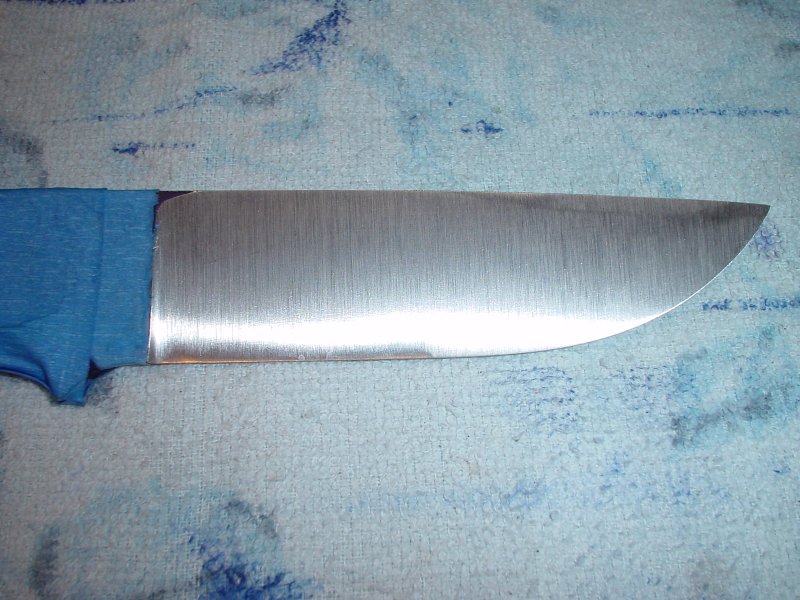
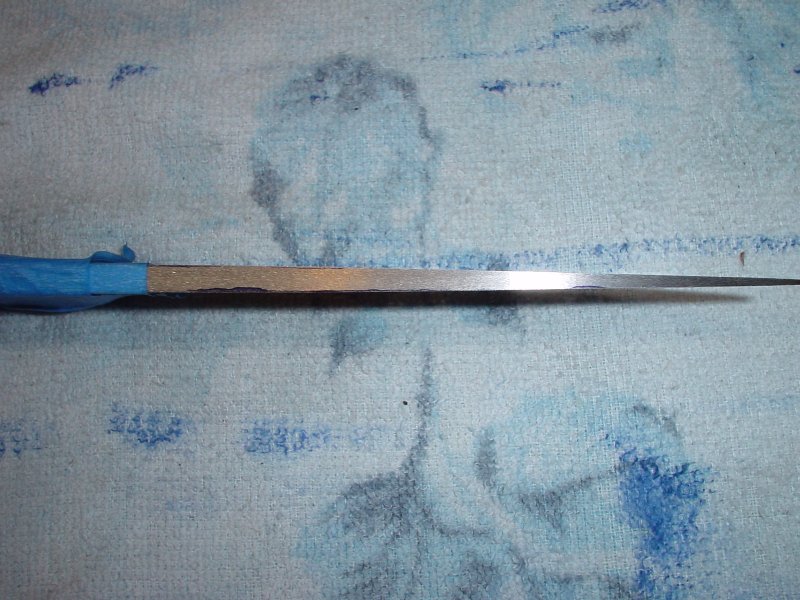
I put a new 220-grit “J” weight belt on the grinder and remove the masking tape. I slow the grinder to about 20 or 30 percent to reduce heat buildup and to have much better control over the grind. Any truing of the blade along the spine or edge needs to be done at this point. If the taper is not quite even I use the 220-grit belt to correct it. The same goes for the edge thickness. Finer belts cannot make major corrections and are primarily for finish purposes.

Now I switch to a 320-grit belt and slow the grinder way down and give some final attention to the plunge cuts. I like them nicely rounded with a smooth flow from ricasso to bevel. I do not worry about the 220-grit grind on the bevels at this time. When the plunge cuts are nice, smooth and even, I switch to another platen on which I have glued a piece of leather. The reason is that when using thin belts the lap joint on the belt tends to "bounce" on the platen leaving small divots in the steel. The leather removes the bounce and allows me to get a very smooth finish. While the leather platen is installed I start to form my convex edge. For me it is easier to grind the edge as a succession of angles and then blend them together with a “slack” belt. Slack belt grinding is simply using the area between the rollers with the platen removed from the grinder, or the small slack area between the top of the platen and upper roller when the platen is installed. I make several passes along each side of the blade and start my convex geometry about ¼ “ - 3/8" behind the edge, holding the edge up and the spine of the blade further away from the platen for each pass. When both sides are pretty even I blend them with the slack belt behind the upper roller wheel on the platen. I get the steel very thin at this point, but try and keep it close to .015 - .030 so that it can withstand the thermal shock of the hardening quench without cracking. When I am satisfied with the edge configuration I make a few more passes on the bevels to remove any scratches that may have occurred when working on the edge.

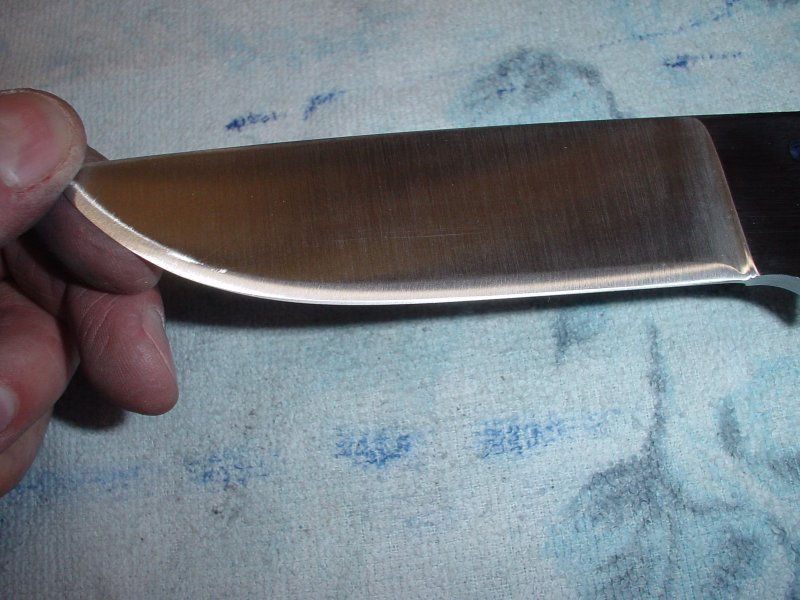
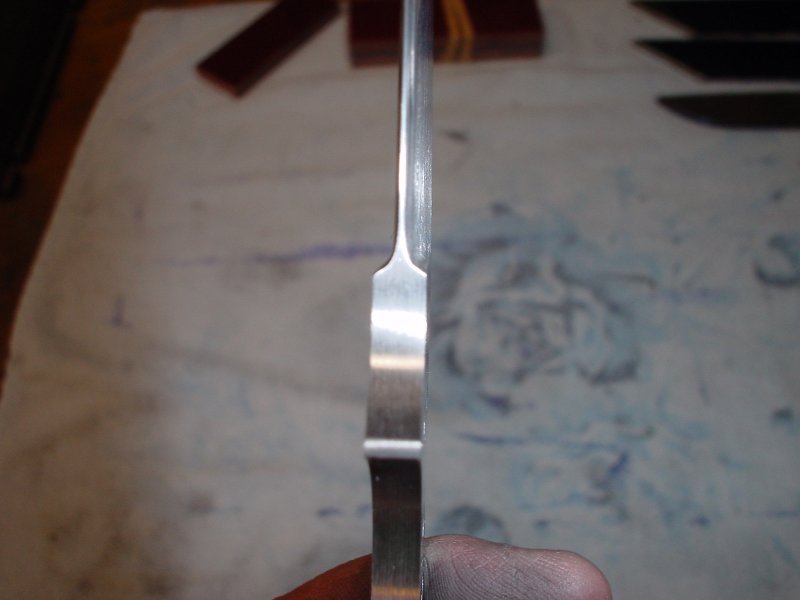
We have to do a little handwork now. I use 320-grit wet/dry sand paper and sand each side from the ricasso to the tip. I take special care to clean the plunge cuts and check for scratches there and on the bevels. Once you start sanding in the lateral direction any deep scratches will show up immediately. They are a lot easier to get out now when the steel is fully annealed than they will be later after hardening. Very occasionally I will have to go back to 220-grit to grind out a really deep scratch, forcing me to repeat the 320-grit step as well. I usually have to do a little final blending of the convex edge at the ricasso and tip where I was being real careful with the grinder to prevent mistakes. For small areas it is fast and easy to switch from 220 to 320-grit if heavy sanding is needed for final blends and cleanup. When both sides are sanded I give the blade a final inspection looking for scratches, straightness, even grinds, etc. The blade looks very close to the finished product by this time. We are now ready for the thermal treatments and testing.


 Win a FREE Membership!