|
[#1]
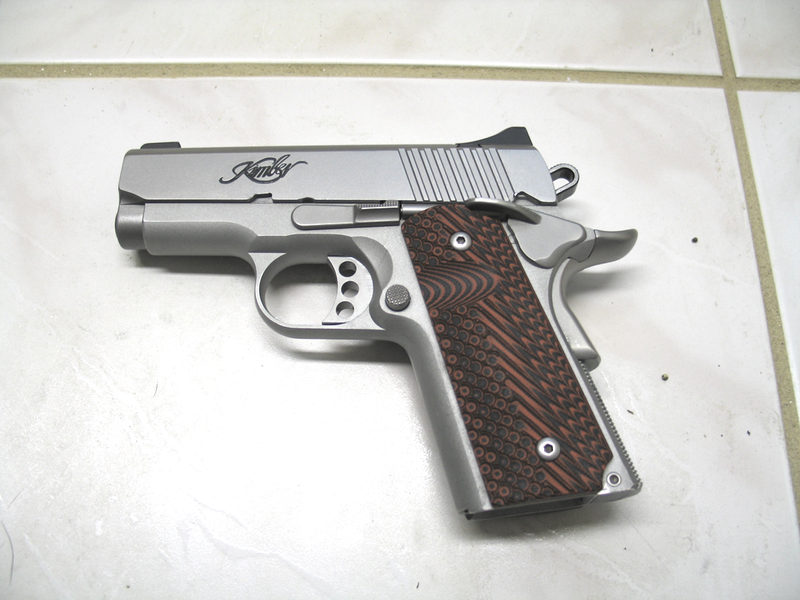
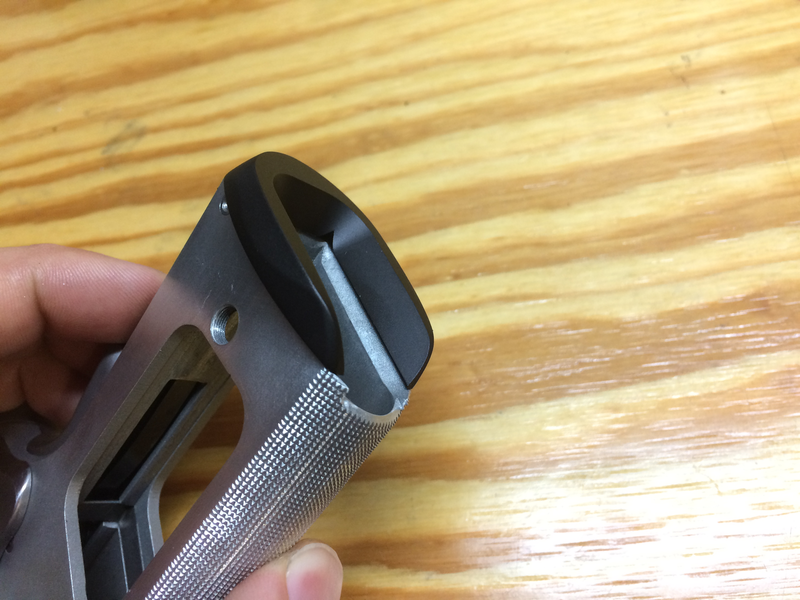
 Looks like it was done by a 1911 smithy! Looks like it was done by a 1911 smithy!
|
|
|
|
[#2]
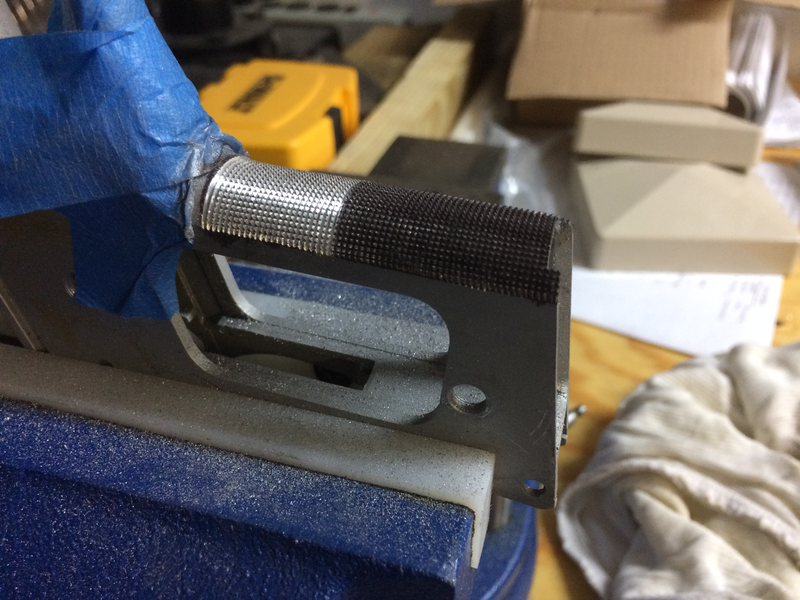
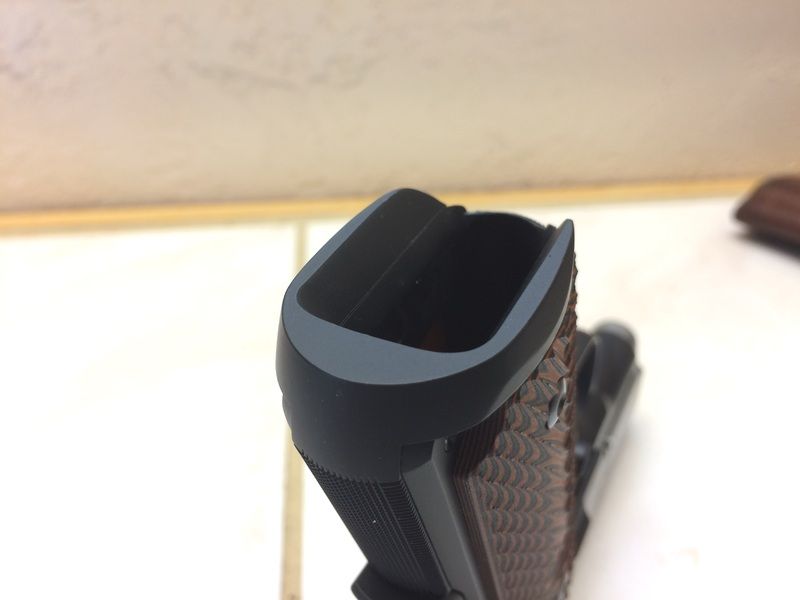
You Sir, have talent. And patience... let’s not forget that!
That looks incredible. |
|
|
|
[#3]
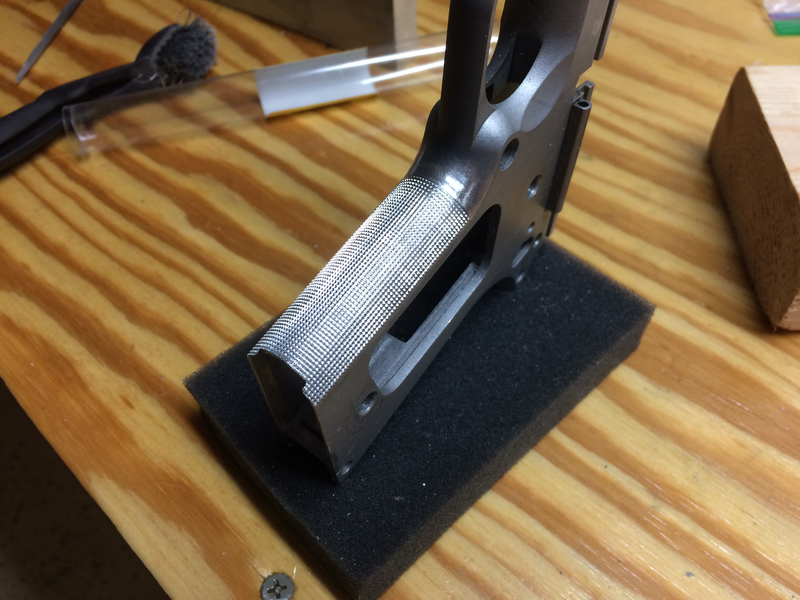
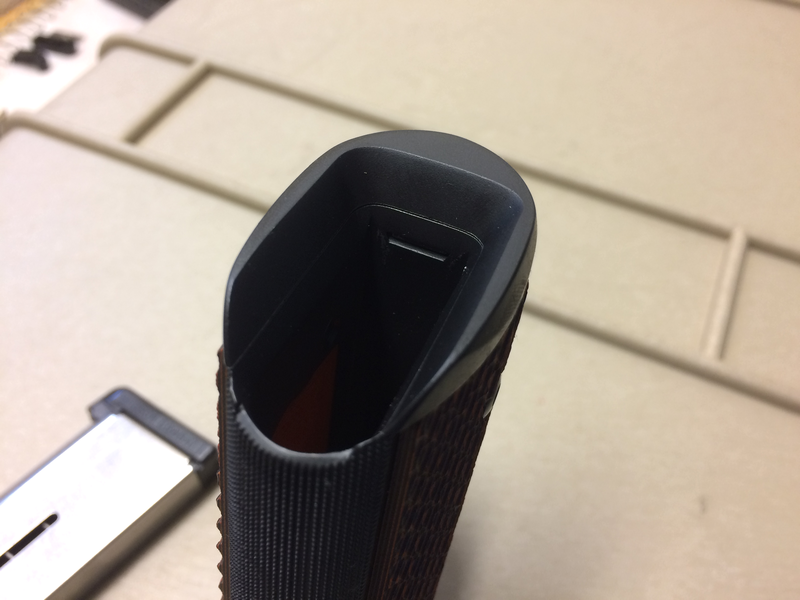
Very nice OP!
|
|
|
|
[#4]
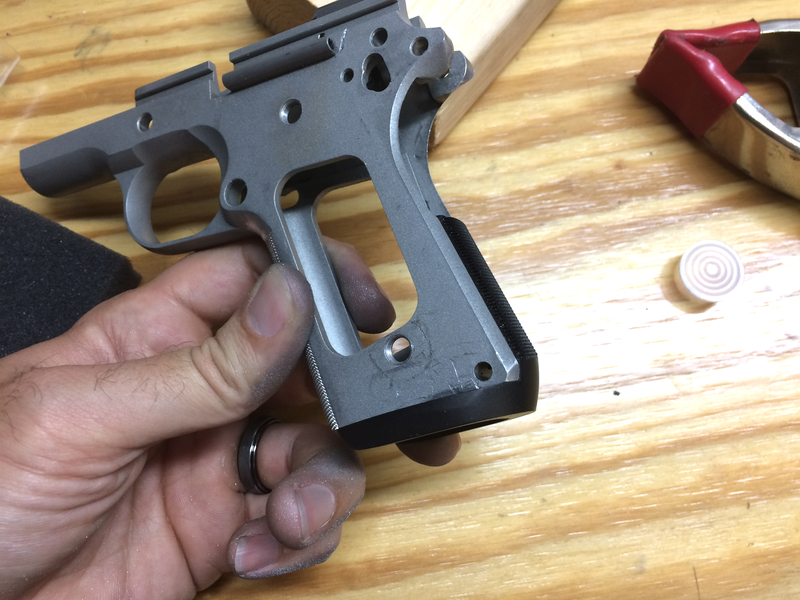
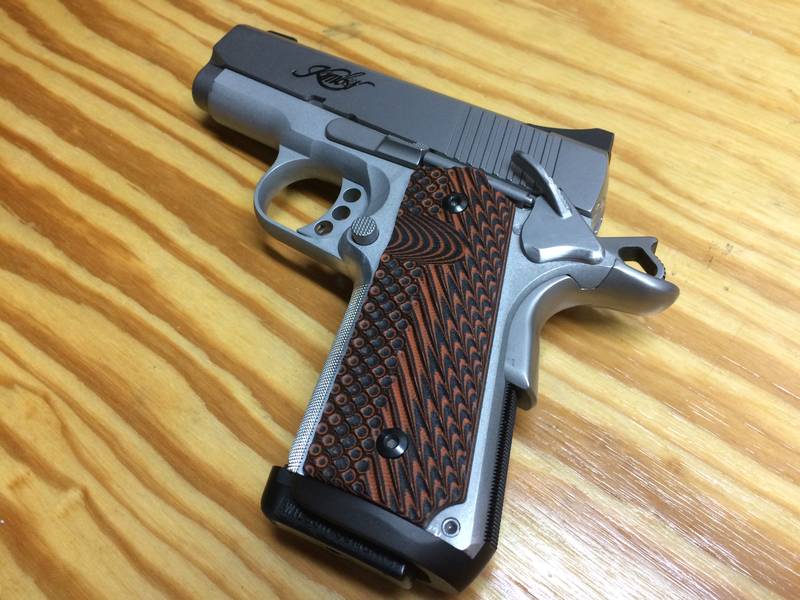
Great job OP! Ever bob tailed one? Been thinking of doing that one of these days.
|
|
|
|
[#5]
Quoted:
Great job OP! Ever bob tailed one? Been thinking of doing that one of these days. This is my first time doing metal work on a frame. But now it has me thinking about an 80% 1911... |
|
|
|
[#6]
Quoted: But now it has me thinking about an 80% 1911... |
|
|
|
[#7]
Beautiful!!
|
|
|
|
[#8]
Excellent work OP. Looks like professional work from here!
|
|
|
|
[#9]
Nicely done!

By the way, a lot of machinists, myself included, use a Sharpie for quick marking in the lathe/mill, or to "erase" a line scribed incorrectly. Nothing wrong with it, and it sounds like you wouldn't really go through a complete bottle of Dykem. Good call on your part. |
|
|
|
[#10]
Quoted:
By the way, a lot of machinists, myself included, use a Sharpie for quick marking in the lathe/mill, or to "erase" a line scribed incorrectly. Nothing wrong with it, and it sounds like you wouldn't really go through a complete bottle of Dykem. Good call on your part. |
|
|
|
[#11]
Very nice refinishing job you there OP.
I've been wanting to checker the grips on one of my 1911s, and you did a great job on yours.
_ |
|
|
|
[#12]
Very Nice!
Great work OP. |
|
|
 Win a FREE Membership!
Sign up for the ARFCOM weekly newsletter and be entered to win a free ARFCOM membership. One new winner* is announced every week!
You will receive an email every Friday morning featuring the latest chatter from the hottest topics, breaking news surrounding legislation, as well as exclusive deals only available to ARFCOM email subscribers.

AR15.COM is the world's largest firearm community and is a gathering place for firearm enthusiasts of all types.
From hunters and military members, to competition shooters and general firearm enthusiasts, we welcome anyone who values and respects the way of the firearm.

Subscribe to our monthly Newsletter to receive firearm news, product discounts from your favorite Industry Partners, and more.
Copyright © 1996-2024 AR15.COM LLC. All Rights Reserved.
Any use of this content without express written consent is prohibited.
AR15.Com reserves the right to overwrite or replace any affiliate, commercial, or monetizable links, posted by users, with our own.