|
[#1]
Originally Posted By skyflyer:
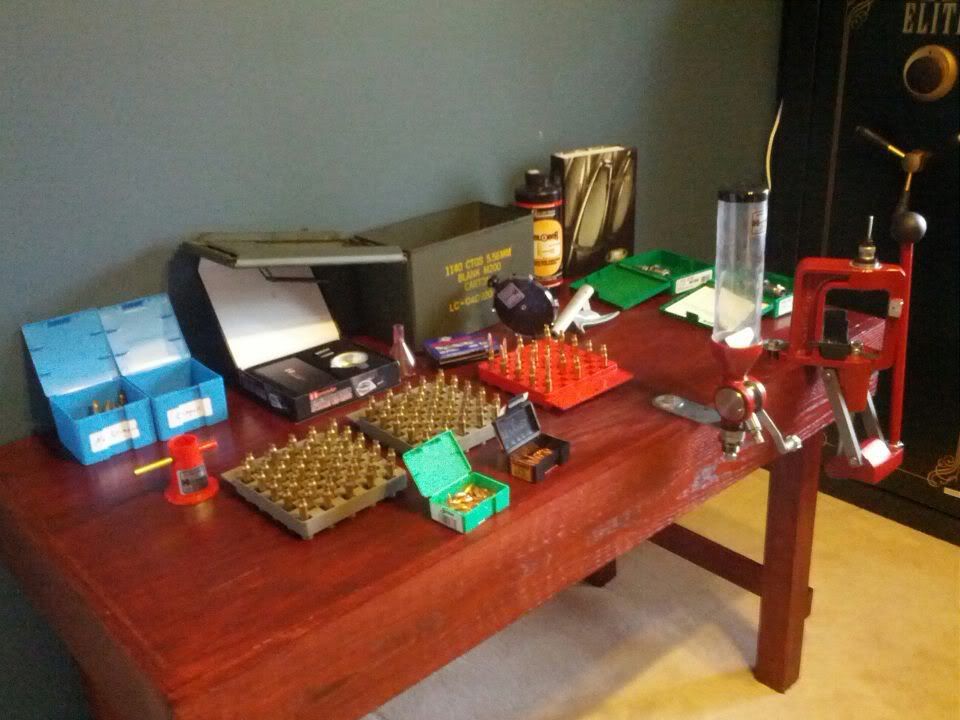
Out with the old http://img.photobucket.com/albums/v240/skyflyer00/reloading003.jpg In with the new http://img.photobucket.com/albums/v240/skyflyer00/002.jpg Thanks Scott_R for the correct color http://img.photobucket.com/albums/v240/skyflyer00/happyreloaderBlue.gif Hey! someone stole your clock! Now you won't be able to tell how much time you've spent ignoring your other duties. 
|
|
|
|
|
[Last Edit: imtheflash]
[#2]
I've got a new bench coming soon. I just snagged (well I actually haven't gotten it out of the building yet) a 10'x3'x2.25" I'll replace the smaller one I have now. Hopefully pics after the new year.
|
|
|
|
|
[#3]
For those of you that have used t track to mount your presses. Is the t track strong enough to hold up to regular use or would it be better off mounted straight to the bench? I really like the idea of using t track but wanted to make sure it would be sturdy enough. Thanks.
|
|
|
|
|
[#4]
Waiting on teh Dillon to be delivered.
I'm sure I'll add to the bench as a see a need. Tried some sunbleached stain.

|
|
|
|
|
[Last Edit: bkirkwood]
[#5]
Tagged for better photos
|
|
|
|
IA, USA
|
[#6]
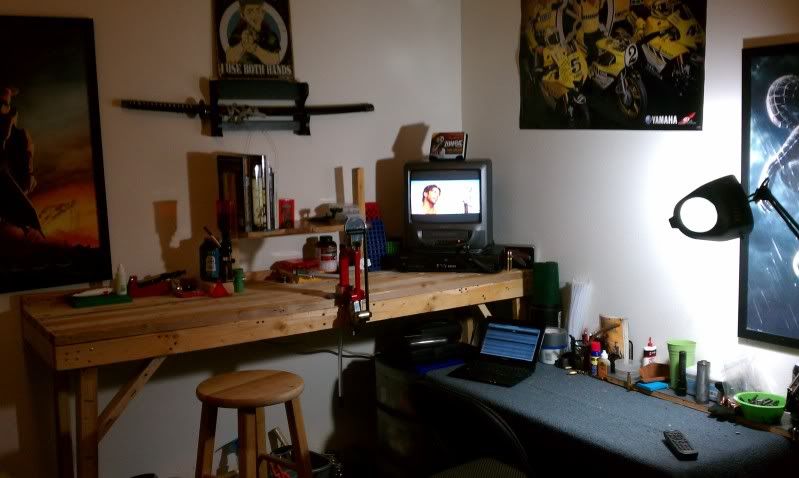
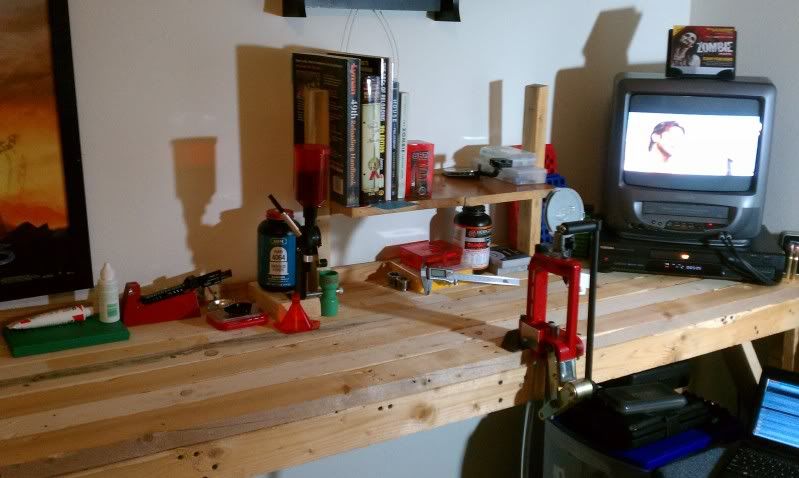
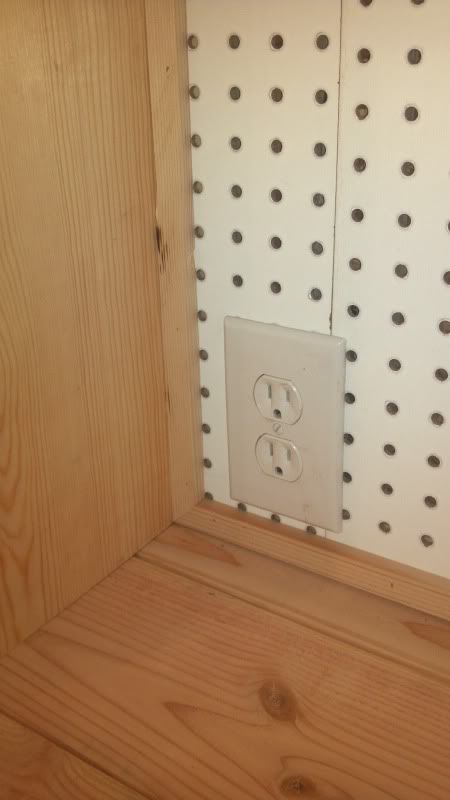
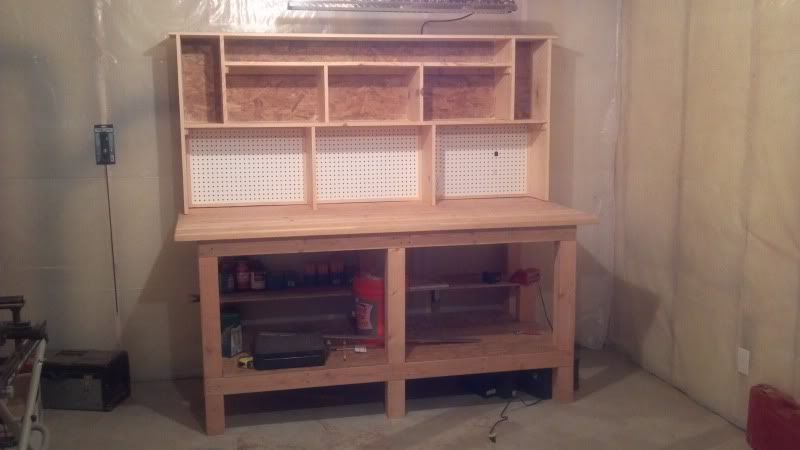
Here is the start of mine. I'll finish it in the spring. I'm going to frame in the wall and attach the bench to it. Hang some nice cabinets. Fill will be pegboard. I've got two 75 watt halogen par38 bulbs over the bench and another 2 on the other side of the room.

And this was what I was on. 
|
|
|
|
[#7]
I'll say that's a step in the right direction!
|
|
|
|
|
[Last Edit: dryflash3]
[#8]
bkirkwood,
Third pic, more info on that press on the right please. Looks like an old school classic. Nice setup. |
|
|
|
|
[#9]
Originally Posted By sleeperls:
Here is the start of mine. I'll finish it in the spring. I'm going to frame in the wall and attach the bench to it. Hang some nice cabinets. Fill will be pegboard. I've got two 75 watt halogen par38 bulbs over the bench and another 2 on the other side of the room. http://i70.photobucket.com/albums/i102/sleeperls/9b1cdffd.jpg And this was what I was on. http://i70.photobucket.com/albums/i102/sleeperls/ab2f87d4.jpg Before and after, what a difference. Myself, I think pegboard is a space waster. I much prefer nice strong shelfs, some with doors. |
|
|
|
|
[Last Edit: bkirkwood]
[#10]
Tagged for better photos
|
|
|
|
|
[#11]
Originally Posted By bkirkwood:
Originally Posted By dryflash3:
bkirkwood, Third pic, more info on that press on the right please. Looks like an old school classic. Nice setup. Dryflash, it is a Ponsness Warren Metallic II that I found on craigslist for a steal. I use it to reload precision .308. It's kind of the same principle as a turret press except the shell plate moves instead of the turret head. http://i673.photobucket.com/albums/vv94/bkirk87/IMAG0324.jpg http://i673.photobucket.com/albums/vv94/bkirk87/IMAG0325.jpg http://i673.photobucket.com/albums/vv94/bkirk87/IMAG0326.jpg Very nice indeed. Thanks for the pics. |
|
|
|
CO, USA
|
[#12]
The 1050 toolheads are mounted on delrin posts that a friend of mine made. They are mounted on drawer slides so they can slide out so I dont have to dig through the toolheads to get to a different caliber.


|
|
|
|
[#13]
Impressive!!!!
|
|
|
|
|
[#14]
Originally Posted By dryflash3: Originally Posted By bkirkwood: Originally Posted By dryflash3: bkirkwood, Third pic, more info on that press on the right please. Looks like an old school classic. Nice setup. Dryflash, it is a Ponsness Warren Metallic II that I found on craigslist for a steal. I use it to reload precision .308. It's kind of the same principle as a turret press except the shell plate moves instead of the turret head. http://i673.photobucket.com/albums/vv94/bkirk87/IMAG0324.jpg http://i673.photobucket.com/albums/vv94/bkirk87/IMAG0325.jpg http://i673.photobucket.com/albums/vv94/bkirk87/IMAG0326.jpg Very nice indeed. Thanks for the pics. I saw one of those at the Kittery Trading post in ME a couple months ago. It's an interesting looking press. |
|
|
|
|
[#15]
Team,
Please remember to take off you Exif data. For those that are not in the know, Exif is data collected when you take the picture. Most cell phone cams will tag the GPS location on pictures by default. You should be able to disable this option from you cell phones, or in photo bucket, when uploading the pic. In Photo Bucket, once you clicked on the upload option, you should see "Customize your upload options", click on that and check off the "Permanently remove information about where my photos were taken"  Here is a tool to check your photos. Jeffrey's Exif Viewer I just want you all to stay safe and not get any unwanted visitors. PC-TECH |
|
|
|
|
[#16]
Originally Posted By PC-Tech: Team, Please remember to take off you Exif data. For those that are not in the know, Exif is data collected when you take the picture. Most cell phone cams will tag the GPS location on pictures by default. You should be able to disable this option from you cell phones, or in photo bucket, when uploading the pic. In Photo Bucket, once you clicked on the upload option, you should see "Customize your upload options", click on that and check off the "Permanently remove information about where my photos were taken" http://i314.photobucket.com/albums/ll434/hdc_ar15/Stuff/uploadoptions.png Here is a tool to check your photos. Jeffrey's Exif Viewer I just want you all to stay safe and not get any unwanted visitors. PC-TECH Holy cow! I had turned mine off when I got my phone, but I thought I'd try some links on this page. It pinpointed the house where the pic was taken. |
|
|
|
|
[#17]
Originally Posted By Hoser:
The 1050 toolheads are mounted on delrin posts that a friend of mine made. They are mounted on drawer slides so they can slide out so I dont have to dig through the toolheads to get to a different caliber. http://i890.photobucket.com/albums/ac105/puebloshooter/Reloading%20Stuff/DSC02969.jpg http://i890.photobucket.com/albums/ac105/puebloshooter/Reloading%20Stuff/DSC02970.jpg Holy caliber conversion!  That's damn nice. That's damn nice.
|
|
|
|
TX, USA
|
[#18]
Got my bench built (the bench is made out of Ktm dirt bike crates), and everything all set up and got all my reloading stuff for Christmas
|
|
|
|
[#19]
Originally Posted By underdog681:
Got my bench built (the bench is made out of Ktm dirt bike crates), and everything all set up and got all my reloading stuff for Christmas http://i5.photobucket.com/albums/y155/underdog681/IMAG0215.jpg http://i5.photobucket.com/albums/y155/underdog681/IMAG0217.jpg This is the place. Like that handle you made for your press. |
|
|
|
TX, USA
|
[#20]
Sure beats that stupid wooden ball
|
|
|
|
[#21]
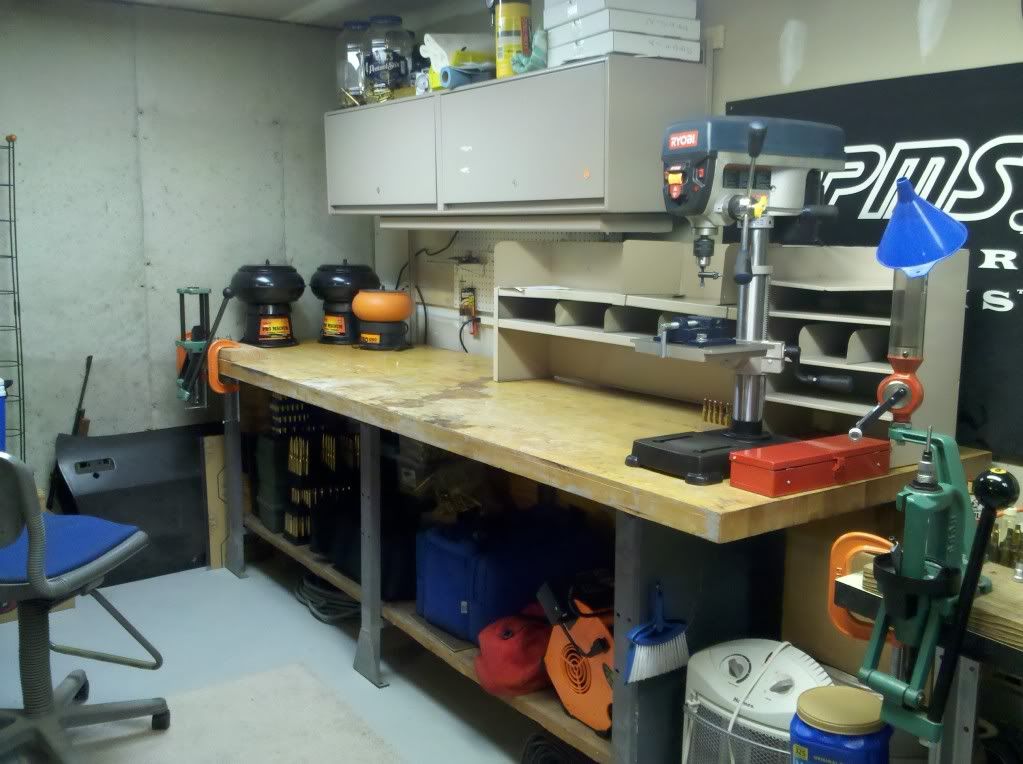
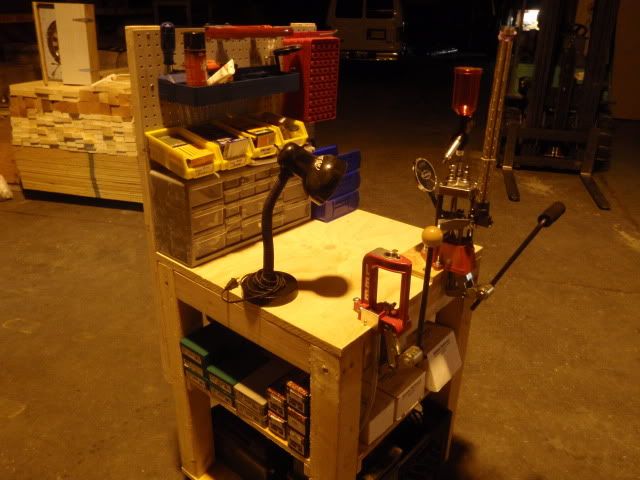
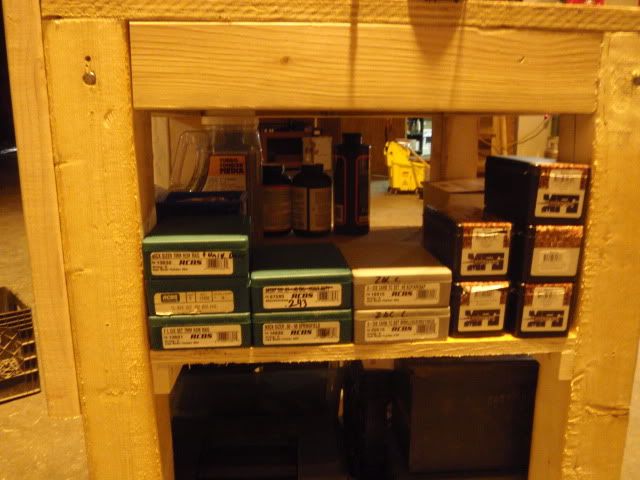
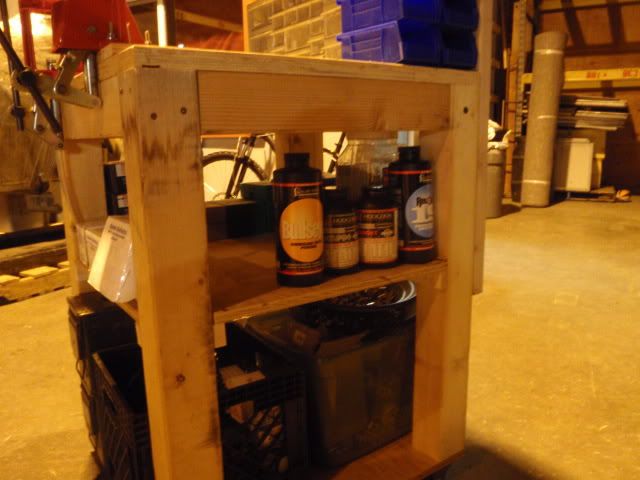
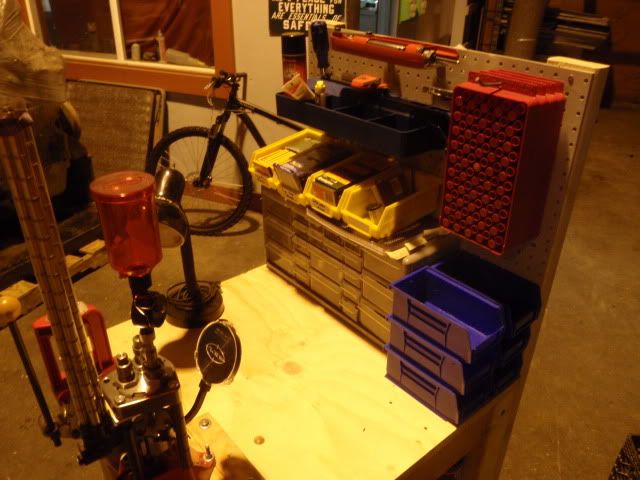
Here is my corner, the bench was built with 1.25" plywood obtained free from work. It is still a work in progress it is slow going cause I ain't a carpenter by any means.

Casting corner 
Press 
Ammo storage 
|
|
|
|
|
[#22]
Originally Posted By underdog681: Sure beats that stupid wooden ball I upgraded my balls a long time ago too  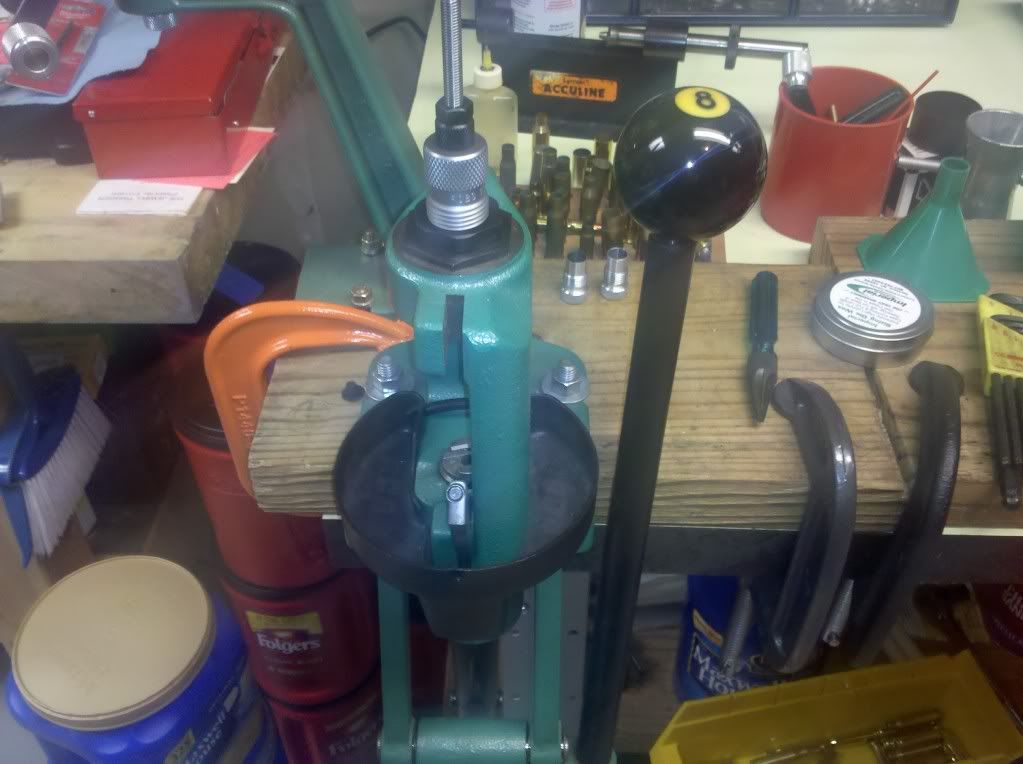 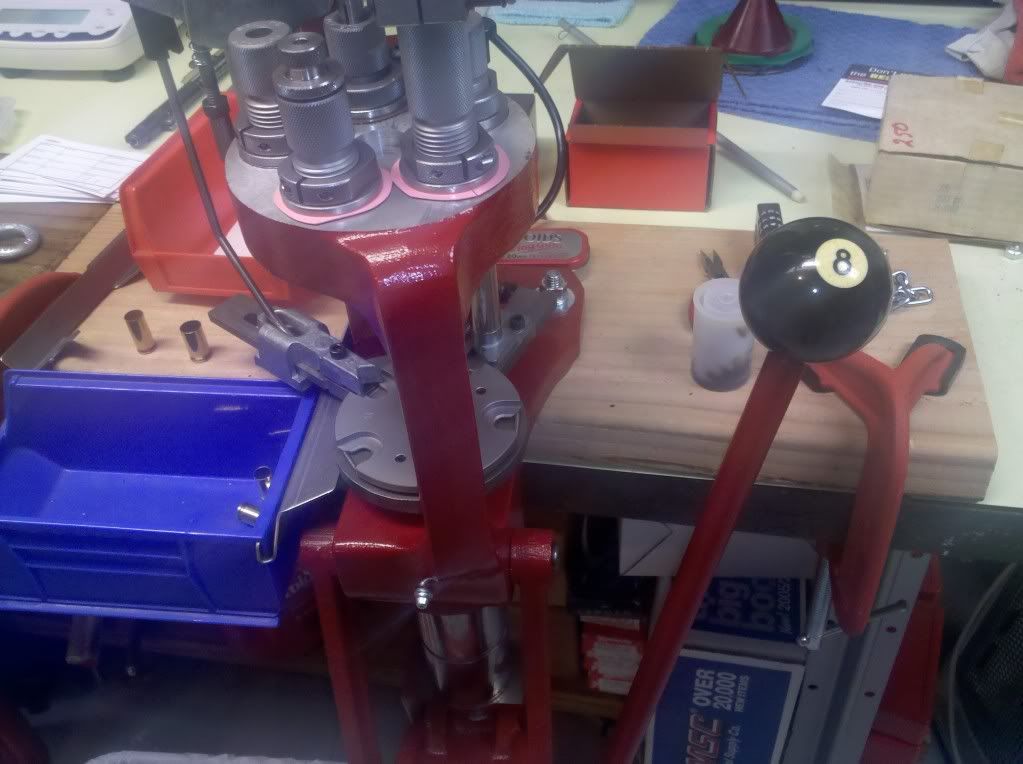 |
|
|
|
MO, USA
|
[#23]
I'll play along.
Before: 
After (3 weeks later): 

|
|
|
|
[#24]
Originally Posted By Scott_R:
My gift to Arfcom reloaders.... ha ha The red one and the green on look funny 
|
|
|
|
TN, USA
|
[#25]
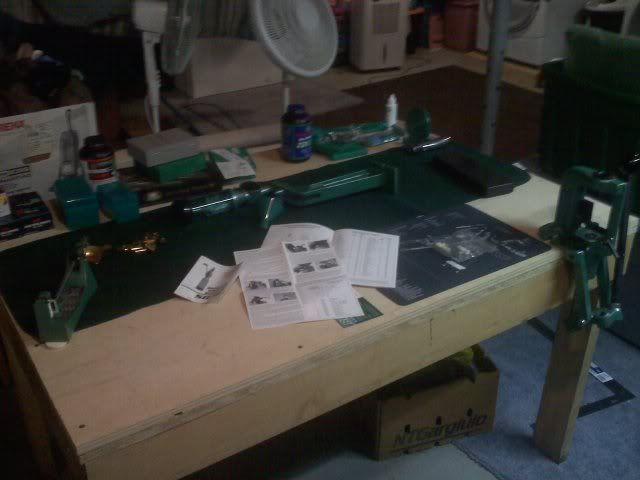
Here is mine:


Pretty much just thrown together. I keep meaning to build a bench for the reloaders but haven't had the time. Right now both are bolted to a 2" butcher block cutout that is clamped to a wood working bench. |
|
|
|
[#26]
Originally Posted By CABG:
Here is mine: http://dl.dropbox.com/u/6437216/reloading/IMG_0895.jpg http://dl.dropbox.com/u/6437216/reloading/IMG_0896.jpg Pretty much just thrown together. I keep meaning to build a bench for the reloaders but haven't had the time. Right now both are bolted to a 2" butcher block cutout that is clamped to a wood working bench. Nice through dovetail drawers. Another woodworker has joined the forum. |
|
|
|
|
[#27]
New tables in place and filling up fast. I was able to get some additional stuff off the floor.
 |
|
|
|
|
[#28]
My very humble and messy setup.


|
|
|
|
|
[Last Edit: Hydguy]
[#29]
My bench...
And yes, the pictures on the wall are square!! the table is also level according to the bullet level on the left side!! The floor on the other hand... well.... 
|
|
|
|
USA
|
[#30]
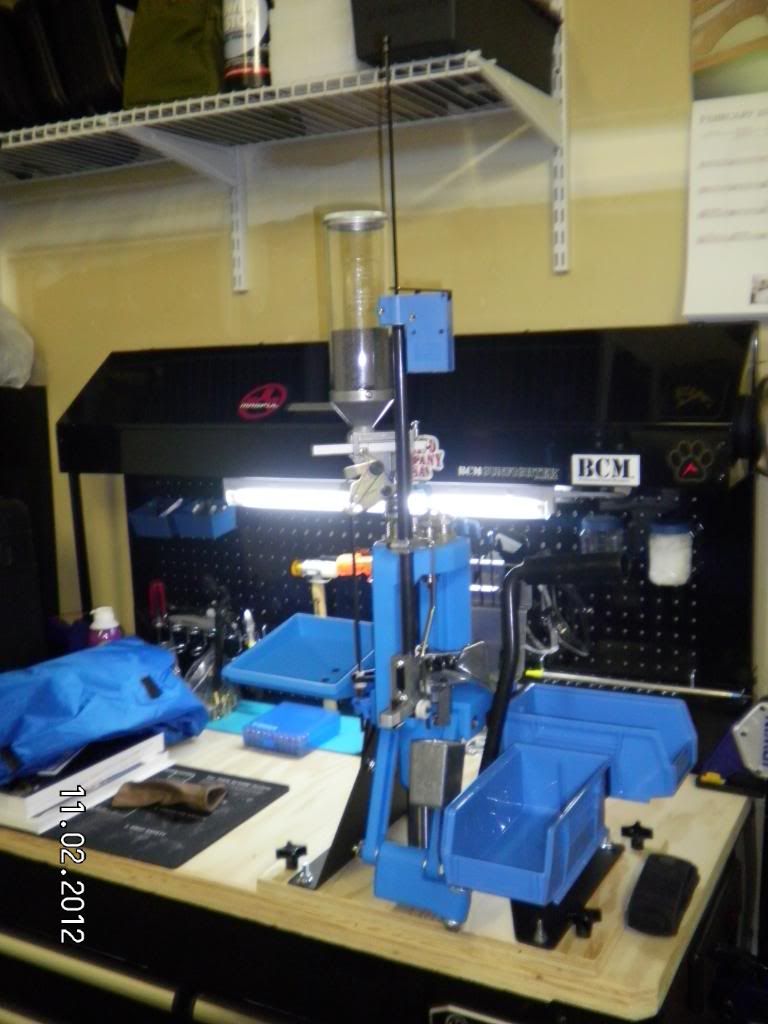
sorry crappy cell phone pics, just got the press mounted
still in the process of setting the rest up. Plan on building a shelf on the back of the table. not sure where i want to put the powder dispenser, plan on adding a small vise somewhere too 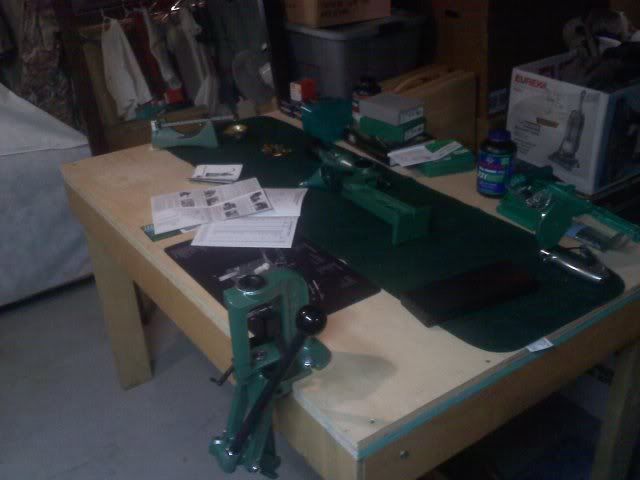
|
|
|
|
[#31]
I made some changes to my bench since this post I have added a Forster Co-Ax press and since I have also started casting my own boolits a RCBS Lube-A-Matic II to go a long with the Rock Chucker. I installed a Rock Dock quick change set-up so I easily swap presses depending on what I am loading.
Bench 
Presses and beefed up mount 
Rock Dock mount and plate on Co-Ax 
|
|
|
|
|
[#32]
Originally Posted By Herb3:
I made some changes to my bench since this post I have added a Forster Co-Ax press and since I have also started casting my own boolits a RCBS Lube-A-Matic II to go a long with the Rock Chucker. I installed a Rock Dock quick change set-up so I easily swap presses depending on what I am loading. Bench http://i643.photobucket.com/albums/uu154/hparham3/Bench/DSCN0277.jpg Presses and beefed up mount http://i643.photobucket.com/albums/uu154/hparham3/Bench/DSCN0279.jpg Rock Dock mount and plate on Co-Ax http://i643.photobucket.com/albums/uu154/hparham3/Bench/DSCN0280.jpg Nice mount |
|
|
|
PA, USA
|
[Last Edit: nelentaxidermy]
[#33]
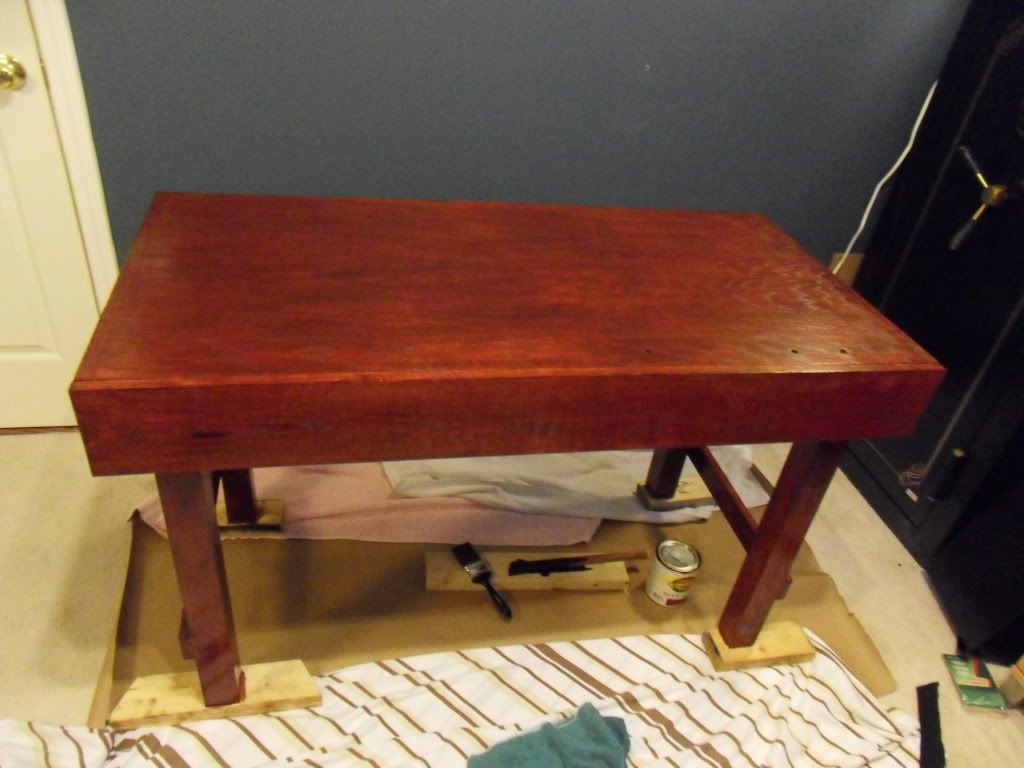
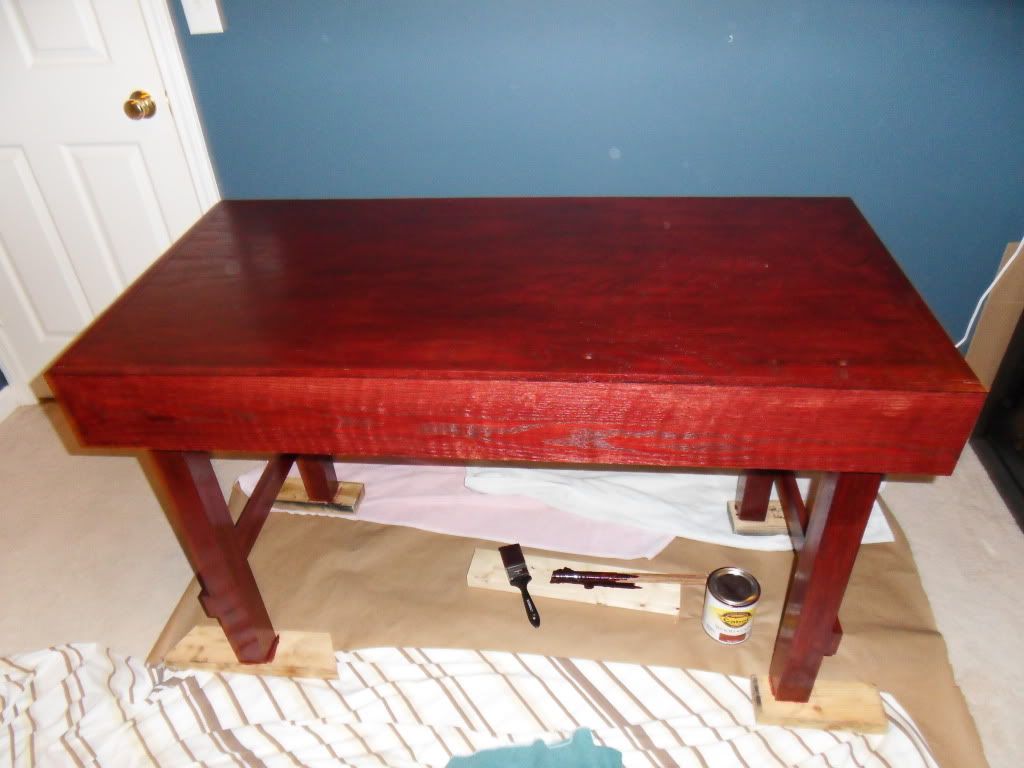
Newbie here.
Been trying to read and learn for months. I bought a Hornady kit yesterday and now I need a place to put it and get organized. Below is a picture of my taxidermy work table. I am thinking of doing something similar. Thinking of adding a small shelf unit ontop. Maybe going a little wider. I would like to make the press removable like many of your pics have shown. Plan on building a box to store powder in seperately. probably also going to add to the bench below so I can close it up when not in use becasue for now it will be housed in my taxidermy shop. Any opinions and recommendations would be greatly recommended by a newbie... 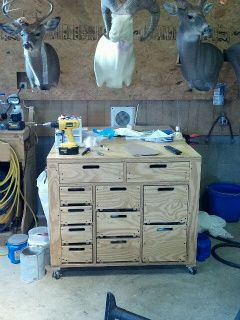
Thanks |
|
|
WI, USA
|
[#34]
 |
|
|
|
[Last Edit: nick_75]
[#35]
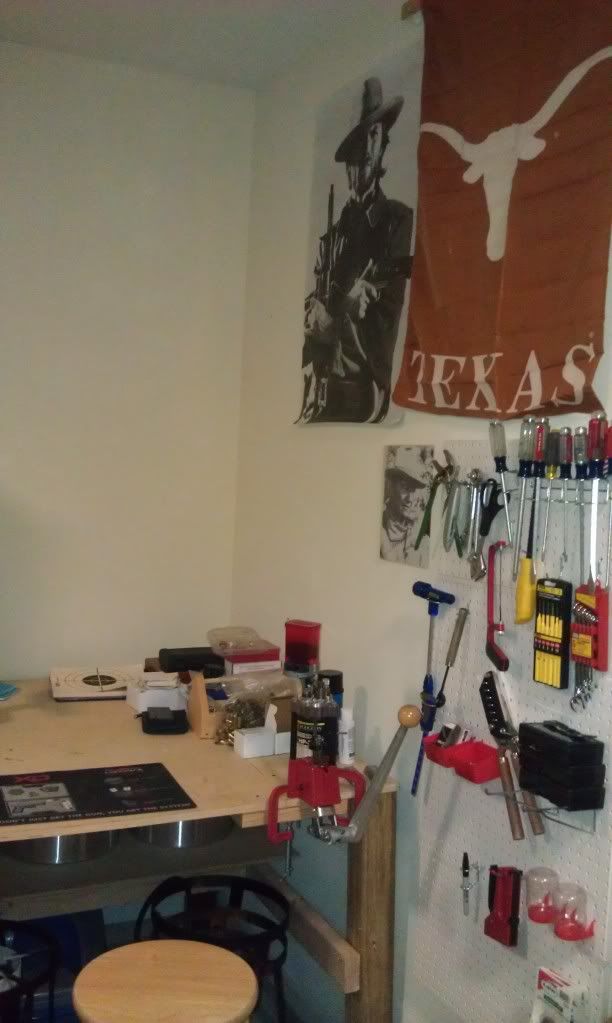
Nothing fancy about this whish is occupying 1/32 of my garage. Performs multiple functions including but not limited to reloading, minor repairs, gun cleaning, and getting advice from Clint Eastwood and John Wayne, and the occassonal Husband Time Out.
|
|
|
|
TX, USA
|
[#36]
http://img856.imageshack.us/img856/5223/imag0566v.jpg
Uploaded with ImageShack.us My half of the room...I'm not a neat freak I just cleaned to go out of town..... |
|
|
|
[#37]
Originally Posted By nelentaxidermy: Newbie here. Been trying to read and learn for months. I bought a Hornady kit yesterday and now I need a place to put it and get organized. Below is a picture of my taxidermy work table. I am thinking of doing something similar. Thinking of adding a small shelf unit ontop. Maybe going a little wider. I would like to make the press removable like many of your pics have shown. Plan on building a box to store powder in seperately. probably also going to add to the bench below so I can close it up when not in use becasue for now it will be housed in my taxidermy shop. Any opinions and recommendations would be greatly recommended by a newbie... http://i1209.photobucket.com/albums/cc400/nelentaxidermy/Snapbucket/90C0423D-orig-1.jpg Thanks Welcome to Arfcom and the Reloading Forum. My bench is on page 6. By all means build drawers into your reloading bench like I did. Lots of shelf's also. |
|
|
|
AK, USA
|
[#38]
Today at work, I decided to make some use of my scrap pile after hours...
I live where I work, thanks to a great owner who has an apartment for guys such as me... So what was originaly a bunch of odd length 4x4's, 3/4 CDX ply and 1- 1/4 CDX ply became a small masterpeice... 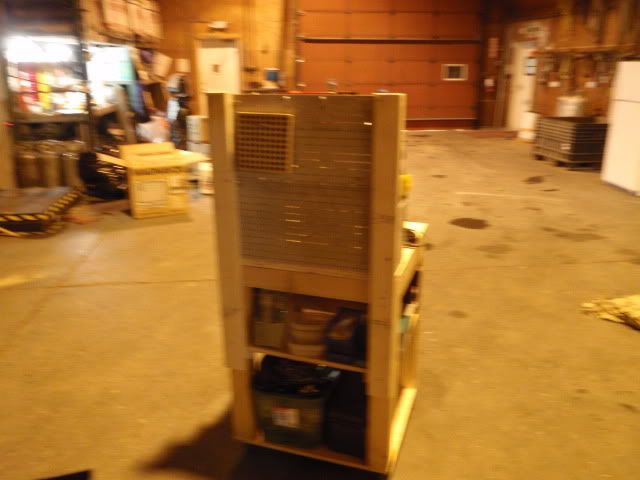
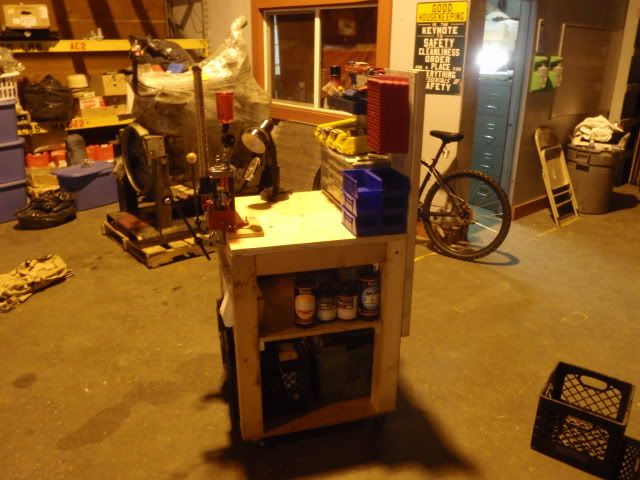
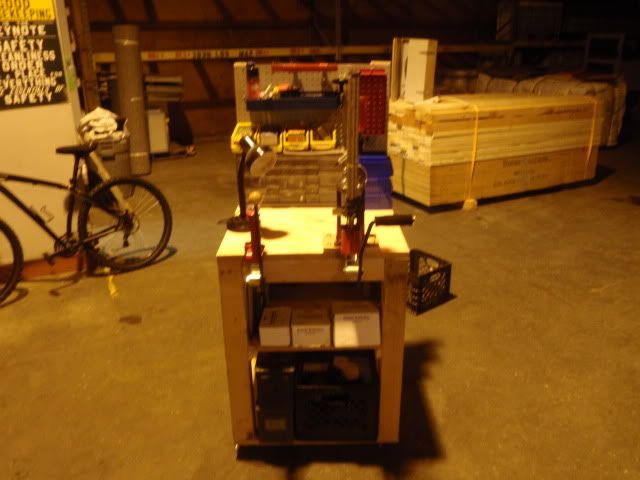
I have another Craftsman bench under my bunk bed, and decided I was tired of reloading on it and have all my tools and a work area. I made it large enough to hold everything and small enough to roll through a doorway. It has 4 casters rated at 200LBS each and 2 of them are swivel/lock casters. Lucky we had the 1-1/4" plywood, made the perfect top. Sanded it off and thought about spraying it with Polyurithane but decided against it with the chance that chemicals may make it tacky or deteriorate alltogether. Also lucked out on finding some extra peg-board strips 12" wide. Stacked 2 and cut a couple 2x4 uprights. Top has my 3 loaders... Lee Breech Lock, Lee Pro. 1000, and a hand press on the top hooks. Also has a small plastic slide out tray organizer, Akro bins and other hand tools. Middle has all my projectiles, dies and powders. Bottom holds some spare parts, ammo cans and milk crates of bagged and tagged brass. Casters- $16 Plastic organizer- $24 Misc hardware/ fasteners - $10 Materials- Free Total Cost- $50 Not to mention the cost of all the reloading stuff, haha. Not to shabby if I do say so myself... Freezin in the last Frontier. |
|
|
USA
|
[#39]
http://mob1197.photobucket.com/albums/aa435/critt77matt/1329085110.jpg
built this week Bench made of 10 - 2x4 x 8' 3 - 2x6 x 8' 2 - 1/2 plywood 1 - 1/4 sanded plywood 2 large bottles of wood glue 2 boxes of 2.5" screws top shelves 4 - 1x12 x ' 1 - pegboard 1 box 2" screws legs and shelves are stained min-wax "Gun stock brown" that the wife picked out Bench Top is stained with proventialhttp://mob1197.photobucket.com/albums/aa435/critt77matt/1329085110.jpg |
|
|
|
[#40]
Originally Posted By FreezinSig:
Today at work, I decided to make some use of my scrap pile after hours... I live where I work, thanks to a great owner who has an apartment for guys such as me... So what was originaly a bunch of odd length 4x4's, 3/4 CDX ply and 1- 1/4 CDX ply became a small masterpeice... http://i55.photobucket.com/albums/g155/zac_squatch/Stuff224.jpg http://i55.photobucket.com/albums/g155/zac_squatch/Stuff225.jpg http://i55.photobucket.com/albums/g155/zac_squatch/Stuff226.jpg http://i55.photobucket.com/albums/g155/zac_squatch/Stuff227.jpg http://i55.photobucket.com/albums/g155/zac_squatch/Stuff228.jpg http://i55.photobucket.com/albums/g155/zac_squatch/Stuff229.jpg http://i55.photobucket.com/albums/g155/zac_squatch/Stuff230.jpg I have another Craftsman bench under my bunk bed, and decided I was tired of reloading on it and have all my tools and a work area. I made it large enough to hold everything and small enough to roll through a doorway. It has 4 casters rated at 200LBS each and 2 of them are swivel/lock casters. Lucky we had the 1-1/4" plywood, made the perfect top. Sanded it off and thought about spraying it with Polyurithane but decided against it with the chance that chemicals may make it tacky or deteriorate alltogether. Also lucked out on finding some extra peg-board strips 12" wide. Stacked 2 and cut a couple 2x4 uprights. Top has my 3 loaders... Lee Breech Lock, Lee Pro. 1000, and a hand press on the top hooks. Also has a small plastic slide out tray organizer, Akro bins and other hand tools. Middle has all my projectiles, dies and powders. Bottom holds some spare parts, ammo cans and milk crates of bagged and tagged brass. Casters- $16 Plastic organizer- $24 Misc hardware/ fasteners - $10 Materials- Free Total Cost- $50 Not to mention the cost of all the reloading stuff, haha. Not to shabby if I do say so myself... Freezin in the last Frontier. Very nice, I used to have a heavy duty island type cabinet that I used for my loading bench. I was able to store bullets and loaded ammo on the shelves, weighing it down and making it rock solid. I plan to build another one like it. |
|
|
|
ID, USA
|
[#41]
While I was building my new reloading bench, I had a stroke of genius! I decided to set up my wife's camera on a tripod and set it to take a pic every minute. I threw it all together in a short video for your viewing pleasure. Enjoy!
LINKY! Prior to Shelving. 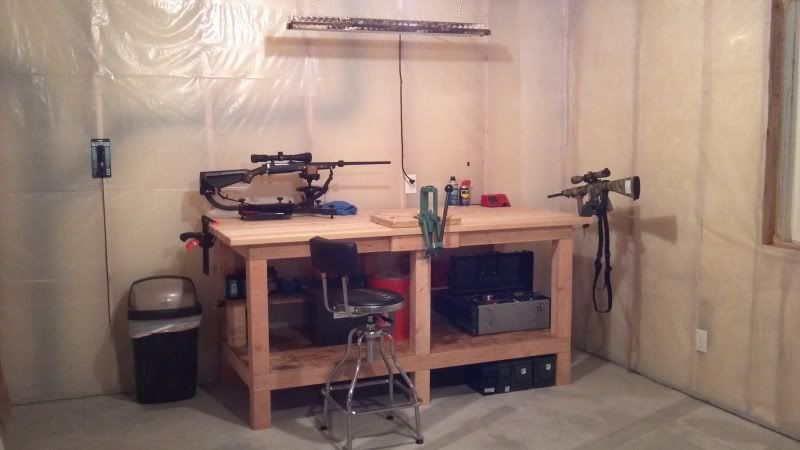

After I added the shelves... 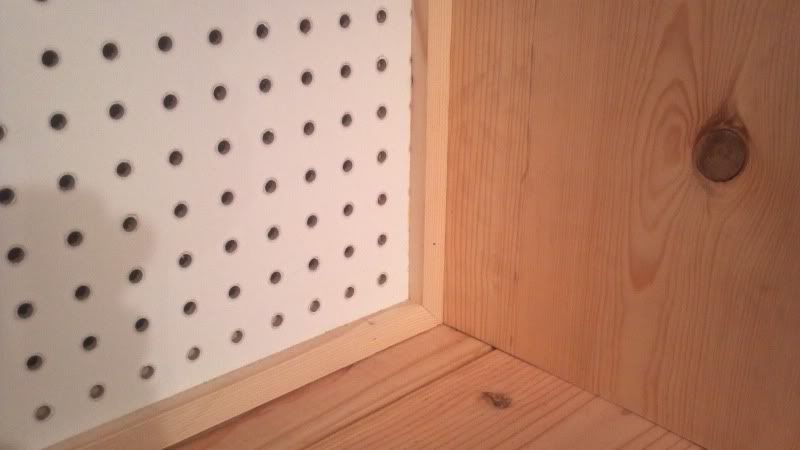
I was pretty pleased with the final outcome... 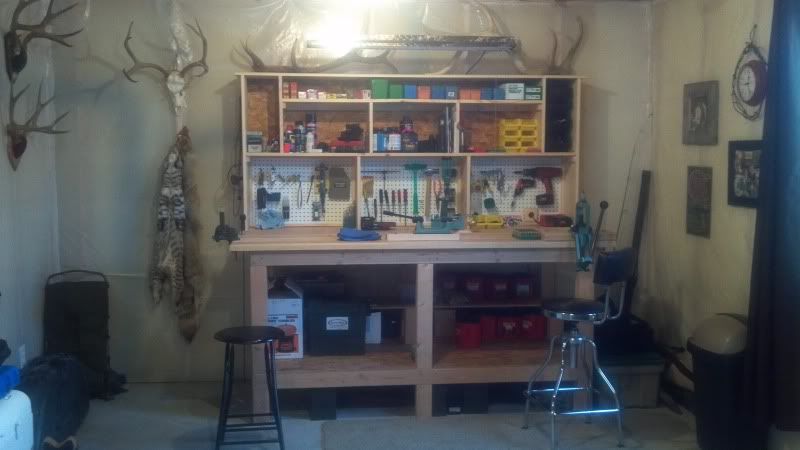
|
|
|
|
[Last Edit: bags533]
[#42]
Originally Posted By nelentaxidermy:
Newbie here. Been trying to read and learn for months. I bought a Hornady kit yesterday and now I need a place to put it and get organized. Below is a picture of my taxidermy work table. I am thinking of doing something similar. Thinking of adding a small shelf unit ontop. Maybe going a little wider. I would like to make the press removable like many of your pics have shown. Plan on building a box to store powder in seperately. probably also going to add to the bench below so I can close it up when not in use becasue for now it will be housed in my taxidermy shop. Any opinions and recommendations would be greatly recommended by a newbie... http://i1209.photobucket.com/albums/cc400/nelentaxidermy/Snapbucket/90C0423D-orig-1.jpg Thanks I'd recommend that you make it as big as you have available space. I built my first bench last summer, it's only 4x2 and I wish it was 16x2 (but I didn't have the room for it). |
|
|
|
|
[#43]
I've only been at if for 6 months but here is my reloading room. Every time a new box shows up to the house the lady asks what else I've bought.


|
|
|
|
USA
|
[#44]
Just started last week. Only space I could get inside was in a closet,,but it works...nice having a little space of my own.

|
|
|
|
[#45]
Originally Posted By rufusleaking:
Just started last week. Only space I could get inside was in a closet,,but it works...nice having a little space of my own. http://img.photobucket.com/albums/v357/northsidepbsports/DSCN0286.jpg Well at least your inside. All I have is a 3 car garage and I need room for 2 motorcycles. |
|
|
|
|
[#46]
You have a lot of cereal dude!
|
|
|
|
|
[#47]
The Dog House

|
|
|
|
|
[#48]
I have been forgetting to snap pics of my step up for a long time now but here it is. Nothing that cool but just another pic and maybe ideas for others. This is a Kobalt work bench from Lowes and I replaced the work surface with two 3/4" pieces of ply wood sandwhiched together for a 1 1/2" sturdy surface. I used the threaded inserts seen here by others so my press can be removed if I ever need the whole bench for a project. The Strong Mount was purchased after I bought this bench so the press would not interfer with the drawers on the work bench. The Strong Mount put the press at a perfect level for me to reload standing. Enjoy!

|
|
|
|
|
[#49]
Very inspiring thread. I'll post pics when I'm done, or started. Whichever comes first.
|
|
|
|
NC, USA
|
[#50]
I dont post much, but I can leave these here, right?
2x4 frame under the 3/4" oak top for rigidity, the legs are 3x3 oak, 1x6 oak skirt around the top (to hide the frame), a 1x6 knee backer (not pictured, which WAS supposed to be the front skirt, that was an expensive mistake) and 1x3 side supports to square the legs. Stained up with a cherry stain and satin polyurethane. Ive also got a nice oak stair tread to make a shelf with, and Ill hang an undershelf light off of that to light the workbench. I just didnt have enough time to get the shelf poly'd before I left for work last week. And yeah, Im going to switch the position of the press and the powder measure. |
|
|
 Win a FREE Membership!
Sign up for the ARFCOM weekly newsletter and be entered to win a free ARFCOM membership. One new winner* is announced every week!
You will receive an email every Friday morning featuring the latest chatter from the hottest topics, breaking news surrounding legislation, as well as exclusive deals only available to ARFCOM email subscribers.

AR15.COM is the world's largest firearm community and is a gathering place for firearm enthusiasts of all types.
From hunters and military members, to competition shooters and general firearm enthusiasts, we welcome anyone who values and respects the way of the firearm.

Subscribe to our monthly Newsletter to receive firearm news, product discounts from your favorite Industry Partners, and more.
Copyright © 1996-2024 AR15.COM LLC. All Rights Reserved.
Any use of this content without express written consent is prohibited.
AR15.Com reserves the right to overwrite or replace any affiliate, commercial, or monetizable links, posted by users, with our own.


