|
Posted: 2/26/2017 9:06:42 PM EDT
OK, so I was supposed to post this last week, but you all know how it goes with work and life. Moving forward.....
You'll need: DC Voltage ( I like using a car battery ) Wires with alligator clips or jumper cables ( I use jumpers for most things, everyone SHOULD have at least 1 set around ) Small tupperware container/dixie cup Regular table salt Water Q-tips and/or cotton balls A template or mask of some sort (this is where it can get fun) A well ventilated place to do this (not at your kitchen table like I did) First I prep my project and my template. My wife loves stupid little projects so I have a vinyl cutter that I can use for making my templates, if you do a lot of etching I highly recommend one. You can get a cheap one for $100 on craigslist and there are software hacks for most of them to go above and beyond the little crafting projects they're supposed to do. This project is just a quick one to illustrate how easy this whole process really is and there is no limit to what you can do with this and similar methods. Certain metals have different requirements (this DIY works great for all steels and aluminum). So for my tutorial I am going to number the 17-4 PH stainless baffles for my last F1 pistol suppressor for quick reassembly after cleaning. Starting off I used the cutter to make my sticky backed vinyl templates then picked out the numbers to create a negative for a mask (called "weeding"). I made sure my baffles were clean-ish by giving them a quick washing with dish soap and drying them off on my pants (no really, no special prep). AFter that I peeled off my masks I made and stuck them onto the baffle skirts. Certain letters and numbers like the 4 and the 8 I throw a piece of blue painters tape over the top to make sure the centers transfer over, then peel the tape off carefully to make sure all is well. Now, take your little tupperware and dump a tablespoon of salt into it and add water to make a solution. I don't measure, I just add warm water and slosh it around until almost all the salt is dissolved. Now the fun part. Connect your cables to your voltage source and make sure you don't short them together or against anything. Now, for etching like this we connect the positive to the piece were etching, and the negative is going to be the one were holding and working with. |
|
|
|
[#1]
Now take your Q-tip and wet the end of it with your saltwater solution and clip your alligator clip/jumper cable onto the wet end making sure its in contact with the wet cotton (again, dont accidentally short your cables together). You don't want the Q-tip dripping, but definitely wet. Now take your wet end of your Q-tip and apply it to the area you're etching. and SLOWLY run it around the whole surface to be etched. You don't want to move it fast enough to disturb the edges of your mask, and you don't need to use pressure. You'll notice it starts turning colors and bubbling, this is totally normal and why I said to use a well ventilated place, this salt solution is releasing chlorine. Right around a minute into the process the Q-tip will be dried out and dark green/black. Wet your next Q-tip and either move on to the next section or keep going if you want even deeper of an etch. Once you do this a few times you'll get a good idea of the depth VS time VS material ratios. Since I was just doing my baffle numbering and didn't need a specific depth I spent 30 seconds on each baffle and took it to just shy of the ATF's requirement for marking the tube or end caps. |
|
|
|
[#2]
Now, once you have it where you want it, go ahead and rinse them off and remove your masks and admire your work.
Now, for another demo I took a piece of 3" pipe left over from building the exhaust on my truck and wanted to mark it above and beyond the .003" (about the thickness of a piece of paper) depth that ATF requires for serial numbers. I didn't use a Q-tip, I just used a cotton ball soaked in the salt water solution and clipped that into my jumper cable. I slowly ran it back and forth over the mask until the cotton ball was dried out (about 45 seconds), then switched to a fresh cotton ball and repeated for another 45 seconds. A bit over the .003" minimum, .005" You can see how this would lead to all kinds of bad ideas (all my tools now have my name etched into them, even individual sockets), I've etched flames into small block valve covers, etched slides, marked and 80% lower as a GAU-5 replica for my old Team Sergeant, etc. Now that you have the gist of it, hit the garage and try it out! |
|
|
|
[#3]
Awesome tutorial, thanks! What are you using for depth measurements?
|
|
|
|
[#4]
Will this process work on Ti?
|
|
|
|
[#5]
@rsolomon
Thank you! I'll be throwing a few more quick home brew solutions for things up here in the next few weeks for everyone to use and improve as they go. Depth was checked on that one with basic feeler gauge set, with some of the smaller marks I err on the side of caution and eyeball it visually compared to the feeler gauge. @mnandy This process doesn't work on Ti unfortunately. There are off the shelf hobby grade etchants that do Ti, as well as a few different acids that I don't recommend like hydroflouric. If everyone is interested I can do a Ti demo once I get my exhaust fan reinstalled, but I generally don't recommend messing with HF, that stuff can kill from skin contact pretty easily. |
|
|
|
[#6]
I do a lot of etching, and it's great to be able to do it at home without much investment like you've shown. I've since upgraded to an industrial etching machine that I got at auction that will remove metal at a serious rate. My main material are AK receivers:
|
|
|
|
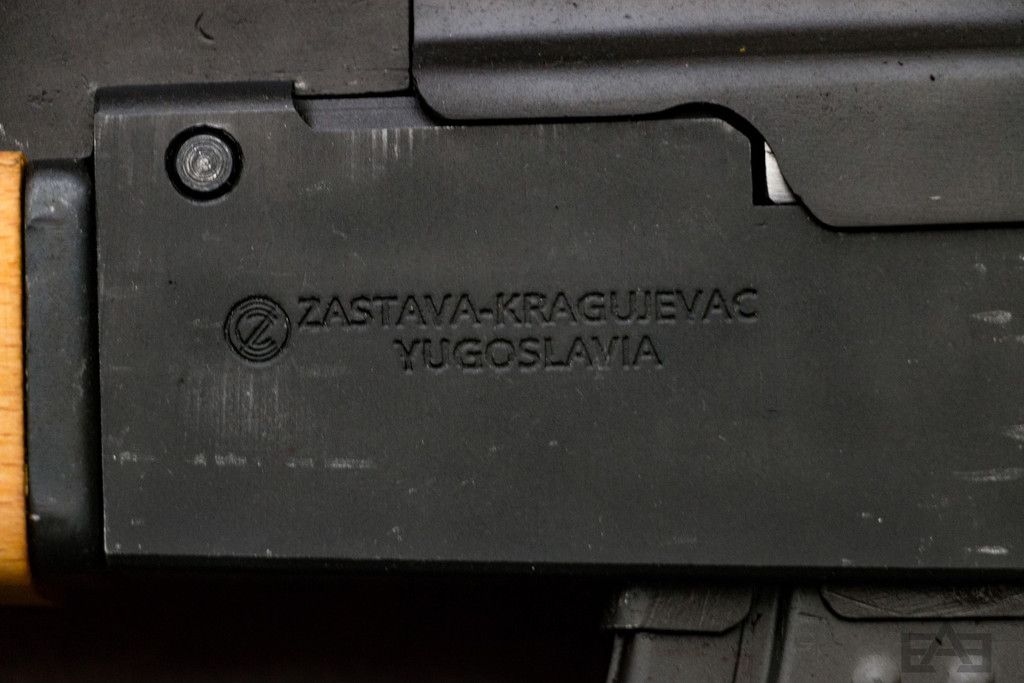
[#7]
Nice! I want to try a Yugo AK complete with URJ selector marking. I did a clip and pin on a metal HK lower for a friend from Yugoslavia and he had me fill and remark it with U, J, R
|
|
|
|
[#8]
Quoted:
@rsolomon Thank you! I'll be throwing a few more quick home brew solutions for things up here in the next few weeks for everyone to use and improve as they go. Depth was checked on that one with basic feeler gauge set, with some of the smaller marks I err on the side of caution and eyeball it visually compared to the feeler gauge. @mnandy This process doesn't work on Ti unfortunately. There are off the shelf hobby grade etchants that do Ti, as well as a few different acids that I don't recommend like hydroflouric. If everyone is interested I can do a Ti demo once I get my exhaust fan reinstalled, but I generally don't recommend messing with HF, that stuff can kill from skin contact pretty easily. Bummer dude. An excellent write up and great information. Thank you for taking the time to do it. |
|
|
|
[#9]
If I could add an additional technique, one I have used on SS before. I've not tried it on other metals.
After you've etched your material, and before you remove the stencil/mask, connect your leads to AC power and do it again. The AC will not eat through the metal, but it will darken it. So, if you wanted a stainless tube with black letters, this would be a great way to get that effect. |
|
|
|
[#10]
Quoted:
If I could add an additional technique, one I have used on SS before. I've not tried it on other metals. After you've etched your material, and before you remove the stencil/mask, connect your leads to AC power and do it again. The AC will not eat through the metal, but it will darken it. So, if you wanted a stainless tube with black letters, this would be a great way to get that effect. Excellent addition! Maybe we should move this thread to the general gunsmithing discussion and sticky it. I'll be adding things like anodizing aluminum and titanium, etching titanium, etc. |
|
|
|
[#11]
Quoted:
Excellent addition! Maybe we should move this thread to the general gunsmithing discussion and sticky it. I'll be adding things like anodizing aluminum and titanium, etching titanium, etc. I would be interested in these subjects. I have etched TI and anodized it at work as well as other coatings, not only interesting but adds great knowledge to the community. |
|
|
|
[#12]
At significantly lower output (usually) this is how many knife makers mark blades. We generally have both DC and AC so we can etch then "mark". I have a little unit sitting here with a three position toggle to do both that I made rather than buying a commercial unit.
I've looked at those vinyl cutters and was tempted for all sorts of projects, this may put me over the edge. I hadn't even considered using it for etching stencils. |
|
|
|
[#13]
OST
|
|
|
|
[#14]
Quoted:
At significantly lower output (usually) this is how many knife makers mark blades. We generally have both DC and AC so we can etch then "mark". I have a little unit sitting here with a three position toggle to do both that I made rather than buying a commercial unit. @Remyrw Would you share the design/details on the unit you made? How many amps at what voltage are you using? Seems like this could be a good use for an old laptop power supply or similar |
|
|
|
[#15]
Lemme see what I can dig up. That was quite a while ago. Input on mine is from an old model train transformer's DC accessory output, so fairly low, it doesn't take much for a light etch and mark on most steel.
Eh, quick search didn't turn up the thread where I got my original setup, but it's about as simple as it gets. You want an AC and a DC power source. As I said, I used an old train controller. Mine was an MRC Tech II if anyone cares. I'm not positive about the Amperage since I'm not sure if the unit limits it on the accessory outputs, but it is about 18V ac, 15V dc. Nothing special about those, 12V is a common input for these from what I've seen. It SAYS 17VA total amperage, but as I said, I'm not sure what I'm really getting off each. I never measured and don't have a meter handy right now. MUCH lower than that direct off battery beast, that's for sure. :) I can run repeated passes over a minute or so and not have major depth. I also don't eat pads/Q-tips fast. My goal was just enough depth to not have the mark scuff off, not do significant metal removal like we want for F1 stuff. I got a small kit box, stereo jack and plug (I used 1/8" to keep total size down but if you're going big on power you will want to rethink that) and a three way toggle capable of handling significantly more power than I was using, but again, scale accordingly if you go for a direct battery connection. The watts off even a motorcycle or lawn mower battery are a hell of a lot higher than my setup and would melt my hardware. I mounted the toggle so one way was mark and the other way was etch, connecting AC or DC to the output as appropriate. Power comes in via a pair of cords so I can connect to both outputs of my transformer at the same time. I leave that portion connected permanently and just disconnect the power at the wall and unplug my etching handle and clip. For that I actually cannibalized a cheap commercial etcher that I started with that never worked well. It had a nice wired up alligator clip and pad holder setup that I just wired into the stereo plug to make it easier to put everything away and also to clean. That's something to remember with these things, the etching solution is corrosive, you want to neutralize it after you are done and clean everything it got on. You also can't have any grease or oils on the surface you want to etch if you want a really clean look. Mind you, with a big battery like that, and ripping that much metal out, you won't really notice. Just don't forget that you are literally vaporizing metal and anything on that metal while doing this. For knives we care a lot more about the clean factor, our maker's mark won't show well if it isn't cleaned decently first. Most folks use non scented/colored acetone or something similar. Common rubbing alcohol actually has things in it that leave a surface residue. There are higher grades that don't, but they aren't what you find in the grocery store or local drug store. I'm TOLD that computer power supplies are not great for this due to their switching nature. Depending on the type, and whether you can trick it into providing the output on the 12V rails I'm sure you could do it. Maybe a laptop power supply would be good though. Honestly, at what old train transformers go for these days, getting AC and DC in one unit like that is hard to pass up. Of course, the actual power output is MUCH lower, but you could go with a serious battery for the DC and then the gentler source for AC to mark, that isn't particularly power hungry. |
|
|
|
[#16]
I like the technique of etching but doesn't the quality of the stencil make the etching?
where can good stencils be found? |
|
|
|
[#17]
For those interested, I dug into my bookmarks. Here are some links to AC/DC etching builds, from one end of the extreme to the other. Personally, I just use the wall transformers. They easily wrap up and fit right into the drawer, once finished.
Ghetto Fabolous A good company for custom stencils and etching solutions, here. |
|
|
|
[#18]
That is cool, and pretty cheap to do.
|
|
|
 Win a FREE Membership!
Sign up for the ARFCOM weekly newsletter and be entered to win a free ARFCOM membership. One new winner* is announced every week!
You will receive an email every Friday morning featuring the latest chatter from the hottest topics, breaking news surrounding legislation, as well as exclusive deals only available to ARFCOM email subscribers.

AR15.COM is the world's largest firearm community and is a gathering place for firearm enthusiasts of all types.
From hunters and military members, to competition shooters and general firearm enthusiasts, we welcome anyone who values and respects the way of the firearm.

Subscribe to our monthly Newsletter to receive firearm news, product discounts from your favorite Industry Partners, and more.
Copyright © 1996-2024 AR15.COM LLC. All Rights Reserved.
Any use of this content without express written consent is prohibited.
AR15.Com reserves the right to overwrite or replace any affiliate, commercial, or monetizable links, posted by users, with our own.


