|
[#1]
Postimage.org
|
|
|
|
[#2]
A good knife to start with is an Izula because of its small size. Less stitching, holes to punch and the scraps don't have to be that big. However it can be tricky because you have to take into account the sheath size vs the size of the belt it is to ride on. A vertical mount wojld be easy but to make it a horizontal it required more thought, especially since I wanted it to do both. A large field knife is easy to make a K-Bar stye sheath for with multiple mounting methods but requires large scraps which can be tough to find enough in a single bag to do the whole sheath. And there is a lot of stitching and punching to do.
|
|
|
|
[#3]
Quoted:
Postimage.org |
|
|
|
[#4]
This the first one I made for my Izula notice the crude shape and crooked stitching. |
|
|
|
[#5]
Third Izula sheath. See how much uniform the edges are and how much nicer the stitching looks.
|
|
|
|
[#6]
Tom Brown Tracker clone I did for a friend
It is a horizontal small of the back deal. Not the best looking stitching. |
|
|
|
[#7]
|
|
|
|
[#8]
|
|
|
|
[#9]
|
|
|
|
[#10]
|
|
|
|
[#11]
This knife can reversed in the sheath and the retention strap can be reversed also by spinning ona rivet.
|
|
|
|
[#12]
Look how bad the stitching on this second BOB is. This is before I started punching the holes out one oayer at a time. Looks like garbage and it also demonstrates why I should have practiced on a garbage scrap piece instead of that nice looking gray piece I defiled.
|
|
|
|
[#13]
The first BOB and the Tahoma I cheated by using black line on black leather because it doesn't make the mistakes stand out as much with the stitching. I really should have taken more time doing that second BOB so that the contrast between colors would be a positive thing instead of a negative. Look at how the third Izula sheath showcases the white stitching against the black leather. Like I said earlier these sheaths are good from a functional standpoint. I suspect that as you make them you'll always be aware of the flaws and just have to be mindful and pay enough attention to detail not to create the same ones twice. It wasn't until I did these last three Izulas this weekend that I finally figured out the best way to lay out the stiching and fit each piece individually makes the difference.
|
|
|
|
[#14]
|
|
|
|
[#15]
|
|
|
|
[#16]
They are getting more refined with each new project. Looking good. I'd love to be able to make my own leather goods and admire your initiative. May try it myself at some point.
|
|
|
|
[#17]
Start with something small like an Izula because they won't take as long and you'll get more mileage out of a bag of scraps since there aren't as many big pieces as little ones.
|
|
|
|
[#18]
Finished! Since a second lower quality version was no longer needed, I chopped off the top half to make it a more specialized either for horizontal carry or attaching to a pack strap.
|
|
|
|
[#19]
Regarding stitching...
Ditch the speedy awl. If you want clean stitch lines invest in a stitching groover, an overstitch wheel and a stitching pony. Layout your pieces and use the the groover. I've always used 1/8" or 1/4" from the edge of the sheath depending on how thick the overall piece will be. Follow the edge of your piece and allow the groover to cut a light channel in your leather. Use your overstitch wheel to lay out the points of your stitches. There are several different sizes but I find that 5 or 6 stitches per inch does most of my chores pretty well. Now.. Here comes the part some will find sacrilege.... Get out your dremel and chuck in 1/16" bit. Drill out your stitching holes. Once all holes are drilled out, assemble you front, back and welt. I generally use a very light amount of contact cement. Just enough to hold them together while lining up my drilled holes. Place glued sheath in your pony and using harness needles and thread, stitch the piece using a saddle stitch. Back about 20 years ago, Dusty Johnson wrote an article in Leather Crafters and Saddlers Journal about breaking with tradition and using a drill to create stitching holes. If I recall, he tested the strength of stitches created using drilled holes versus traditionally stabbed awl holes. The drilled holes held up to more stress.. Also he mentioned that the only reason old saddlers used an awl is because they didn't have a drill. |
|
|
|
[#20]
I don't use the awl to punch through the leather. I just use the speedy stitch to run the stitching throught holes I have already mad. I bought a $12 leather punch to do the holes themselves. I initially tried using a Dewalt drill but it made an awful mess to clean up.
This week I'll be making a sheath or two or three for an ESEE 5 for my nephew. First step is to go back to Hobby Lobby and get larger scraps tonwork with because I don't have enough large pieces left after the Tahoma project. |
|
|
|
[#21]
|
|
|
|
[#22]
I've never used a speedy stitch.
I've always used a saddle stitch, using two needles. Each stitch I'd essentially a lock stitch. As for leather, do you have a Tandy store close by? I've always had good luck picking up double shoulders in person. Last year I got two at $40 each. That's enough leather to make all the sheaths I'll ever need. |
|
|
|
[#23]
As far as I know just Hobby Lobby, but I'm not far from Chicago so there is probably a better option within an hours drive.
|
|
|
|
[#24]
Quoted:
As far as I know just Hobby Lobby, but I'm not far from Chicago so there is probably a better option within an hours drive. Elgin, IL #28 1041 Davis Rd Elgin, IL 60123 Manager: Dan Wegert [email protected] Phone: 847-289-5227 Fax: 847-289-5243 Toll Free: 800-836-6853 Store Hours: Monday-Friday: 9am - 6pm Saturday: 9am - 4pm Sunday: Closed |
|
|
|
[#25]
Elgin isn't real close to where I live. Googling leather supplies in Chicago took me to some fairly deviant websites that seemed innocent at first.
|
|
|
|
[#26]
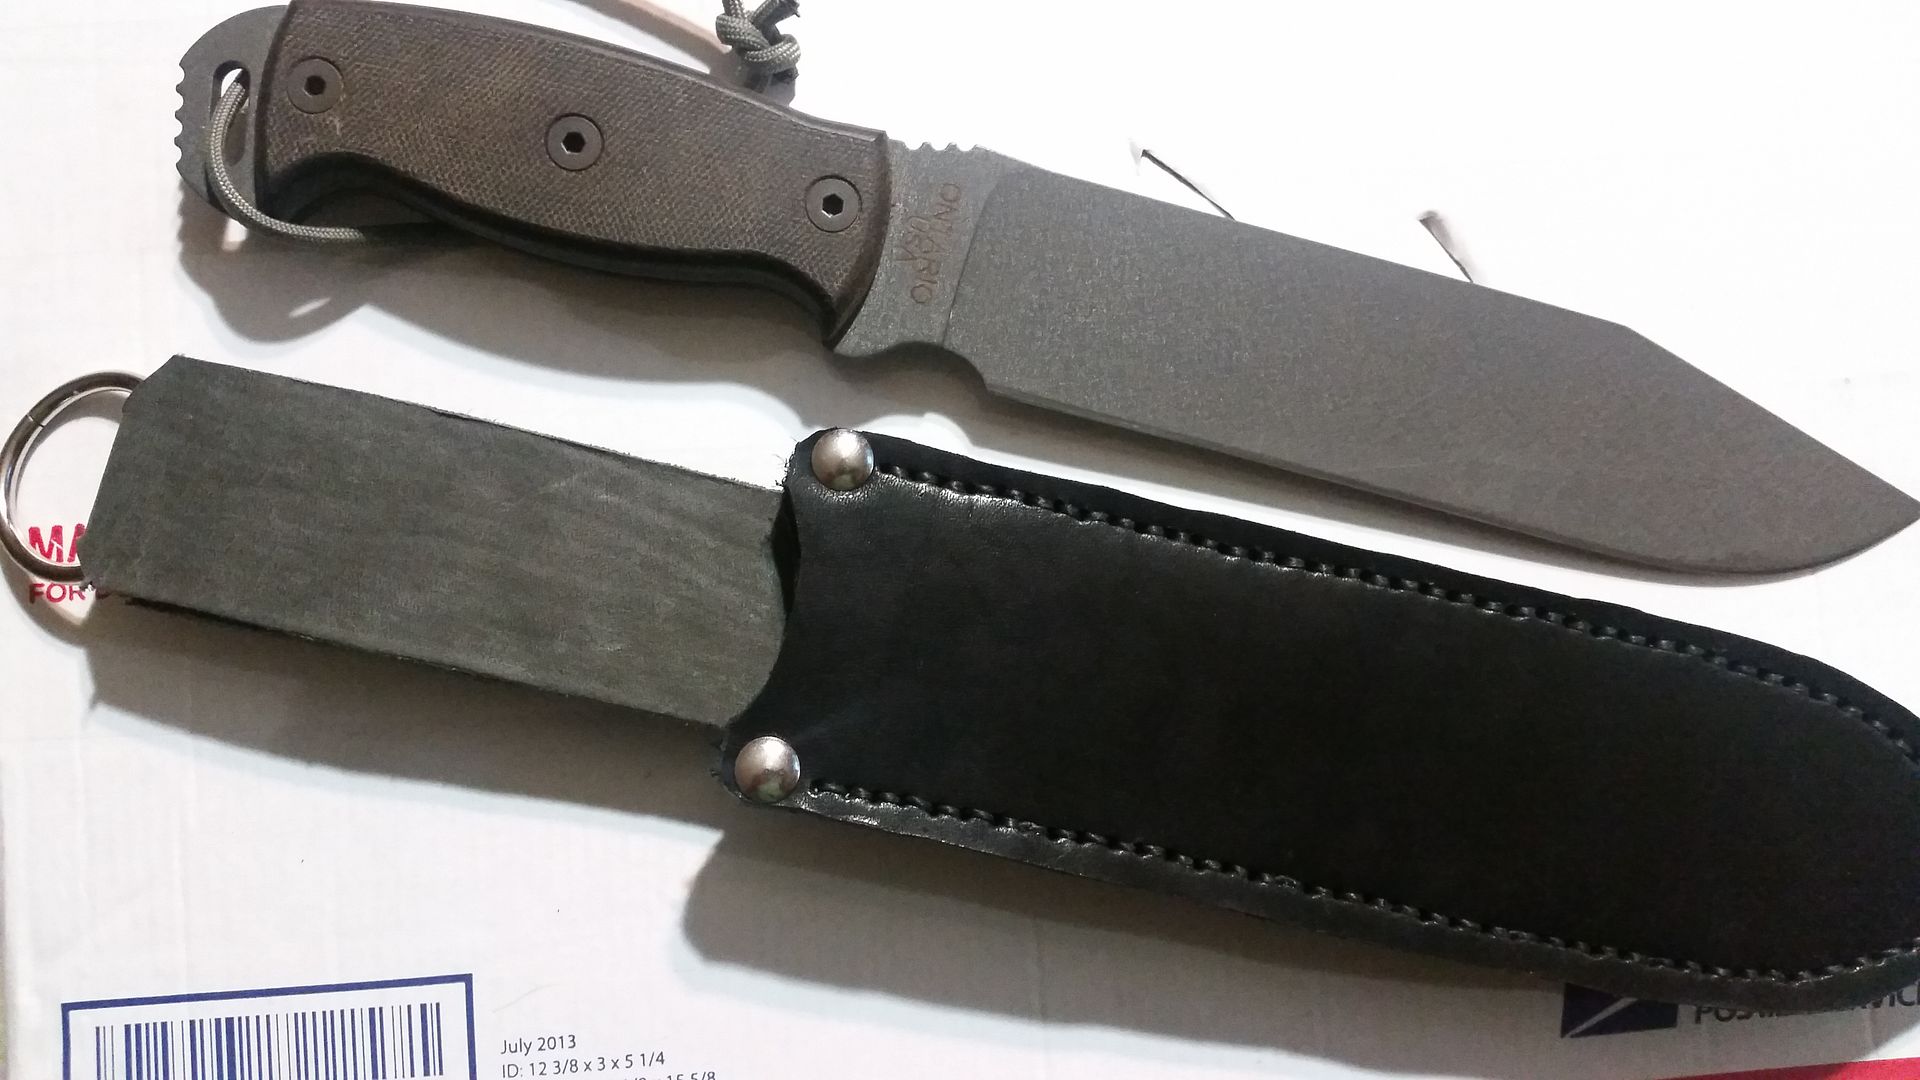
2nd ESEE 5
I was really happy to notice that you can buy ESEE knives considerably cheaper if you buy the knife without a sheath. $44 difference on an ESEE 5. |
|
|
|
[#27]
Interesting work fellas. I will check out the local Hobby Lobby and see what comes to mind.
|
|
|
|
[#28]
Thanks for the compliments guys! I'm letting my subscription lapse tomorrow so this will be my last entry, it's a SOG Tigershark that I'm not quite finished with and it was rushed so the stitching is not so good, but still functional. Just needs a thumbstrap, maybe even two.
|
|
|
|
[#29]
  
|
|
|
|
[#30]
I let my subscription run out but it looks like I lost my perks not my login, I'll see if I can post pics of the finished SOG sheath later.
|
|
|
|
[#31]

|
|
|
|
[#32]
Turns out Hobby Lobby also sells some exotic type scraps too. I found a piece of Alligator leather big enough to use on at least two sheaths. It's very thin so first I have to glue it to another piece of leather to make it thick enough to use for a sheath. I'm hoping to get and ESEE 5, a BOB, and another Izula out of it.
|
|
|
|
[#33]
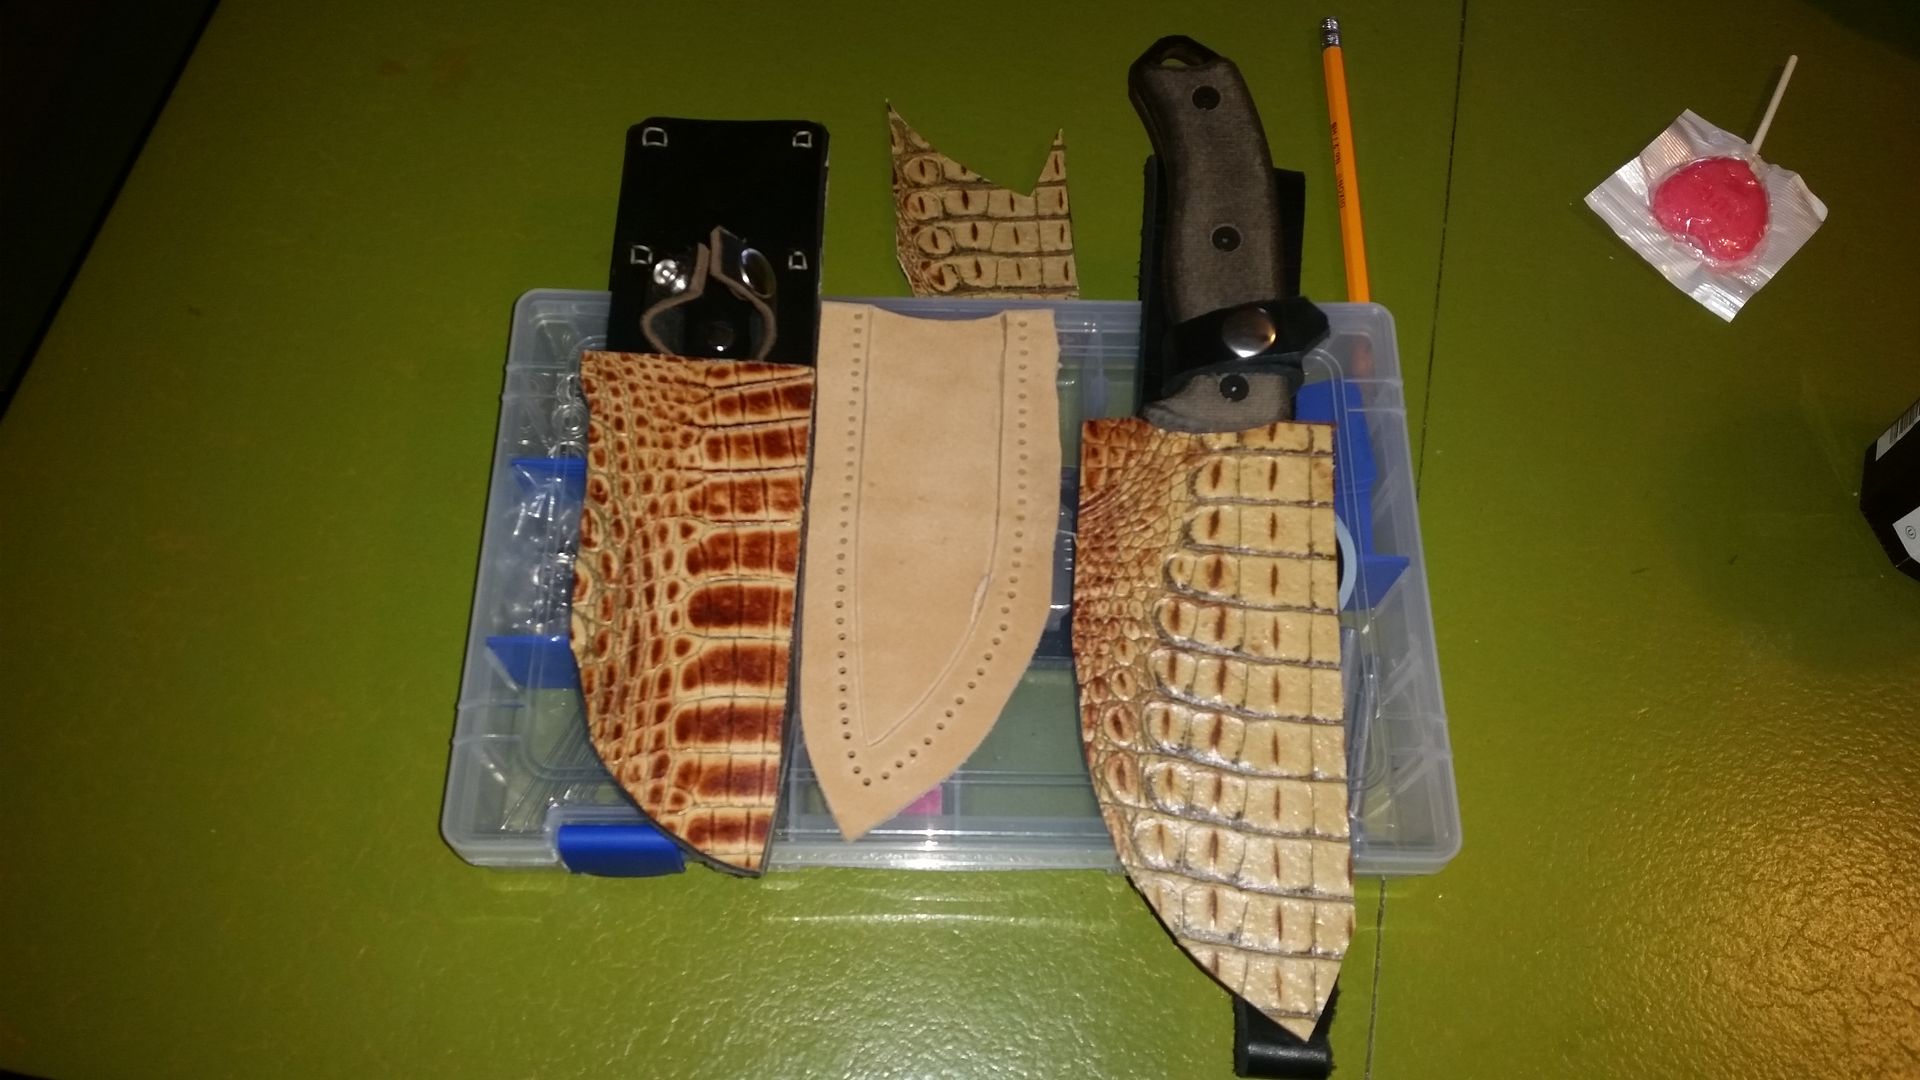
I still have to find some more color matching leather poeces to make the sheaths but this is the rough face pieces. Unfortunately there wasn't enough left to make an Izula. |
|
|
|
[#34]
Reality was a google away. This is most likely Alligator embossed cowhide as I just saw many examples when looking to find more gator leather.
|
|
|
|
[#35]
I'll finish this tomorrow, and I am certain I do not have enough color matching scraps to do the BOB.
|
|
|
|
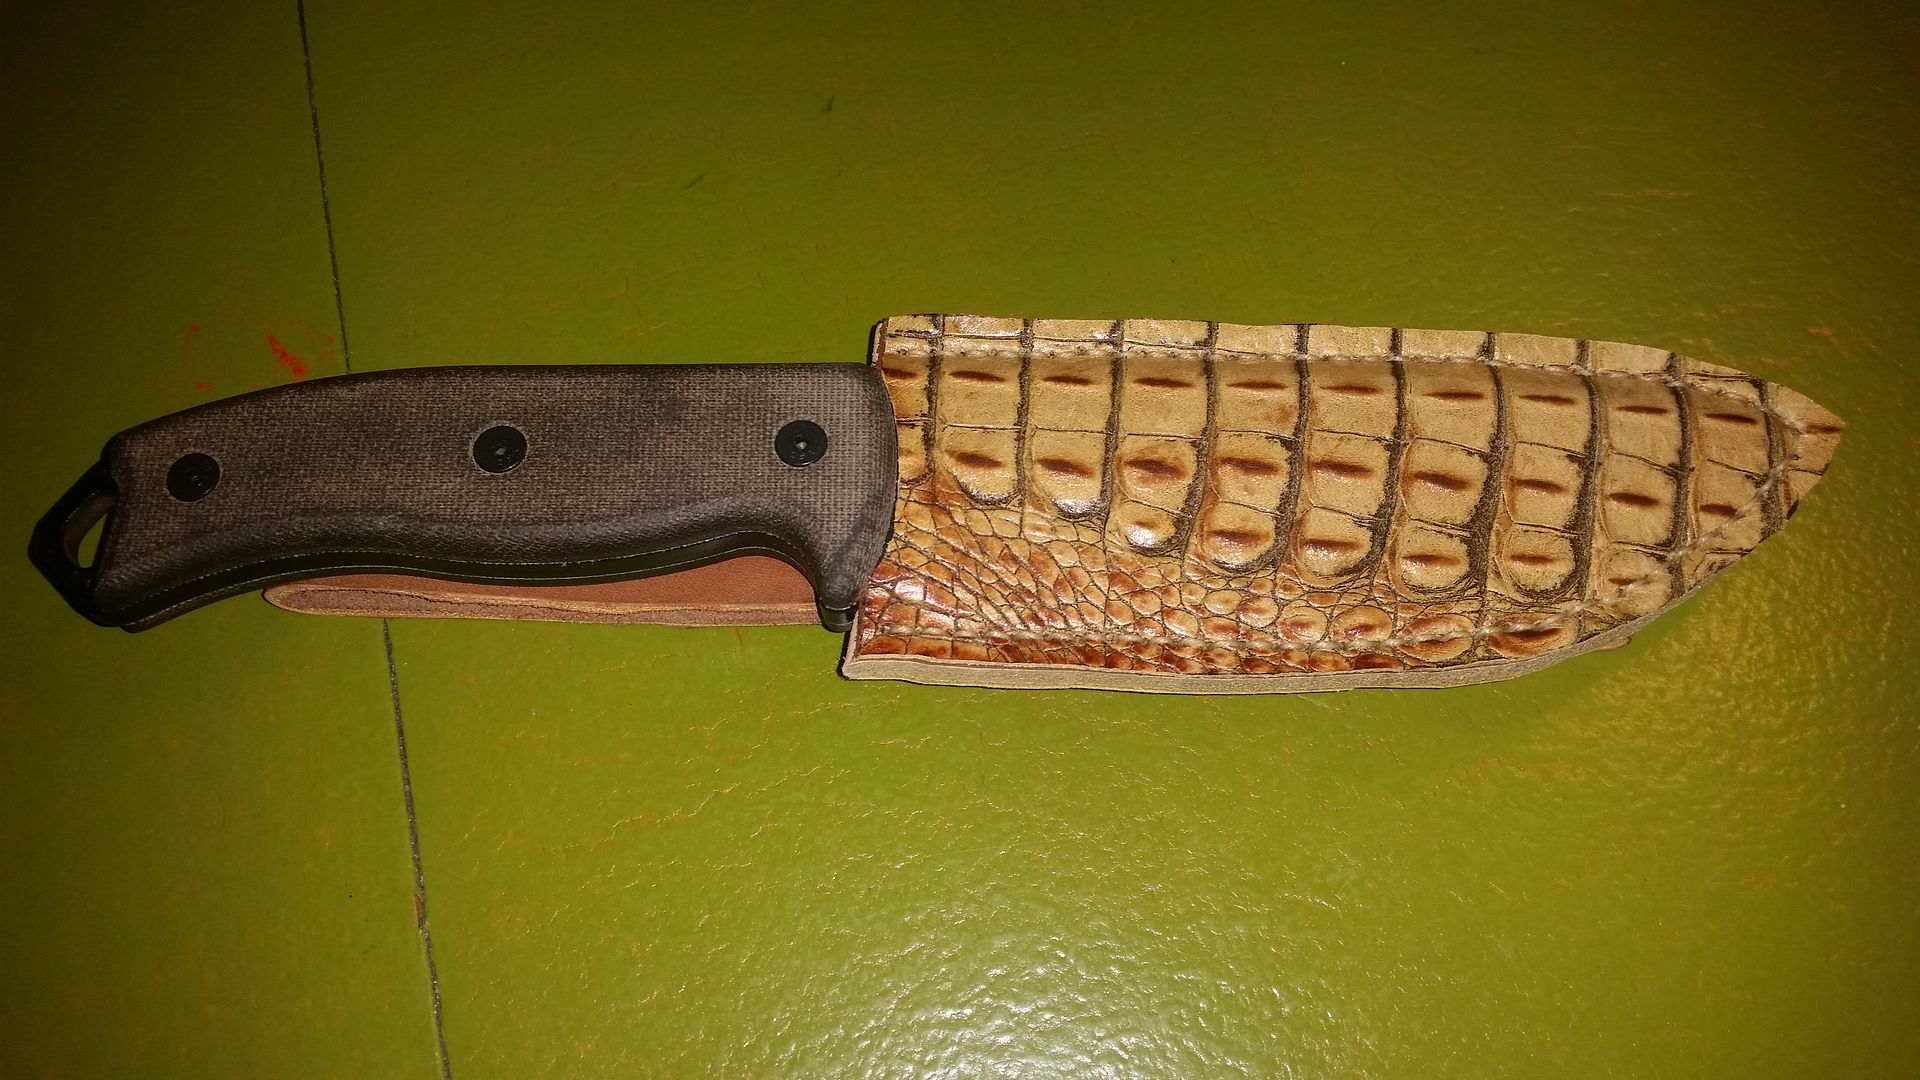
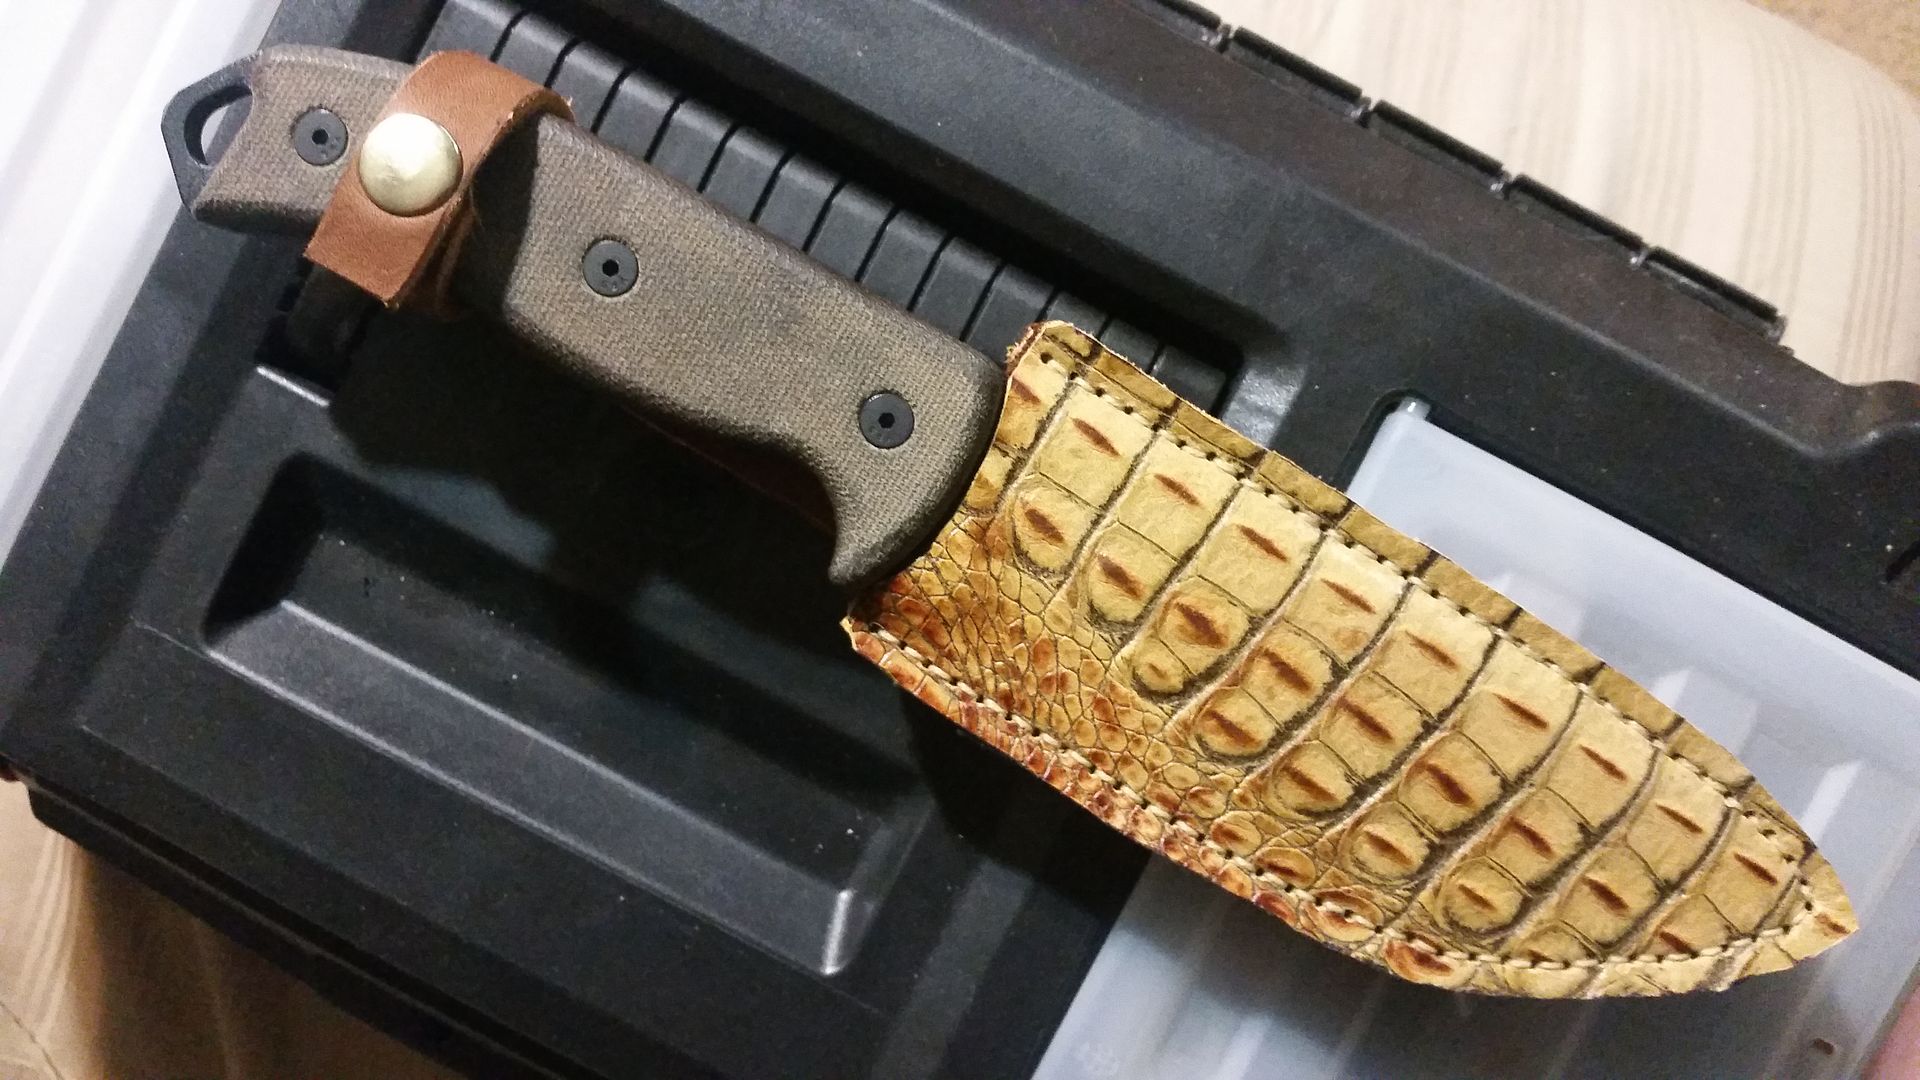
[#36]
Finished!
|
|
|
|
[#37]
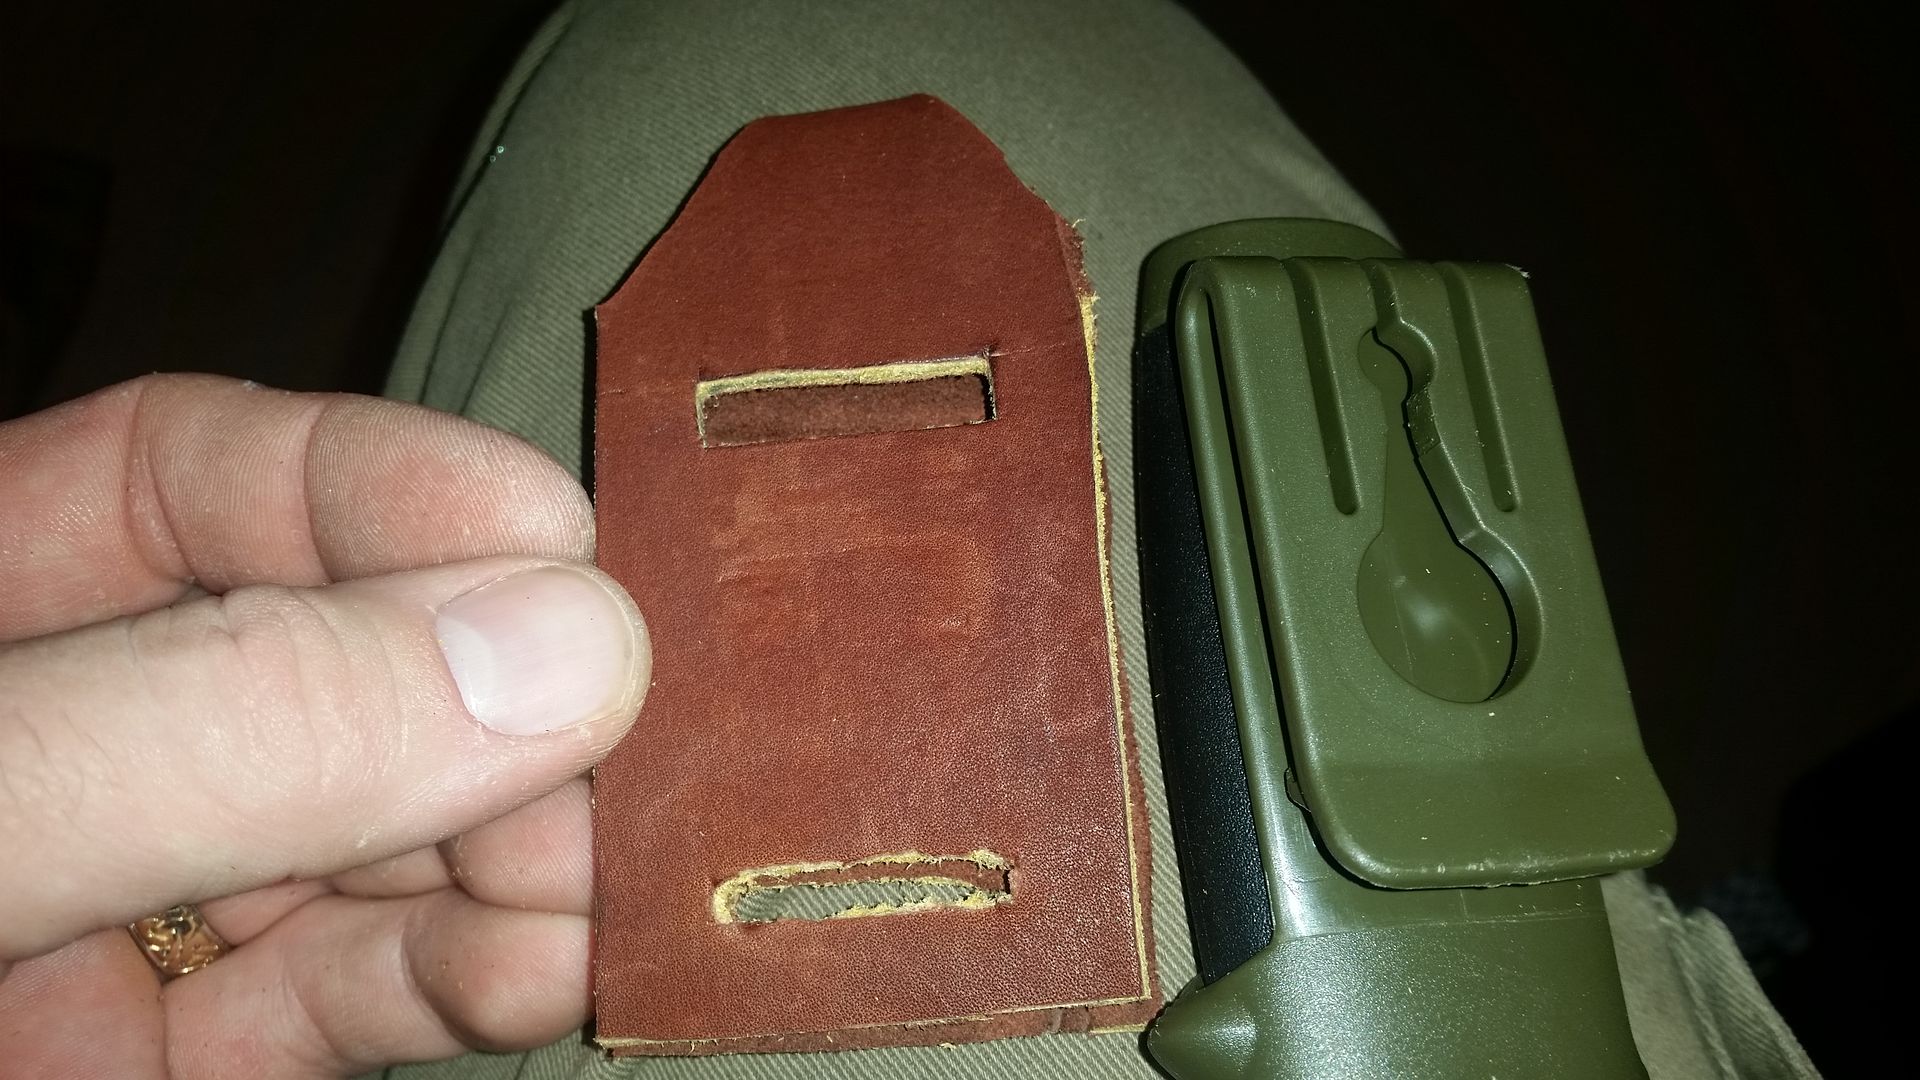
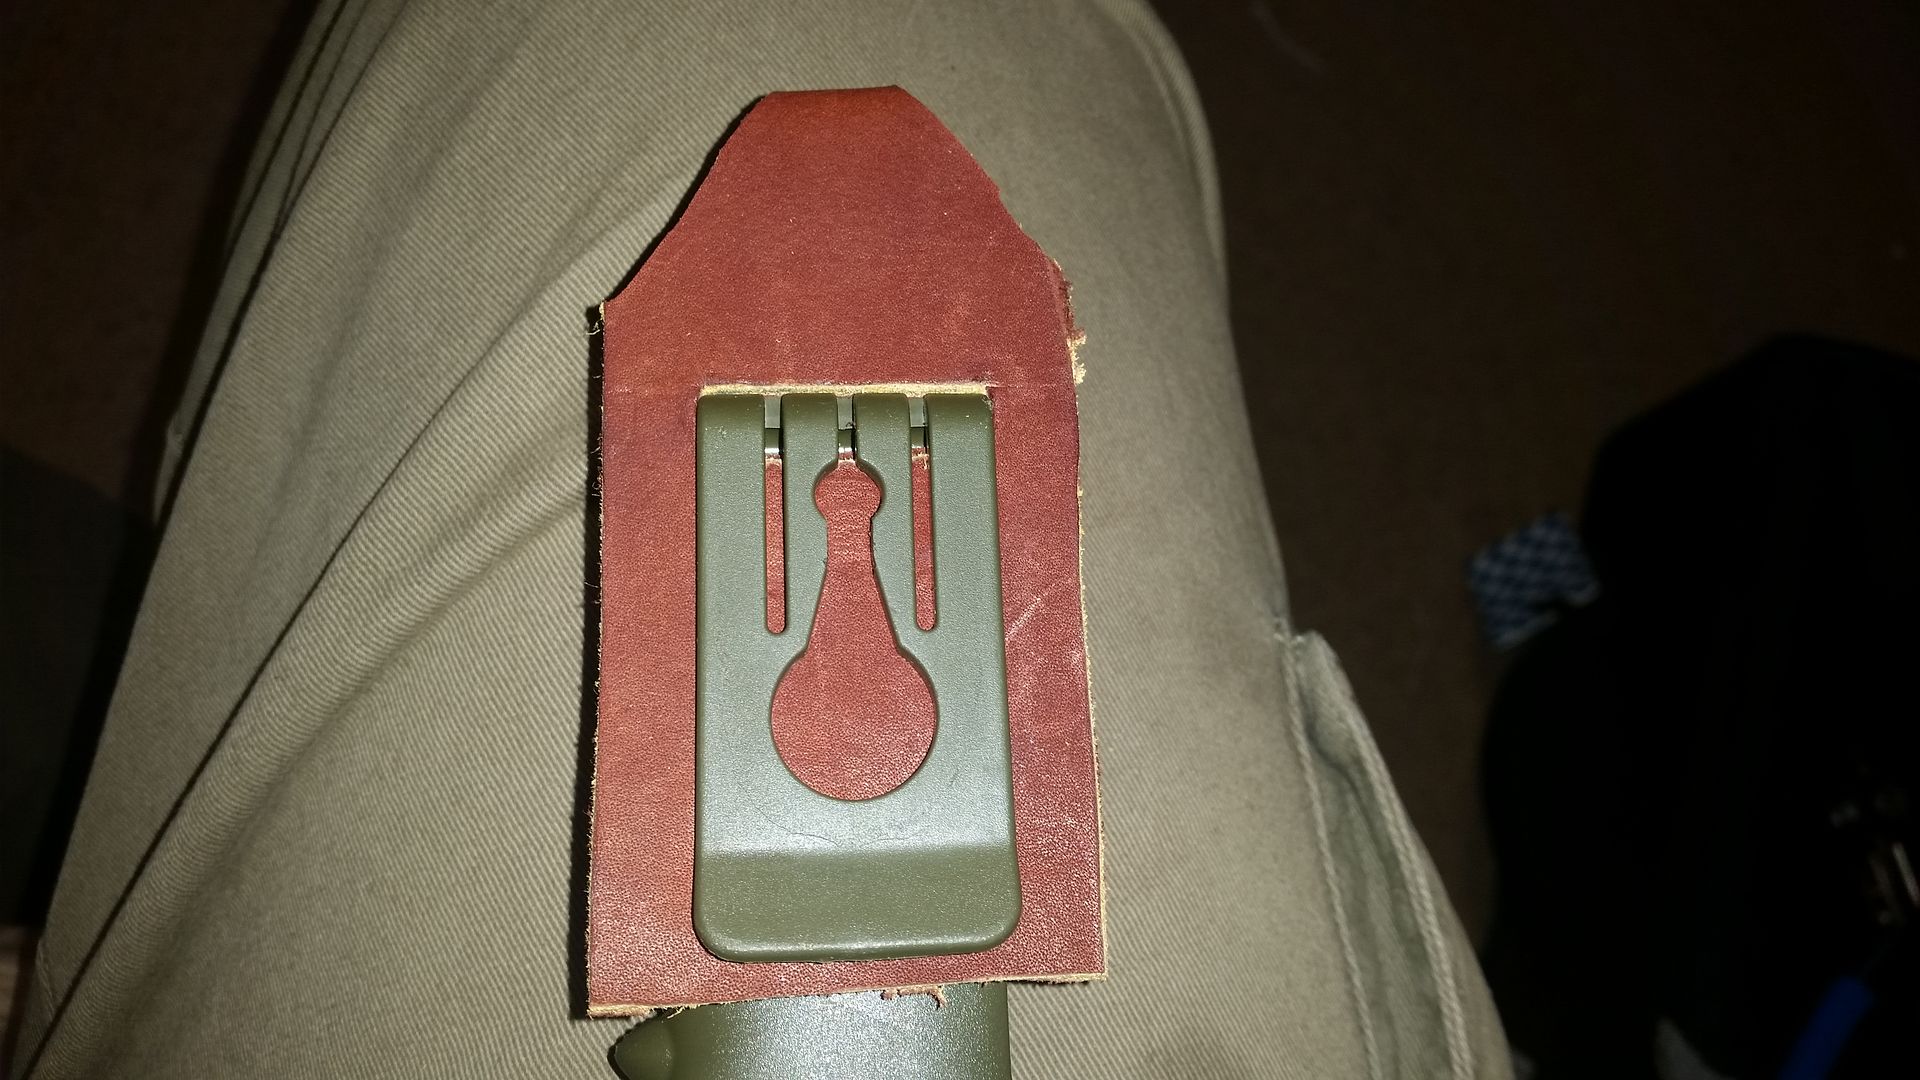
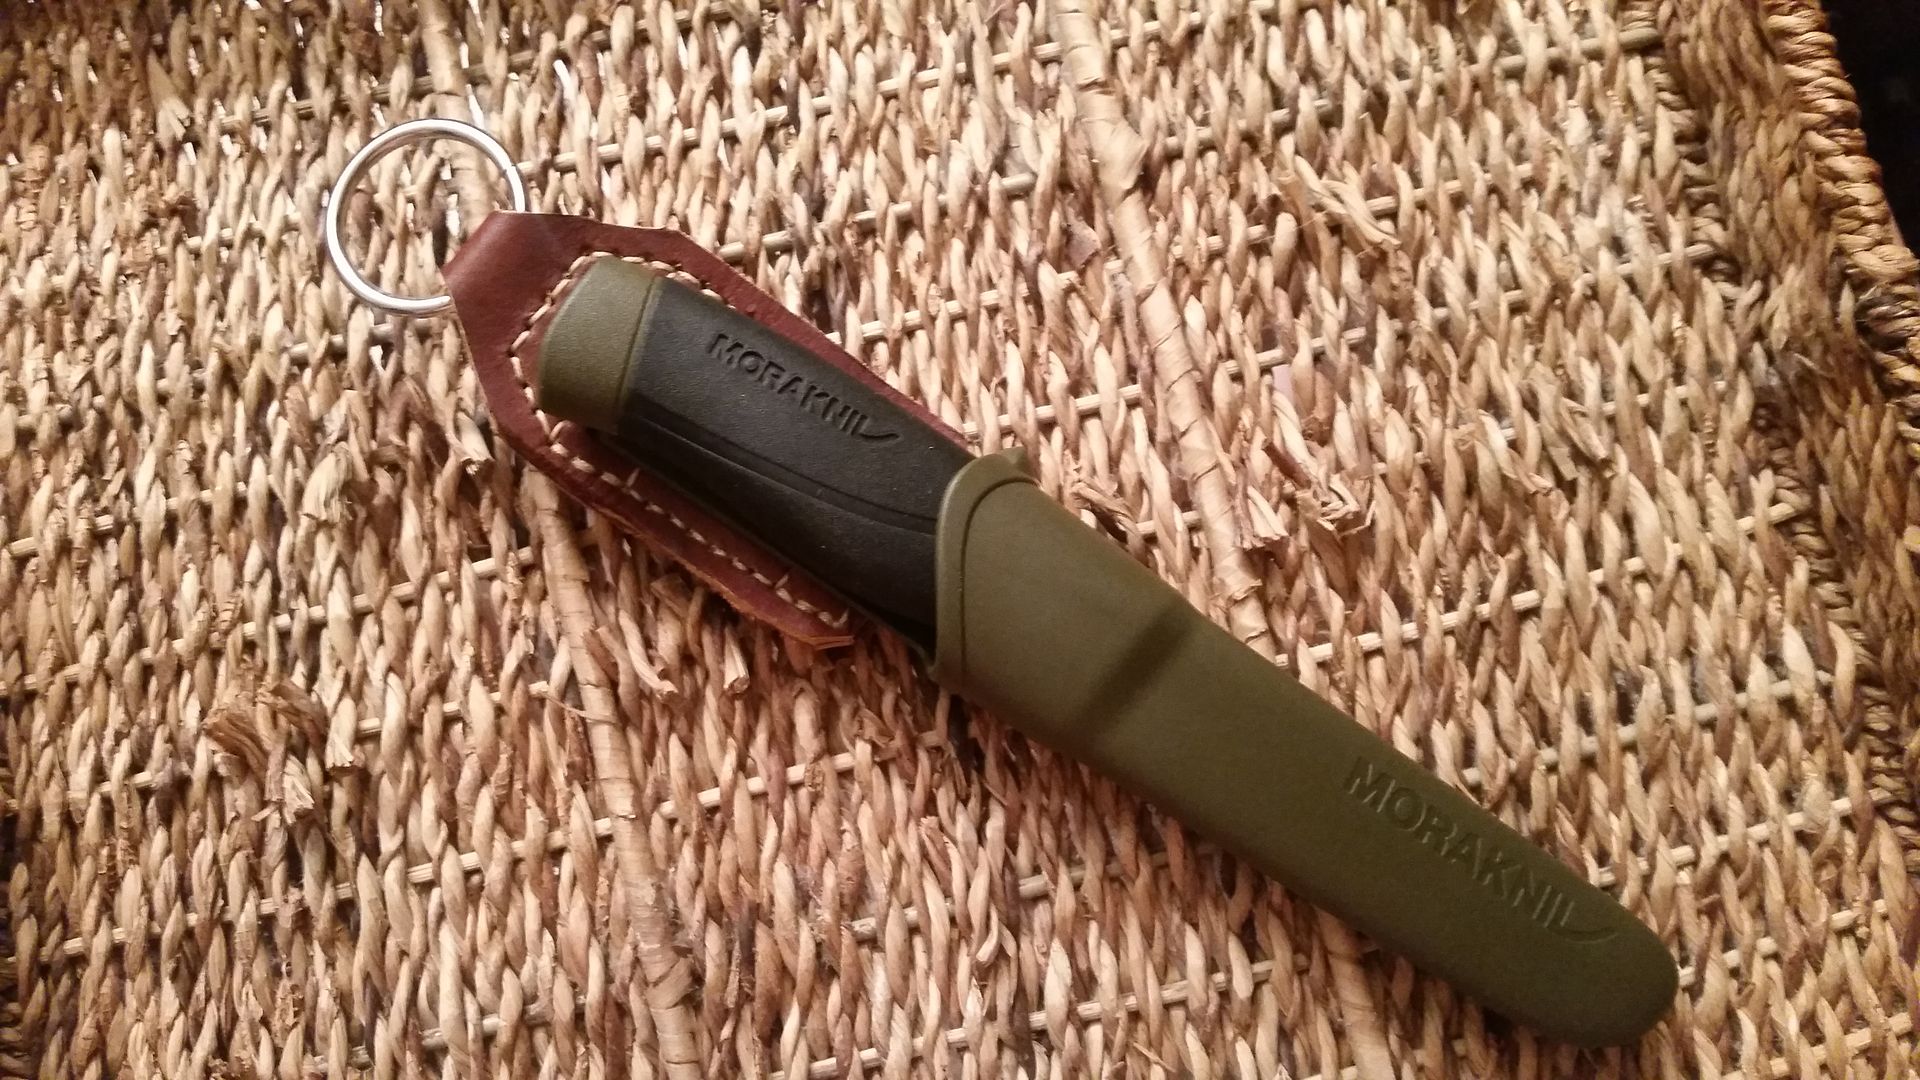
Next up is a request from a friend to make him a dangler sheath for his Mora. As I plotted designs two things occurred to me. The first was that Moras snap into their sheaths kind of like Tupperware and the second was that why make a nice leather sheath for a Mora? So instead of a sheath, why not a dangler adapter? I need to get a good ring for it and then make the strap for the belt but it should work out pretty good.
|
|
|
|
[#38]
And yes it will have a bunch of stitching in it to hold it together and make it stronger.
|
|
|
|
[#39]
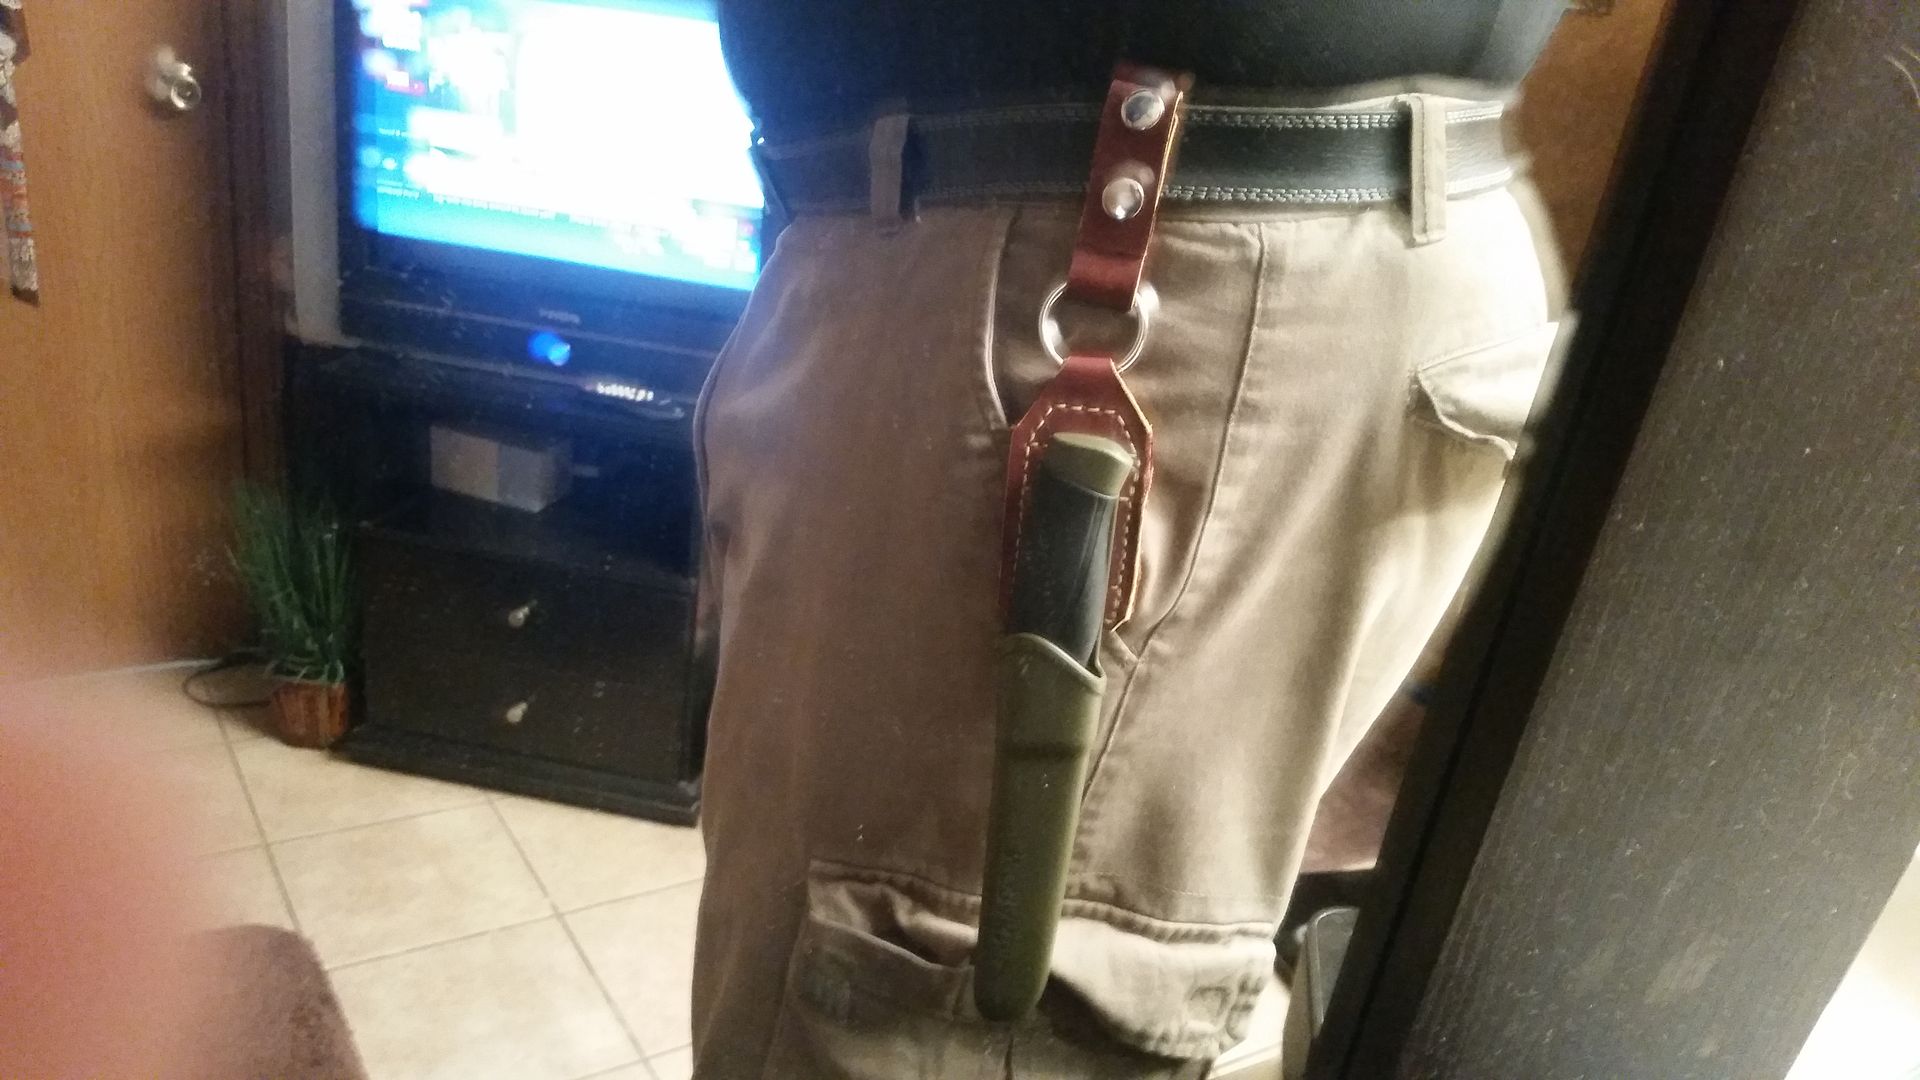
 Went shooting last night so I didn't get to finish it but I will get it done later. Went shooting last night so I didn't get to finish it but I will get it done later.
|
|
|
|
[#40]
Bought a $10 bag of leather scraps yesterday. Only project in mind right now is to modify, slightly, an IWB holster.
The bag feels like it weighs 4 or 5 lbs. Several pieces big enough to make a knife sheath from. |
|
|
|
[#41]
Quoted:
Bought a $10 bag of leather scraps yesterday. Only project in mind right now is to modify, slightly, an IWB holster. The bag feels like it weighs 4 or 5 lbs. Several pieces big enough to make a knife sheath from. |
|
|
|
[#42]
Done!
Pardon the bad pic it was a funny angle to get a shot of it. |
|
|
|
[#43]
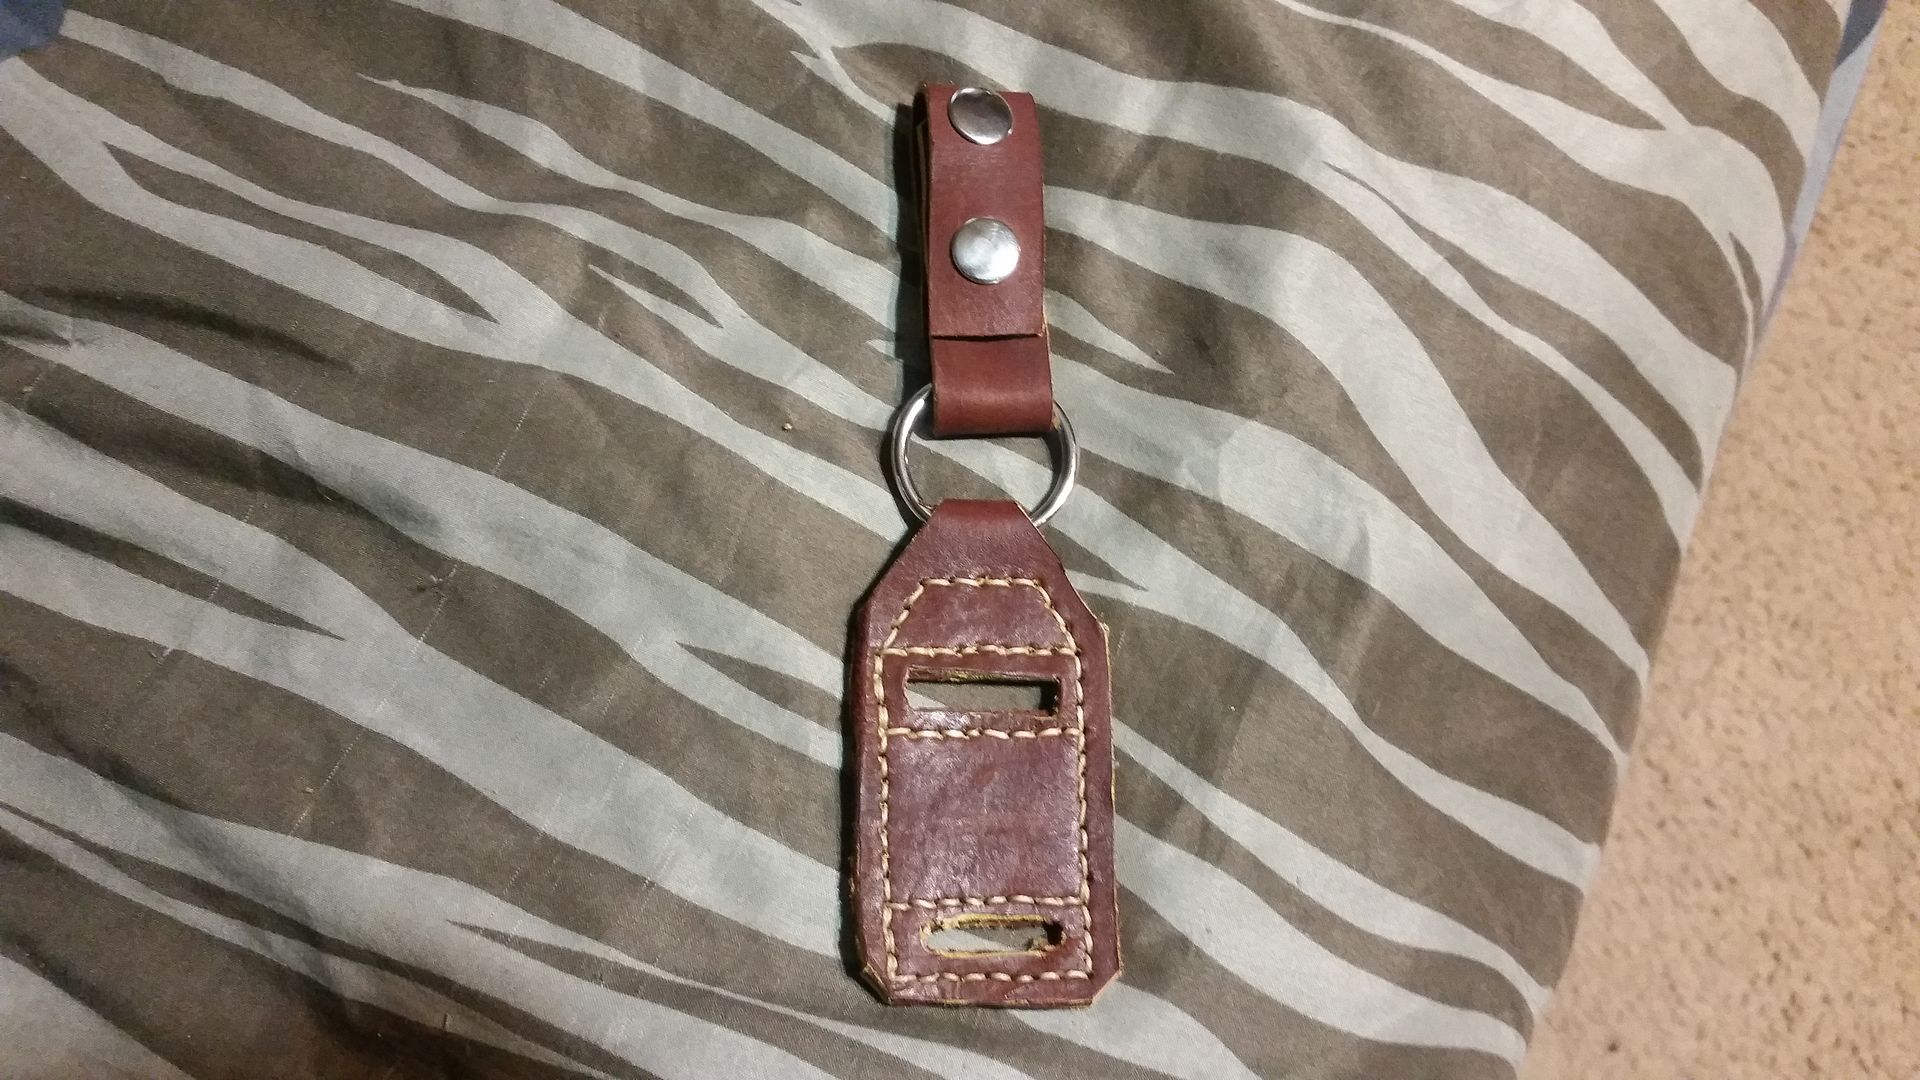
The small rivet was put in so that the ring and sheath don't automatically fall off your hip if the buttons come unsnapped. 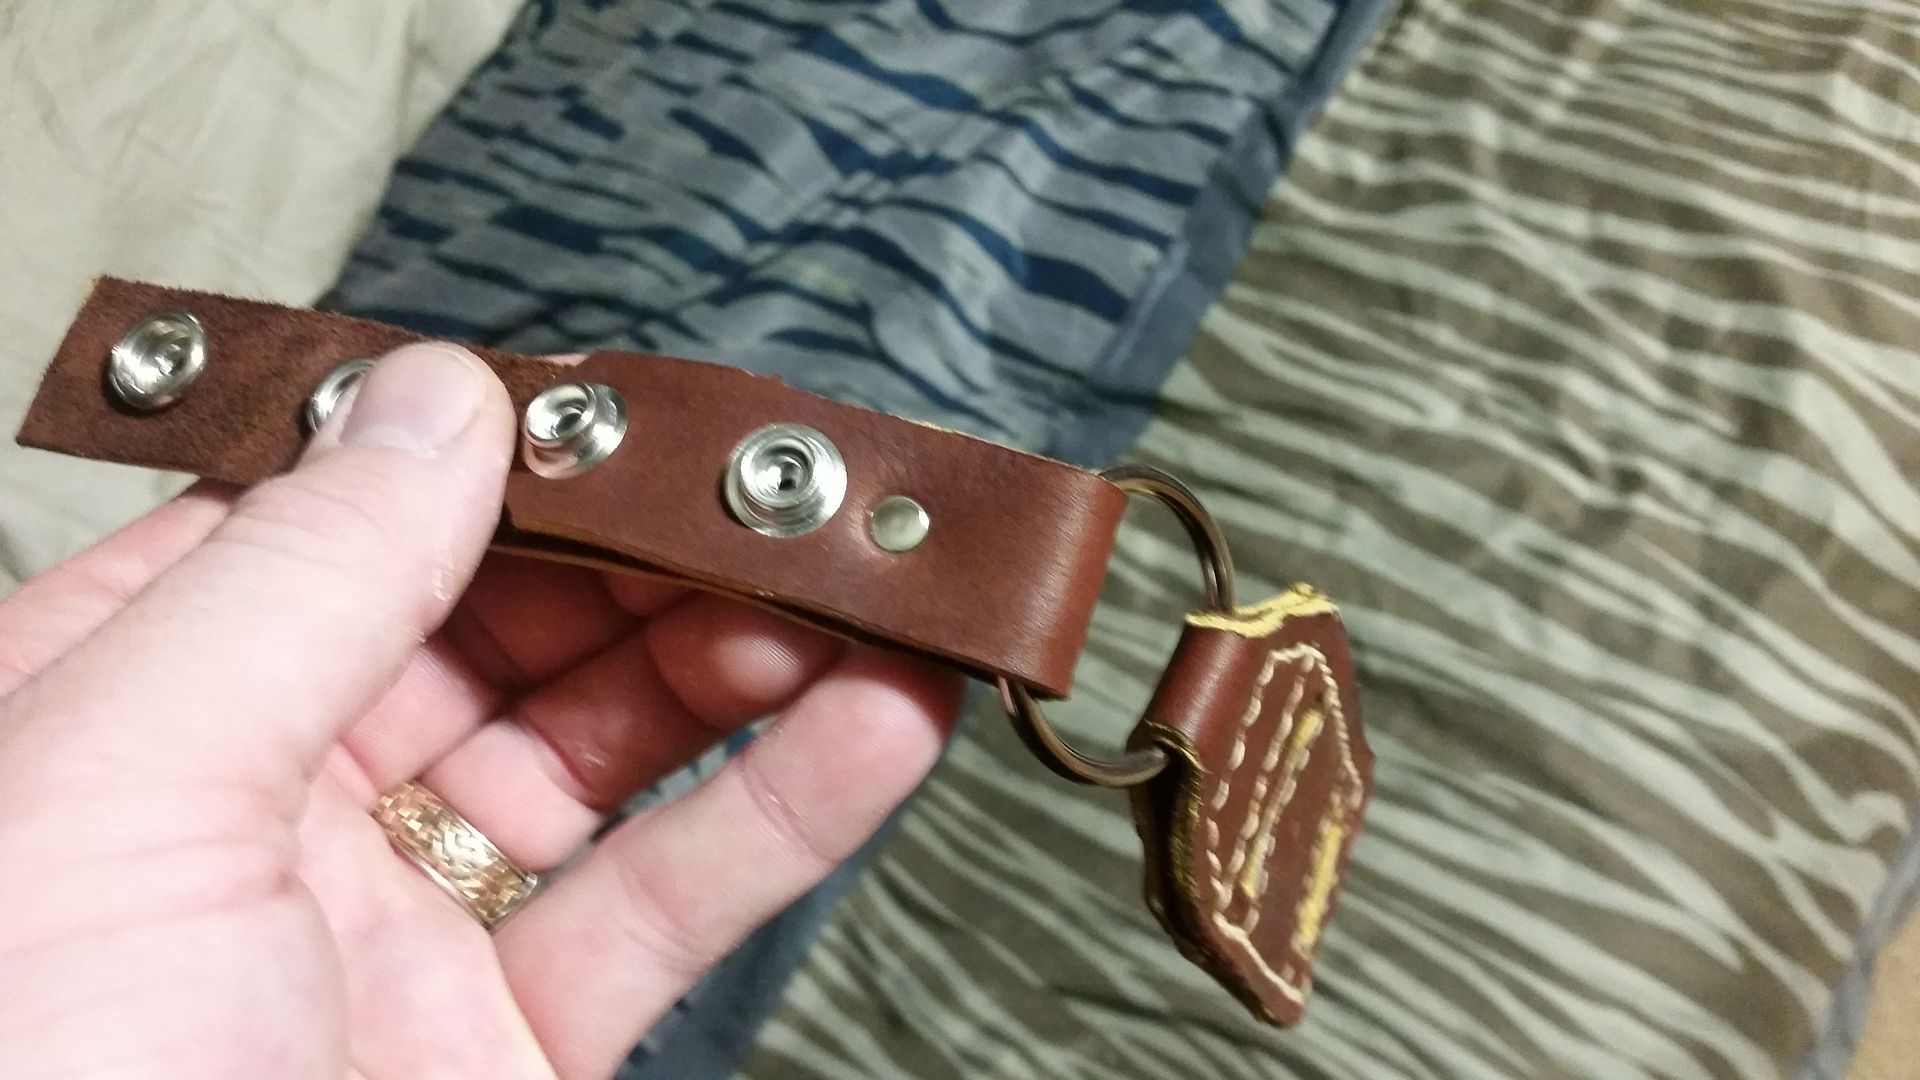
|
|
|
|
[#44]
It's an ambidextrous kydex holster. It has holes on both sides for the belt clip and I'm going to use those holes plus a couple Chicago screws to put a piece of leather on the "inside" to protect my spare tire from the hammer on my CZ 75 Compact.
|
|
|
|
[#45]
LOL do what you gotta do brother!
|
|
|
|
[#46]
Look for bags of leather scraps for tack repair at the local farm supply store that sells saddles, bridles and so on. Light years better than the stuff from Hobby Lobby.
Mail order works, too - http://springfieldleather.com/ http://www.doublekleather.com/ |
|
|
|
[#47]
 The 2d link had some good stuff for future projects! Anyway I almost got a dangler made for my RD7 but I was short three line snaps to finish it. Back to Hobby Lobby. The 2d link had some good stuff for future projects! Anyway I almost got a dangler made for my RD7 but I was short three line snaps to finish it. Back to Hobby Lobby.
|
|
|
|
[#48]
Got home in time to work on the holster today. Opened the bag (lots of pieces that would work, some big pieces) and picked through the stuff. Grabbed a piece, drilled some holes in it in the right spots (had to take the other screws out of the holster first, to open it up a little and for alignment when drilling the holes in the leather.
Oh, got my Chicago screws in the mail yesterday, so I had those, it was time to start. Got the piece of leather attached to the holster at the top and bottom on the inside, against my tender skin. Works like a charm. Can't even tell that hammer is there and I'm carrying the CZ cocked and locked. I may modify a P07 kydex holster in a similar fashion tomorrow after I come back from the gun show. |
|
|
|
[#49]
Nice! Got pics?
|
|
|
|
[#50]
Those of you who voted "yes" please post some pics. I was hoping to see some first attempts by now.
|
|
|
 Win a FREE Membership!
Sign up for the ARFCOM weekly newsletter and be entered to win a free ARFCOM membership. One new winner* is announced every week!
You will receive an email every Friday morning featuring the latest chatter from the hottest topics, breaking news surrounding legislation, as well as exclusive deals only available to ARFCOM email subscribers.

AR15.COM is the world's largest firearm community and is a gathering place for firearm enthusiasts of all types.
From hunters and military members, to competition shooters and general firearm enthusiasts, we welcome anyone who values and respects the way of the firearm.

Subscribe to our monthly Newsletter to receive firearm news, product discounts from your favorite Industry Partners, and more.
Copyright © 1996-2024 AR15.COM LLC. All Rights Reserved.
Any use of this content without express written consent is prohibited.
AR15.Com reserves the right to overwrite or replace any affiliate, commercial, or monetizable links, posted by users, with our own.


