|
[#1]
|
|
|
|
[#2]
Tagged for great interest! I'd like to see this.
|
|
|
|
[#3]
You'll also need a razor knife, a 5/8-18tpi bolt and washer, and a painting of Willie Nelson on velvet is optional but highly recommended.
|
|
|
|
[#4]
How about taking an accelerometer along for the ride?
|
|
|
|
[#5]
Quoted:
How about taking an accelerometer along for the ride? I would, but I don't have one convenient. I may put together an instrumentation package for a later project. |
|
|
|
[#6]
This will be interesting.
|
|
|
|
[#7]
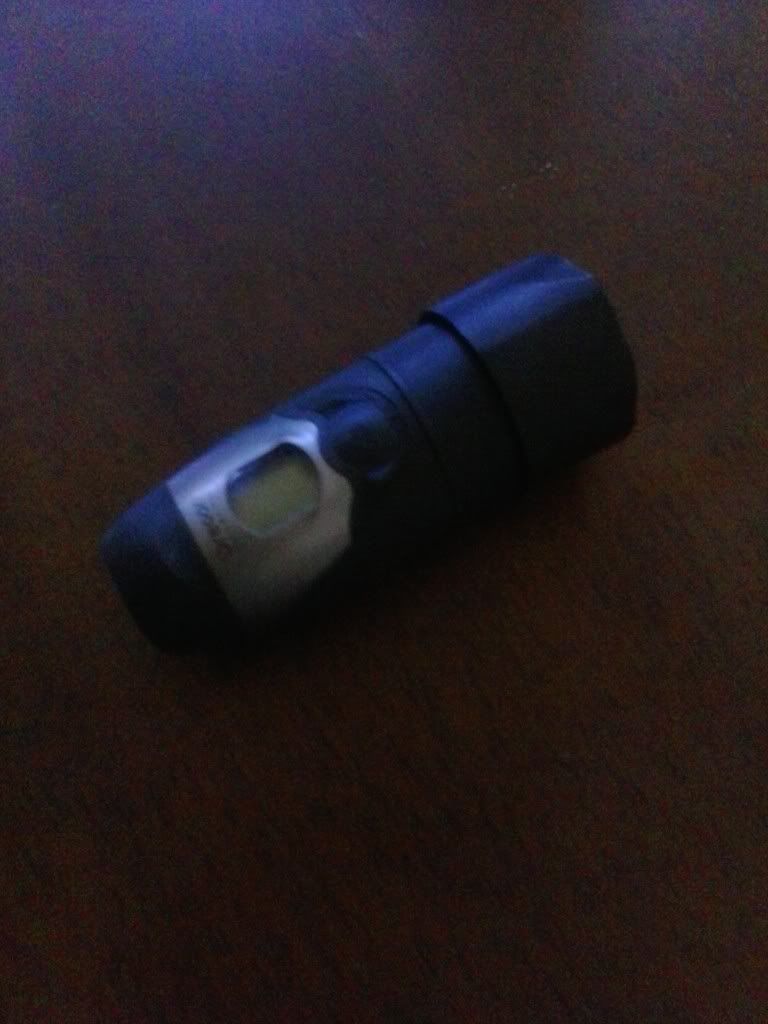
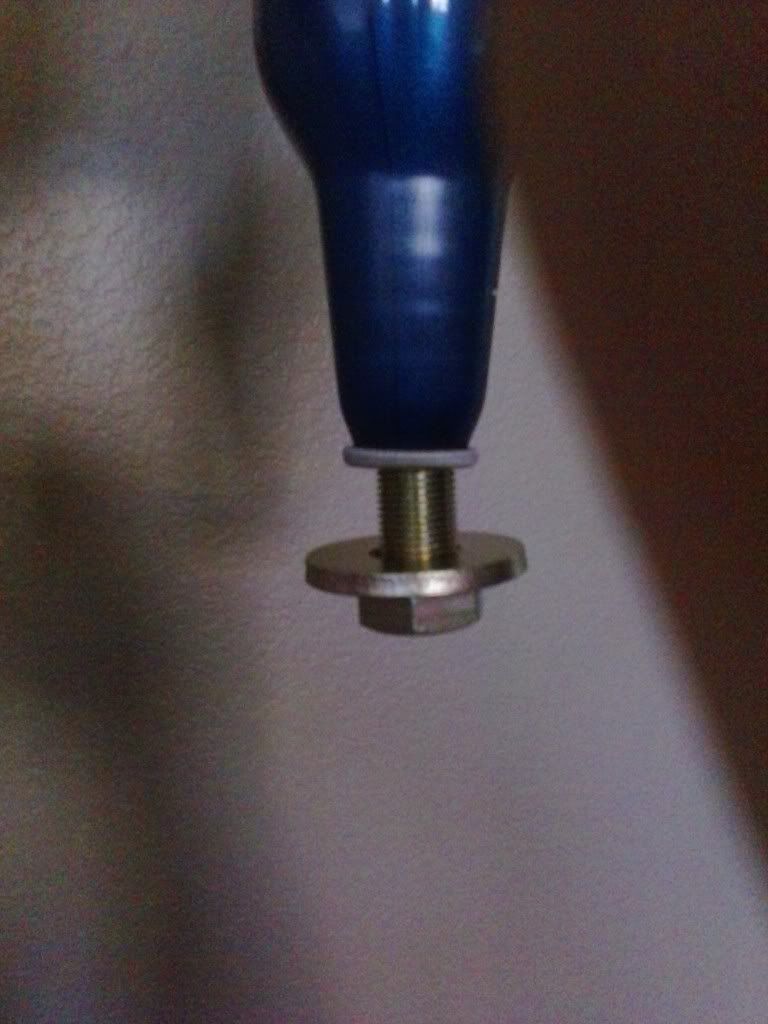
Here's the camera I'm using, Oregon Scientific ATC2K, it isn't HD and the frame rate kind of sucks, but I have a couple of them and they seem to be quite rugged and are waterproof. 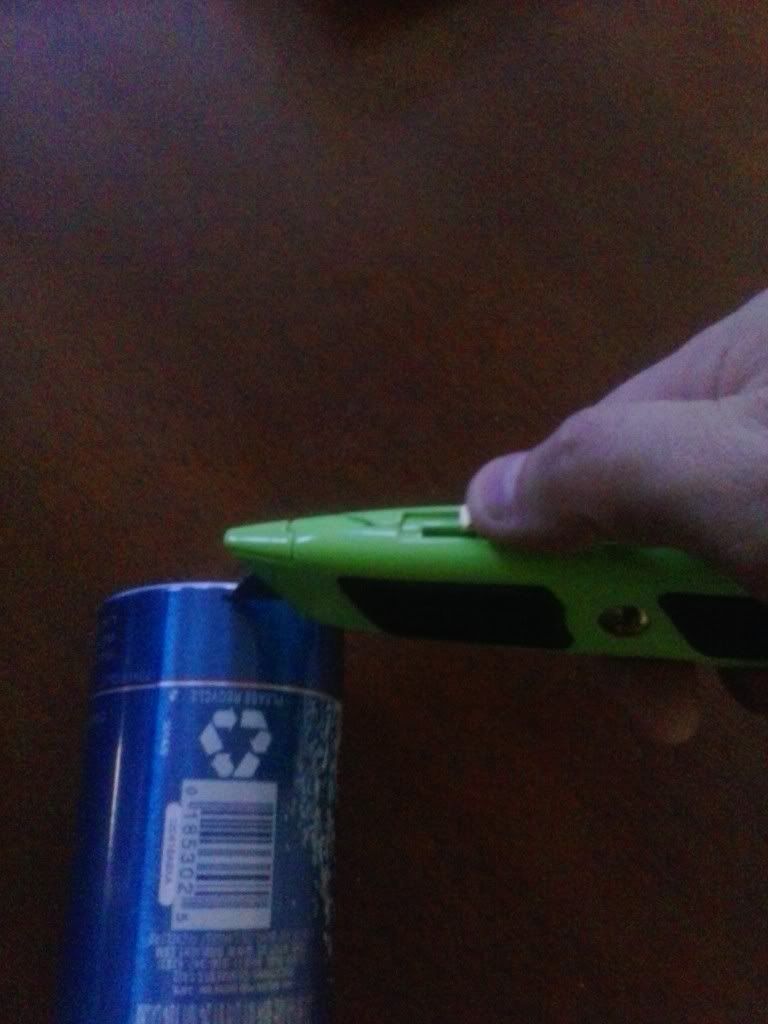
Cut open the bottom with a razor knife. 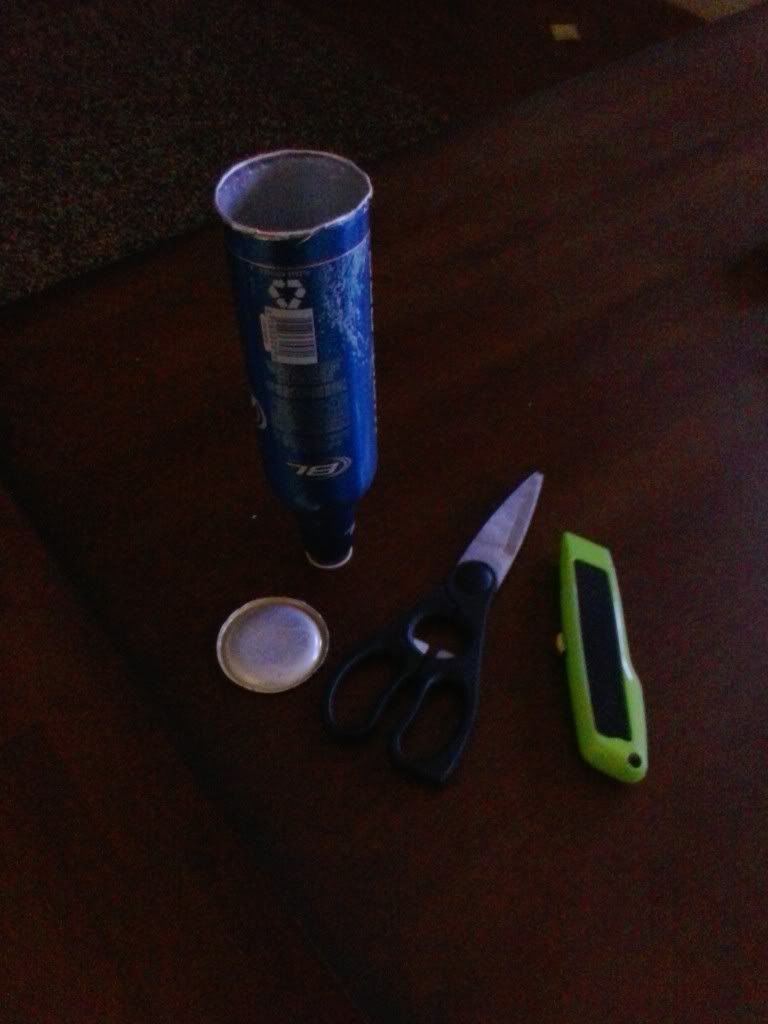
Clean it up with a pair of scissors for the time being. 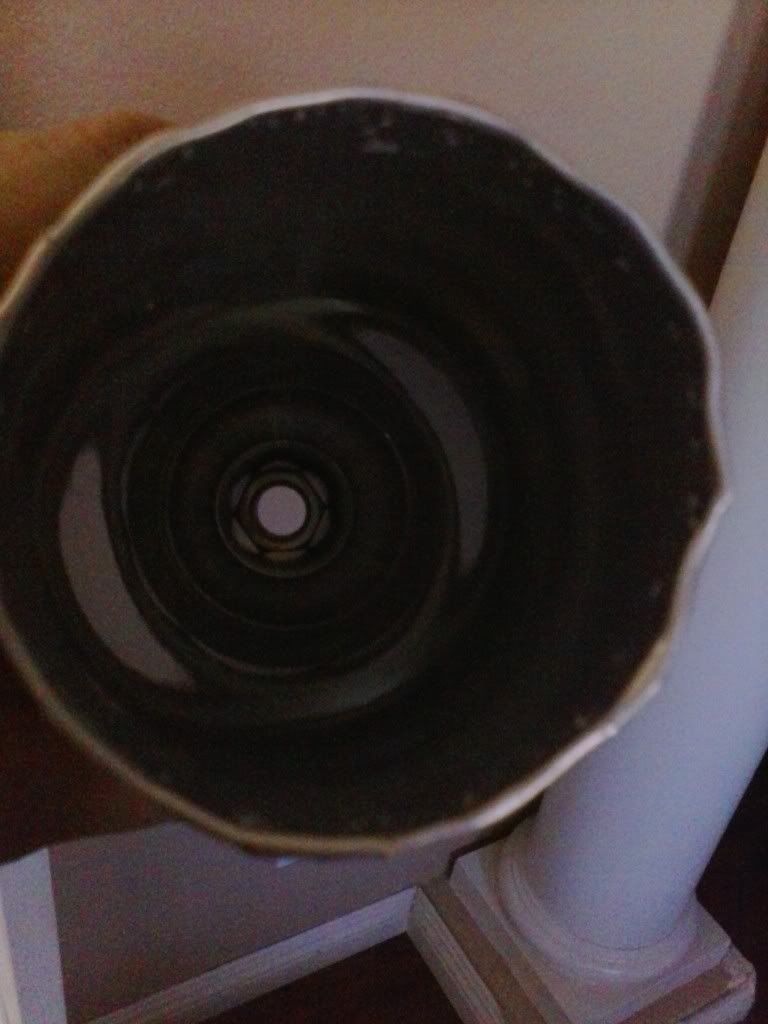
I dropped a 5/8 x 18tpi thin hex nut down to the neck of the bottle. You can find those at a local hardware store or at Grainger Grainger |
|
|
|
[#8]
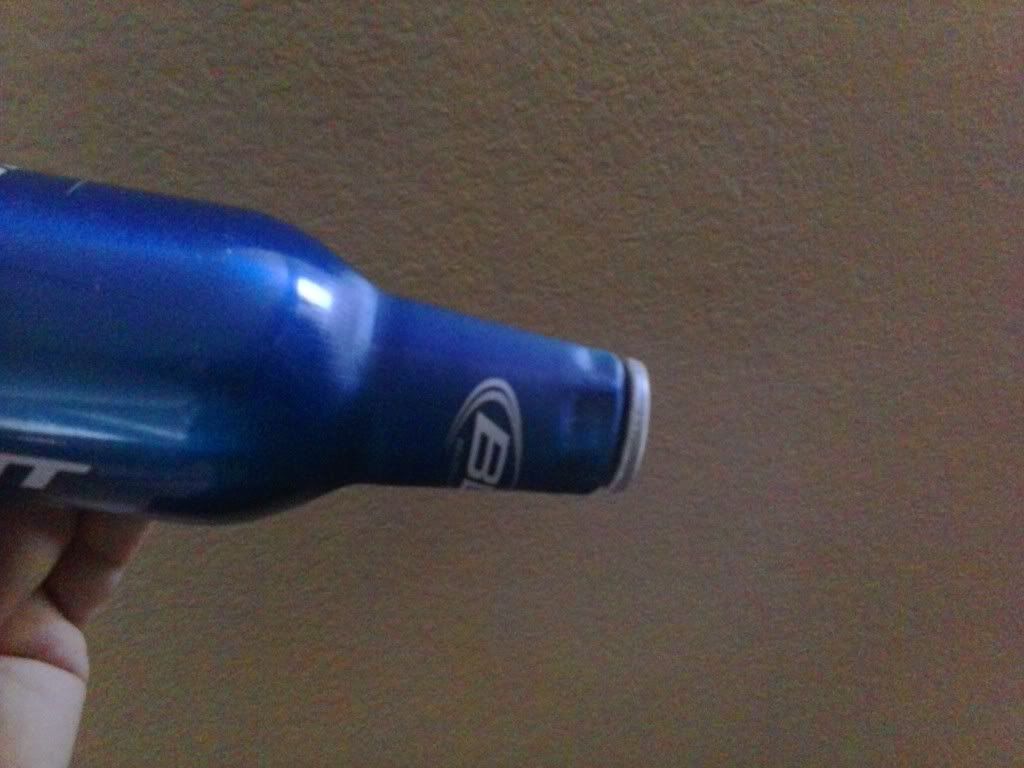
I picked up a 3in 5/8 x 18 bolt and think washer at the hardware store and used that bolt and washer to draw the nut into the neck of the bottle. 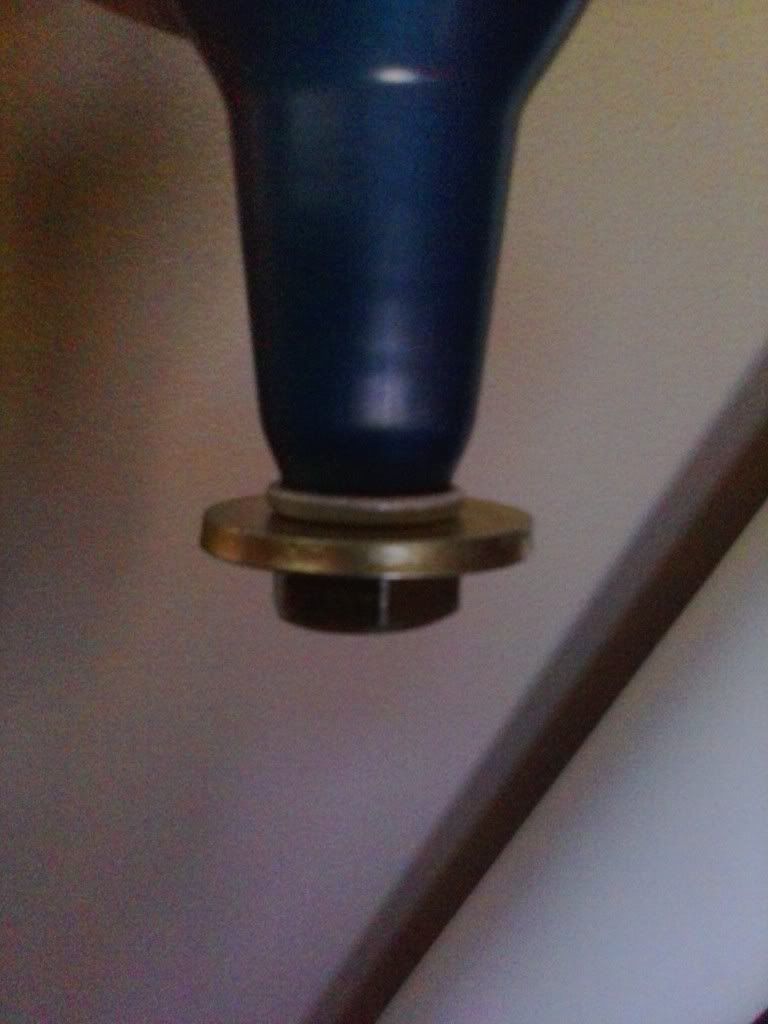
Before 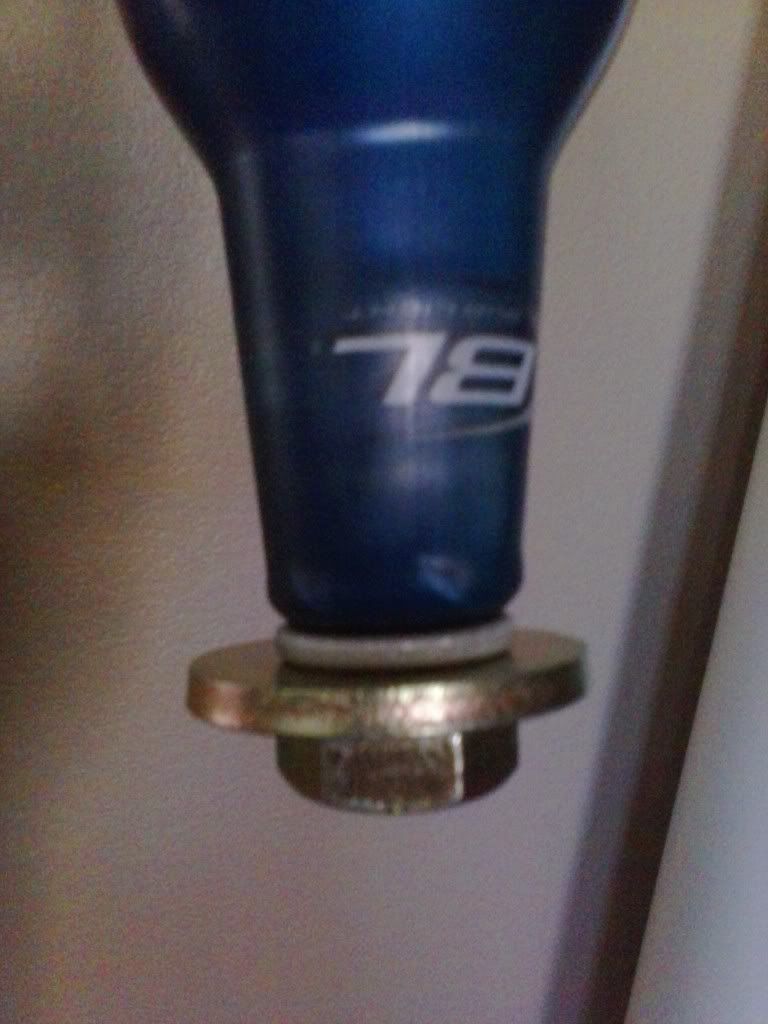
After 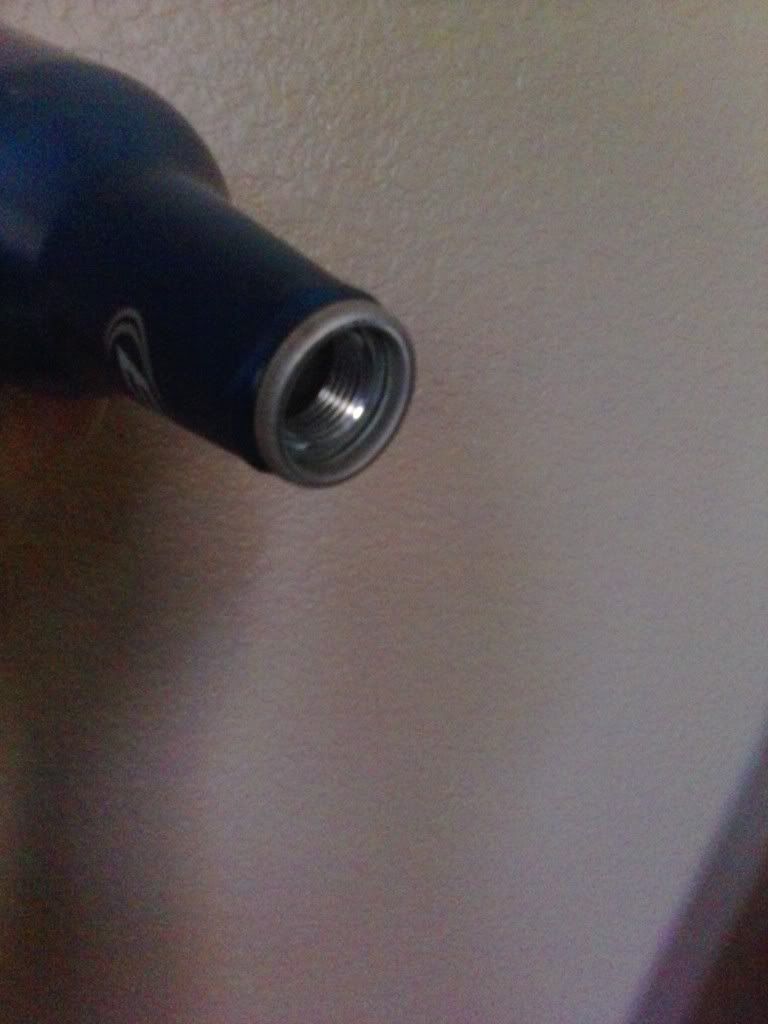
The nut drawn down into the neck of the bottle 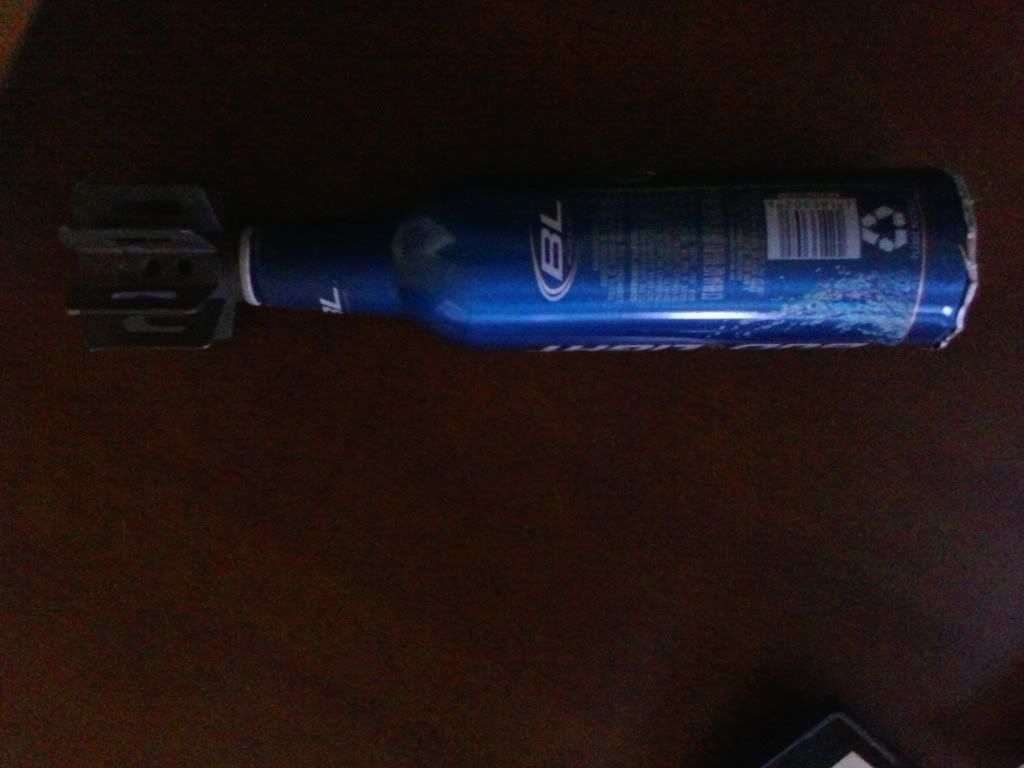
With a fin assembly threaded into the bottle |
|
|
|
[#9]
Once the nut is drawn down into the neck, a pair of pliers can be used to crimp the bottle neck so the nut is held more securely 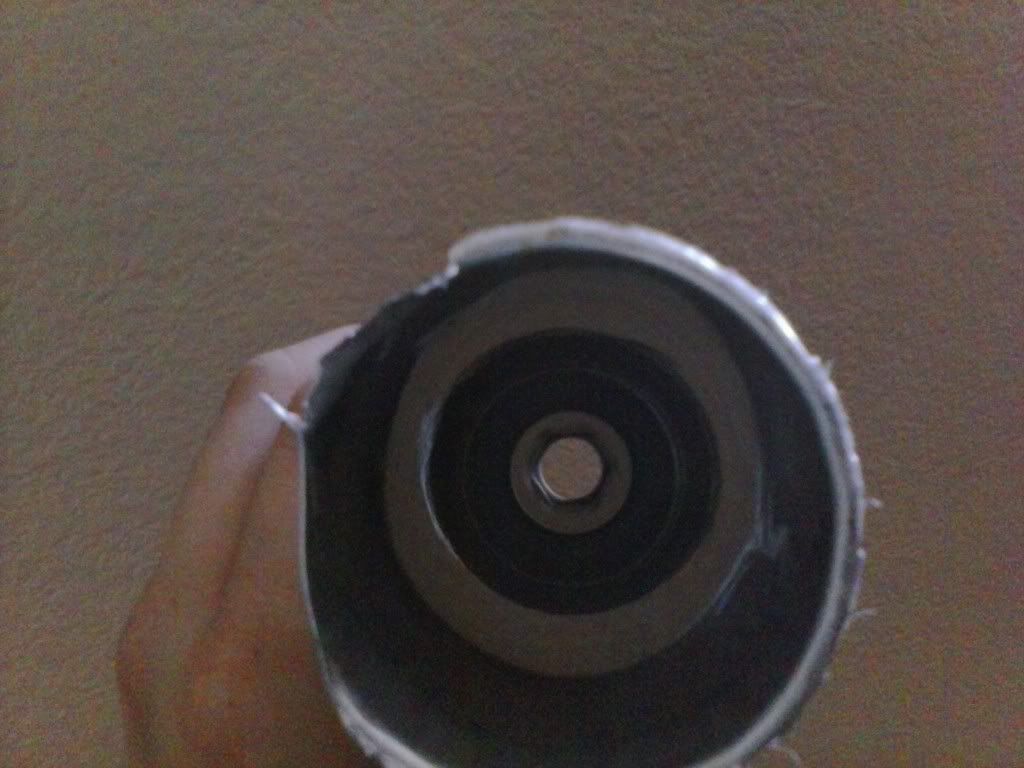
Leaving the inside looking like this once the nut is removed 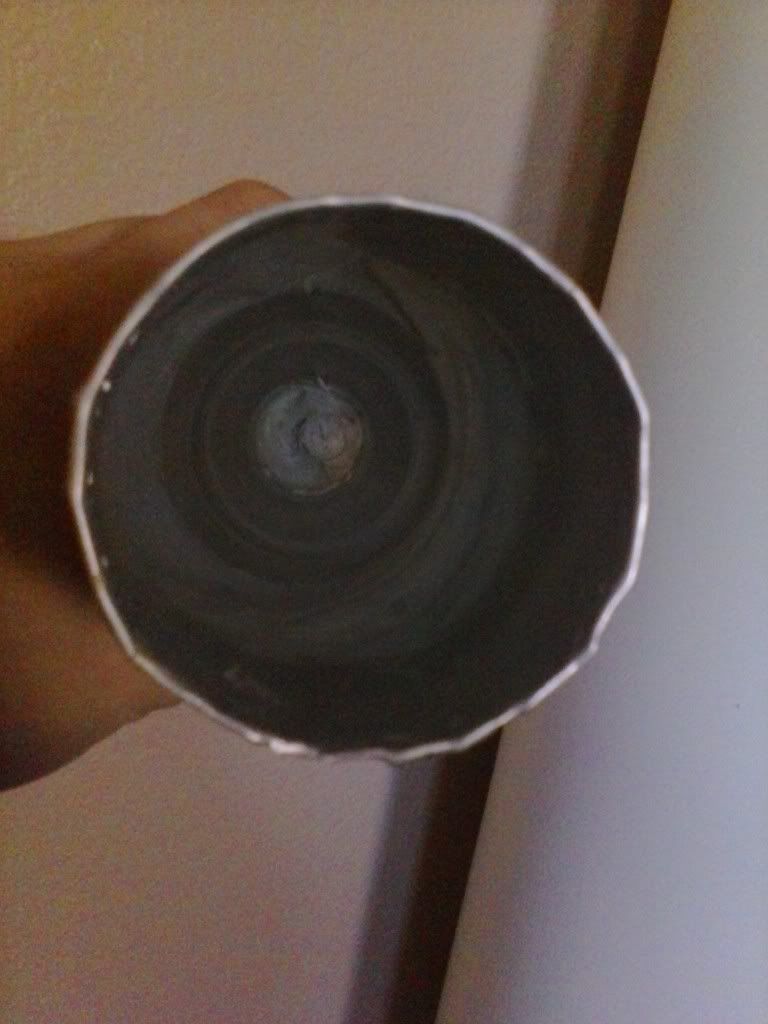
I then put the nut back down into the neck and used some liquid nails to secure the nut permanently and to make a seal for the plaster of paris used later. |
|
|
|
[#10]
I then waterproofed the camera and provided a barrier from the plaster. One convenient method is using otherwise unused prophylactics that married men probably have as relics of a bygone era. 
I then trimmed the bottle length down to be just smaller than the top of the camera. 
Camera round compared to an M69 practice round |
|
|
|
[#11]
Mixed up a pound of plaster of paris 
Kept the camera from floating and ensured it stayed in the middle of the round as the plaster dried by using an X of tape I also prepped a second round just to keep the rest of the plaster from going to waste. 
The other round I will be using a standard cue ball that I purchased from Wal-Mart as the projo's ogive. 
Now I'm going to wait for them to dry before finishing and painting them. |
|
|
|
[#12]
After letting the plaster set, you can see the edge of the dummy round needs a bit of cleaning up, so I used a small file to pick out the over spill plaster. 
I then used a 4oz ball peen hammer to hammer the edge out straight. 
Left the dummy round looking like this 
Since the cue ball was not solidly attached to the round, I used an ample amount of liquid nails 
Then I cleaned up the edge with a paper towel. Tomorrow, after the liquid nails is dry, I'll sand and paint the round and attack the camera round. |
|
|
|
[#13]
tag
|
|
|
|
[#14]
Tag. This is awesome.
|
|
|
|
[#15]
Since it is over 100 degrees here in Vegas, I'll let both of these rounds bake outside until I get off work tomorrow and then see what I have. The camera round I will try to get the plaster out in a single piece and then use a chisel to cleave it in half so I can put it back together for launch. The Cueball round I'll see if I can roll the lip of the bottle over the cue ball a bit, prime and paint it.
|
|
|
|
[#16]
And then for your next project, you can make a camera that transmits live and in real time like MEI's HUNTIR 40mm round. I'd love to see the insides of one of these rounds and how they do it.
http://www.defensereview.com/1_31_2004/MEIHUNTIR.PDF |
|
|
|
[#17]
Quoted:
And then for your next project, you can make a camera that transmits live and in real time like MEI's HUNTIR 40mm round. I'd love to see the insides of one of these rounds and how they do it. http://www.defensereview.com/1_31_2004/MEIHUNTIR.PDF I definitely want to do that, but I had all of this stuff laying around. A live HD round would probably run around $500 once everything is built. One of the issues that I can immediately see is the difference between the range of a 40mm and my 60mm. The 40mm low pressure rounds max out around 450 meters while my 60mm can lob rounds out to 1.1 miles. That makes the Wi-Fi reception significantly more difficult, as does the altitude component. |
|
|
|
[#18]
Most interesting thing I've read about today (well, except for the underwater forest!)
I will follow to it's conclusion. Good luck and good lobbing! |
|
|
|
[#19]
I lightly sanded the cue ball round 
Then I hit it with some tan paint I had laying around 
I couldn't get the plaster from the camera round to slip out of the bottle, so I peeled it. Looks like I'll have to drink another Bud Light. 
Now I'm going to try to chisel it to get it to cleave in half. |
|
|
|
[#20]
Thought I'd score it with a Dremel cut-off wheel first 
One half came out perfect, the other cracked in a few pieces 
Glued it back together with some tub caulk. Hell, I only need it to work once. If this doesn't work, I'm just getting some Floam from the toy department in Wal-Mart and just shove it around the camera and launch the sumbitch. |
|
|
|
[#21]
|
|
|
|
[#22]
Thanks Ry! Oh, still waiting on the M67 grenade tax stamp to come back. Went pending 12 March. |
|
|
|
[#23]
Quoted:
Thanks Ry! Oh, still waiting on the M67 grenade tax stamp to come back. Went pending 12 March. Good times. Hydroperm is super easy to cut apart, as it's made to do it. |
|
|
|
[#24]
For the camera round, it looks like I'm done with the plaster because it didn't hold up. I'll look into the other material that was just suggested. But, on the plus side, I did get some short video of the camera round going down the tube. I'll edit and post that tomorrow.
ETA: I just looked at the video. It sucked, it was too dark in my man room. I'll take a better one later this week and post that one. |
|
|
|
[#25]
Awesome idea.
Having played around with model rockets with cameras on them, I've thought about doing this with other things (40mm, RPG and bowling ball mortar included). I thought it would be fun to use a camera that had a mirror that changed position in flight...give a view looking back on the way up, and a view forward on the way down. Good stuff. |
|
|
|
[#26]
I have a second one of these cameras, so I may see if I can have one pointing forward and one pointed to the rear slightly off center in the same round. That way I can get it coming and going.
Oh, and I figured out why the plaster didn't work as planned. I was missing the painting of Willie Nelson on velvet that was optional but highly recommended. I've fixed that. 
The next effort will probably go better as a result. 
At least the cue ball round turned out well. I will see how it shoots when I can find some Unique powder around here. |
|
|
|
[#27]

|
|
|
|
[#28]
What about instead of using plaster using something like Ecoflex? It's a castable silicon rubber product. You should be able to cut it open when finished, and the rubberness might have a better chance of surviving the impact.
|
|
|
|
[#29]
Me firing the dummy round I made up. 
Recovered dummy round. It survived enough to fire a second time. And due to the tolerances involved, the dummy round I made up was the only one that was able to be fired today. The other rounds had too much air build up behind them to hit the firing pin hard enough to go. |
|
|
|
[#30]
Freaking awesome.
Archimedes- Eureka! Wingnut- Well, that worked. |
|
|
|
[#31]
Awesome, can't wait to see more.
|
|
|
|
[#32]
Very cool...
Be safe! Where the heck do you get the tail assembly? |
|
|
|
[#33]
Quoted:
Very cool... Be safe! Where the heck do you get the tail assembly? Picked up some M69 dummy rounds at gun shows, and bought an extra couple tail fin assemblies when I found them. I'll take a picture of the round that I made once I fired it. I got two good shots out of the homebuilt dummy round. I am going to be picking up an entire set of pool balls off of Amazon for $25 so I can make a full run of practice rounds. |
|
|
|
[#34]
Quoted:
Picked up some M69 dummy rounds at gun shows, and bought an extra couple tail fin assemblies when I found them. I'll take a picture of the round that I made once I fired it. I got two good shots out of the homebuilt dummy round. I am going to be picking up an entire set of pool balls off of Amazon for $25 so I can make a full run of practice rounds. Quoted:
Quoted:
Very cool... Be safe! Where the heck do you get the tail assembly? Picked up some M69 dummy rounds at gun shows, and bought an extra couple tail fin assemblies when I found them. I'll take a picture of the round that I made once I fired it. I got two good shots out of the homebuilt dummy round. I am going to be picking up an entire set of pool balls off of Amazon for $25 so I can make a full run of practice rounds. I had no idea you could reload the tail fin assemblies to launch them... learn something new every day! |
|
|
|
[#35]
Quoted:
I had no idea you could reload the tail fin assemblies to launch them... learn something new every day! Yes you can, and I'll put together a reloading guide for 60mm as soon as I can chrono the M69 rounds using my loads. I have the original loading tables for the M2 mortar, so if I can reproduce the results I can come up with equivalencies. But, for reference, to get the homebuilt dummy round out about 200 yards, I used 30 grains of Unique in a 20ga roll-crimped hull that was press fit into the bottom of the fins. Worked like a champ. |
|
|
|
[#36]
Holy tag batman!
Is there a separate thread on the M67? |
|
|
|
[#37]
Quoted:
Yes you can, and I'll put together a reloading guide for 60mm as soon as I can chrono the M69 rounds using my loads. I have the original loading tables for the M2 mortar, so if I can reproduce the results I can come up with equivalencies. But, for reference, to get the homebuilt dummy round out about 200 yards, I used 30 grains of Unique in a 20ga roll-crimped hull that was press fit into the bottom of the fins. Worked like a champ. Quoted:
Quoted:
I had no idea you could reload the tail fin assemblies to launch them... learn something new every day! Yes you can, and I'll put together a reloading guide for 60mm as soon as I can chrono the M69 rounds using my loads. I have the original loading tables for the M2 mortar, so if I can reproduce the results I can come up with equivalencies. But, for reference, to get the homebuilt dummy round out about 200 yards, I used 30 grains of Unique in a 20ga roll-crimped hull that was press fit into the bottom of the fins. Worked like a champ. I need to go check EE for a mortar kit.... 
Son has a science fair coming up, and it's always hard to get something that excites him. |
|
|
|
[#38]
Quoted:
Holy tag batman! Is there a separate thread on the M67? Moved to another site |
|
|
|
[#39]
Quoted:
Moved to another site Quoted:
Quoted:
Holy tag batman! Is there a separate thread on the M67? Moved to another site IM sad to hear that. 
|
|
|
|
[#40]
Quoted:
I need to go check EE for a mortar kit....
Son has a science fair coming up, and it's always hard to get something that excites him. If you're serious about that, I have an extra 60mm cup and base plate that are collecting dust |
|
|
|
[#41]
ARFCOM ROCKS!!!
|
|
|
|
[#42]
Fun stuff. Tag for video.
|
|
|
|
[#43]
Quoted:
Fun stuff. Tag for video. I'm going to have to rethink the camera round construction. I was able to get it to fit and go down the tube, but it lacked enough weight to get a good strike on the firing pin. So, I'm going to give it another shot with a heavier and longer round. ETA: I did get about an hour of good footage of me handling the round, tossing it down the tube, me swearing, upending the tube, tweaking it, and me swearing again. I really will have to break down and get the new Garmin HD camera they are coming out with that has WiFi, GPS, altimeter, and 60 frames per second. If anyone has an in with Garmin, I can do one hell of a write up review of the camera. |
|
|
|
[#44]
I was thinking you might be able to cast the ass end of the body with Wood's Metal to get the density up, so your camera laden round will go off.
I was also thinking of a spring-loaded arm on the side that would have the camera, or a mirror, that would pop out once it was out of the tube. You'd need two for aero, obviously. |
|
|
|
[#45]
Now i want a mortar looking forward to the write up and video
|
|
|
|
[#46]
Just a thought from an ex - Mortarman.
Please learn how to safely fire a mortar. The way you're doing it is not safe, and could lead to you sending a hand downrange. YouTube has tons of videos showing 11Chucks doing their thing. Emulate them. They do it that way for a reason. I can give you some pointers if you like. Watching that video literally made my asshole pucker so hard, I almost got sucked into a vortex.
|
|
|
|
[#47]
So very in....
|
|
|
|
[#48]
Quoted:
Just a thought from an ex - Mortarman. Please learn how to safely fire a mortar. The way you're doing it is not safe, and could lead to you sending a hand downrange. YouTube has tons of videos showing 11Chucks doing their thing. Emulate them. They do it that way for a reason. I can give you some pointers if you like. Watching that video literally made my asshole pucker so hard, I almost got sucked into a vortex. I've had a couple people mention that. I was a commo guy, so all I had to go off of was the WWII manuals for the thing before safety was a real concern. I now know that gloves are a no-no. Watches, rings, and jewelry were already removed and I was wearing ballistic eyewear, KPOT, and body armor. I think I will switch to foamy earplugs from now on though. What else should I consider as far as safety? |
|
|
|
[#49]
Quoted:
I've had a couple people mention that. I was a commo guy, so all I had to go off of was the WWII manuals for the thing before safety was a real concern. I now know that gloves are a no-no. Watches, rings, and jewelry were already removed and I was wearing ballistic eyewear, KPOT, and body armor. I think I will switch to foamy earplugs from now on though. What else should I consider as far as safety? Quoted:
Quoted:
Just a thought from an ex - Mortarman. Please learn how to safely fire a mortar. The way you're doing it is not safe, and could lead to you sending a hand downrange. YouTube has tons of videos showing 11Chucks doing their thing. Emulate them. They do it that way for a reason. I can give you some pointers if you like. Watching that video literally made my asshole pucker so hard, I almost got sucked into a vortex. I've had a couple people mention that. I was a commo guy, so all I had to go off of was the WWII manuals for the thing before safety was a real concern. I now know that gloves are a no-no. Watches, rings, and jewelry were already removed and I was wearing ballistic eyewear, KPOT, and body armor. I think I will switch to foamy earplugs from now on though. What else should I consider as far as safety? You want to be on the other side of the mortar, for starters. The Assistant Gunner (You) is on the right side of the mortar, if you're looking downrange. When you hang the mortar, use both hands. If your fingers slip, you could drop it before you're ready, potentially leaving your hand exposed to the muzzle. I know a guy that happened to. The skin graft scars are EPIC! If you need to chuck the mortar down the tube to achieve ignition, I'd suggest another ignition method. Barring that, use both hands and follow the mortar down the tube, keeping your face turned away. If you hang a mortar, and when you let it go, it hangs at the muzzle (snow cone), DON'T FUCKING GRAB IT! Slap up on the muzzle of the Canon, keeping your face turned away. Wait. Wait some more. It feels like it takes an eternity for a mortar to ignite. If you've counted slowly to five and it hasn't gone off, take a peek to see if it's still snow coned. If it is, smack the underside of the muzzle again, more firmly. If it drops, but doesn't ignite, well... Good luck to you. It's sketchy enough extracting a hung round in the real deal, let alone a home brew setup.
There's a ton more good hints for safe operation. I'll see if i can find a guide. But man, the way you're doing it isn't safe. I worked down at the IMLC, Mortar Square, and BOLC for a year and a half, teaching people how to drop these. I'd hate for something to happen to you, with me sitting here able to prevent it. Curiously, none of your projos seem to have an obturating ring. Why is that? You'd get more velocity that way. |
|
|
|
[#50]
OST for SURE!
|
|
|
 Win a FREE Membership!
Sign up for the ARFCOM weekly newsletter and be entered to win a free ARFCOM membership. One new winner* is announced every week!
You will receive an email every Friday morning featuring the latest chatter from the hottest topics, breaking news surrounding legislation, as well as exclusive deals only available to ARFCOM email subscribers.

AR15.COM is the world's largest firearm community and is a gathering place for firearm enthusiasts of all types.
From hunters and military members, to competition shooters and general firearm enthusiasts, we welcome anyone who values and respects the way of the firearm.

Subscribe to our monthly Newsletter to receive firearm news, product discounts from your favorite Industry Partners, and more.
Copyright © 1996-2024 AR15.COM LLC. All Rights Reserved.
Any use of this content without express written consent is prohibited.
AR15.Com reserves the right to overwrite or replace any affiliate, commercial, or monetizable links, posted by users, with our own.


