|
Posted: 4/12/2015 10:21:28 PM EDT
I get asked at the range and 3 gun constantly where I got my rifles painted. They look real fucking good, and though my camera is shitty a buddy recently used his amateur photography setup to snap some clean pics of them. I took how to pictures of the last one for the purpose of posting them here. All of these guns and optics/lights were done within 1 or 2 hours. The oldest one was painted two years ago and is my recce/comp gun.
First the glam. Army Clone Gun 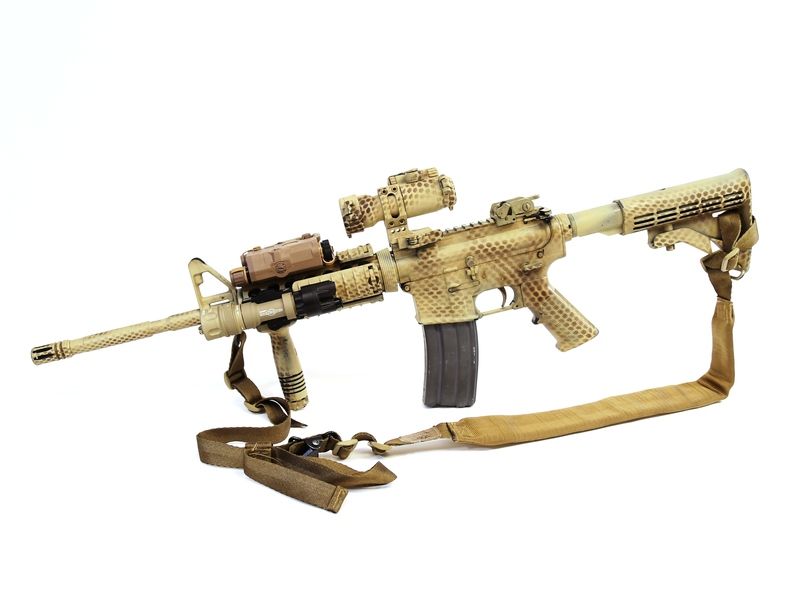
Recce/Comp Gun 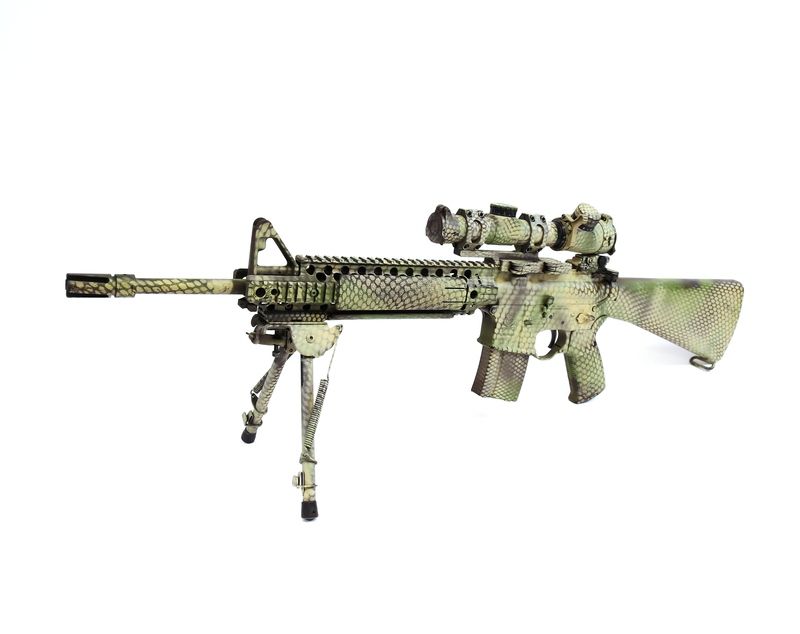
Mrs CWG lw hd/comp rig. 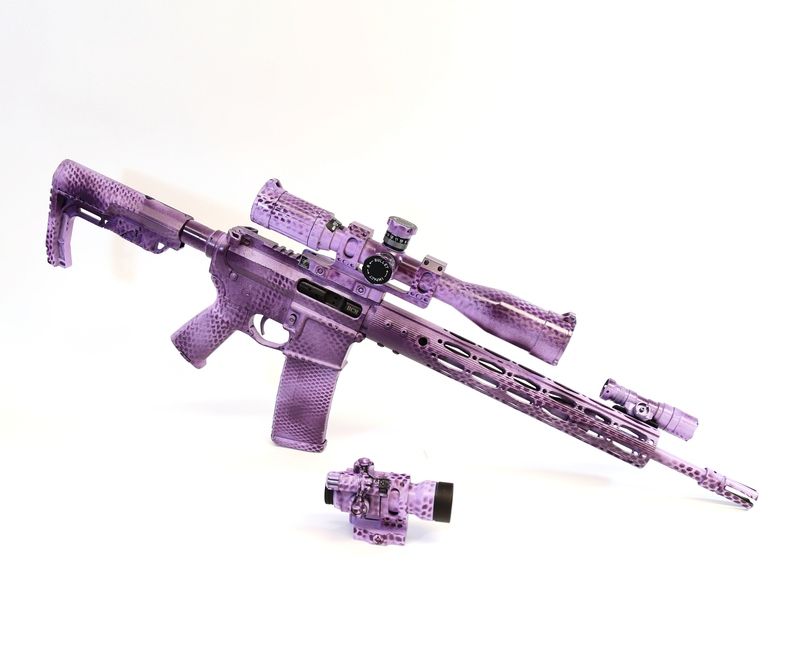
Winter Commie Shooter 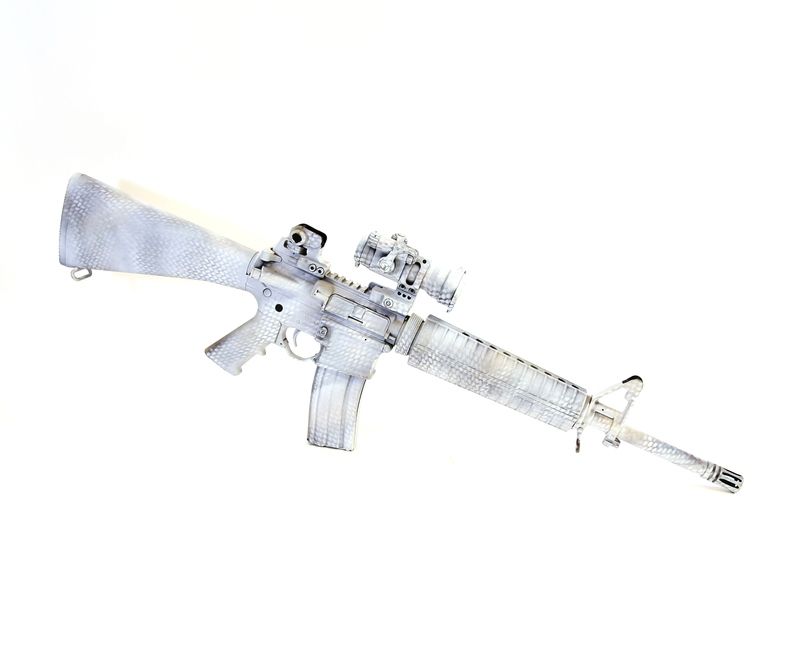
My Paint booth is a Colt 6920 cardboard box. I put a fan behind me and open a window if its cold out so I can vent between spraying. I use krylon exclusively. My local wally world and ACE don't carry it anymore so I've ordered it online. Its worth it. Make sure to use flat colors. Taping off the gun. Scopes are easy. Tape off the markings you want to see. For small stuff (like SNs), sometimes ill use a box cutter and cut a small square out and place it carefully over the thing. 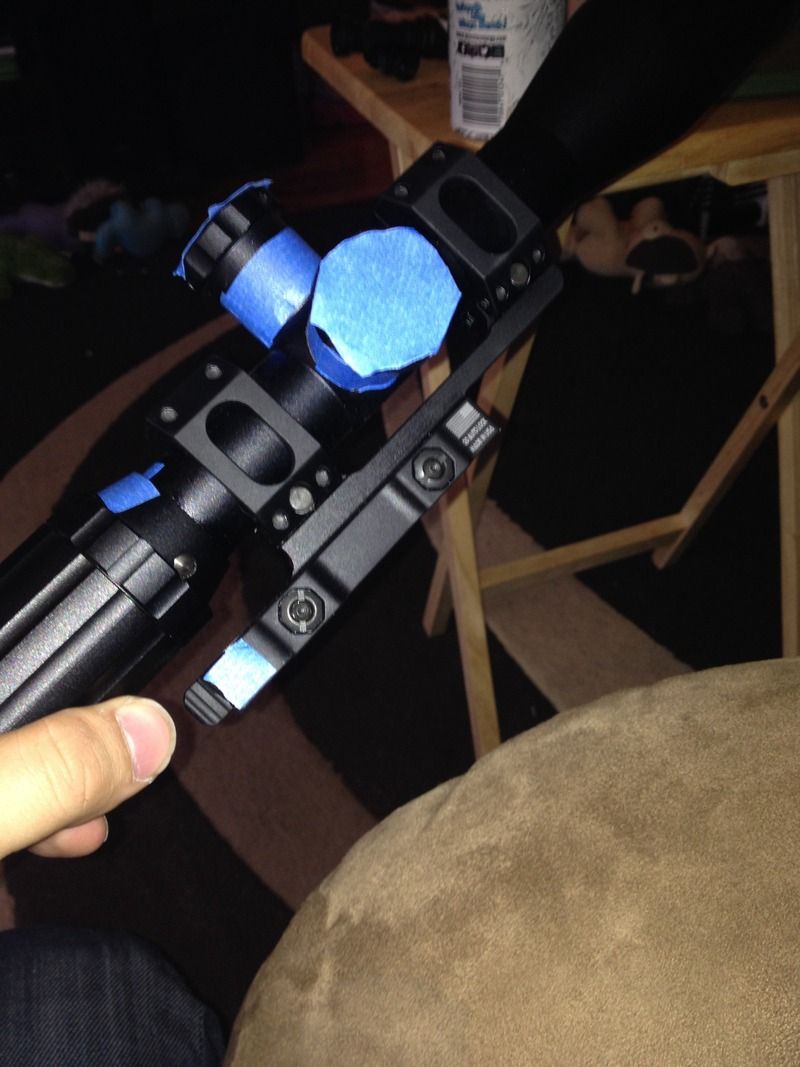
For front sight I like to keep a black tab below the sight for visibilities sake. I run the painters tape over the hood and smooth it down and then run along the edge with a box cutter again. 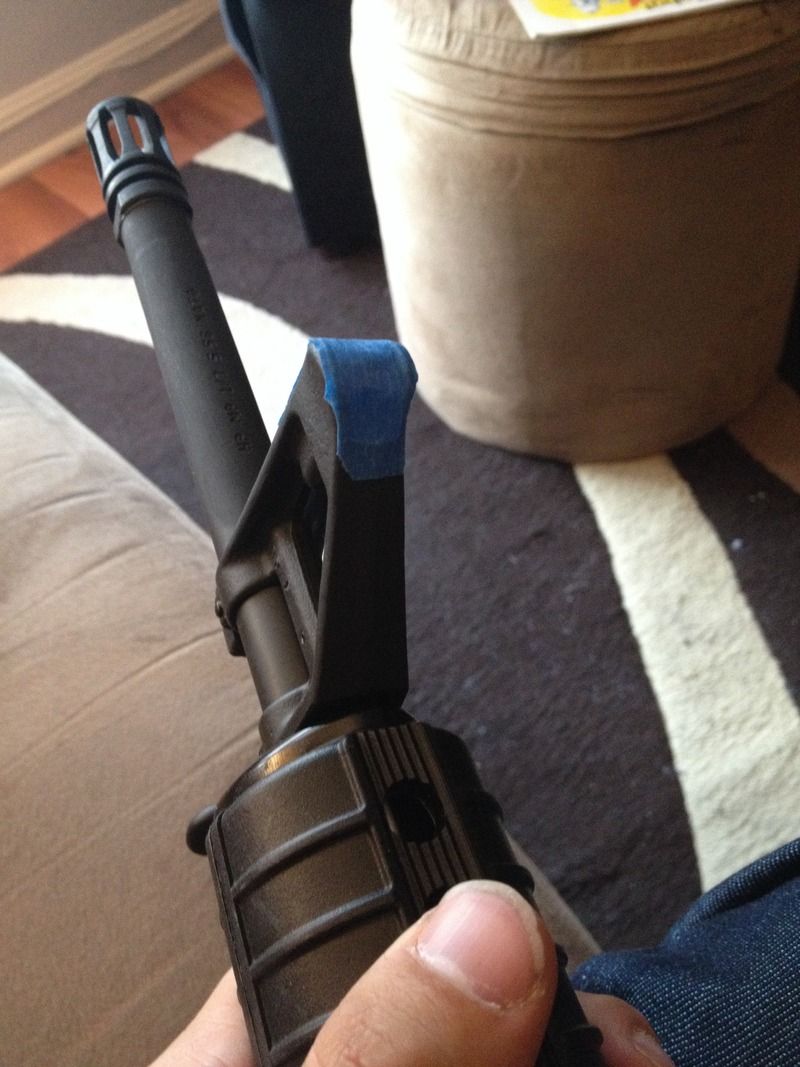
For the BCG Covering I cover it with tape, then close door. 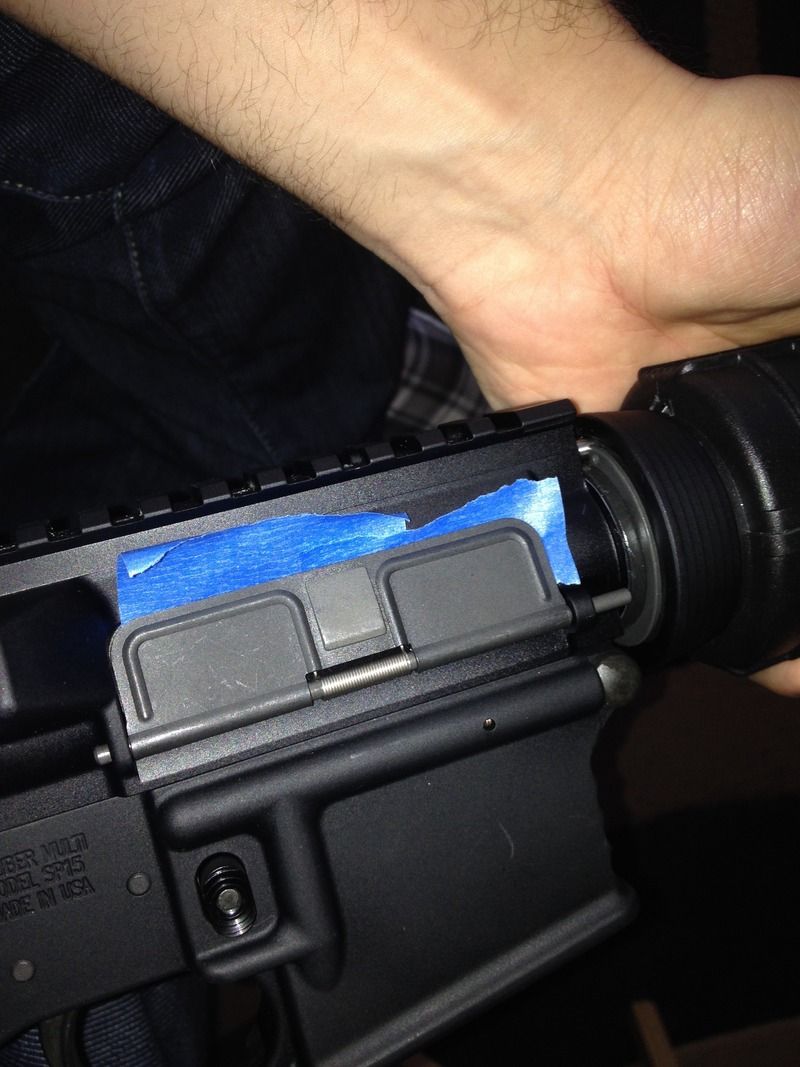
Then peel it off. I didn't use a blade because I wanted the slight amount of extra outside to cover any gap. 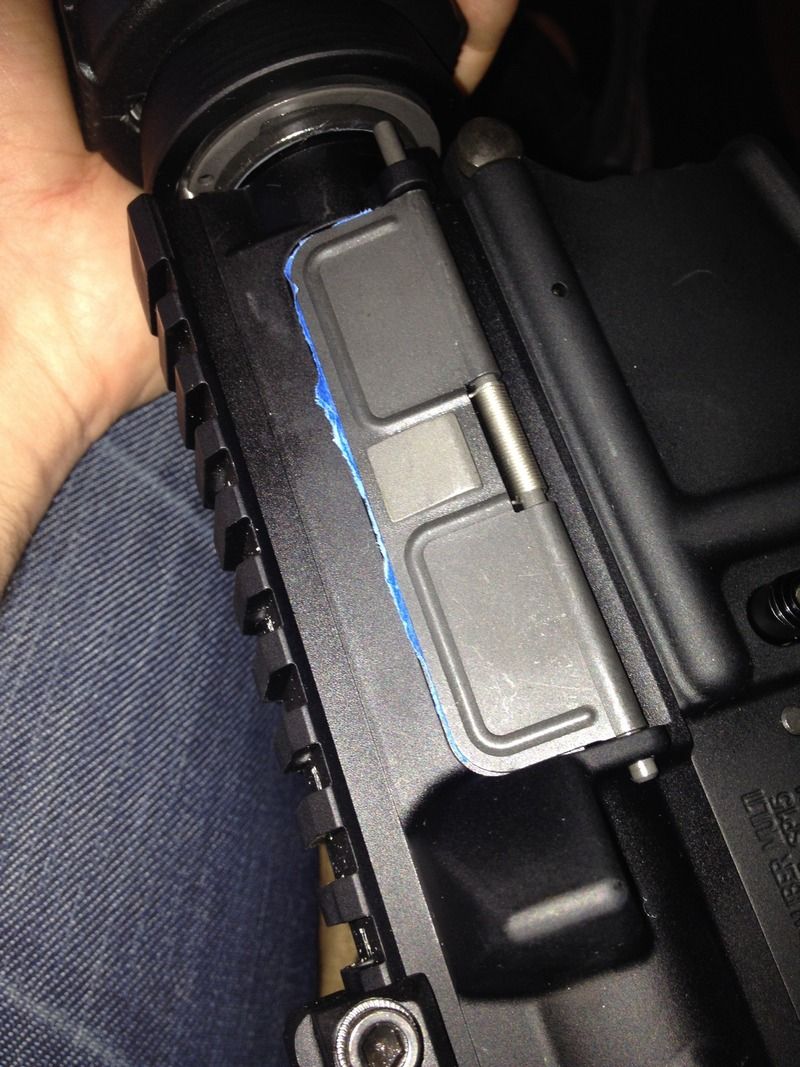
Rear sight same as the front. I tape up some of the adjustment indicators as most of my rifles don't have A2 sights, and sometimes its hard to remember/read in the sun or overcast weather. Obviously optional. 
BBL secure. I put a fourth one in there post photo IIRC 
Here I come. 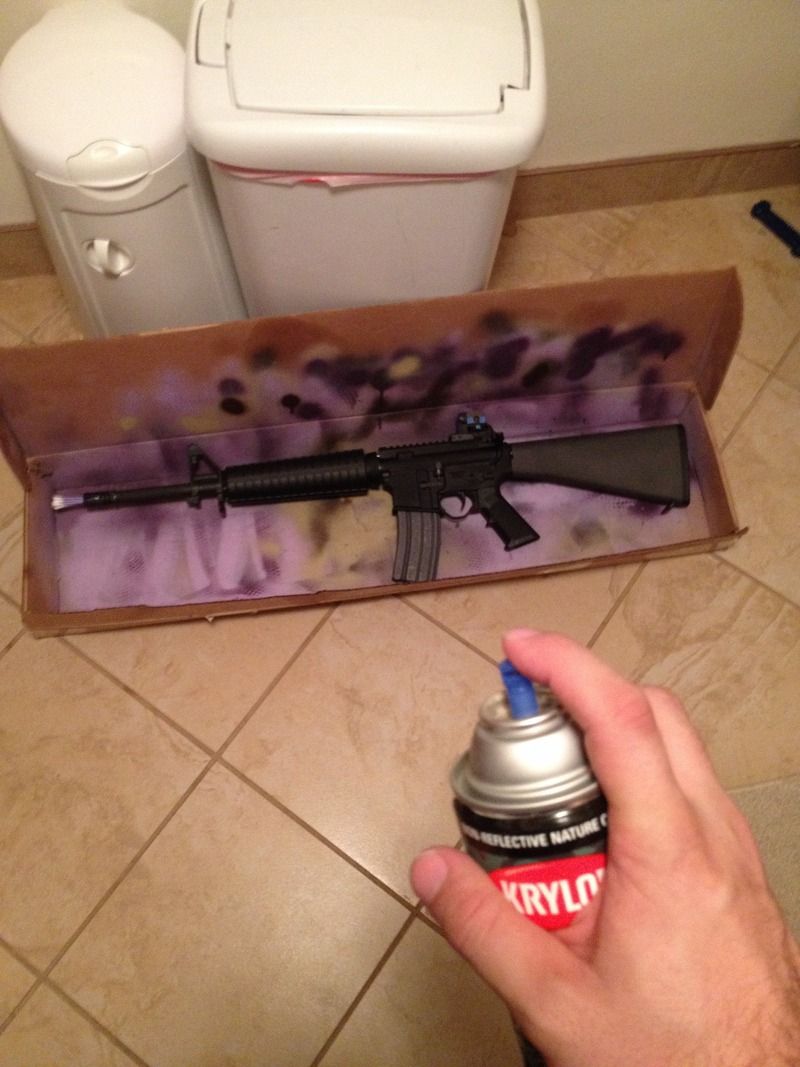
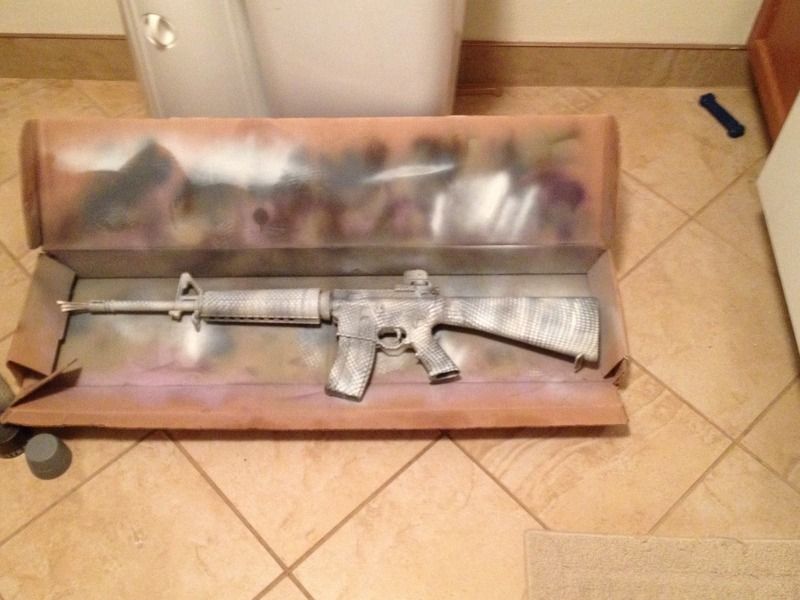
Base layer should be dark or light depending on how you want the rifle to come out over all. Ill cover later a neat trick to change it up at the end. Start with light distance surface coating. This will give the rest of the paint something to stick to without running. BTW I wipe the guns down with a dry rag before painting. No blasting, degreasing, or anything else is needed. Since this is my "winter gun" I went with krylon Camo tan as my base coat. 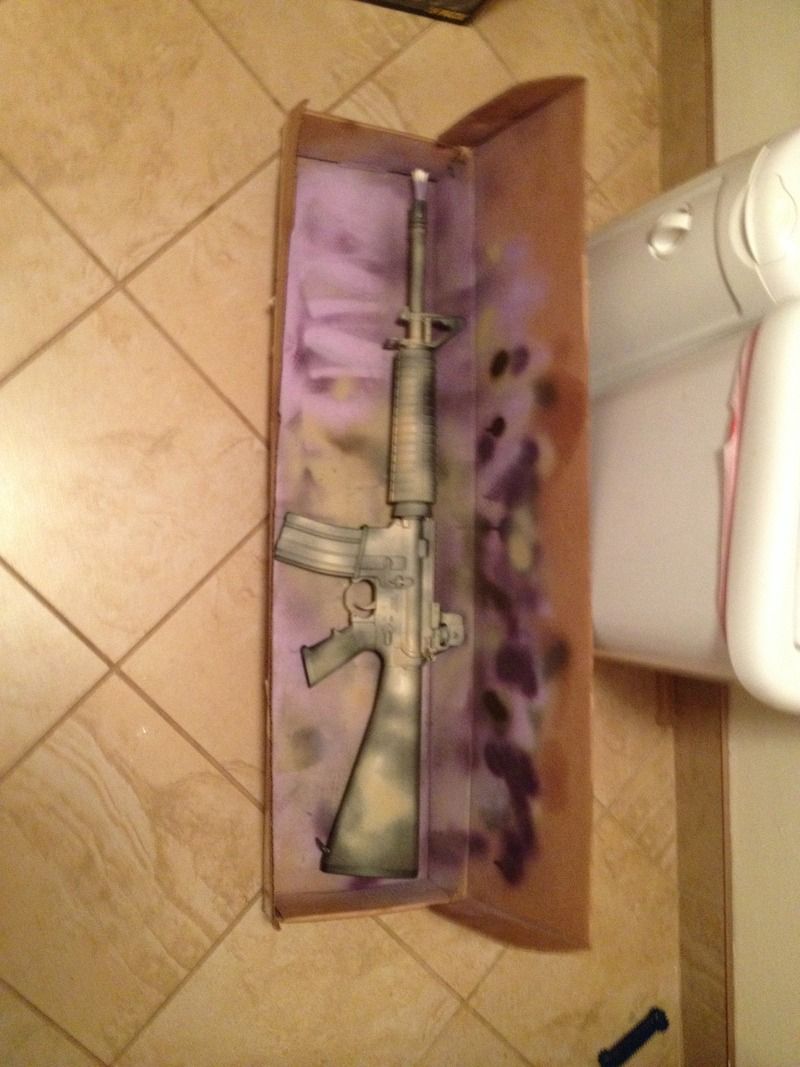
Do a few layers, run a fan on it in between (not close up fan just keep air moving) and you're ready to flip it and do the other side. Make sure to come at it from different angles to get those hard to reach spots. 
Boom 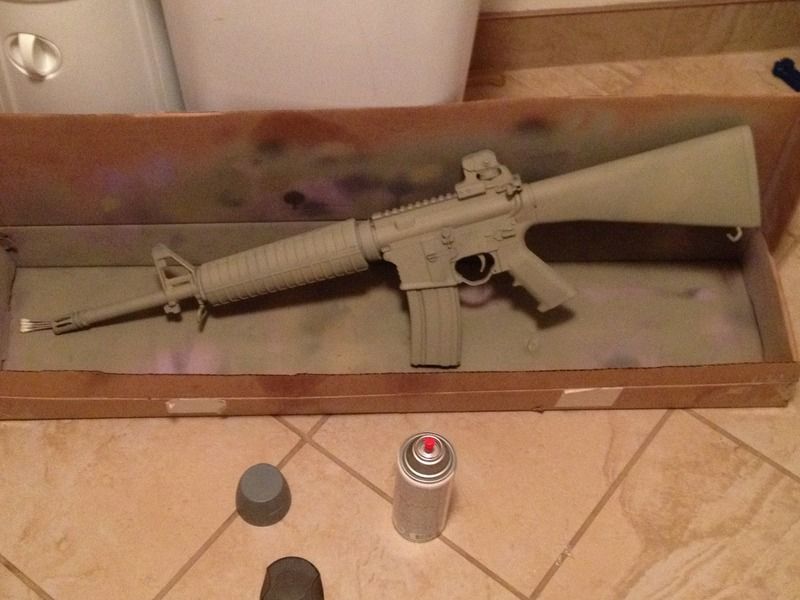
Contrast time! The colors you place in between the base coat and final coat are what will give your rifle subtle depth and offset contrast. I used the Krylon Camo Brown to hit it in a few good spots. 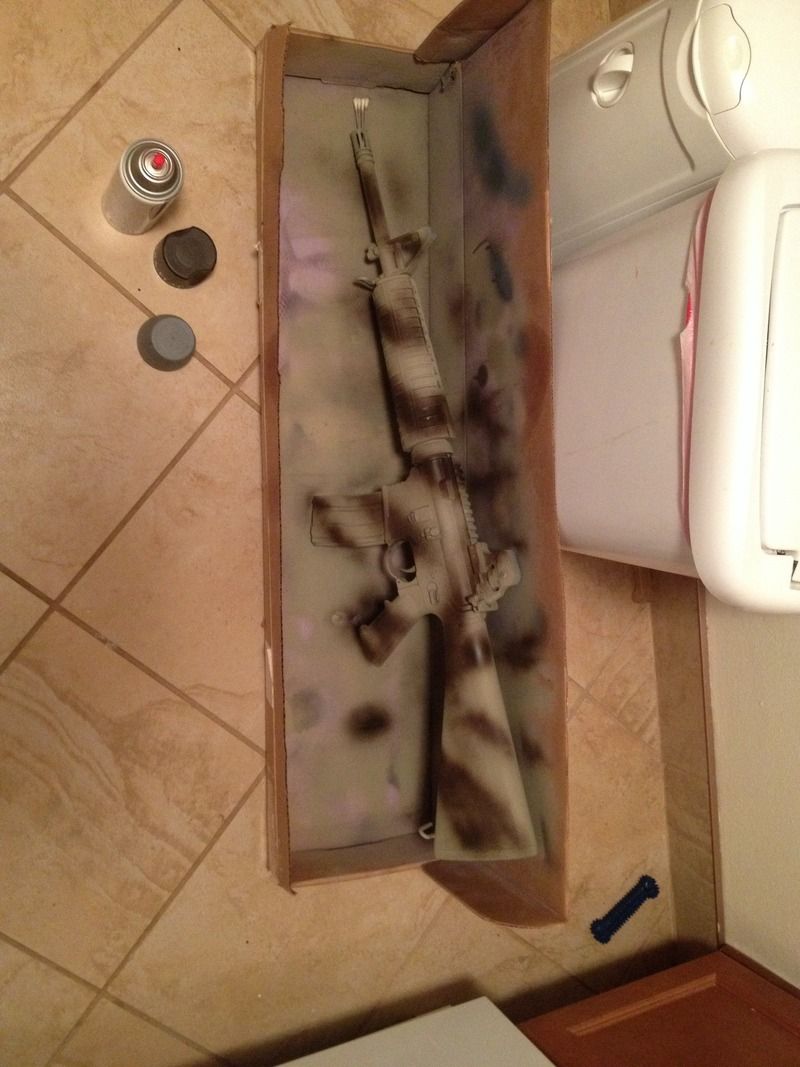
No stencils needed. 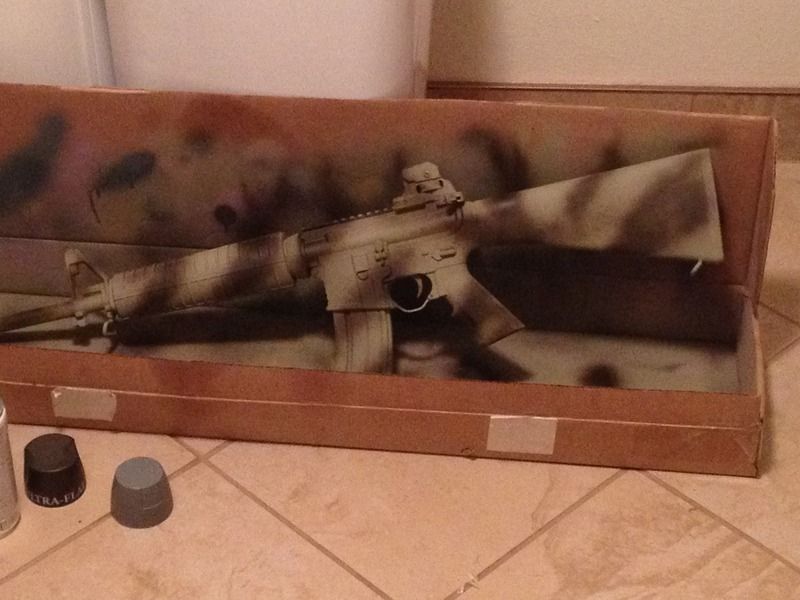
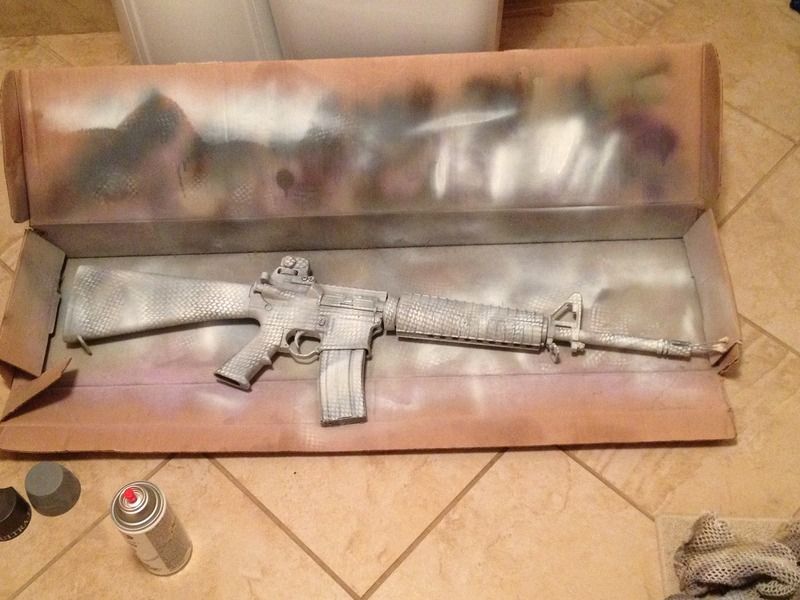
Now because I don't want the dark brown to over power the white ill be using eventually, i selected krylon flat gray primer paint spray to offset the dark brown. 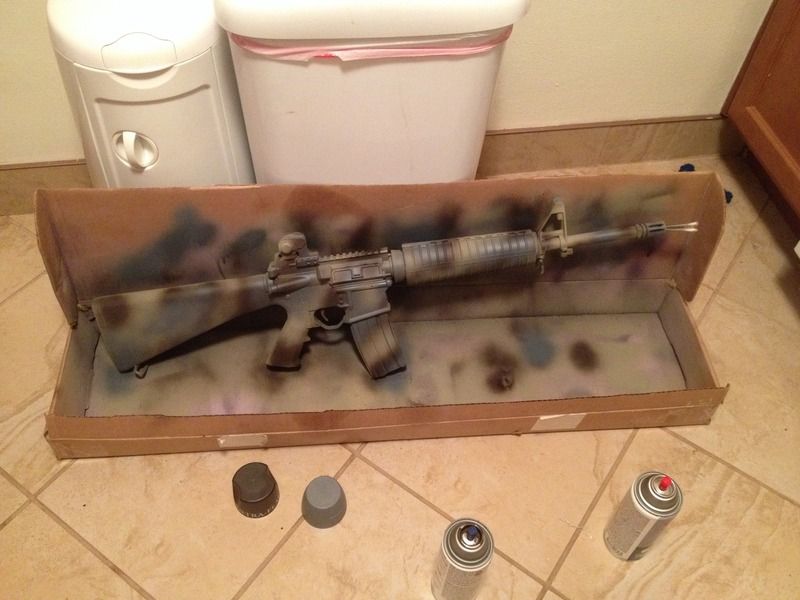
You can see that I just hand followed the dark brown lines with the slightly milder gray, leaving the edge of the brown exposed. This makes it look more like a transition (especially when a final layer is used) than block shapes. This would honestly be a cool rifle in its own right. 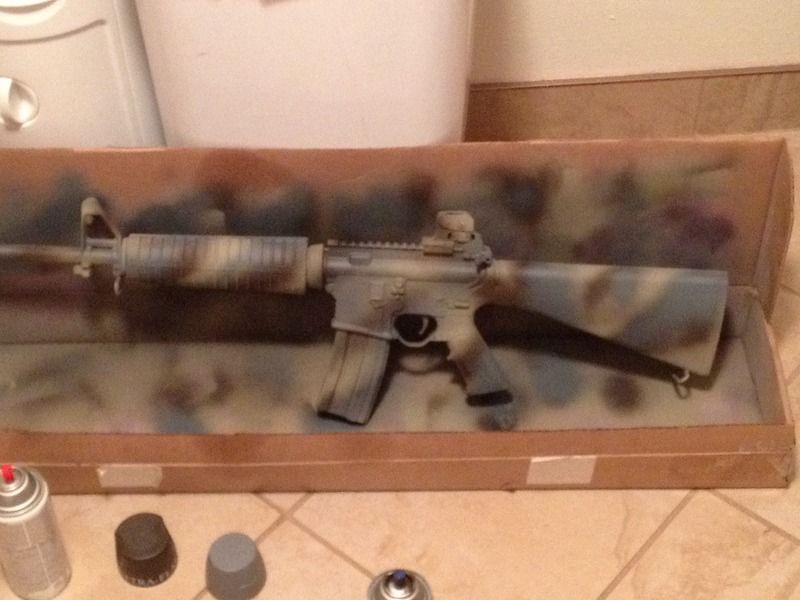
Next the laundry bag (hence the LB camo) This is a shitty one from afghanistan. First gun i ever painted was down range and some cool guy showed me how to do with with a laundry bag. Lots of options here. For cool twisty textures (like my recce gun) you can twist it tight behind the rifle and rubber band it to stretch it out. The down side to this is it takes way longer as the paint needs to be well dried or the fabrics tension will fuck the other side of the gun up. I normally do the gun in thirds and the accessories in one go (though still doing each side individually on guns and gear) I am using krylon flat white 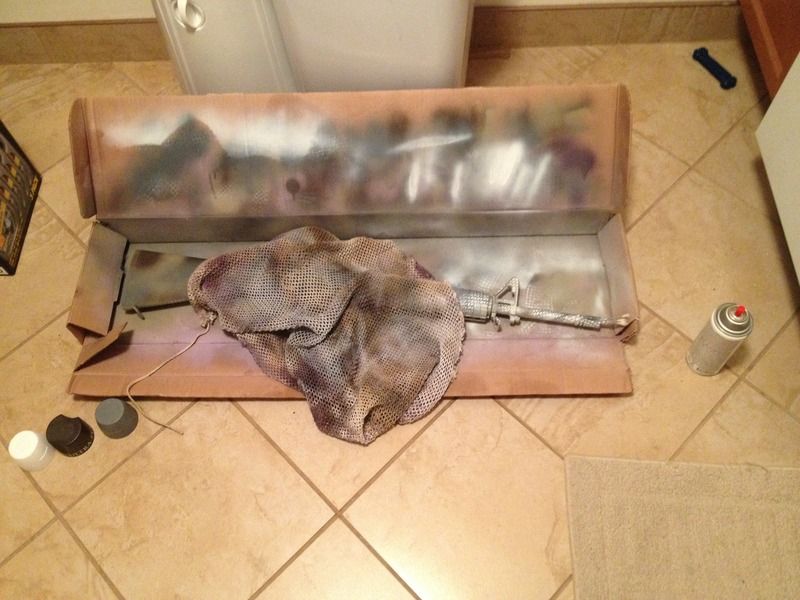
Now the most important step "the wash" Let your camo gun dry (overnight), and look at it in the sunlight. The way it goes is, if you wanted the gun darker you do a distance (12-18" light tap) stripe spray with a darker color from your palate to darken the over all gun. Make sure the tip is clean, the can is shaken and you're pointing level so you don't spray gobs onto the gun. If you want to lighten to color, use a lighter color preferably one used in the paint scheme. Then peel your tape off. 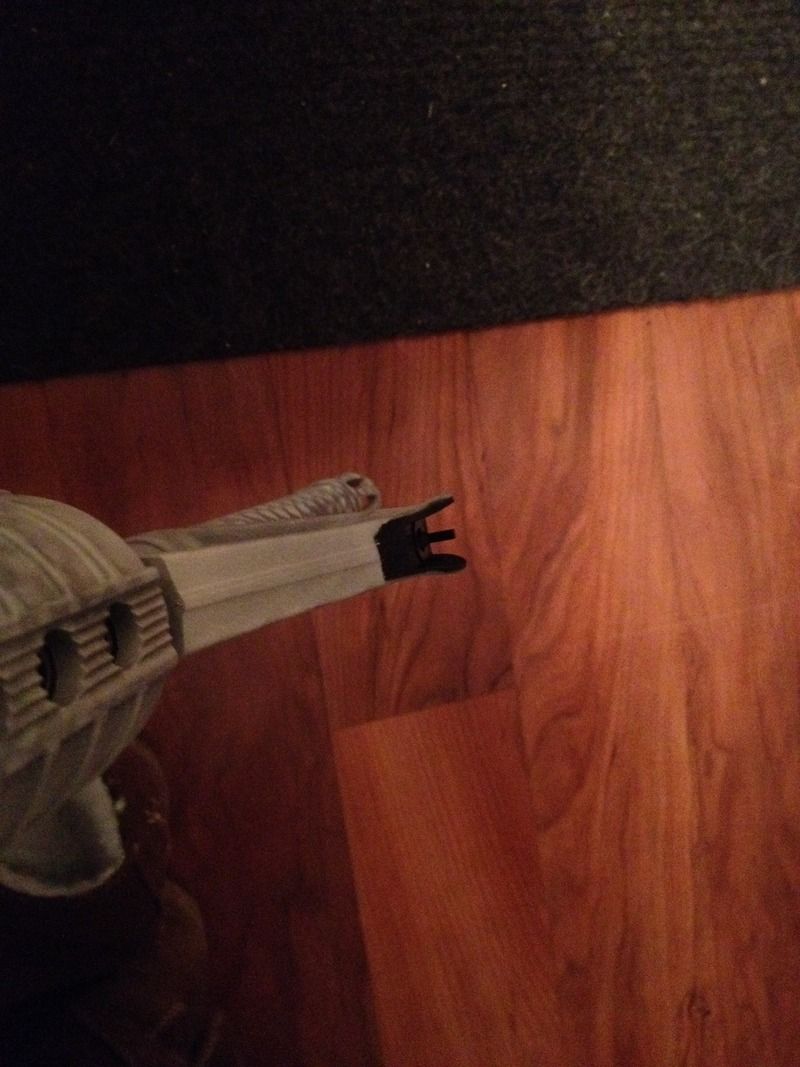
So the most benefit is using 3-4 colors IMHO. But then your costs go up from 20 bucks to 40 bucks. And I used one set of cans for all my guns. And don't forget, you can always paint over it if you decide you have abetter camo idea. The Army Gun was Krylon Camo Tan Base with Krylon Camo Brown LB. The Purple Shooter was krylon Gum drop base with Krylon Purple LB, and a darkening wash of Krylon Purple. The Recce/Comp Gun was Krylon Brown base, with Krylon Camo Green Contrast Spots and Krylon Camo Tan LB. Commie Killer was Krylon Camo Tan base, with Krylon Camo Brown Contrast Spots, Krylon Flat Gray Primer Contrast Offset, and Krylon Flat White LB, with a lightening wash of Krylon Flat White. I hope this helps guys looking for a camo gun that don't want to spend a pile of money for cerakote. If you guys want you can ask color combo questions and Ill call upon my semester of art school I took before I enlisted and help you piece together some cool colors. |
|
|
|
[#1]
Really no need to tape off the ejection port area. Never had any paint get in to the upper with it just closed. |
|
|
|
[#2]
Quoted:
Really no need to tape off the ejection port area. Never had any paint get in to the upper with it just closed. I had some get on the BCG once but IRRC it was on my first upper build so it was probably my fuck up. It burned off quick though. |
|
|
|
[#3]
Quoted:
I had some get on the BCG once but IRRC it was on my first upper build so it was probably my fuck up. It burned off quick though. Quoted:
Quoted:
Really no need to tape off the ejection port area. Never had any paint get in to the upper with it just closed. I had some get on the BCG once but IRRC it was on my first upper build so it was probably my fuck up. It burned off quick though. I removed my BCG and shoved paper towels in my upper and left the dust cover open. |
|
|
|
[#4]

Here's some of my DIY kryptek.... ultra flat spray paint |
|
|
|
[#5]
I'm gonna need to know more about this. |
|
|
|
[#6]
Jesus, you paint in the house on tile floor??!!?? Dude, really?
|
|
|
|
[#7]
Quoted:
I'm gonna need to know more about this. Quoted:
I used a an airsoft stencil and just painted a base, laid the stencil the. Painted over it. Very easy. Hardest part was having to peel the stencil. |
|
|
|
[#8]
Quoted:
Jesus, you paint in the house on tile floor??!!?? Dude, really? It's in a box, and I don't have any sort of palsy. |
|
|
|
[#9]
tag
|
|
|
|
[#10]
I noticed you used Krylon vice DuraCoat. Any specific reason? Krylon a better paint?
|
|
|
|
[#11]
Quoted:
I noticed you used Krylon vice DuraCoat. Any specific reason? Krylon a better paint? Cheap, dries quick, comes off easy if you want to strip it. Or you can just paint it a new color. |
|
|
|
[#12]
I do something very similar, OP.
However, since there are no laundry bags in nature, I use leaves, branches and various grasses to give the break-up and depth you're seeking to achieve. As cool as I think the laundry bag look is, I personally feel it may not prove as effective as (some) people think it is to a discerning eye. Of course, as always, YMMV. Also, it is possible to make your pattern "too busy". Sometimes, simple, big patterns are every bit as effective (and maybe more-so) than a detailed design. However, big, blotchy patterns do stand out more when you're on the move. Just my $.02. |
|
|
 Win a FREE Membership!
Sign up for the ARFCOM weekly newsletter and be entered to win a free ARFCOM membership. One new winner* is announced every week!
You will receive an email every Friday morning featuring the latest chatter from the hottest topics, breaking news surrounding legislation, as well as exclusive deals only available to ARFCOM email subscribers.

AR15.COM is the world's largest firearm community and is a gathering place for firearm enthusiasts of all types.
From hunters and military members, to competition shooters and general firearm enthusiasts, we welcome anyone who values and respects the way of the firearm.

Subscribe to our monthly Newsletter to receive firearm news, product discounts from your favorite Industry Partners, and more.
Copyright © 1996-2024 AR15.COM LLC. All Rights Reserved.
Any use of this content without express written consent is prohibited.
AR15.Com reserves the right to overwrite or replace any affiliate, commercial, or monetizable links, posted by users, with our own.


