|
[#1]
It's just like any DIY kit out there.
Don't expect professional results, especially the first time. You will probably have to practice a few times before you get a result you are happy with. The reality of these types of kits is that it is actually not as easy at it looks on youtube. People think they are getting a break from having to pay what a professional shop charges but ultimately they have to buy multiple kits or replenishment supplies after some initial tries. But I am a huge DIY guy so I can't knock people for wanting to try it. If you got spare time and are looking for a good project go for it. I just don't like for people's expectations to be let down by misleading advertising. |
|
|
|
[#2]
They're actually who I used when I tried hydrographics. As mentioned, teh additional rolls of film available and larger activator made me choose them.
There is a learning curve, but once you get the hang of it, it's pretty easy. Granted, the largest thing I've done is an AR7, but cell phone cases, knifes, were pretty damn easy. You cna also use a normal paint for the base color. Here's a tip, use some pvc to make a frame around your film , and you can use any container you want. |
|
|
|
[#3]
Great tip, about the PVC, I have a lot of extra PVC around the house from projects.
|
|
|
|
[#4]
Looking though some of their older Facebook posts, and they are going to give a kit away when they hit 500 likes...they are at 478 right now, so like their page so maybe you (or me
|
|
|
|
[#5]
Only 13 10 7 6 3 away!
|
|
|
|
[#6]
Oh, don't be stingy with the activator.
|
|
|
|
[#7]
So, I've read that the base coat is just rustoleum paint, and the clear coat is just clear rustoleum. Is the activator something you can buy locally cheaper?
|
|
|
|
[#8]
Don't think so.
It's a special blend of a bunch of different chemicals and solvents. There are guys in Europe that have to make their own because of shipping and hazmat restrictions, but it isn't something I would try. |
|
|
|
[#9]
Activator ingredients are available, but unless you plan on makng several gallons of it, it's cheaper to buy the premade.
|
|
|
|
[#10]
Well, they hit 500 and gave a kit away...wasn't me
 I did go ahead and place an order though, and wow I just hope the product is half as good as customer service is so far! I did go ahead and place an order though, and wow I just hope the product is half as good as customer service is so far! |
|
|
|
[#11]
Got my kit in yesterday along with four extra rolls of film, and an extra activator...I figure that will give me some material to practice with before I dip my rifle components and welding hood. Now just going to wait for a little warmer weather!
|
|
|
|
[#12]
Be sure to post up some pics!
|
|
|
|
[#13]
How goes it? Very interested to see the results!
|
|
|
|
[#14]
How did it turn out man?
|
|
|
|
[#15]
Quoted:
Now just going to wait for a little warmer weather! You can dip indoors 
Use the lukewarm water, the pvc I mentioned earlier, and be liberal with the activator. Also notice how the film expands with the activator. Not such a big deal with camo patterns, but when you're dipping AK74 mags with $100 bills, it is. ETA: wear vinyl glove when you dip, will save you a lot of cleanup work off your hands. Also, clearcoat is what makes your dip last. The stuff out of the kit is iffy, if you end up with a good dip, have it cerakoted. Also note, that through my experiments, you can have the film sit in the water for much more than the few minutes they tell you. Have had film in water for 30+ minutes. |
|
|
|
[#16]
well, dipped my first piece today... didn't turn out great, going to give it another dip to see if it works out, if not I'll strip and redip.
|
|
|
|
[#17]
dipped a second time and it turned out much better, I'll post a picture later...drying from the clear coat right now. Think I had the water too hot the first time.
|
|
|
|
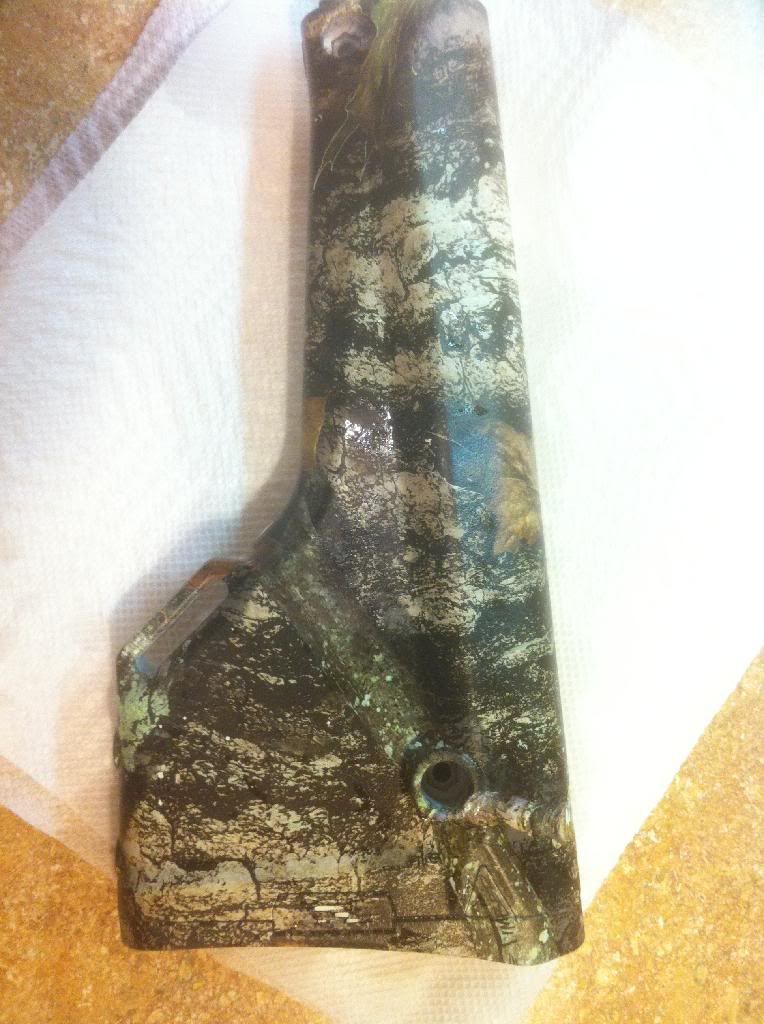
[#18]
Here is the pic, I have the holes still taped on the inside an a stick of PVC inside it to give me something to hold onto during the dip/paint process.

|
|
|
|
[#19]
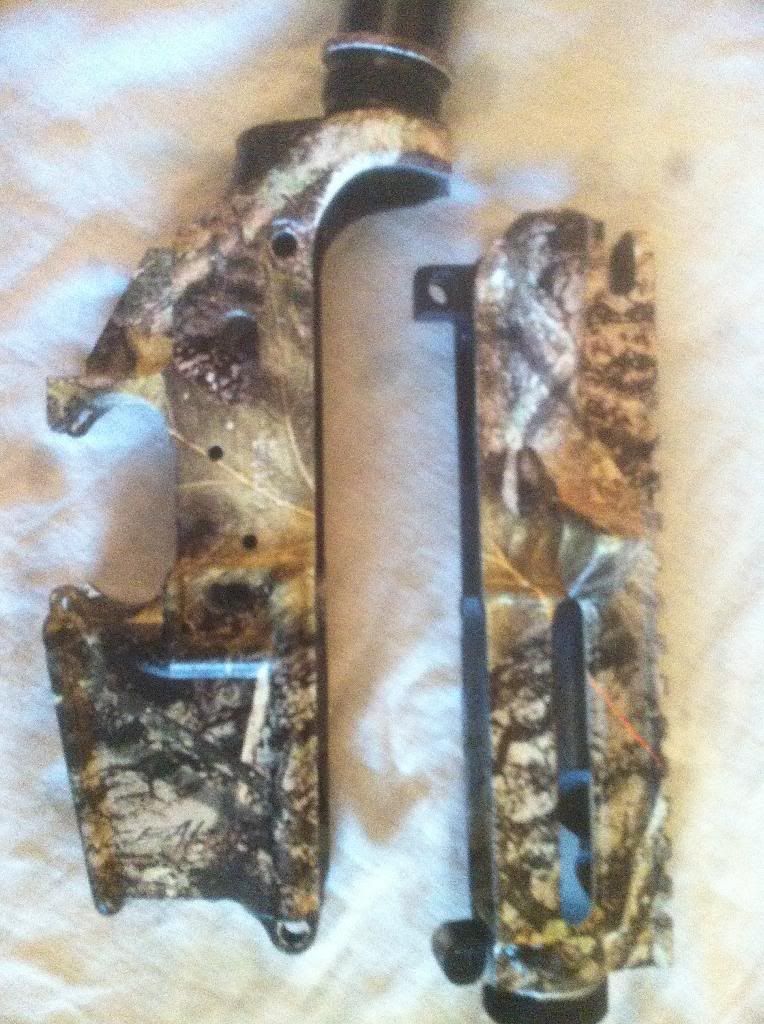
second attempt went amazing compared to the first. dipped the receivers together held by some small plastic anchors in the takedown holes. have a couple small pin holes that will be no problem to touch up...my hand guard is darker by a little because i botched it a little and double dipped, but not so much that it won't work. Overall I think I am getting the hang of this
|
|
|
|
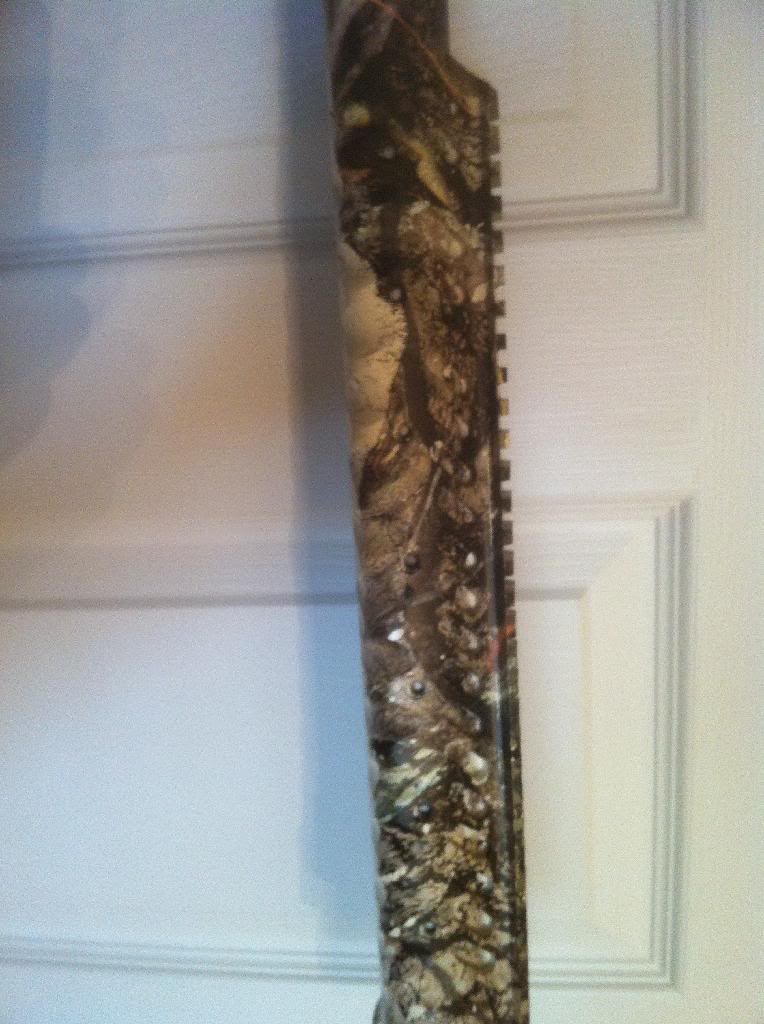
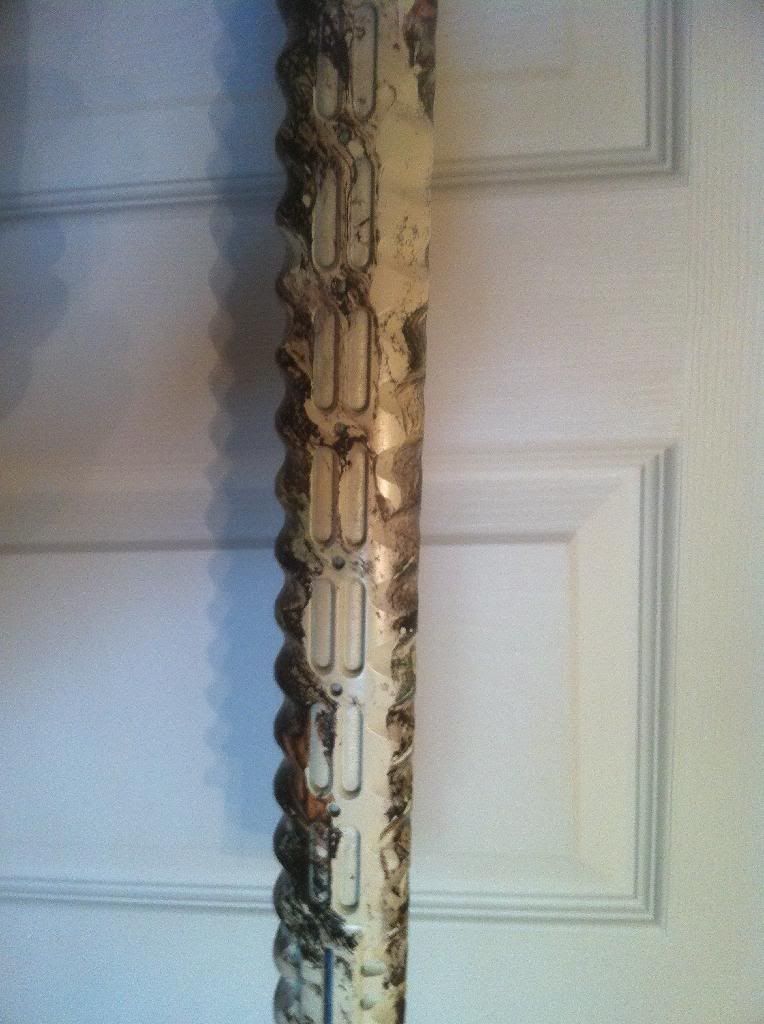
[#20]
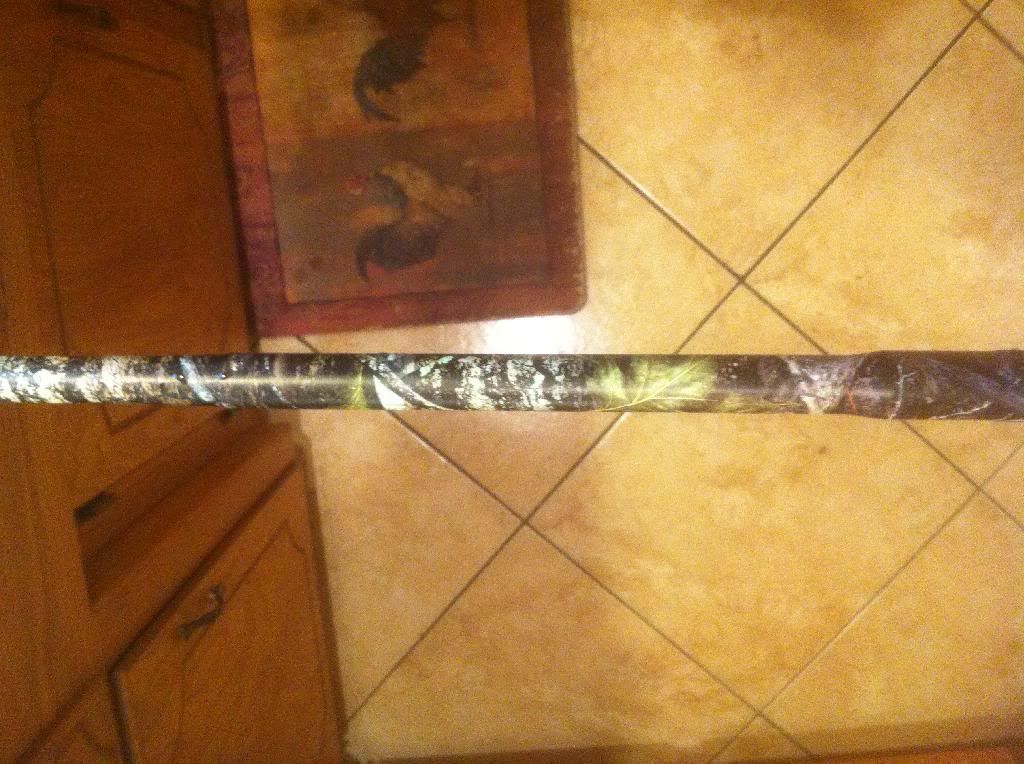
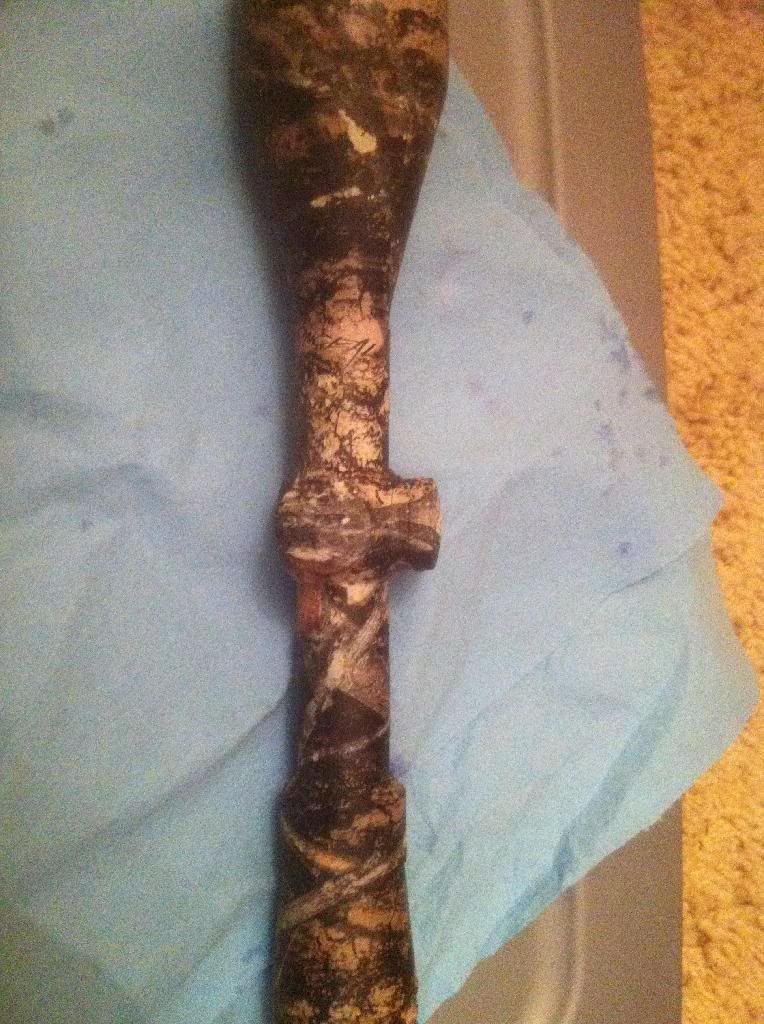
Dipped the barrel today, 20" Lothar Walther Varmint Tactical...
|
|
|
|
[#21]
Word of advise, don't dip barrel seperate from gas block...I taped off where the gas block seats, but I have an inch in front of the gas block area that is milled the same diameter. I thought surely the gas block will slide over with minimal scratches. Won't even start without stripping the paint till you get to seat spot.
Just don't do it it won't fit 
|
|
|
|
[#22]
Can you post up some pics of the whole shebang?
Looks good so far! |
|
|
|
[#23]
Have all the parts dipped, still in the clear coat process, and have to do a little touching up to the barrel because of the gas block issue. When I get it put together I'll definitely post a complete pic...give me a few more days:)
|
|
|
|
[#24]
Awesome. :)
|
|
|
|
[#25]
What are you running for clear? Since, that is the bread and butter of the whole process.
|
|
|
|
[#26]
I am running the matte clear that came with the kit, probably from the looks of it is just rustoleum X2 clear.
|
|
|
|
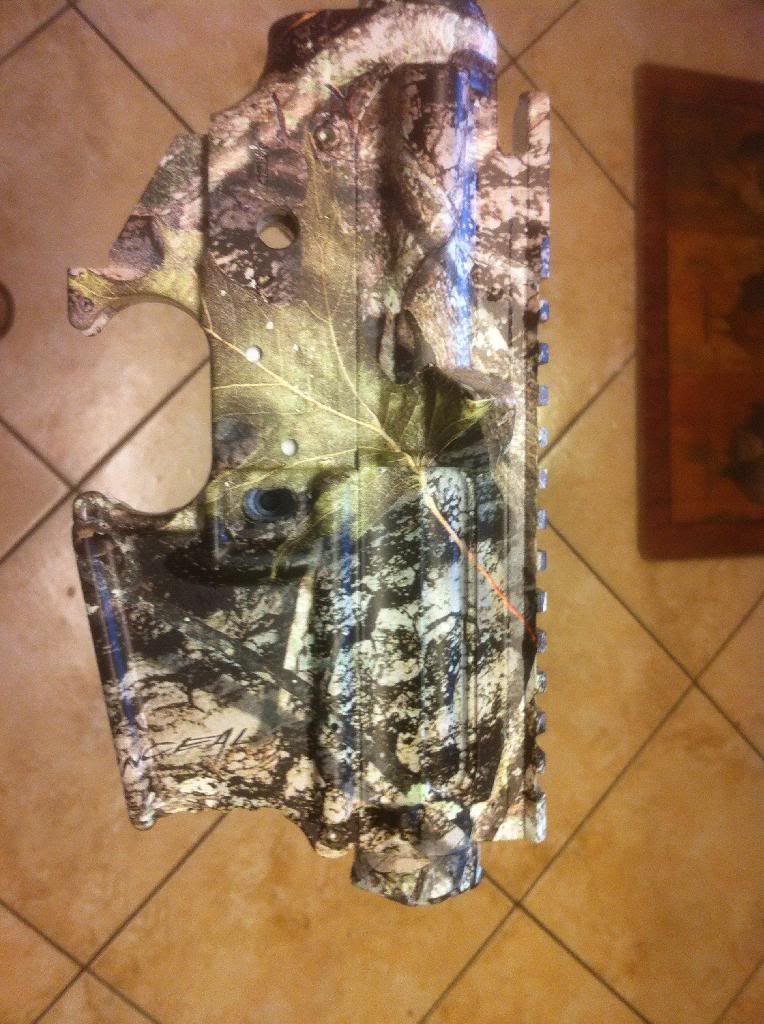
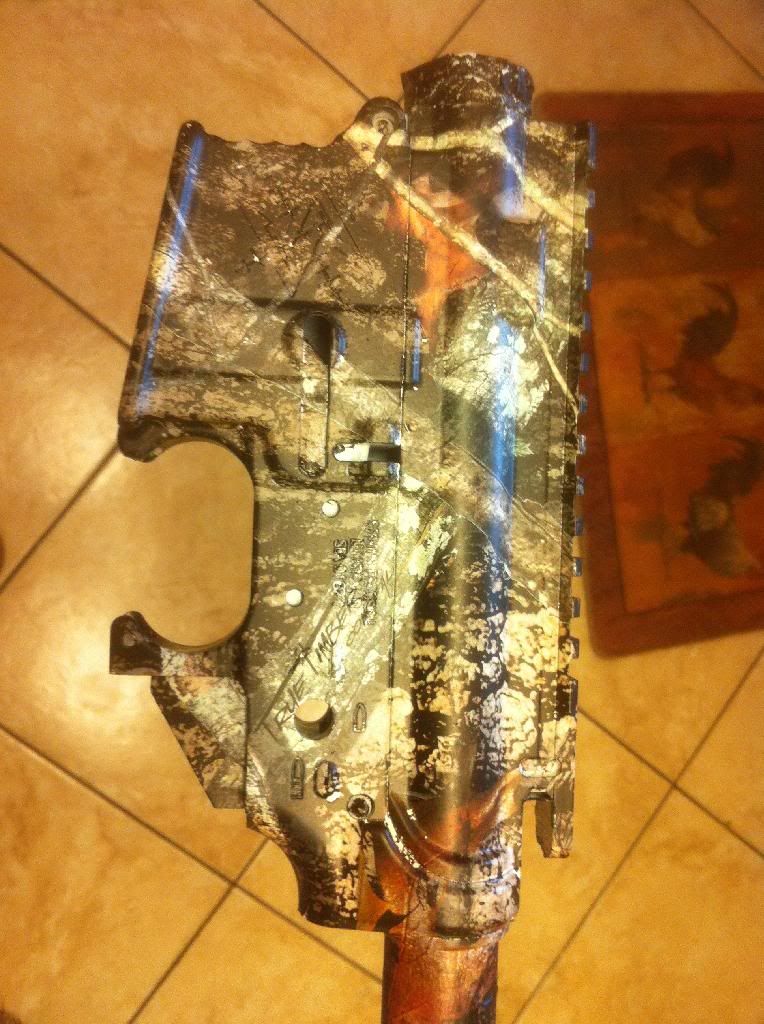
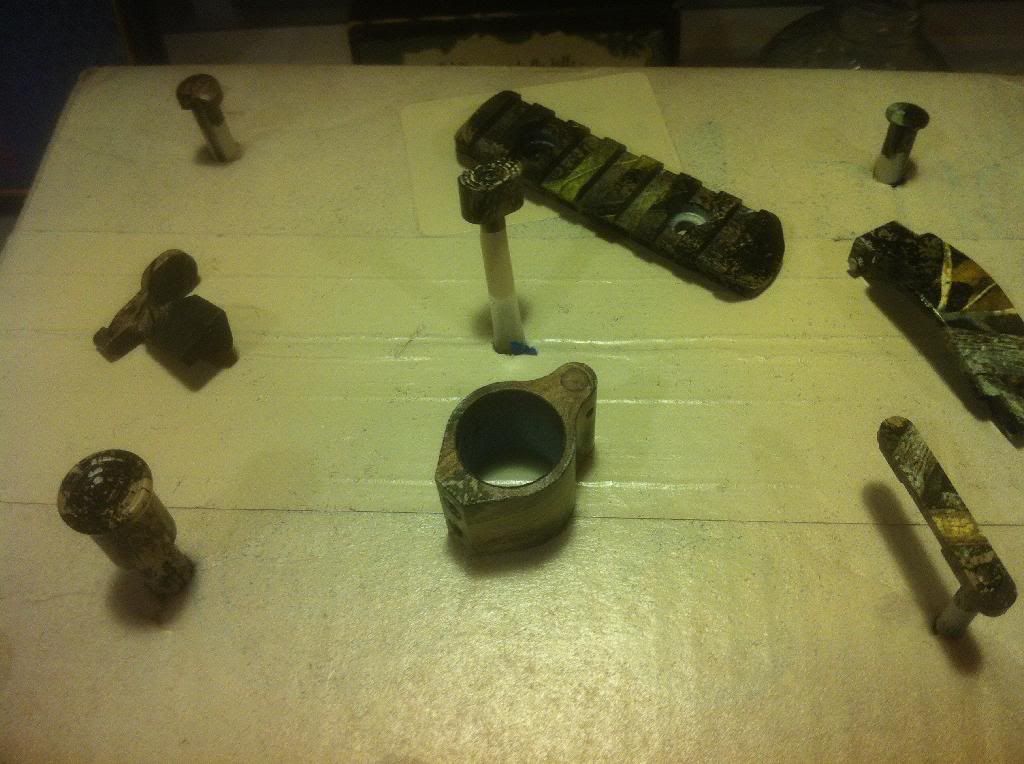
[#27]
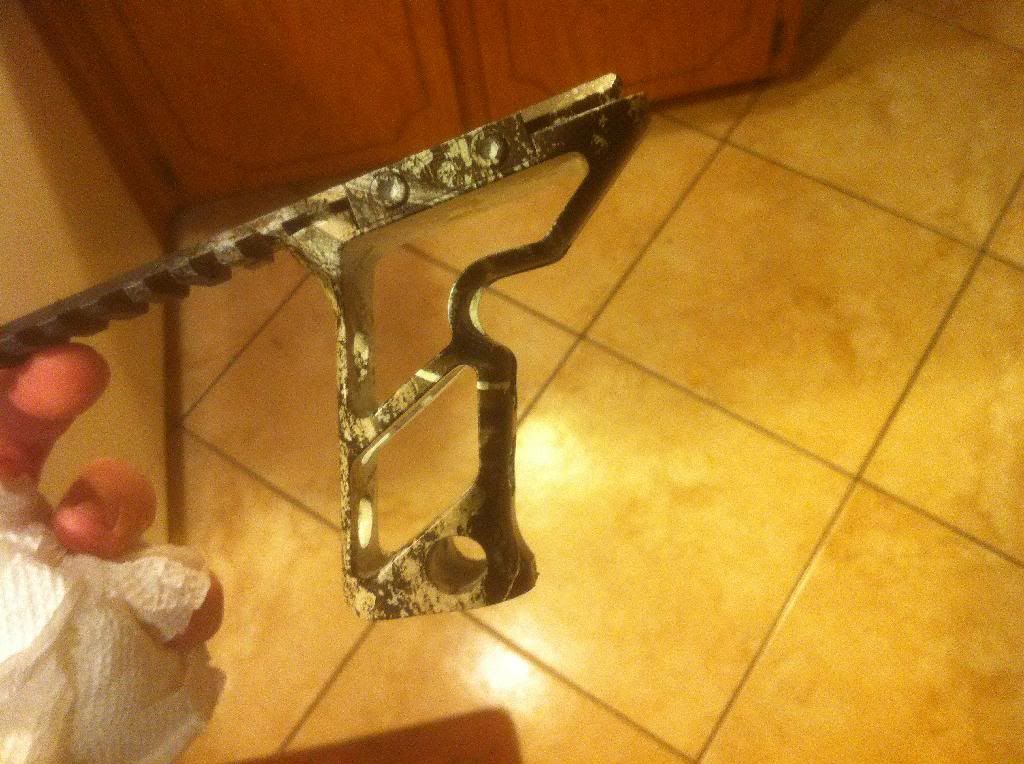
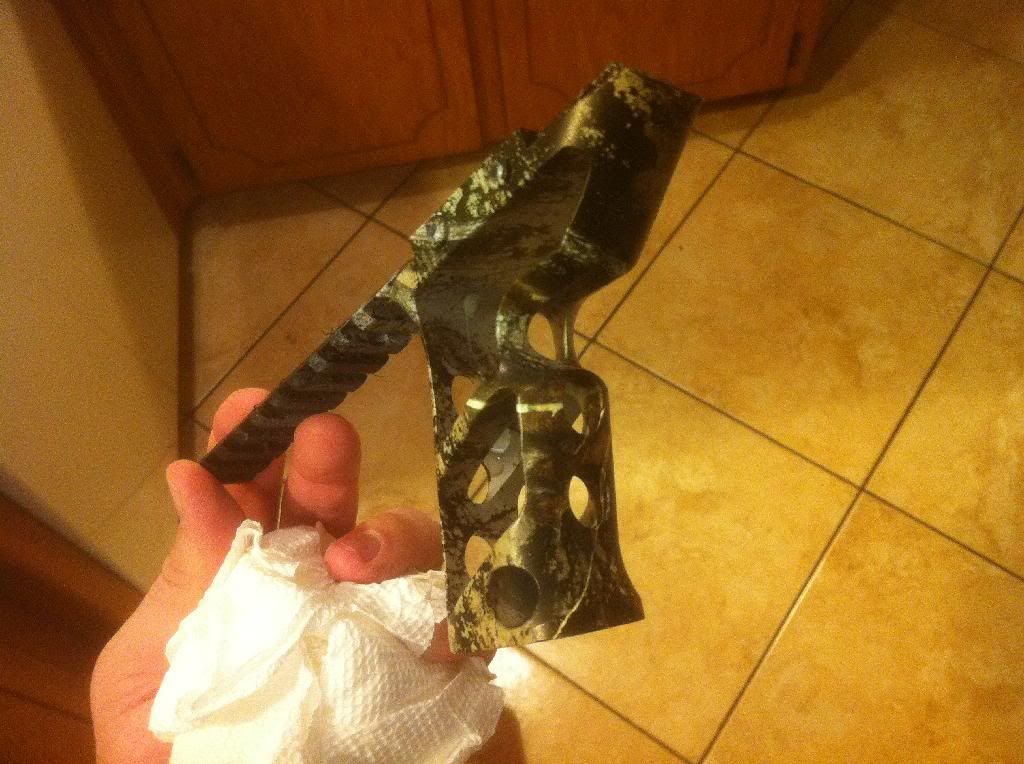
Meanwhile, some more parts pics...
|
|
|
|
[#28]
Looking good.
|
|
|
|
[#29]
No piece came out "perfect", however, I have become pretty decent during this process at touch up :)
|
|
|
|
[#30]
How do you "touch up" the parts? Re-dip portions of it, paint, or what?
|
|
|
|
[#31]
Well, My first piece (hand guard) I re-dipped and it made the piece much darker. If I was being particular about looks, I would probably strip it and re-do the hand guard so it would be uniform with the rest of the gun. It is not bad, just darker than the other pieces. As far as the rest of the touch ups, I used rustoleum X2 spray paint and sprayed a little in a plastic disposable paint tray of black and khaki. I used sponge brushes and loaded the brush then wiped the majority of it off and dabbed at the area needing touched up, let it dry for 30-60 seconds then using another sponge brush dabbed the tan/khaki across the black...blended really well. If the touch up was in an area of the camo that was not mostly darker then I did the touch up a little wider out...till I got closer to an area that blended well to feather it all together...? I am no painter, so my explanation may be confusing as heck :)
Basically just a little paint on the brushes and dab it over the area till it blends in. Even smeared some lightly with my finger a couple times to give it a "shadowy" look. |
|
|
|
[#32]
Ok, I have everything clear coated (six coats
) I keep thinking I should put more on, but I think enough is probably enough, if it is not durable enough then next time maybe I'll try the clear Duracoat. Gonna let it cure for the recommended 48 hours then assembly time!!! Really hoping for no more tolerance issues.
|
|
|
|
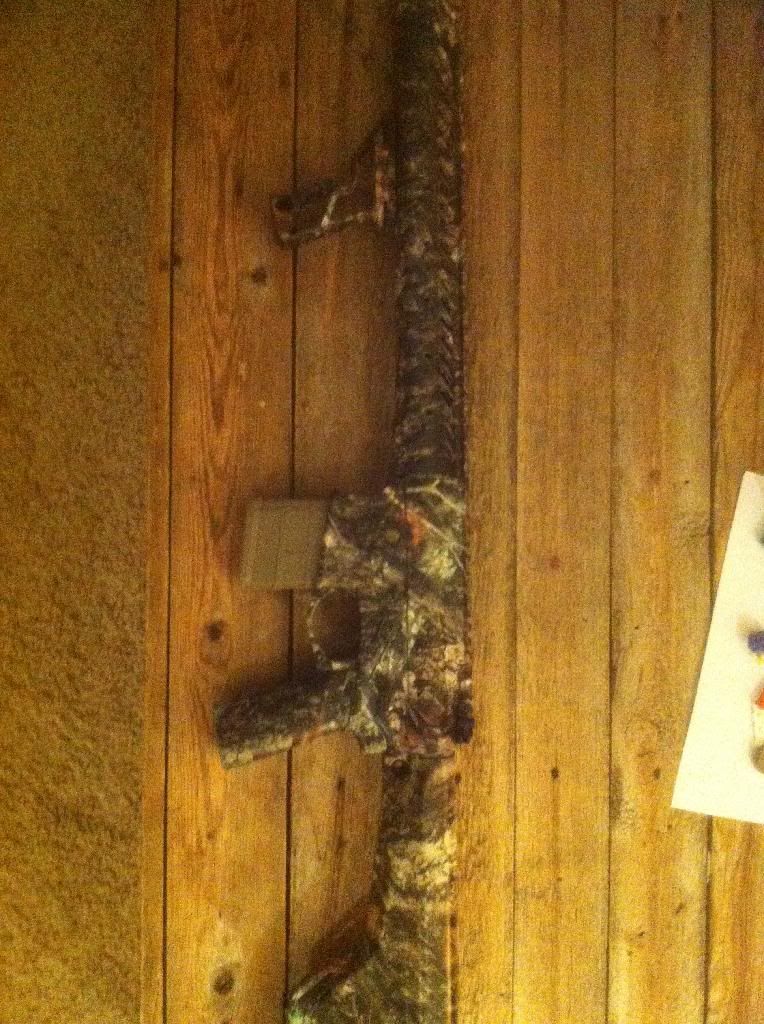
[#33]
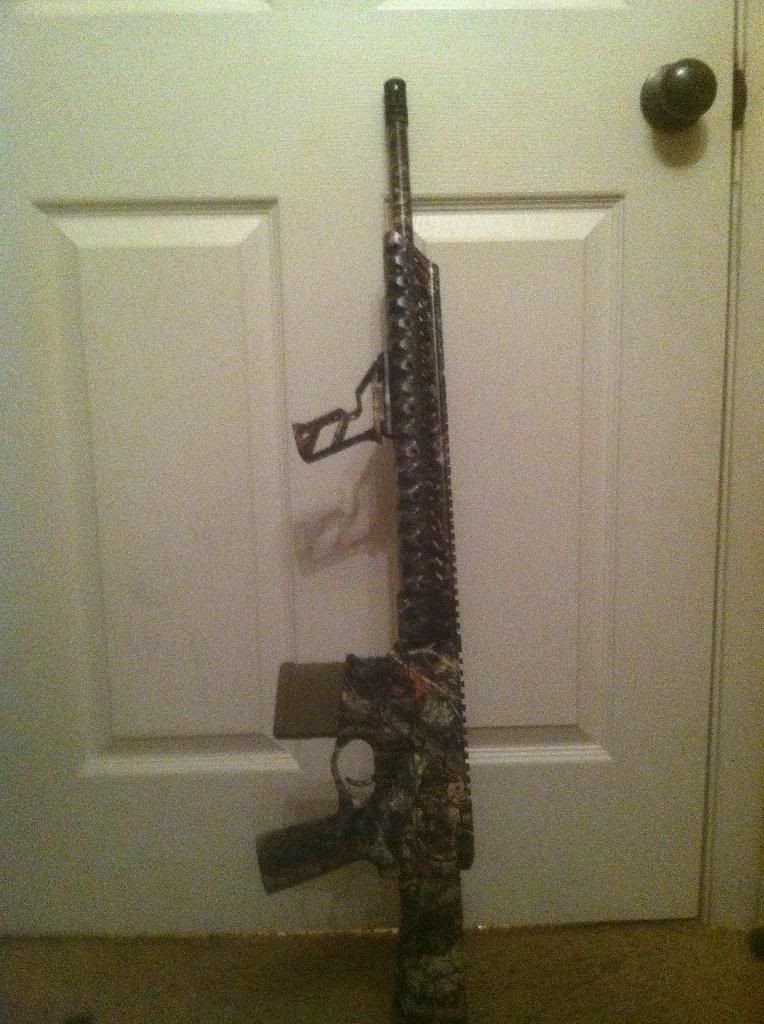
Well, got it put together. Had a few more tolerance issues which called for chasing the holes out with a drill bit ( by hand), and using a non-dipped mag release button. Overall pleased with my first hydro dipped rifle. And extremely pleased with Dip Wizard and the customer support after the sale. Going to do a scope and a couple mags as time permits to complete the build.
|
|
|
|
[#34]
Looks good!
|
|
|
|
[#35]
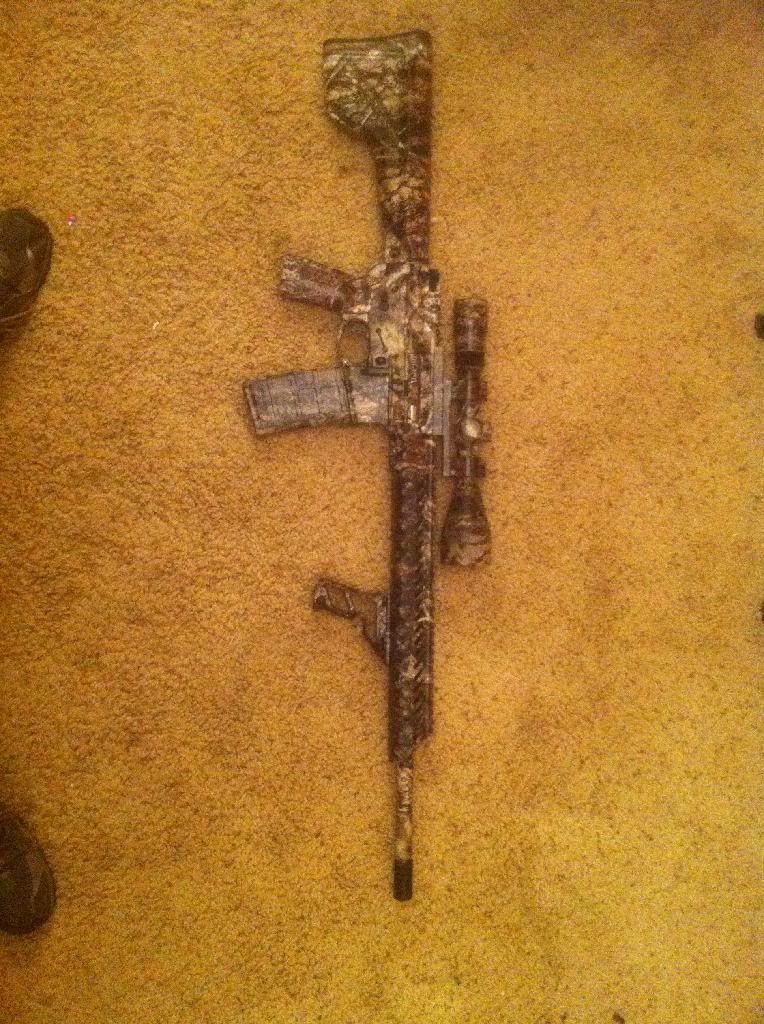
Scope is done today, used a redfield revolution. I've been waiting for the nightforce SHV, but now am having a hard time talking myself into it...probably wouldn't dip that one:)
|
|
|
|
[#36]
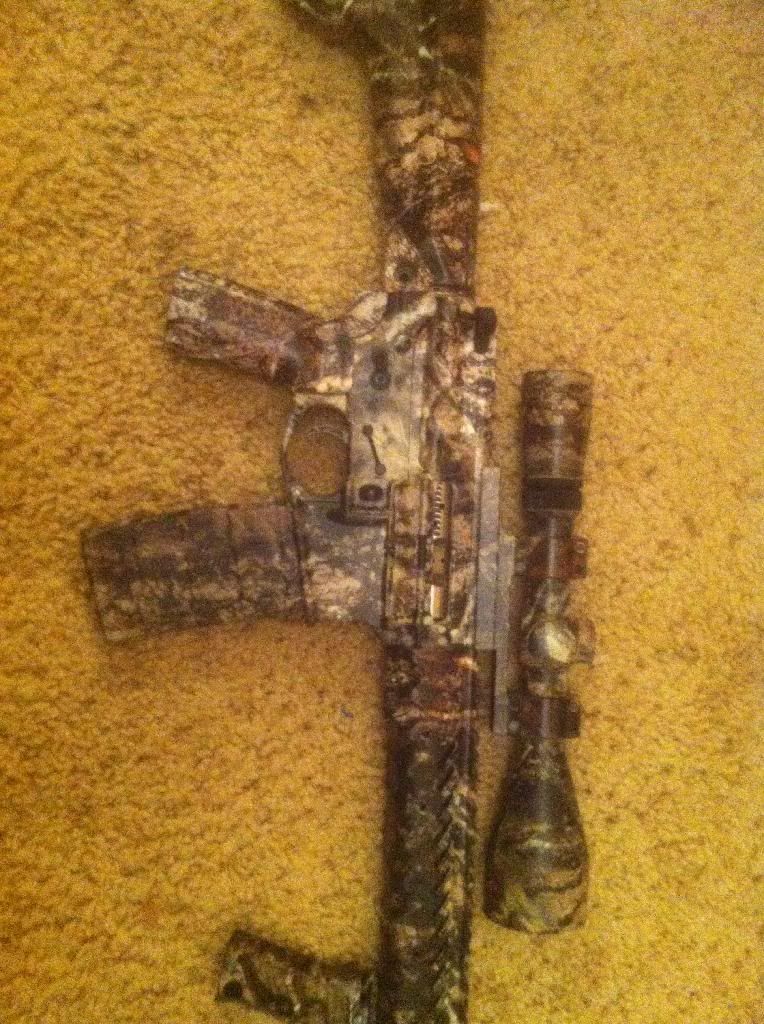
is the forearm dipped? I cant tell
|
|
|
|
[#37]
Quoted:
is the forearm dipped? I cant tell Yes, twice...lol...that's why it looks dark in the picture, it was the first thing I dipped and messed it up, instead of stripping and starting over (like I should have) I just dipped again over the first dip. Doesn't look as dark in person as the pic, but is darker than the rest of the gun. |
|
|
|
[#38]
That looks GREAT!
Were you happy with the support and the instructions? I was just looking at the website and was hoping for more info on the product and how to apply it. I'm ready to jump in, just want more info. Thanks |
|
|
|
[#39]
Nice job, thanks for sharing.
|
|
|
|
[#40]
Quoted:
That looks GREAT! Were you happy with the support and the instructions? I was just looking at the website and was hoping for more info on the product and how to apply it. I'm ready to jump in, just want more info. Thanks I was very happy with the customer support, I messaged them with a few questions along the way and they were very prompt about getting back to me. The instructions were clear and two full pages just photo copy type. I viewed practically every you tube on hydro dipping there was before I bought. Went with dip wizard because the cans are larger for the same price. |
|
|
|
[#41]
Please give a step by step on what you did to dip the scope. Did you have Dip two sides or just one?
|
|
|
|
[#42]
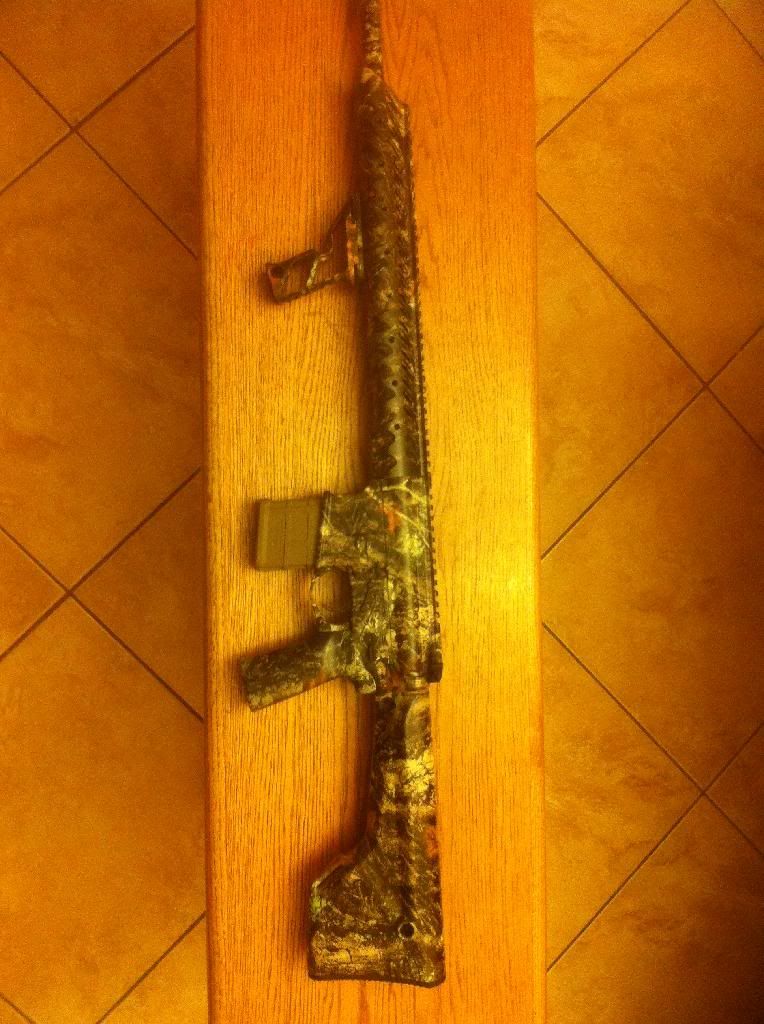
Quoted:
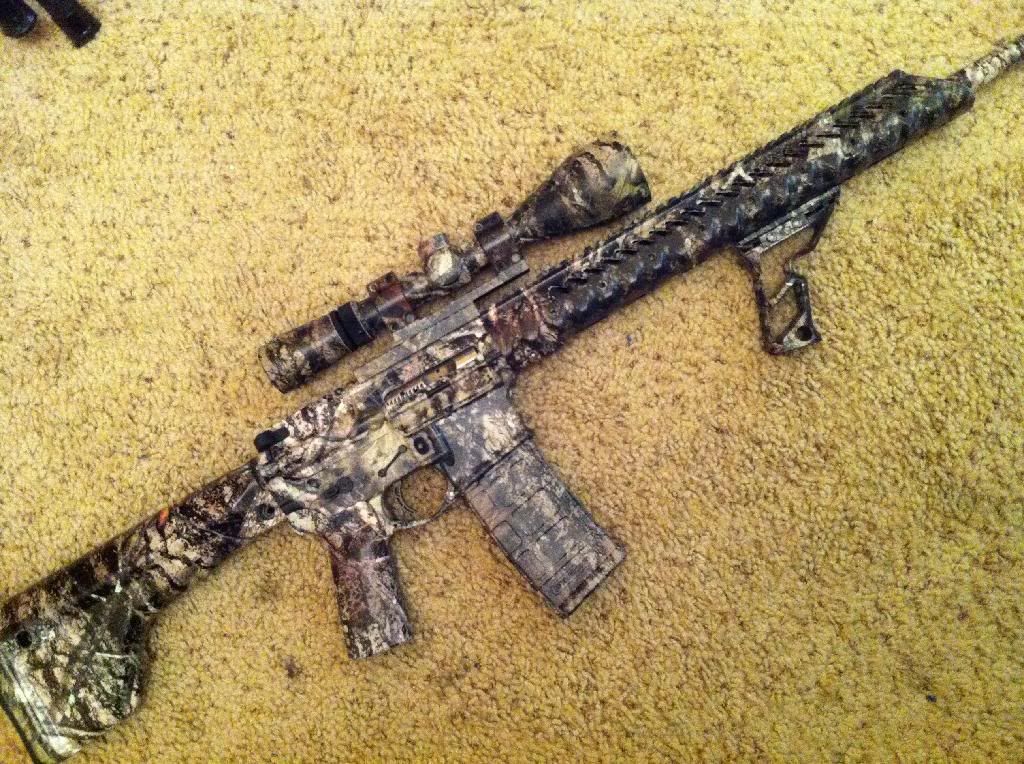
Please give a step by step on what you did to dip the scope. Did you have Dip two sides or just one? Ok, I stressed over dipping the scope a lot more than I should have. First, I taped off the areas not to be dipped- placed tape where my Larue mount rings would go, lightly mounted the rings and trimmed excess tape off...taped off the adjustment ring (variable power ring)...and I think I went overboard making sure water (and the chemicals in it) would not touch my glass, I bought a rubber sheet in the plumbing section that is used to make gaskets (was about $4.00), and cut circles to fit in the ends of the scope then used masking tape over the rubber. I sprayed the base coat on the scope I elected to "roll" the scope, I placed the scope in the 'dip' with the bottom of the scope towards me and slowly rolled the scope, (turning it with tape handles that I had formed on the ends of the scope). As I turned the scope I moved it forward, the same motion as if I were rolling it on a solid surface. Once I made the full rotation and the fil or "dip touched on the bottom, I submerged the scope and shook or swirled the scope in the water to clear any extra film on the surface so I could remove without the extra getting on the scope. Here is a picture or two of the completed rifle don't mind the shoes :
|
|
|
|
[#43]
You need to upgrade your potato.... at least get some better light on what you're taking pictures of.
Nice writeup, though, I'm learning stuff reading your post. |
|
|
|
[#44]
Quoted:
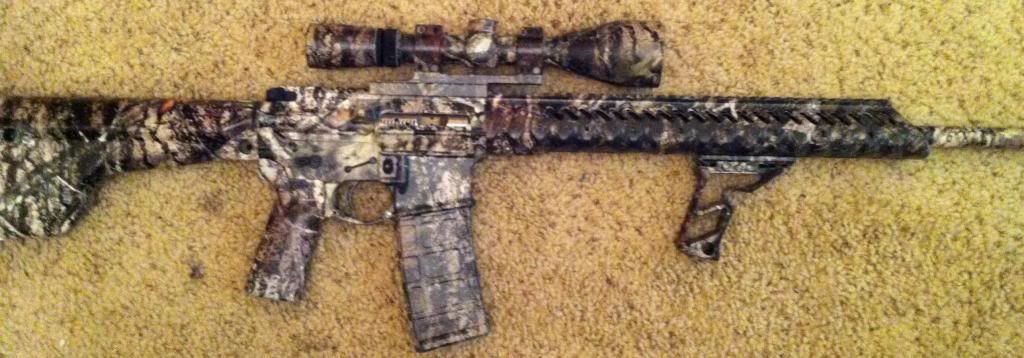
You need to upgrade your potato.... at least get some better light on what you're taking pictures of. Nice writeup, though, I'm learning stuff reading your post. LOL, I cleaned the grime off my iPhone camera lens, these should look better. Wow, didn't realize it was that dirty
|
|
|
|
[#45]
Good gawd son! What did you use the phone for?
Lots better, good job |
|
|
|
[#46]
Looks pretty good
Did you use the roll technique on the forearm and uppers? |
|
|
|
[#47]
Looks pretty good
Did you use the roll technique on the forearm and uppers? |
|
|
|
[#48]
Quoted:
Good gawd son! What did you use the phone for?
Lots better, good job I work in metal fabrication with a lot of grease and grime, usually keep my phone in my welding coat. its in a case, but its seen better days :) |
|
|
|
[#49]
Quoted:
Looks pretty good Did you use the roll technique on the forearm and uppers? I used the roll technique for the scope and mags...wish i had used it for the forearm. This was a learning experience. I actually dipped the upper/lower together and dipped one side taped then taped that side and dipped the other side, I placed the top seem along the edge of the rail, and the pattern lined up so good on the bottom edges I have a hard time seeing it. |
|
|
|
[#50]
thanks for info
|
|
|
 Win a FREE Membership!
Sign up for the ARFCOM weekly newsletter and be entered to win a free ARFCOM membership. One new winner* is announced every week!
You will receive an email every Friday morning featuring the latest chatter from the hottest topics, breaking news surrounding legislation, as well as exclusive deals only available to ARFCOM email subscribers.

AR15.COM is the world's largest firearm community and is a gathering place for firearm enthusiasts of all types.
From hunters and military members, to competition shooters and general firearm enthusiasts, we welcome anyone who values and respects the way of the firearm.

Subscribe to our monthly Newsletter to receive firearm news, product discounts from your favorite Industry Partners, and more.
Copyright © 1996-2024 AR15.COM LLC. All Rights Reserved.
Any use of this content without express written consent is prohibited.
AR15.Com reserves the right to overwrite or replace any affiliate, commercial, or monetizable links, posted by users, with our own.


