|
[#1]
Well the specifications call for 1.249, how did you mill it and do you have the ability to take the last .013 out of the FCG pocket? In some situations depending on the LPK, that could interfere with the trigger releasing correctly or cocking correctly, it is always best to get as close as possible to the specifications. .013 doesn't seem like much but it can be the difference between it working correctly or not.
|
|
|
|
[#2]
.013 shouldn't be an issue. Do a test fit of the trigger group and check.
|
|
|
|
[#3]
Quoted:
.013 shouldn't be an issue. Do a test fit of the trigger group and check. I don't know, I had one that was .010 out of spec and with the LPK I was using, the trigger would not operate properly. Now I make sure all of mine are at 1.249 or 1.250 and have not had a problem since. |
|
|
|
[#4]
The drawing spec I've seen sez 1.249 +/- 0.010. 1.236 is shallower than 1.239, so there's definitely a potential for a problem. I'd want to mill it down a bit farther,
|
|
|
|
[#5]
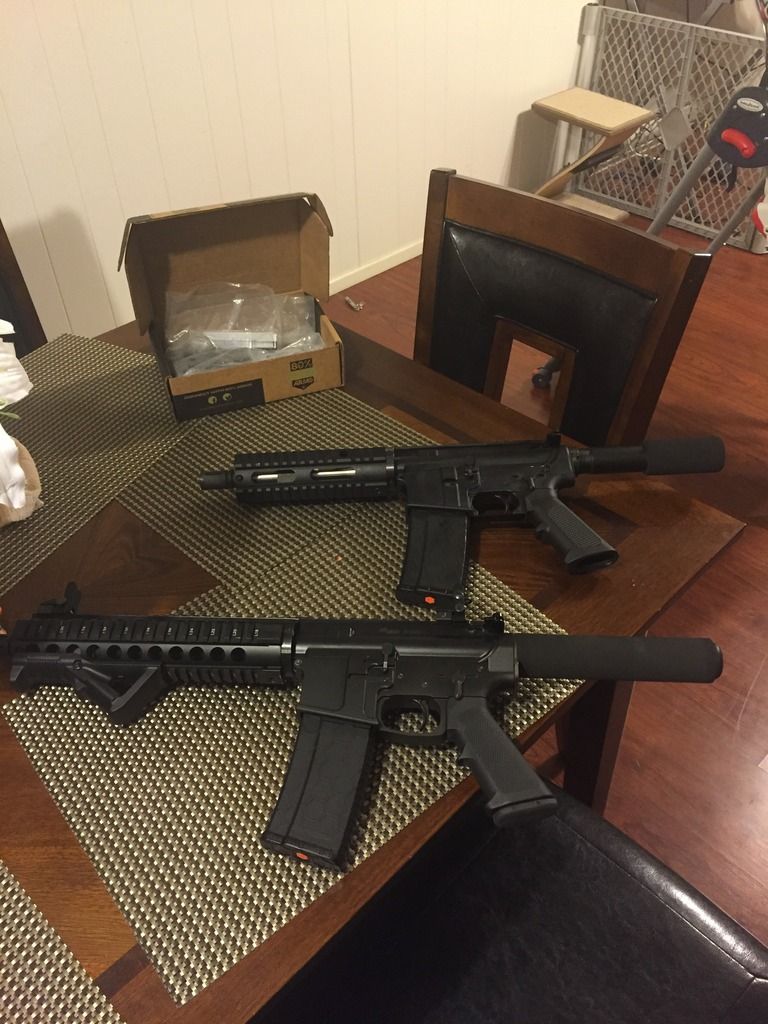
Thank you guys after work I'll install the lpk and see ,I'm using the easy jig my first one was dead on this time I'm coming up a little short what I'm concerned about is how do I take that little bit off the bottem with out going to far since my mill was already to the top of the depth gauge? I guess just make sure it's in there super tight all the way up huh?
|
|
|
|
[#6]
At this point you don't have to use the top of the easy jig anymore, let it ride on the top of the side panels, once I break the surface all the way around I take the top off the jig and just carefully go from there, if you are not comfortable with that, then carefully move the mill down about .010 in the router, you should still have plenty of shaft in the collet to do that small amount, you are very close so it will only take one light pass to get you there. Now, I use a mill and not a router so I have a bit more control over my set up than you would with a router.
|
|
|
|
[#7]
|
|
|
|
[#8]
I don't know why they put ? Marks on my reply lol
|
|
|
 Win a FREE Membership!
Sign up for the ARFCOM weekly newsletter and be entered to win a free ARFCOM membership. One new winner* is announced every week!
You will receive an email every Friday morning featuring the latest chatter from the hottest topics, breaking news surrounding legislation, as well as exclusive deals only available to ARFCOM email subscribers.

AR15.COM is the world's largest firearm community and is a gathering place for firearm enthusiasts of all types.
From hunters and military members, to competition shooters and general firearm enthusiasts, we welcome anyone who values and respects the way of the firearm.

Subscribe to our monthly Newsletter to receive firearm news, product discounts from your favorite Industry Partners, and more.
Copyright © 1996-2024 AR15.COM LLC. All Rights Reserved.
Any use of this content without express written consent is prohibited.
AR15.Com reserves the right to overwrite or replace any affiliate, commercial, or monetizable links, posted by users, with our own.