|
Posted: 2/13/2012 8:10:08 AM EDT
The LaRue Handstop and YOU!
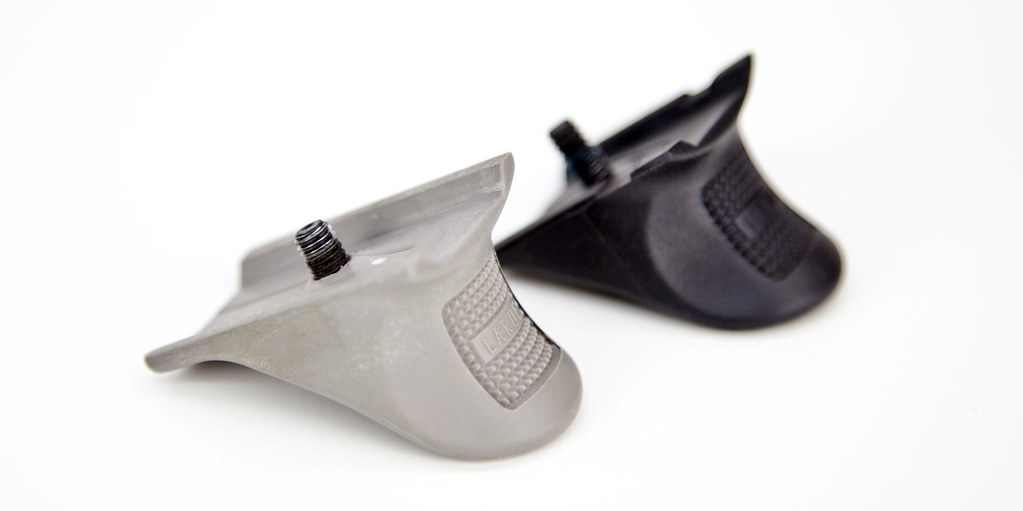
Handstops, they're all the rage these days. And for good reason, low profile, light, and able to help get a consistant grip especially on longer rail systems. One of my favorites is the LaRue Tactical handstop, why? because it's a light chunk of plastic, contoured well, and super simple. It easily attaches to the hardpoints of the LaRue rails, or slides over a picatinny rail, with ease. "But I don't have a LaRue PredatAR/OBR rail, nor do I have a railed forearm, Isaac. Am I shit out of luck?" Well no, Timmy! In fact, your shit is FULL of luck! Let me explain. Generally this information will apply to two forearms that I own, the Troy VTAC rail and the Magpul MOE forearm. The majority of the modifications are the same with a few minor details in the finishing. What I used (what you'll probably want to use). -Bandsaw (Metal-cutting blade / non-metal cutting blade) -File -Sandpaper -Drill Press -Aluma-black -Loctite -Patience -MOE Rail screw and backer (MOE mod) Here's the process in a nutshell for the VTAC rail, you have to cut the top of the handstop off, which is the part that actually holds to the picatinny rail. I use a bandsaw to create a nice even cut. Then use sandpaper to create a nice even surface, and round and sharp edges created. 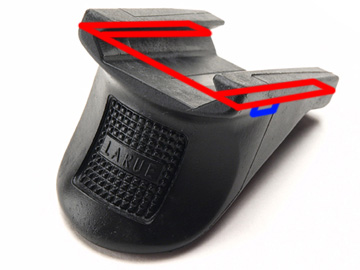
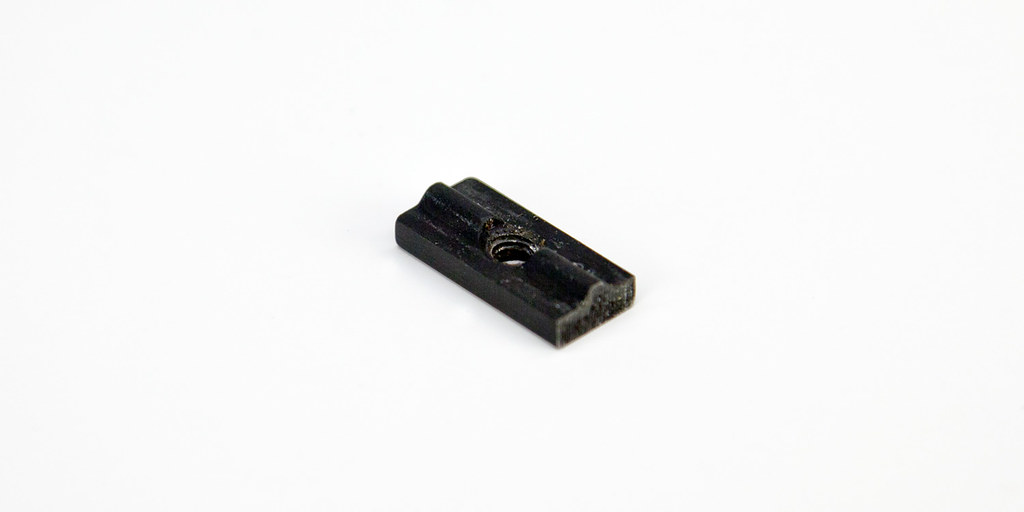
You'll notice this now creates an arc that allows the bottom to contour to a round forearm. I sugest using the LT handstop that already has the hole in it, so that it saves you some work. The VTAC rail comes with internal rail backers to allow you to attach rail portions along the attachment points. I seriously doubt people are using all of these rails, so you should have a spare one sitting around. I take the shortest one I have, and cut it in half (as pictured). Then using some aluma-black (or a pen) darken the exposed metal (after sanding it). 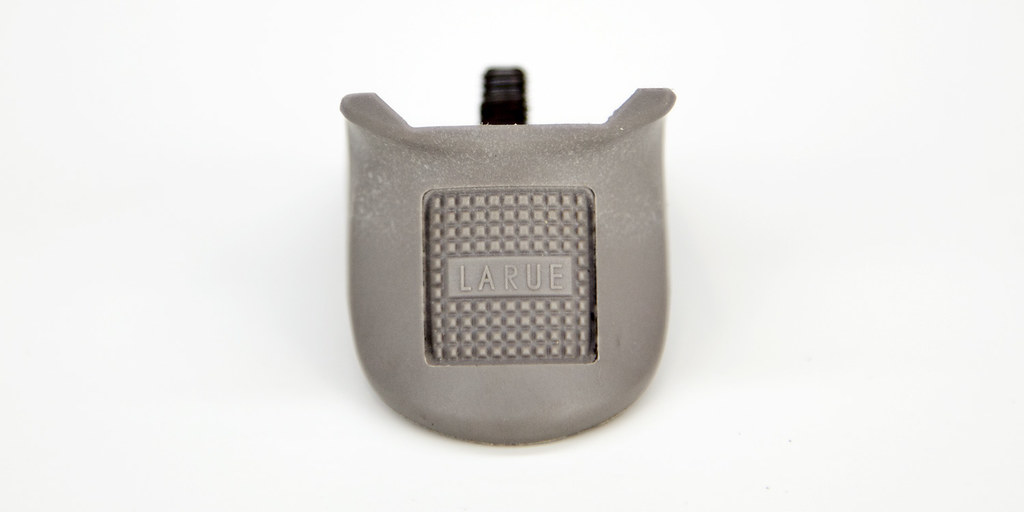
You'll need to widen the handstops hole to match the diameter of the new screw. With all of these components in place just position the shortened rail attachment backer where you want it (I used some matches to wedge the rail backer in place so it didn't keep falling out), put some loctite on your screw, put it through the handstop and into the backer, go finger tight, put a witness mark on it, grab a beer and congratulate yourself on a job well done. 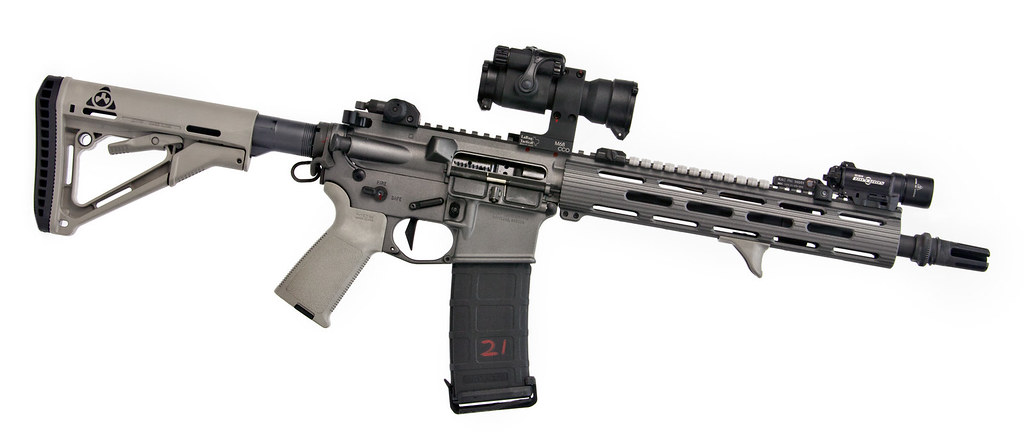
But wait, you don't have a VTAC rail, you've got a MOE forearm? Damnit why didn't you tell me these details upfront?! Alright, fine. The plan is the same for the most part. You'll want to remove the top portion of the handstop (usually about 4-5mm of material), I also suggest removing about 8mm off the back of the handstop to avoid a step I'll get into in a bit. 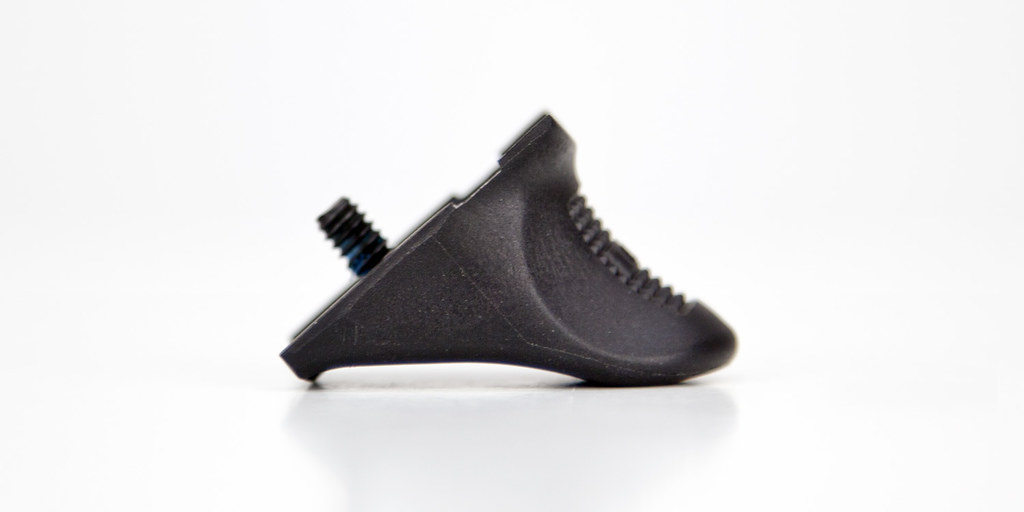
Now you'll notice that the MOE forearm has a round contour on the bottom. But it has ribbing that runs perpendicular to the forearm. Frankly I didn't want the handstop to be wedged up on one of those ribs. So I took the step of creating a notch in the modified handstop. I used a flat-sided file (later versions I used a 3-axis mill because frankly mills kick ass), and created a notch about 3mm deep, then used a small file to clean up the edges, and high grit sandpaper to complete the work. 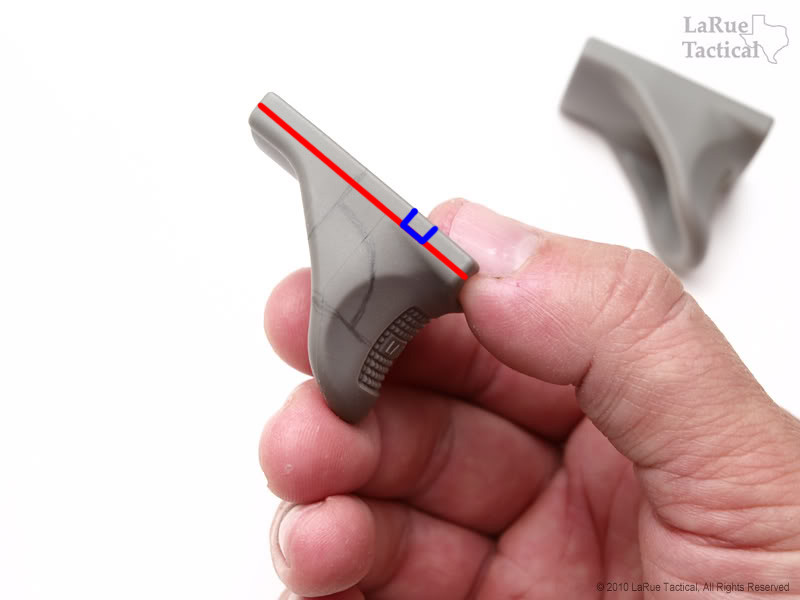
This is a grove that runs across both sides, so marking across using a ruler is probably a good idea. Width is about 8mm wide but you can eyeball it. This will also prevent the handstop from wiggling, as well as prevent the handstop from pulling back. It's best to position the handstop where you want it first, mark it, then carve your notch, otherwise you'll have to start again. So why did I cut the back off the LT handstop? Because at first I created two sets of grooves. This makes the positioning of the second set of grooves precise, but it's also un-needed. Halfway through I ended up cutting the second set off because A) it wasn't needed and B) it saved me more time. Now taking your MOE rail backer, and MOE screw, take the bottom of the forearm off, place your backer, install your screw through the modified LT handstop, and tighten (The MOE screw will thread through the LT handstop without reeming out a bigger hole). Install the lower portion of the forearm back on. And go grab a beer. 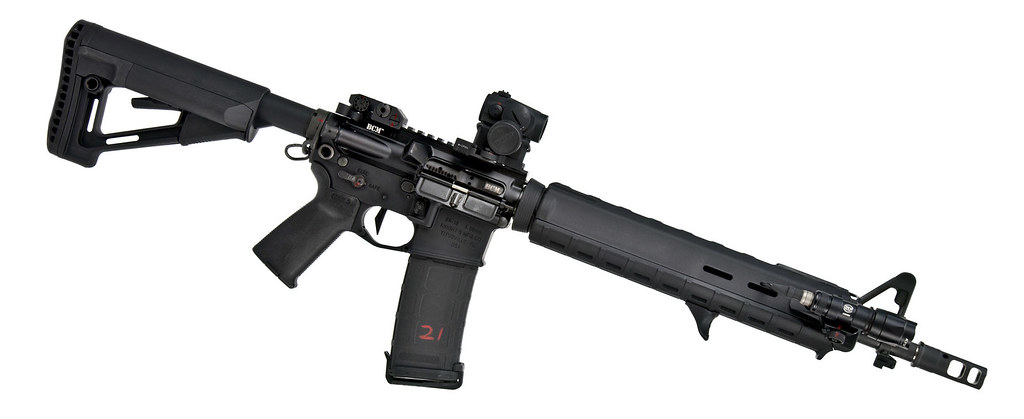
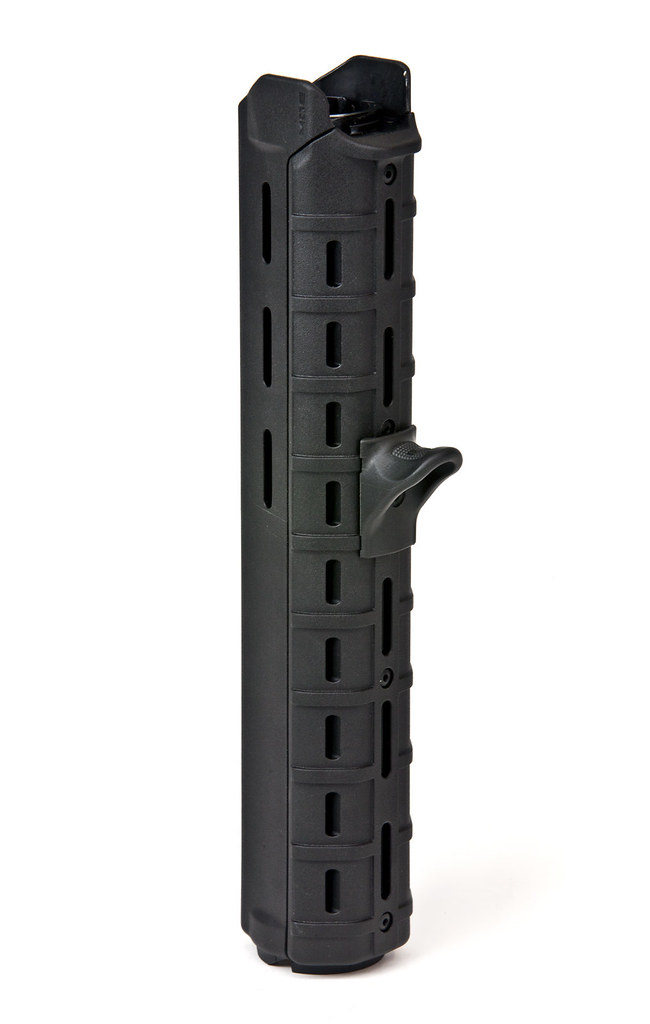
Note: Older version with two cut outs. Don't waste your time like I did. That's it. Nothing more to it. But the end results should look factory if you take your time and measure twice / cut once. Hope this helps! |
|
|
|
[#1]
Great write-up, thanks for sharing!
|
|
|
|
[#2]
I installed mine on a VTAC useing a little MOE rail and then just cut part of the handstop off.
(Place saver for photo) |
|
|
|
[#3]
Great job...
|
|
|
|
[#4]
Quoted:
Great write-up, thanks for sharing! |
|
|
|
[#5]
Thanks for the write up Titleist, I noticed you used the narrow backing plate like what came with my VTAC-RSM. I wrote a review on it here that pointed out my concerns with using that backer on the JP/VTAC. If anyone is going to do this modification I suggest using the backing plates I used in my review.
|
|
|
|
[#6]
Considering that the forces are usually pulling back, and really...not that much, I don't think it's an area for concern.
Sure you can use the wider one, but I think for this mod it's more than acceptable. That is to say there's nothing wrong with using the wider one if you feel concerned. |
|
|
|
[#7]
Nice job!

|
|
|
|
[#8]
good job
|
|
|
|
[#9]
Looks Good!
|
|
|
|
[#10]
Quoted:
Great write-up, thanks for sharing! +1 |
|
|
|
[#11]
Like the rest have said - thanks for sharing. I have a set on order with LaRue and they're on backorder right now.
I found a set locally at a Dealer and was going to cancel the backorder, but this gives me a few ideas so I'll keep the extras. Cool - project time! 
|
|
|
|
[#12]
Great write up.
|
|
|
 Win a FREE Membership!
Sign up for the ARFCOM weekly newsletter and be entered to win a free ARFCOM membership. One new winner* is announced every week!
You will receive an email every Friday morning featuring the latest chatter from the hottest topics, breaking news surrounding legislation, as well as exclusive deals only available to ARFCOM email subscribers.

AR15.COM is the world's largest firearm community and is a gathering place for firearm enthusiasts of all types.
From hunters and military members, to competition shooters and general firearm enthusiasts, we welcome anyone who values and respects the way of the firearm.

Subscribe to our monthly Newsletter to receive firearm news, product discounts from your favorite Industry Partners, and more.
Copyright © 1996-2024 AR15.COM LLC. All Rights Reserved.
Any use of this content without express written consent is prohibited.
AR15.Com reserves the right to overwrite or replace any affiliate, commercial, or monetizable links, posted by users, with our own.


