|
Posted: 11/22/2011 9:50:50 PM EDT
[Last Edit: AZ_Sky]
This is re-post of a thread I made back in 2005 -
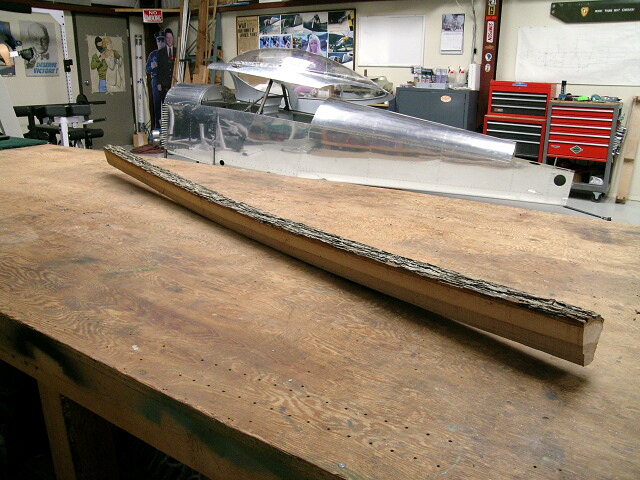
I retrieved it from the archives, found the original pics and here is a re-post from a long time ago.... Here it is, best I can reconstitute: ############################################# I'm waiting on parts for the airplane I'm building, so - since I own recurve and compound archery bows - I thought I'd build an American white wood flat bow backed with rawhide while I'm waiting. Since I hope this wont take more than a few weeks I thought I'd take chronological pics and post the results as I progress.. I've never done this before so I don't know how it's going to turn out. This thread is for anyone who cares to follow...... A friend of mine gave me a Hickory stave that was purchased from a supplier off the i-net, here are two pics of the raw stave: 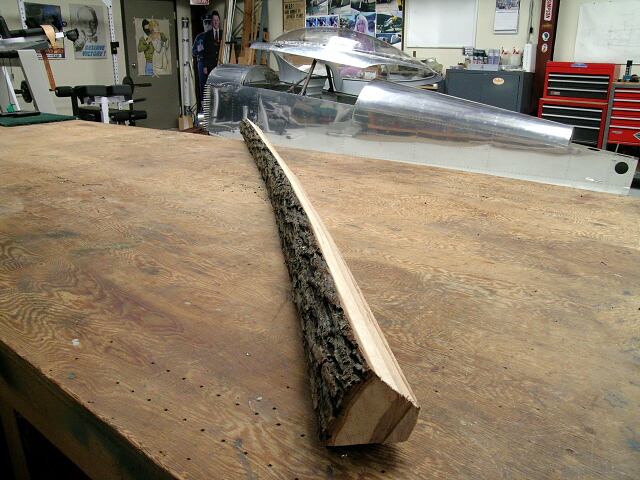
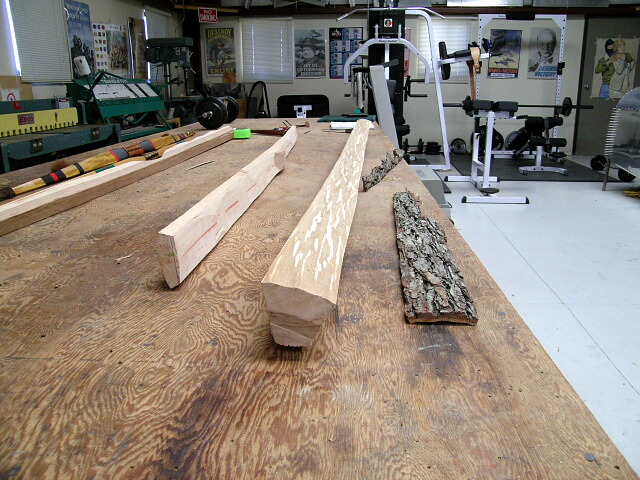
The first thing I did was to wait until the measured humidity of the stave was about 8 percent. Then I removed the bark being careful not to damage the the first growth ring (which will be the back of the bow). The first growth ring is the "whiteish" colored wood streaks you see on the stave. 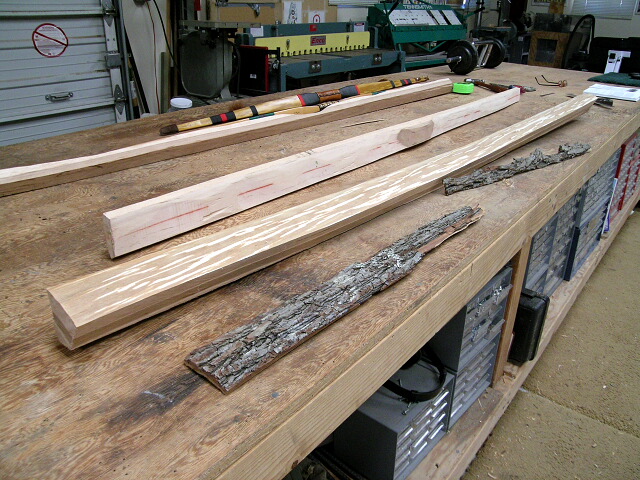
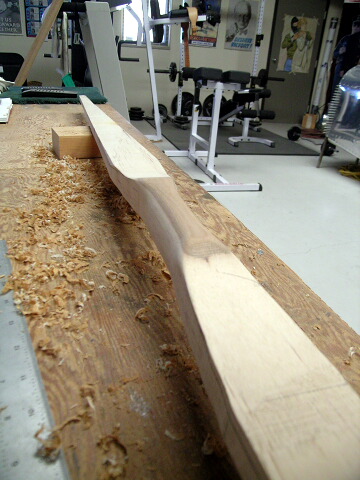
That's as far as I've gotten so far. The next step is to lay out and cut the the rough bow profile. I'll post pics when that's done. For those interested - stay tuned... UPDATE 12/10/05 OK, I've penciled out the rough outline for the belly and sides of the bow leaving plenty of "meat" for later shaping and tillering. The hardcore traditional bowyer at this point would use hatchets and knives to whittle the stave to the rough dimensions. I being the lazy type used a bandsaw. The rough profile of the belly of the bow: 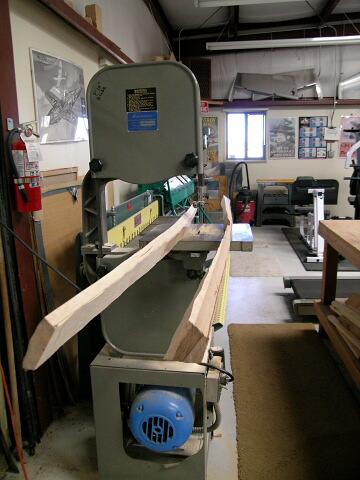
Closeup of the belly of the bow showing the rough handle profile: 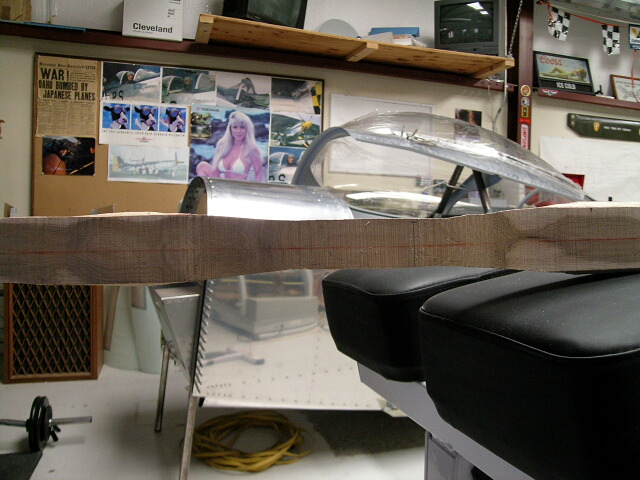
Closeup of what will eventually become the handle: 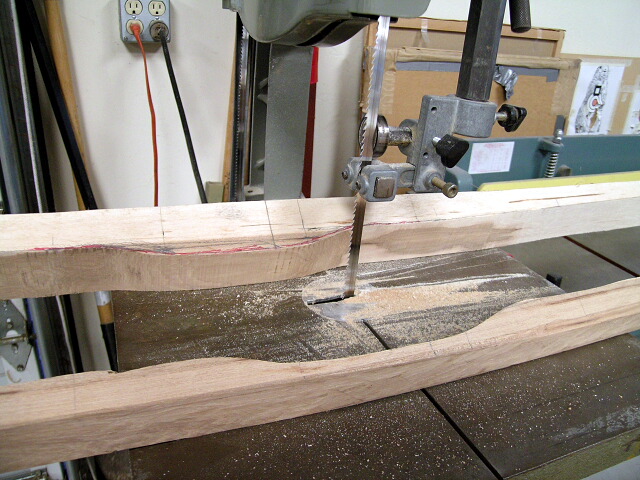
The next step is to profile and shape the handle to 95% of finished: 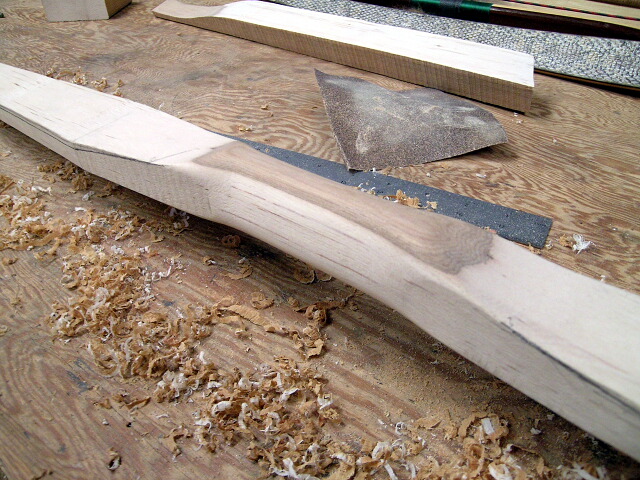
Now it's time to start the tediious job of scraping the belly of the bow to achieve its initial limb flex: 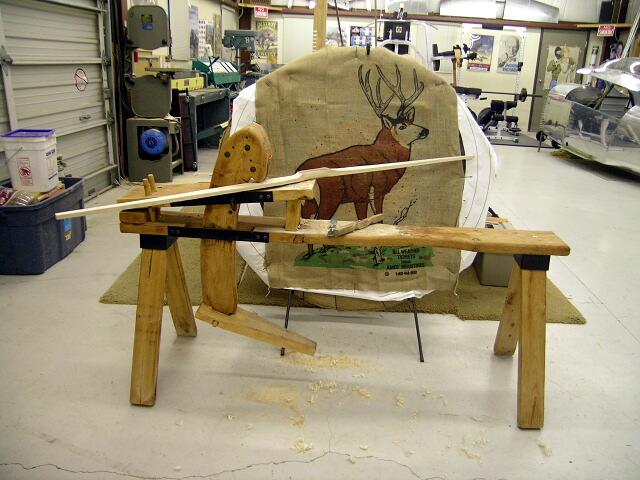
The work horse is a bowyers vise used to hold the bow while scraping, filing and sanding. 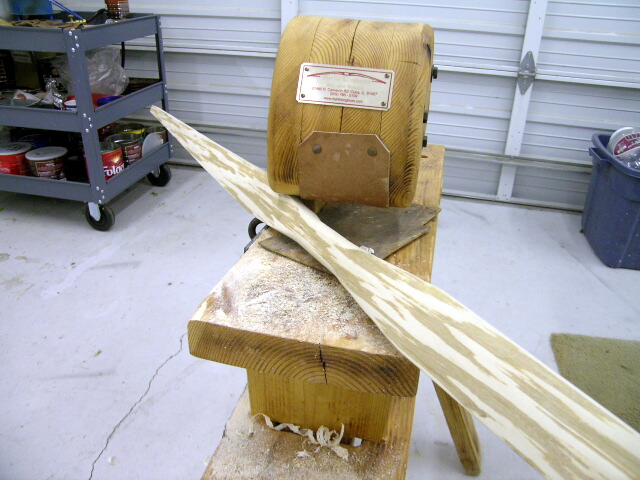
That's where I called it quits for the day, about 5 hours of work. Next I'll finish shaving the upper and lower limbs to achieve the proper bending curves and put the final shaping on the handle. Maybe by tomorrow..... UPDATE 12/11/05 I've scraped, filed, and sanded the belly of the bow to visual symmetry as far as the woodwork goes. Now I use a temporary tillering string and a tillering board as an aid to begin flexing the limbs and measuring for proper flex symmetery in the limbs. At this point the limbs haven't "learned" to bend yet so I have to be very cautious to not over bend. Very small sanding adjustments are made at this point to achieve balanced symmetry. Pic of the bow in the tillering stand with the limbs only slightly bent for checking symmetry: 
Another pic , different angle: 
Now that the limbs are bending properly it's time to file in the string guides/nocks and profile the tips of the bow. Sorry about the focus - I had the camera in area rather than spot focus.... Belly string guide: 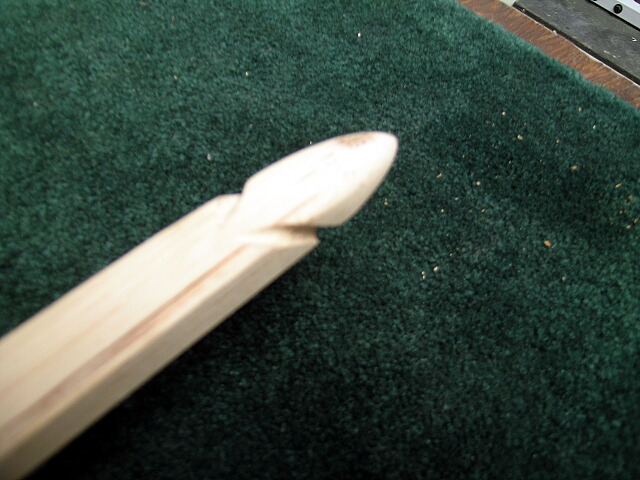
Back side string guide: 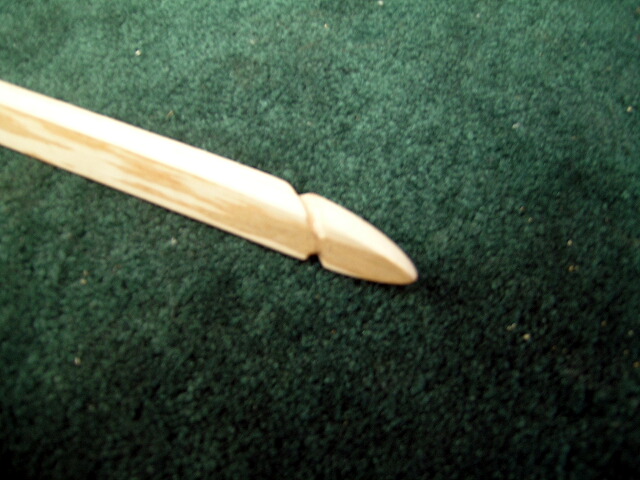
Next I spent a while "training" the limbs to bend by repeatedly flexing the bow several hundred times. Not to much at first but then increasing the flex angle with more repetitions. I then used a temporary string knotted to give the bow about a 6.5" brace height and placed it back in the tillering stand on a bathroom scale to measure the draw weight. Here is a pic of my friend drawing the bow to 26" (I know the standard is 28" but I'm a small guy and I only have a 26.5" draw) and measuring the draw weight on the scale: 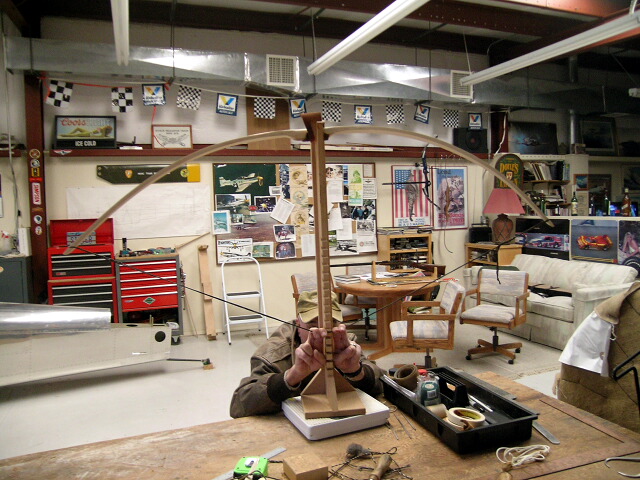
All is well so far. This took another 5 hours of work. The next step is to bond the rawhide backing.... UPDATE 12/24/05 Well, it's been a while - holiday season and all.... But I've backed the bow with rawhide. I used rawhide purchased from a bowyer supply, it comes in a 2" width, 36" length and about a 1/16" inch thick. The stuff comes rolled in a coil and it's tough. The first step is to unwind it, lay it out on the table, and draw an outline of the back of the bow on it. I used a pair of scissors to cut the rawhide to fit the back of the bow with about an 1/8" overlap. 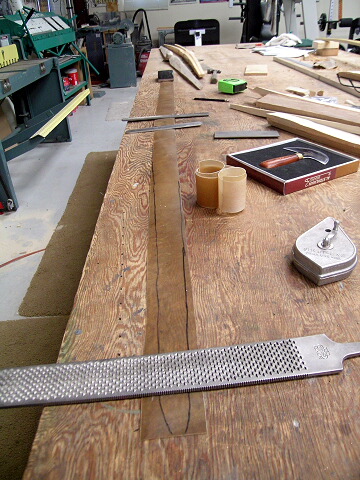
Now I put the rawhide in a bucket of water and let it soak for about two hours to soften it up. Next I used Elmers TitebondII glue applied to both the rawhide (rough side) and the back of the bow and positioned the rawhide on the bow back and used Ace bandage wraping as a clamp to secure the rawhide. 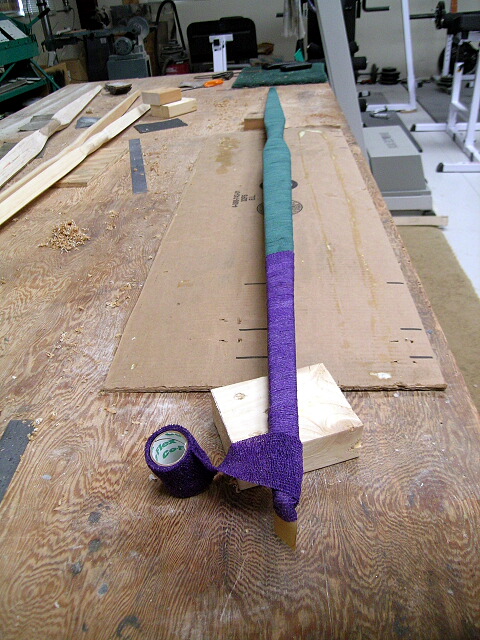
I let this dry for about three days before removing the "bandages"... Next I sanded the rawhide "rollover" off the sides of the bow. Next I took a piece of scrap hickory and carved an arrow rest and glued it to the side of the handle. 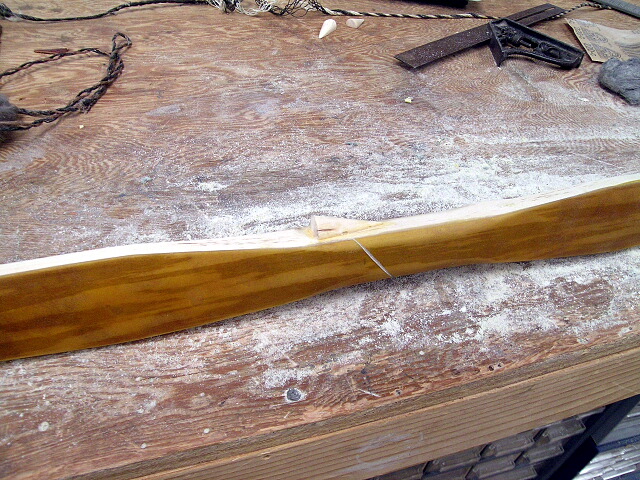
When this is dry I will shoot the bow "in the rough" about fifty times and then check and adjust any tillering change. Next will be building the string.... UPDATE 12/30/05 Well almost done here - only one more update after this.... I've finish sanded the bow and applied a walnut stain. Now it's time to build the string. I've choosen to build a traditional two color Flemish bow string in black and red with a total strand count of 12 (6 red, 6 black). The first thing I did was to build a string jig, not a requirement but I thought it'd be fun to do. This jig will allow me to build most any common length Flemish string. Here is a pic of the jig with the black bundle wraped and ready for cutting and prep: 
Next I repeated the process with the red B-50 dacron string. Once wrapped properly around the pegs the string is cut to make the tapered ends: 
Once the strings are cut the tapered ends are heavily waxed with beeswax and twisted together to form a nice tight bundle. Then the two colored bundles ends are measured for a 8" length and are twisted together for 3" in a sort of art form more difficult than I want to explain here. This will be the loop: 

After the loop is formed the end tapers are twist blended back into the main string which finishes the end loop. The paper clip is there to keep this end from unraveling while I make the loop on the other end of the string: 
Once both ends of the string are complete I put several overall twists in the entire string to achieve the length I need for proper brace height on the strung bow. With the bow strung and worked several times to eliminate the initial string stretch I need to "serve" the string nock point: 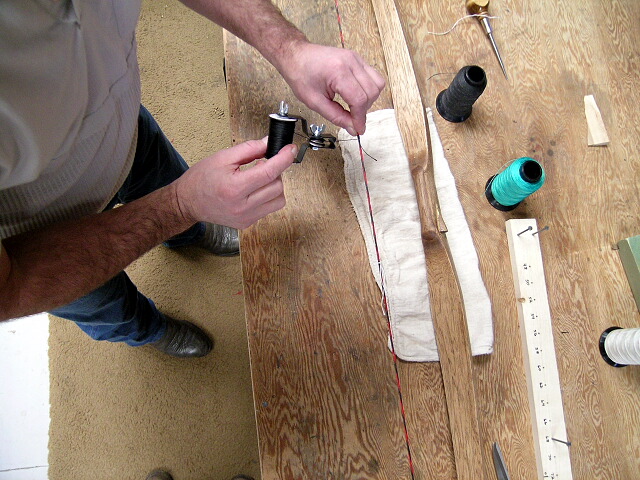

With the string "served" I next crimped a brass arrow nock point on the serving (on this bow about 1/2" above the arrow rest perpendicular) and I also install a couple of string silencer tufts near the ends of the string: 
Well, if you've stuck with me this far - only one more update to go... I'll be applying several coats of polyurathane gloss finish to the bow and then document the construction and application of the Elk skin handle wrap. Then post a few last pics of me shooting the bow..... UPDADE 1/8/06 Well, here it is - the last update! It's finally done. Thanks for sticking with me..... I've applied four coats of gloss finish using #0000 steel wool between each coat and then allowed it to thoroughly dry. Next I cut a small thin leather arrow shield and glued it to the arrow rest and handle. This will protect both the bow and the arrow fletching while shooting. 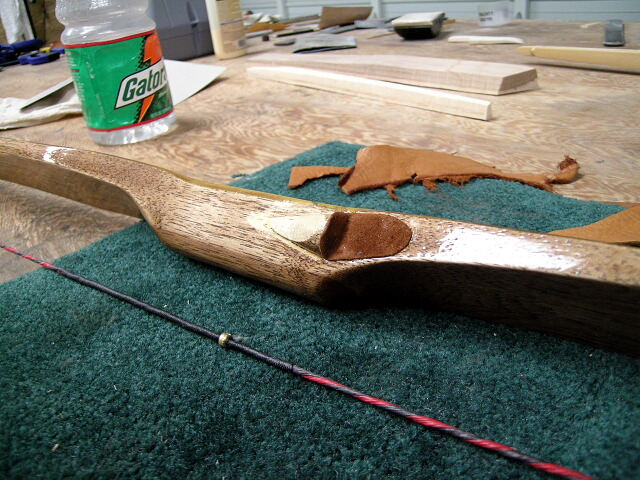
Now it's time to make the Elk skin handle wrap. First you need to gather up the closest Elk hide pelt you have laying around... 
Then cut out a pattern that will fit the handle of the bow and glue hems in the edges: 
Next use a tool designed to stamp lacing slots into the stitching edges of the wrap: 
Using a curved lacing needle I then laced the handle wrap together with lace cord: 
The finished laced handle wrap, now the leather is worked around a bit to line up the stitching line and worked flat with a leather mallet: 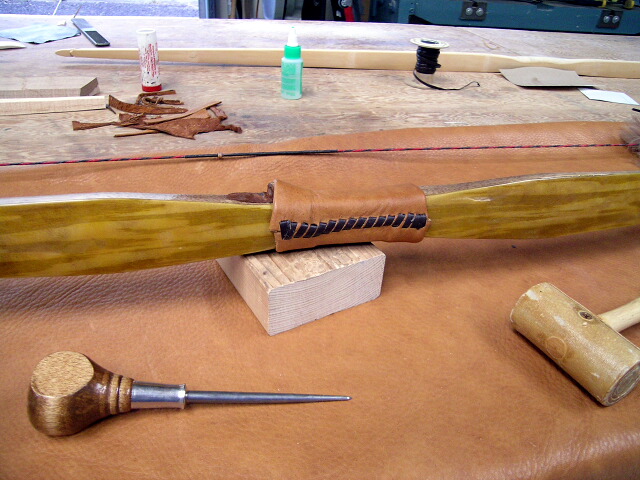
Now all that is needed is a little leather care waterproofing painted on the handle wrap and it's done. Well there you have it! My first attemp at making an American Flat Bow. It shoots quite well - here are a few pics of me and the bow: 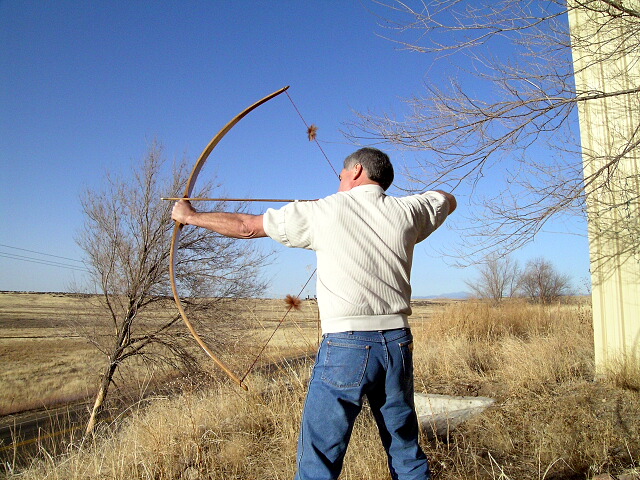
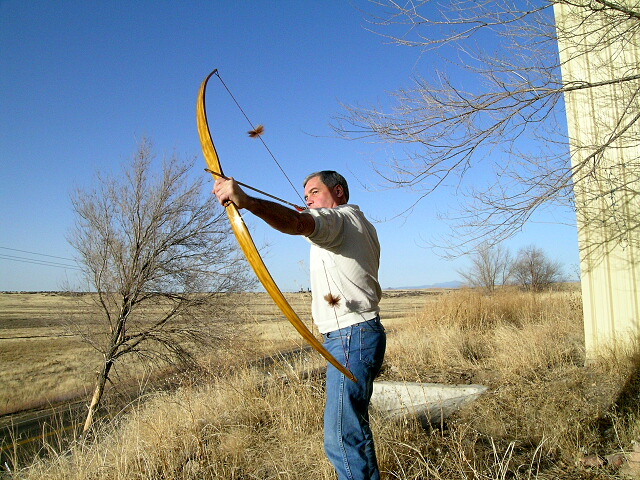

Thanks for all your comments - it was an enjoyable project that turned out quite well. Now back to my airplane project, I'm afraid that one's going to take quite a bit longer to finish.... Cheers all - ################################ The above was a re-post, I could make it, of a 2005 project of mine. Hopefully it might provide some interest for anyone who might want to try building their own flat bow (or any bow), it's not that hard - give it a try!!! |
|
|
|
|
[#1]
Thanks.
As I said before, I wish I had your skill. It must be very satisfying to be able to do that. |
|
|
|
|
[#2]
Followed a bunch of builds , very very nice there.
|
|
|
|
OR, USA
|
[#3]
Awesome. Just awesome.
|
|
|
|
[#4]
I like the bow and your shop is chock full of awesome.
|
|
|
|
OH, USA
|
[#5]
I miss making bows :(
|
|
|
|
[#6]
Can definitely tell this wasnt your first rodeo!! Nice work!!!
|
|
|
|
AZ, USA
|
[#7]
Excellent work. How is the plane coming along?
|
|
|
 Win a FREE Membership!
Sign up for the ARFCOM weekly newsletter and be entered to win a free ARFCOM membership. One new winner* is announced every week!
You will receive an email every Friday morning featuring the latest chatter from the hottest topics, breaking news surrounding legislation, as well as exclusive deals only available to ARFCOM email subscribers.

AR15.COM is the world's largest firearm community and is a gathering place for firearm enthusiasts of all types.
From hunters and military members, to competition shooters and general firearm enthusiasts, we welcome anyone who values and respects the way of the firearm.

Subscribe to our monthly Newsletter to receive firearm news, product discounts from your favorite Industry Partners, and more.
Copyright © 1996-2024 AR15.COM LLC. All Rights Reserved.
Any use of this content without express written consent is prohibited.
AR15.Com reserves the right to overwrite or replace any affiliate, commercial, or monetizable links, posted by users, with our own.


